GRUB main functionality is to allow users to select between different operating systems to boot. As bootloader GRUB is installed on the MBR (Master Boot Record) and additionally to allow us to select different OS it also allows us to select between different kernel or kernel parameters and to boot in rescue mode if our kernel was damaged or if we lost our root password as explained in a previous article in which on how to restore CentOS root password editing GRUB’s booting parameters.
This tutorial explains how to access rescue mode through GRUB in CentOS Linux distributions and the basic commands we can use.
There may be different scenarios encouraging you to go through GRUB rescue mode. The first scenario assumes GRUB doesn’t show up at all, not even a command prompt like grub> or #. The second scenario assumes the computer boots but the OS doesn’t and you are directed to a command prompt.
Scenario 1: GRUB doesn’t show up, reinstalling GRUB from the CentOS installation disk.
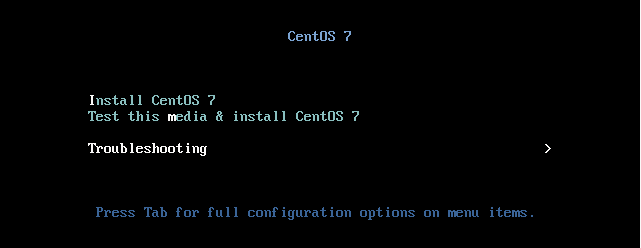
Before such scenario you need to boot from the disk/usb, select the last option Troubleshooting
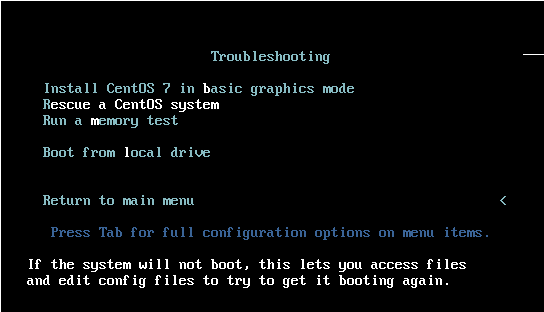
In the second screen select the second option “Rescue a CentOS system”.
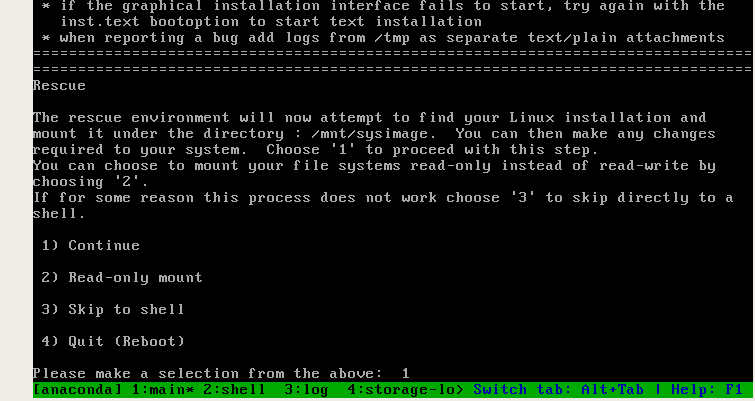
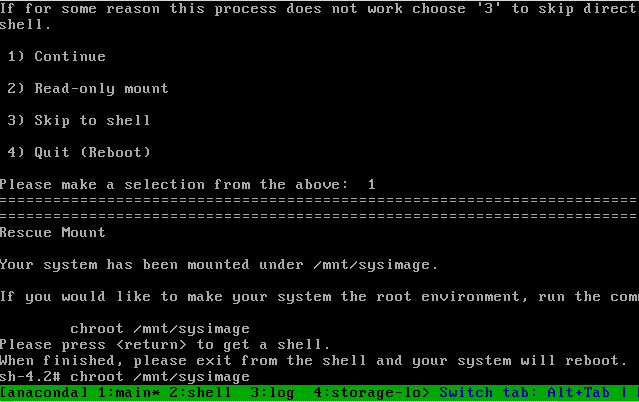
When you are asked to select between 4 options, type 1 for the rescue mode to find your Linux installation and press ENTER.
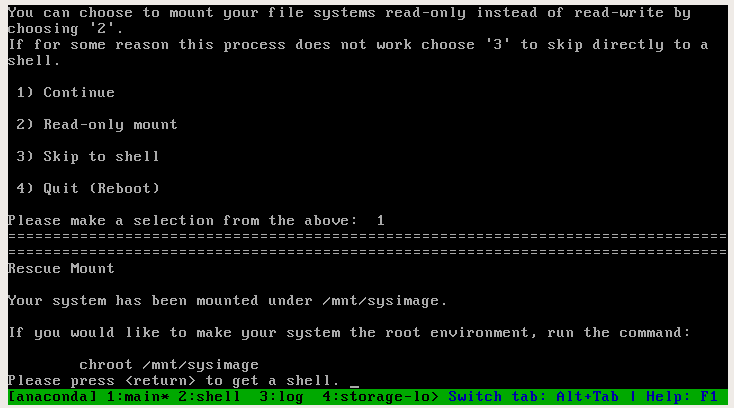
The rescue mode will mount the system image in /mnt/sysimage, change the image’s root location as recommended by the system by typing:
To find your disks type:
For very old IDE disks type:
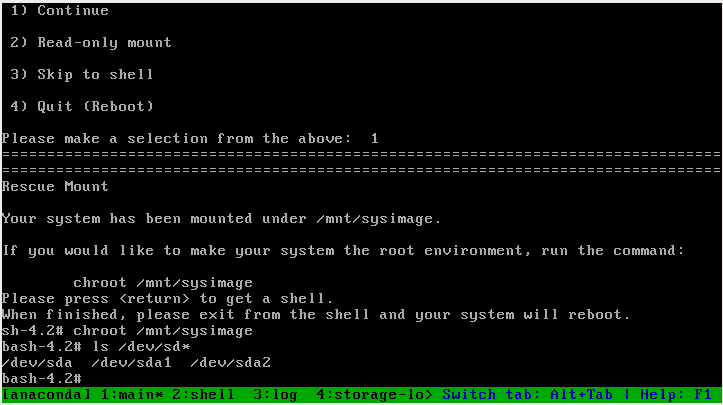
We confirm there is a sda disk, to install grub on that disk run:

Now you can reboot and GRUB should prompt at boot
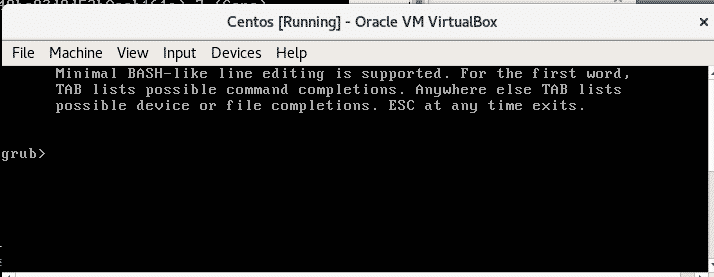
Using GRUB rescue mode commands on CentOS
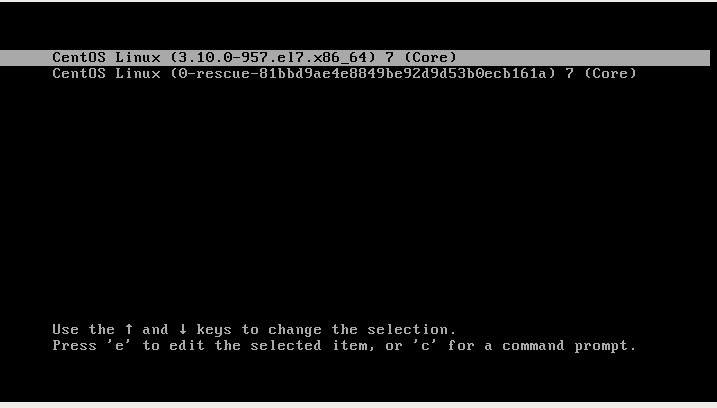
The following image shows Grub’s main screen on CentOS Linux, before going to the command prompt you can check the current configuration by pressing e. If you are going through booting problems and you see a command prompt go to the next step.
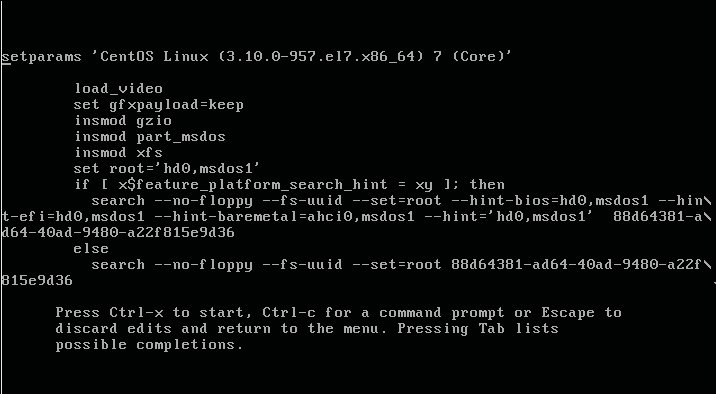
After pressing e we’ll see the current configuration,kernel, etc. If we lose our root access as explained in the tutorial mentioned at the beginning we need to edit this file as first step.
As the options at the screen bottom say you can get back with Escape but press c to access the command prompt.
Type “ls” to see the available devices and partitions:
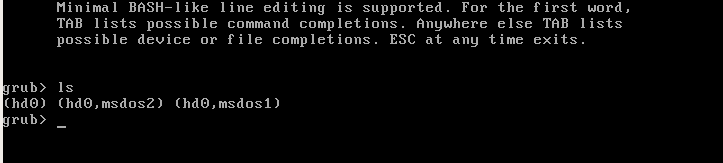
Where:
Hd0: first hard disk device.
msdos = partition table type
There are msdos1 and msdos2 for each partition.In GRUB2 partition counting starts from 1 in contrast to GRUB’s previous version which started from 0. Extended partitions counting starts from 5.
Note: MBR only supports up to 4 primary partitions in contrast to GPT.
To show the disk and partitions you can also type “set root=(“ and press the TAB key twice:

Now type:


As you see the first directories belong to GRUB and GRUB2.
Type:

The file grub.cfg is grub’s file configuration generated when we run grub2-mkconfig. If you don’t find the file grub.cfg create it running grub2-mkconfig
Now type
linux /boot/vmlinuz root=/dev/sda1

With set root we define the main device, hd0,msdos1, with linux we define the kernel,we can see the kernel with the command mentioned previously: ls (hd0,msdos1)/
Now lets define Grub’s path by typing:

To end type:

Reboot typing:

Now you should be able to boot into your system.
I hope this tutorial helped you to troubleshoot GRUB. Keep following LinuxHint for more tutorials and updates on Linux.