With stable and robust plugin support and a large community behind, Vim is the golden text editor you should start learning right now!
Vim plugins
Despite being a robust text editor, Vim doesn’t pack all the possible features possible. That’s why programs allow the usage of plugins. This is especially true to every well-known text editor. Plugins improve the functionality of the editor with various additional features that are not native to the editor.
In the case of Vim, there are a number of plugins available for all sorts of purpose. In fact, plugins are one of the strongest points of Vim. There are TONS of plugins out there to improvise Vim.
Installing Vim plugin
There are basically 2 different ways of installing a Vim plugin.
Manual installation
In this method, you have to manually grab the plugin from the web and put it in the target directory. Then, you have to update the vimrc file manually so that Vim always loads the plugin whenever you start Vim. If you update vimrc when Vim is running, it won’t load the updated file. Either restart Vim or tell Vim to reload the vimrc file.
There are different forms of Vim plugins. It can be either a “.vim” file, a Vimball file or, a set of directories with the expected structure (plugin/*, syntax/*, etc.). It depends on the plugin you’re going to install. If it’s a “.vim” file, put it into “.vim/plugin” directory. If it’s a Vimball file, we have to use Vim to install it. If it comes as the third type, it’s a bit tough to manually set all the files and folders with proper vimrc configuration.
Let’s get started with my favorite one. It’s actually a great way of theming the Vim editor. Check out the Vimrc by amix.
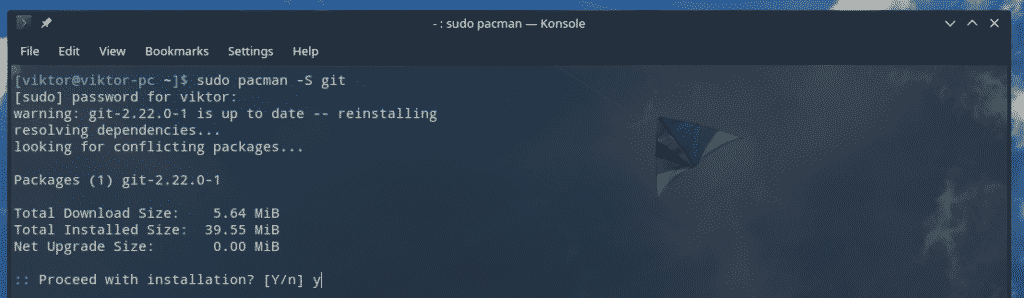
At first, make sure that your system has git installed. I’m running Manjaro Linux, an Arch-based distro with awesome look and fine-tuning. If you’re running any other distro, check out how to install Git on Linux.
As the GitHub page suggests, run the following command for completing the installation.
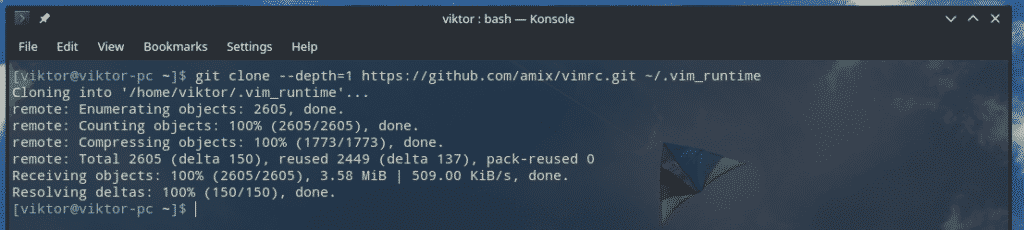

Once the installation is complete, check out Vim.
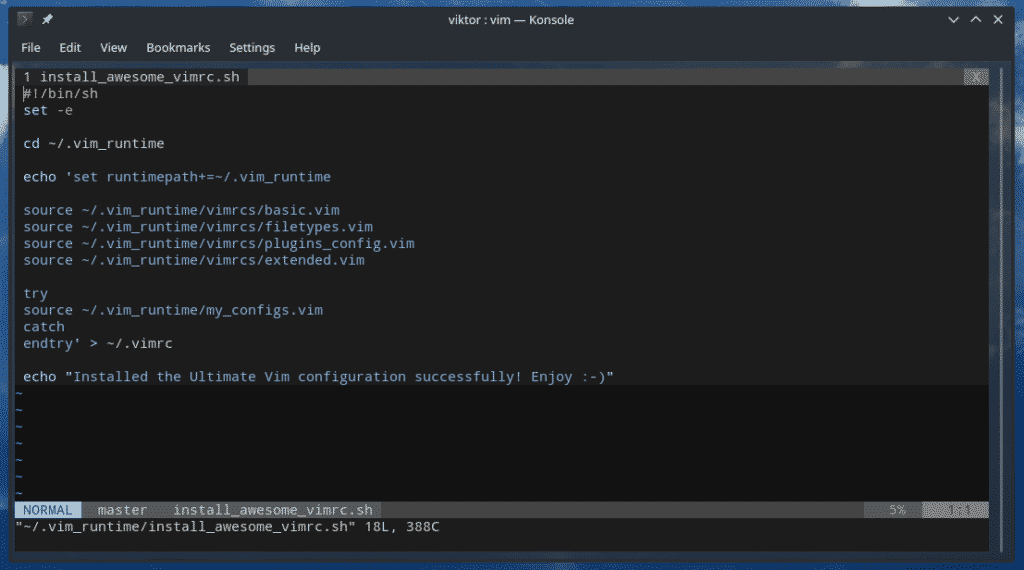
What happened? This plugin offers a simplistic way to put all the necessary files in place and updating the vimrc file accordingly. Check out the changes made to the vimrc file.
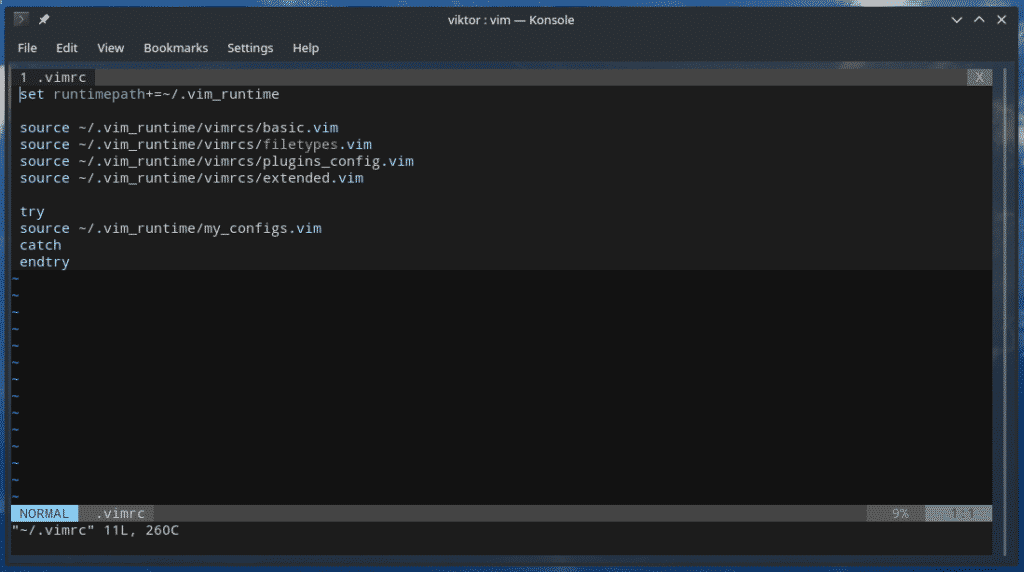
As you can see, the “.vim” files are within a directory and the vimrc tells Vim to load those files whenever Vim starts.
Got a Vimball? Open the “.vba” file with Vim. Then, run the following command.
Vim plugin manager
This is the easiest way of managing all your Vim plugins. Almost all the manual tasks are taken care of. These plugin managers are super handy when you’re working with a large number of Vim plugins. Using a suitable plugin manager, you can make your life a lot easier.
However, the installation and usage of plugin managers can be a little bit tricky. Of course, the legacy of Vim requires you to be sophisticated enough to handle all the tasks efficiently.
Here are the most popular Vim plugin managers out there.
In this tutorial, we’ll take a look at vim-plug, my favorite plugin manager for Vim.
Vim-plug
Unlike other Vim plugin managers, vim-plug is very, very simple. There’s no need for any boilerplate coding. It’s just one single “.vim” file. Vim-plug is easier to install and the syntax are very simple.
Note: In the case of other Vim plugin managers, only the installation will be demonstrated.
Without further ado, let’s get started.
Installing vim-plug
Fire up the terminal and run the following command.
https://raw.githubusercontent.com/junegunn/vim-plug/master/plug.vim

Configuring vim-plug
Now, it’s time to configure the vimrc for taking advantage of vim-plug. Add a vim-plug section in your vimrc file.
call plug#end()
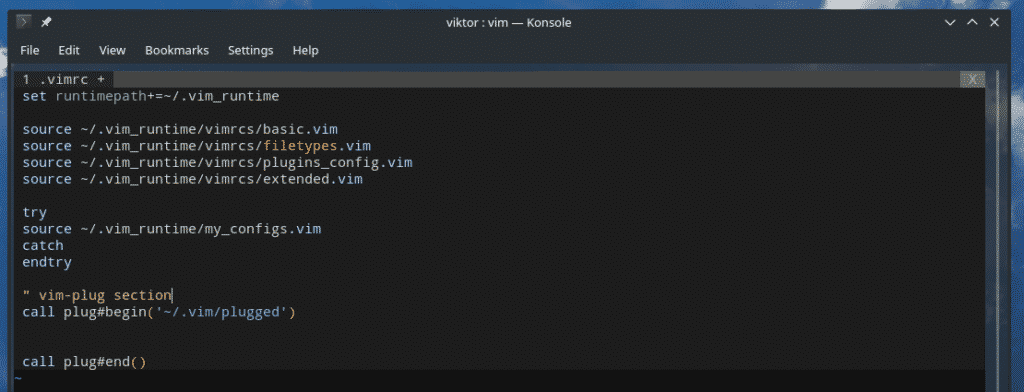
Notice the “~/.vim/plugged” parameter? It tells vim-plug to perform all the plugin actions in the directory. You should avoid using the default Vim directories like “~/.vim/plugin”.
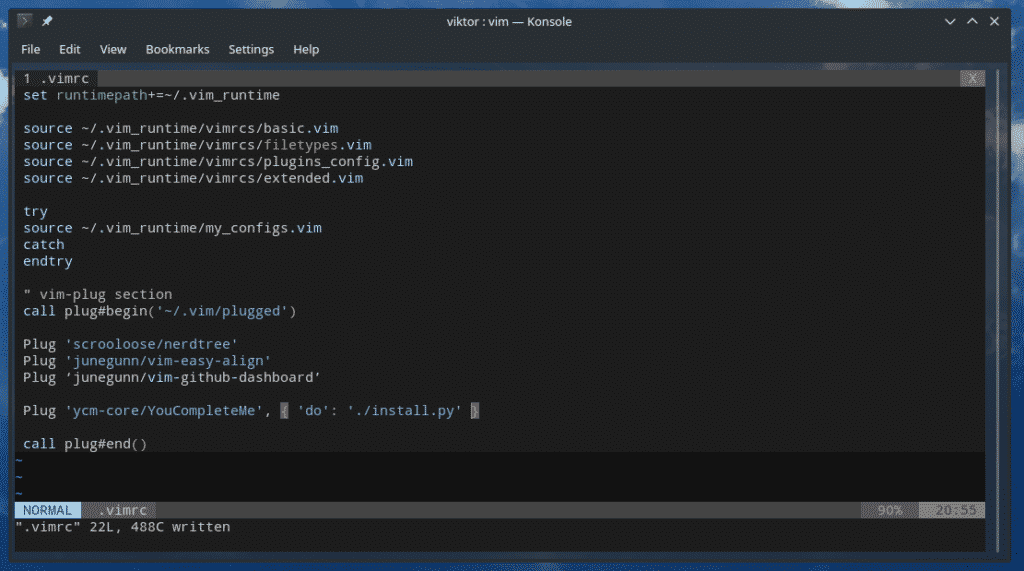
Now, in-between the two declarations, there need to be all the plugins with the following structure.
For example, let’s enter the following line to enable the NERDTree, vim-easy-align and vim-github-dashboard plugins.
Plug ‘junegunn/vim-easy-align’
Plug ‘junegunn/vim-github-dashboard’

Now, let’s take a look at the structure of the command. Notice the ‘scrooloose/nerdtree’ structure? Vim-plug will try to load the plugin from the GitHub directory. It’ll automatically be translated to https://github.com/junegunn/vim-github-dashboard.
There are some plugins that require extra actions after grabbing from the GitHub repo. Refer to the documentation of the associated plugins. The additional steps must be declared in vim-plug.

In the above example, after grabbing the plugin, vim-plug will run the “install.py” Python script.
For all the possible functionalities of vim-plug, I strongly recommend consulting with the official vim-plug documentation on GitHub.
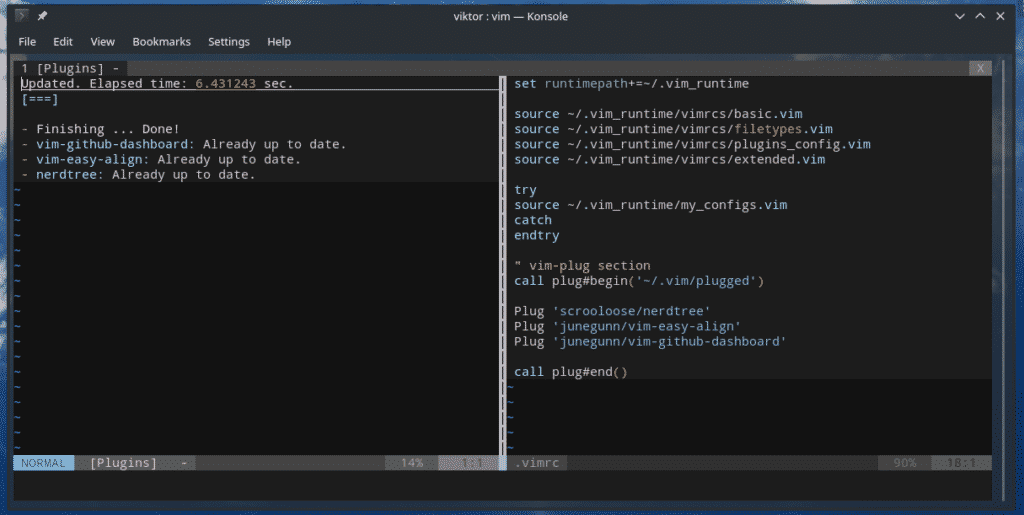
Loading all the plugins
Once the vimrc is properly configured, restart Vim or reload the vimrc file.

Finally, run the following command to start the installation of all the Vim plugins that were configured for vim-plug.

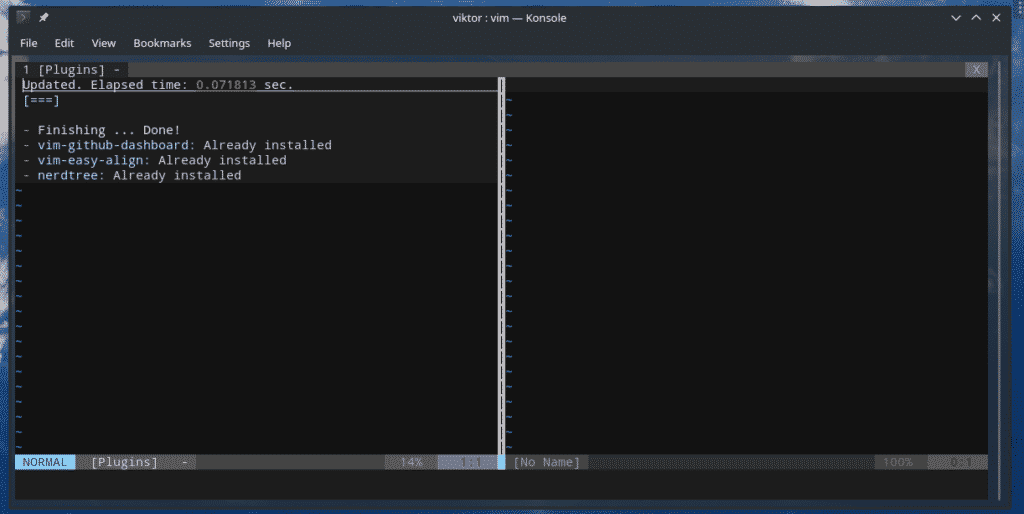
Vim-plug will download all the packages directly from GitHub and put them into the “~/.vim/plugged” directory and load them whenever Vim is loaded.
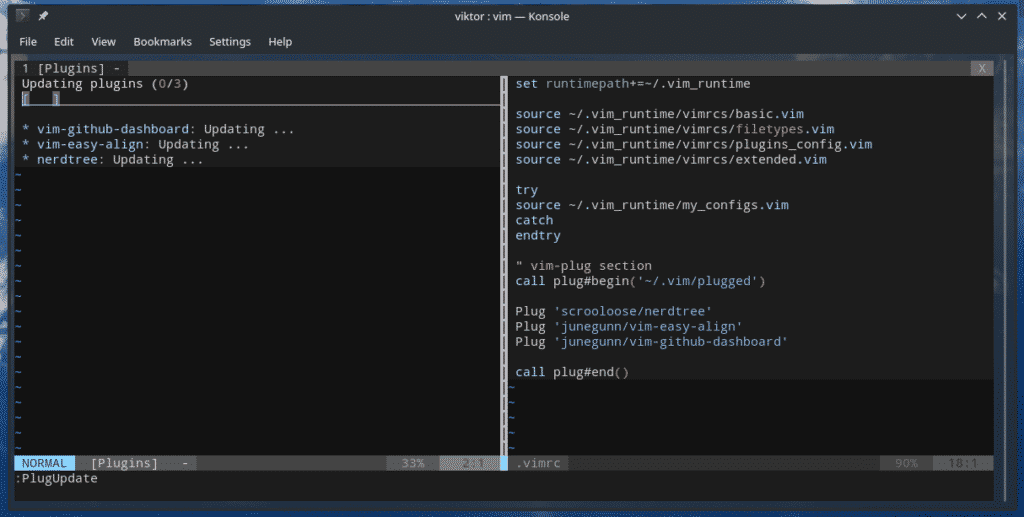
Updating plugin
Updating the plugin is quite simple. Just run the following command in Vim.
Removing a plugin
If you want to get rid of a plugin, it’s quite easy. Just remove the entry from the vim-plug section of vimrc and call the following command.

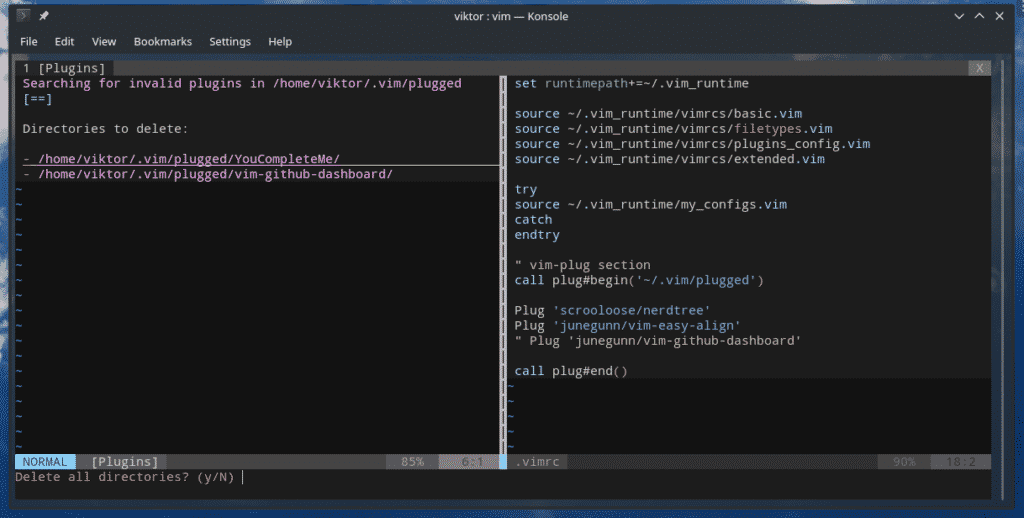
As you can see, vim-plug is asking whether you want to remove the files and directories.
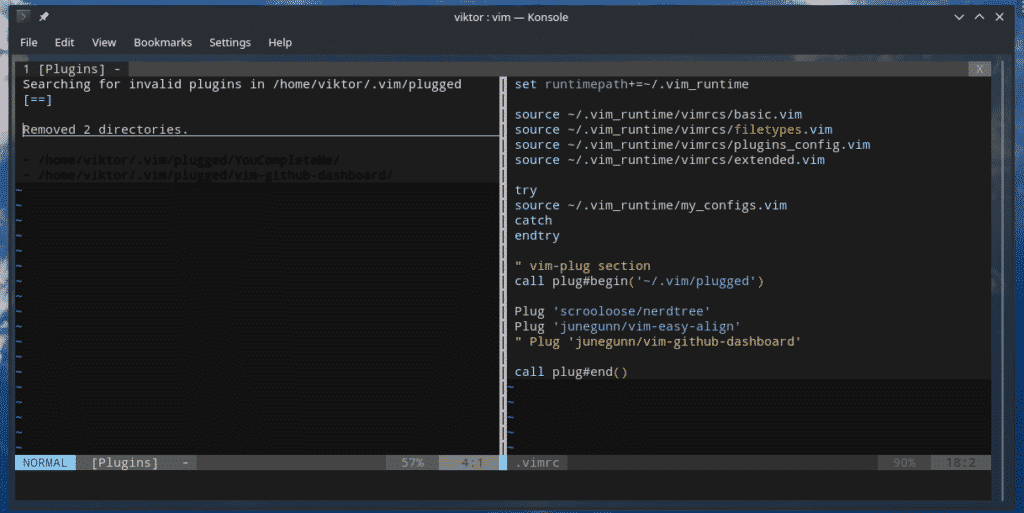
Voila! Plugin removed!
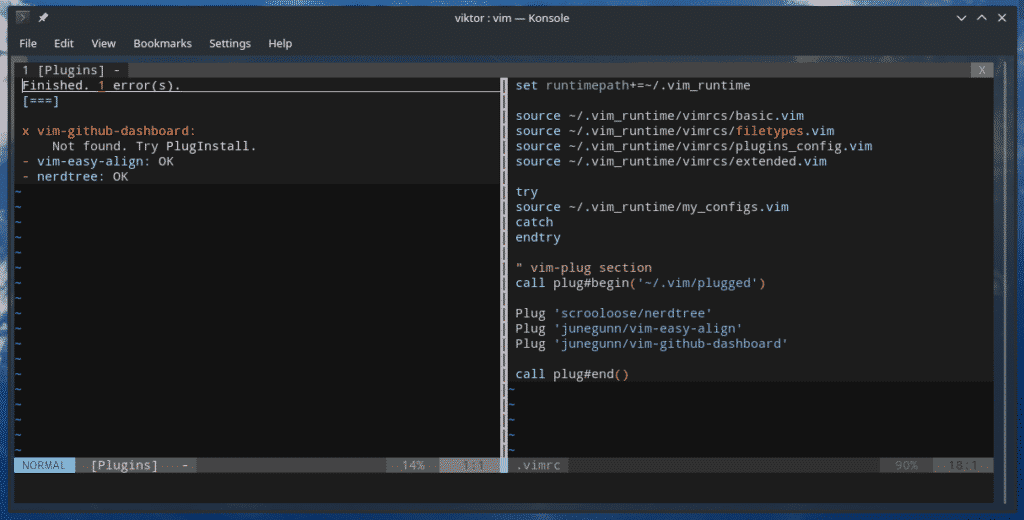
Plugin status
Vim-plug also offers to check the current status of the plugin.
Other plugin managers
Here are the short intros to Vundle and Pathogen. Before jumping in, make sure that you’re using only one plugin manager for avoiding any unnecessary complexity and hickups.
Vundle
Short for “Vim bundle”, Vundle is a robust plugin manager with a ton of basic and advanced features. It can be compared to “apt” or “yum” that distros use
Install Vundle by running the following command.

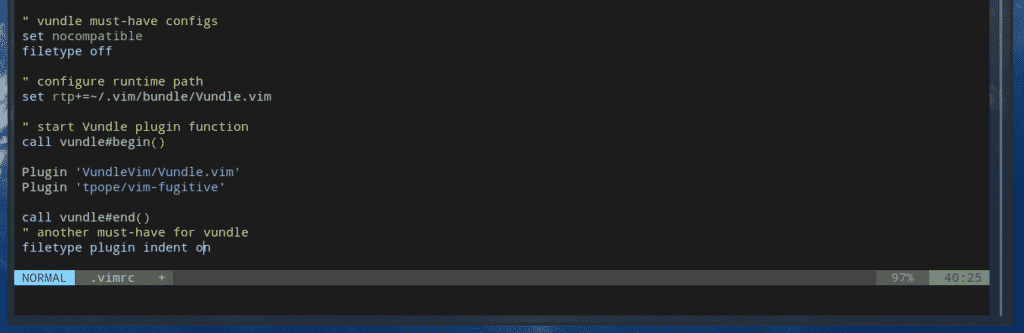
Just like vim-plug, Vundle requires a similar configuration of the vimrc file.
set nocompatible
filetype off
“ configure runtime path
set rtp+=~/.vim/bundle/Vundle.vim
“ start Vundle plugin function
call vundle#begin()
Plugin ‘VundleVim/Vundle.vim’
Plugin ‘tpope/vim-fugitive’
call vundle#end()
“ another must-have for vundle
filetype plugin indent on
For all the possible functionalities, check out the Vundle on GitHub.
Pathogen
Pathogen is another powerful plugin manager for Vim. However, the internal mechanism of Pathogen is quite different than that of vim-plug or Vundle. It lets you directly manage the Vim ‘runtimepath’.
Installing Pathogen is quite easy. Grab the Pathogen plugin and put it into the “~/.vim” directory.
curl -LSso ~/.vim/autoload/pathogen.vim https://tpo.pe/pathogen.vim

For manipulating the runtime path, add the following lines in the vimrc file.
syntax on
filetype plugin indent on

Task complete! Now, any plugin you add at the directory “~/.vim/bundle” will be added to Vim ‘runtimepath’. For example, let’s install sensible.vim.
git clone https://github.com/tpope/vim-sensible.git

For the full documentation, check out Pathogen on GitHub.
Final thoughts
Probably the best part of Vim plugin feature is, it’s ultra-stable and the plugin development is still ongoing strongly. If you’re in need of any help, the community got your back.
Feel free to explore your way around the amazing world of Vim plugins.
Enjoy!