In this article, I will show you how to use VIM Vundle Plugin Manager to manage VIM Plugins. Let’s get started.
Installing Vundle
First, you have to install Git version control system. It is available on the official package repository of any Linux distributions. I will use Debian 9 Stretch for this article.
For Ubuntu, Debian, Linux Mint and other Debian based distros:
Update the package repository cache with the following command:
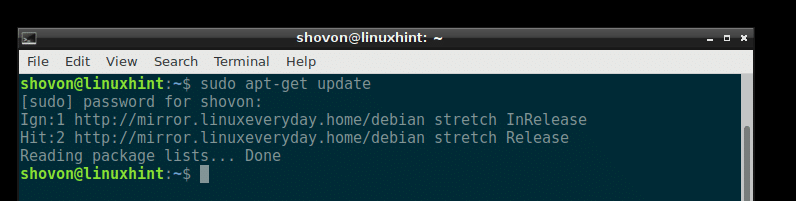
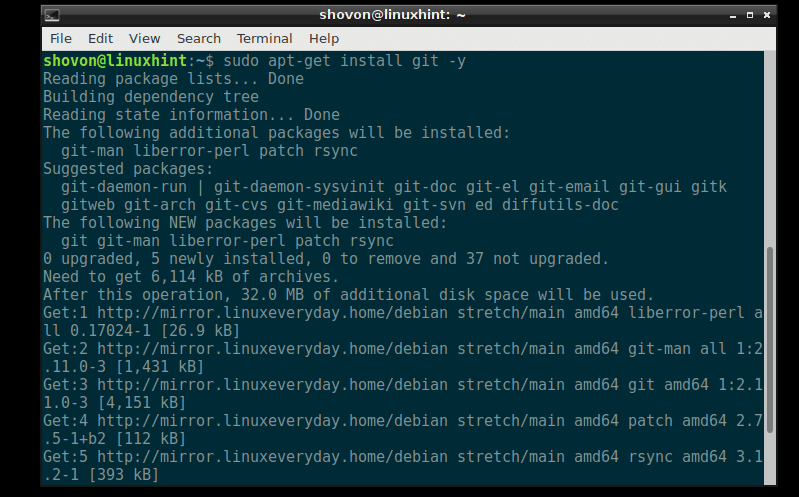
Then install Git with the following command:
Git should be installed.
For Fedora, RHEL, CentOS:
To install Git on Fedora, RHEL and CentOS, run the following commands:
$ sudo yum install git -y
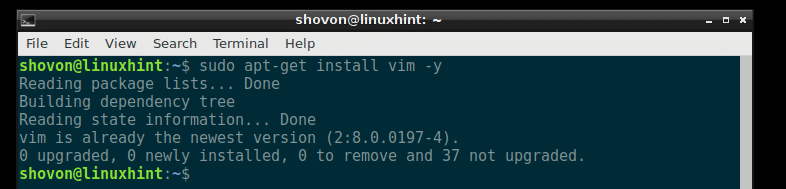
Now you can install VIM with the following command:
VIM should be installed. In my case, it’s already installed on my system.
For Fedora, RHEL, CentOS, run the following command to install VIM:
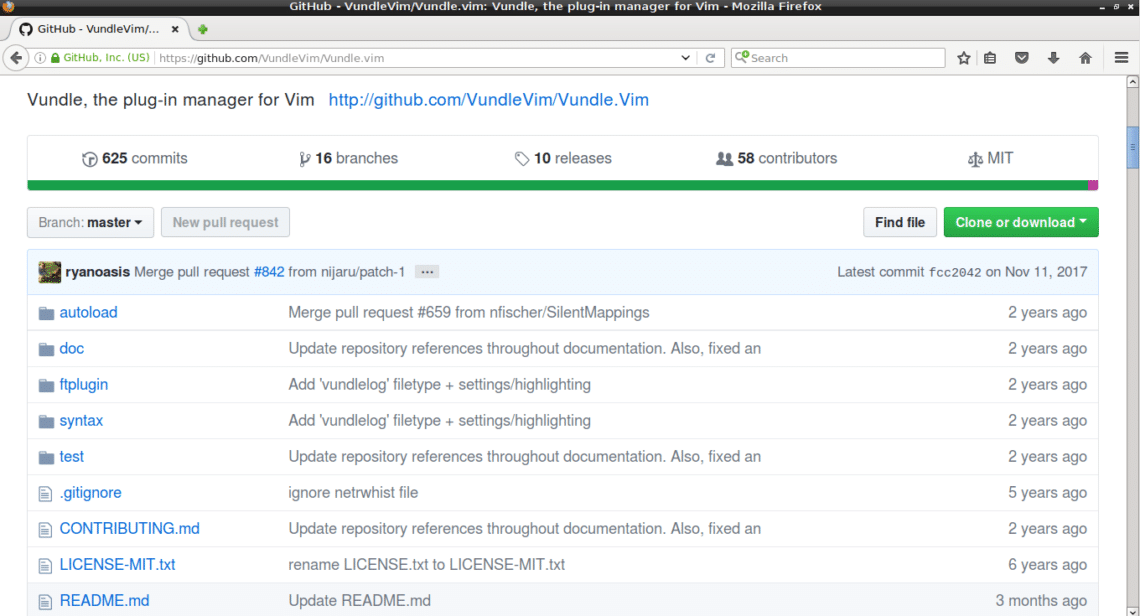
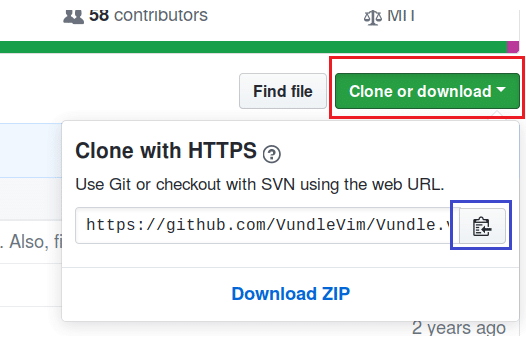
Now go to the official website of Vundle at https://github.com/VundleVim/Vundle.vim
You should see the following page.
Now click on “Clone or download” button as marked red on the screenshot below. A popup window should appear. Click on the icon as marked blue in the screenshot. The git repository URL should be copied.
Now open up a Terminal and run the following command:
After pasting the URL, the command should look like this:

The Github repository should be cloned in the ‘.vim/bundle/Vundle.vim’ directory in the USER’s home directory.

Now run the following command:
It should open .vimrc file with VIM. If .vimrc file doesn’t exist, an empty file should be opened.

In my case, I already have an existing .vimrc file.
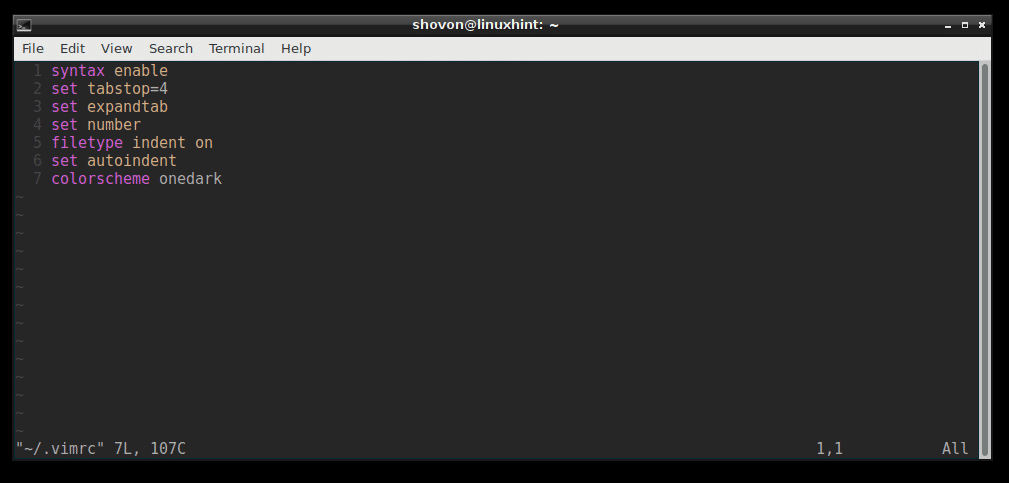
Now go to the end of the .vimrc file and press <o>
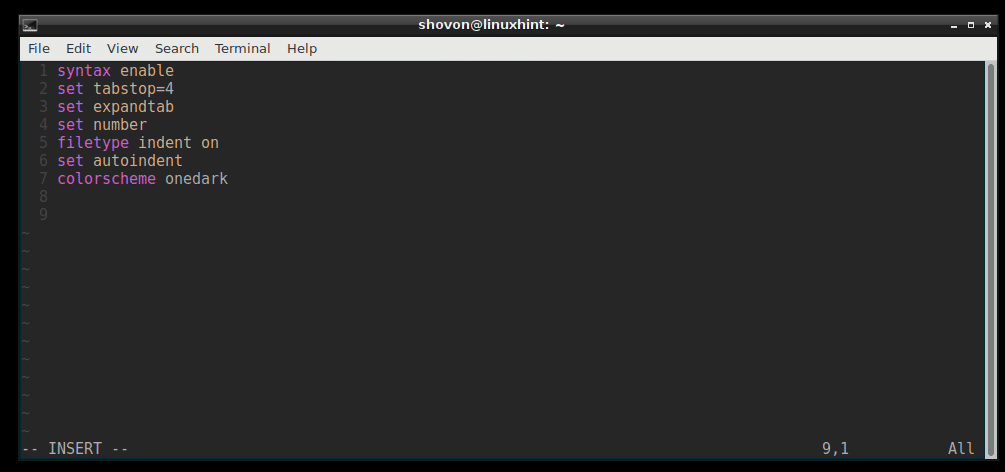
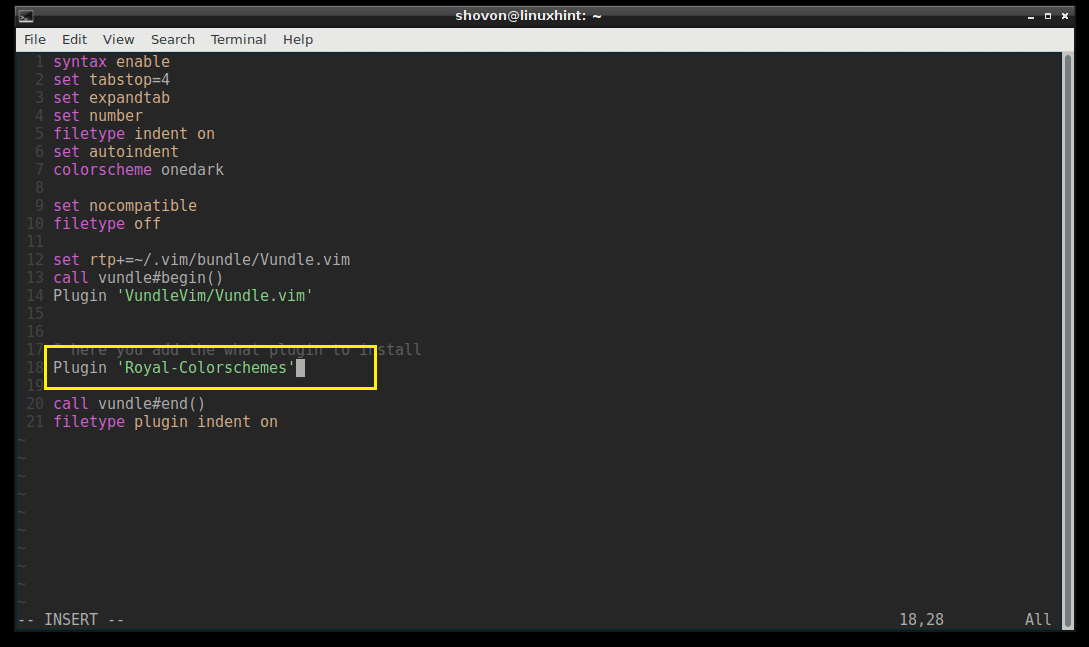
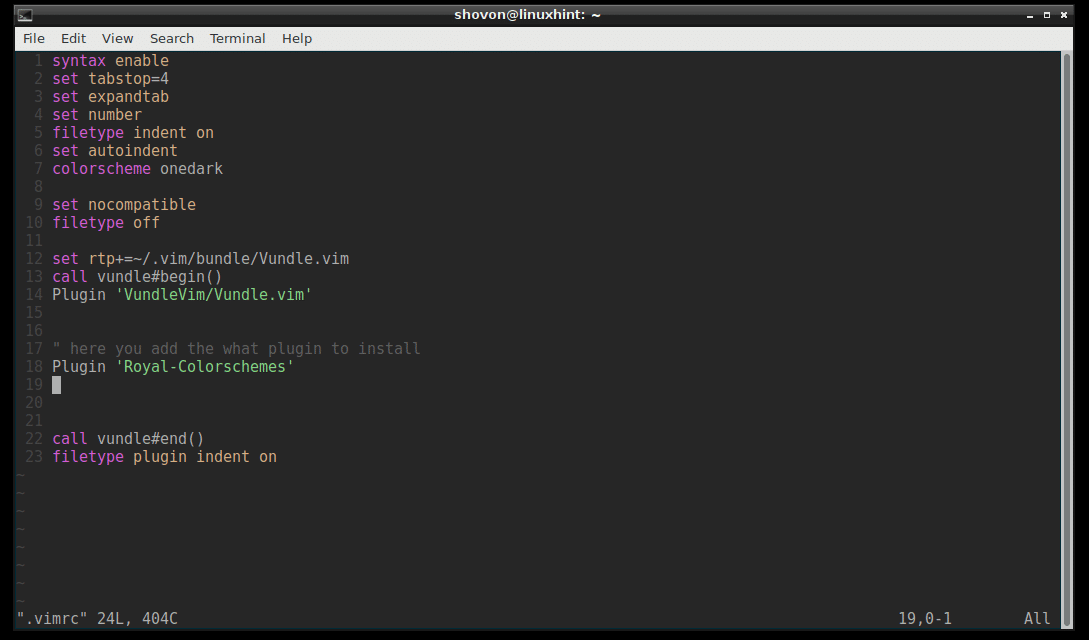
Now add the following lines as shown in the screenshot below. Then save and exit vim with VIM command ‘:wq!’
Now add the following lines as shown in the screenshot below. Then save and exit vim with VIM command ‘:wq!’
filetype off
set rtp+=~/.vim/bundle/Vundle.vim
call vundle#begin()
Plugin ‘VundleVim/Vundle.vim’
" Add plugins here
call vundle#end()
filetype plugin indent on

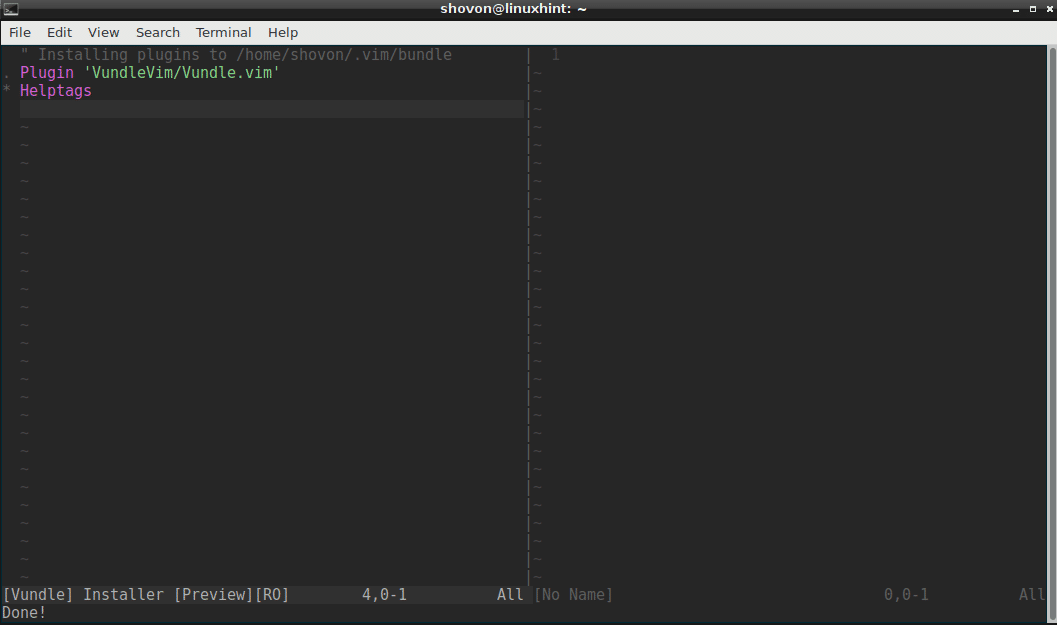
Now open vim.
Run the following VIM command to initialize Vundle Plugin Manager:
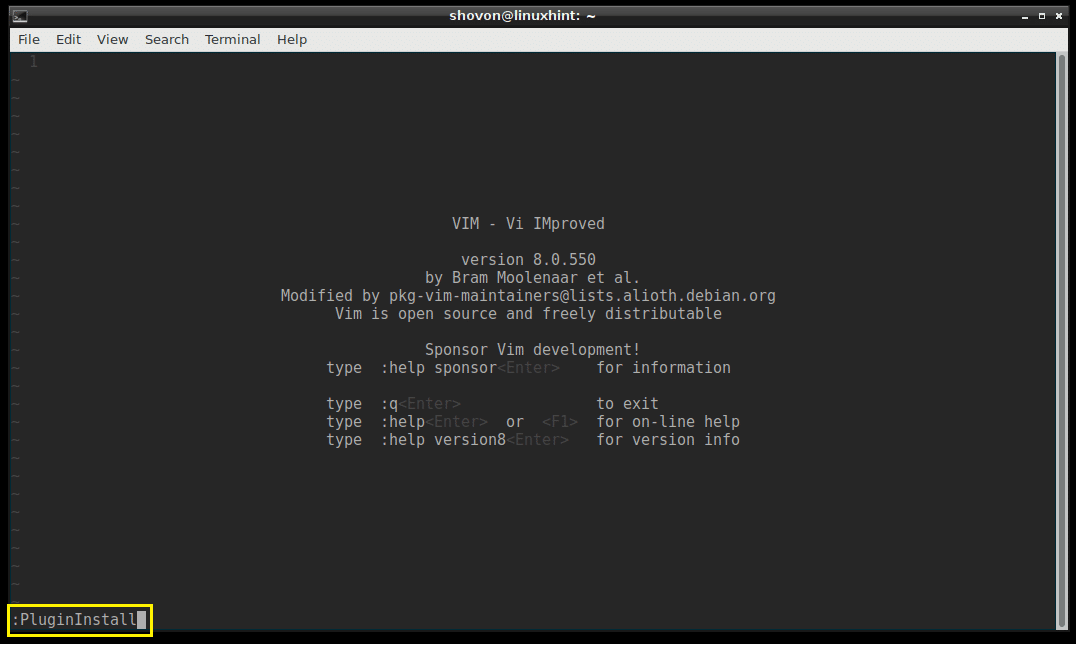
The Vundle plugin should be installed.
Searching and Installing Plugin using Vundle Plugin Manager:
You can search for VIM plugins using Vundle Plugin Manager.
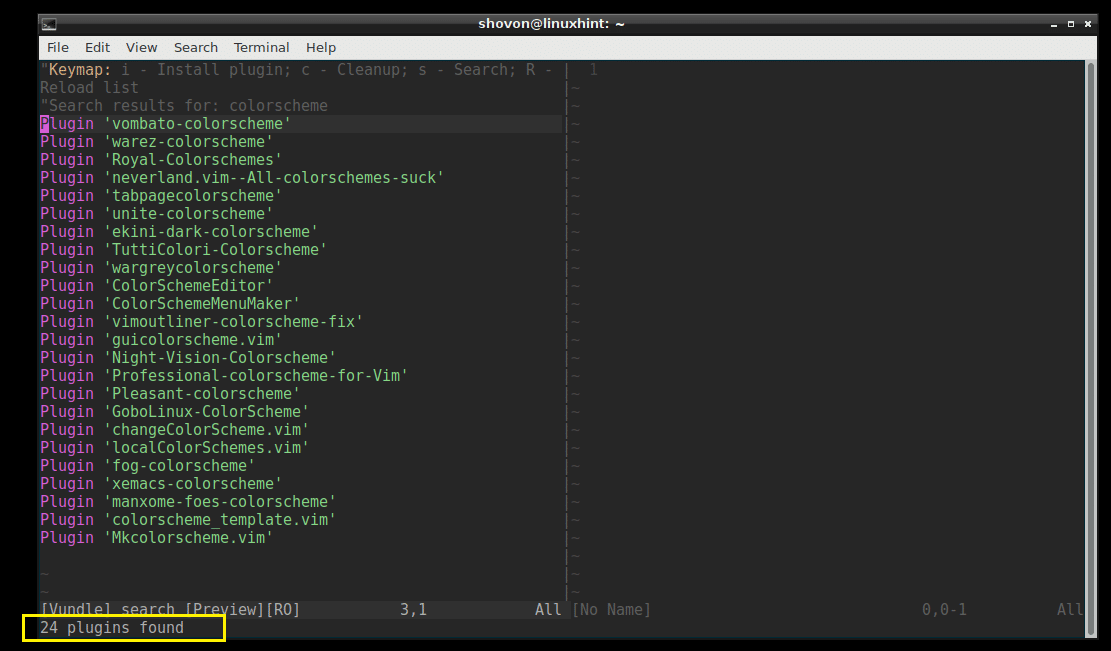
Let’s say you want to install a color scheme for VIM. Run the following VIM command to search for all the available VIM colorscheme plugins.
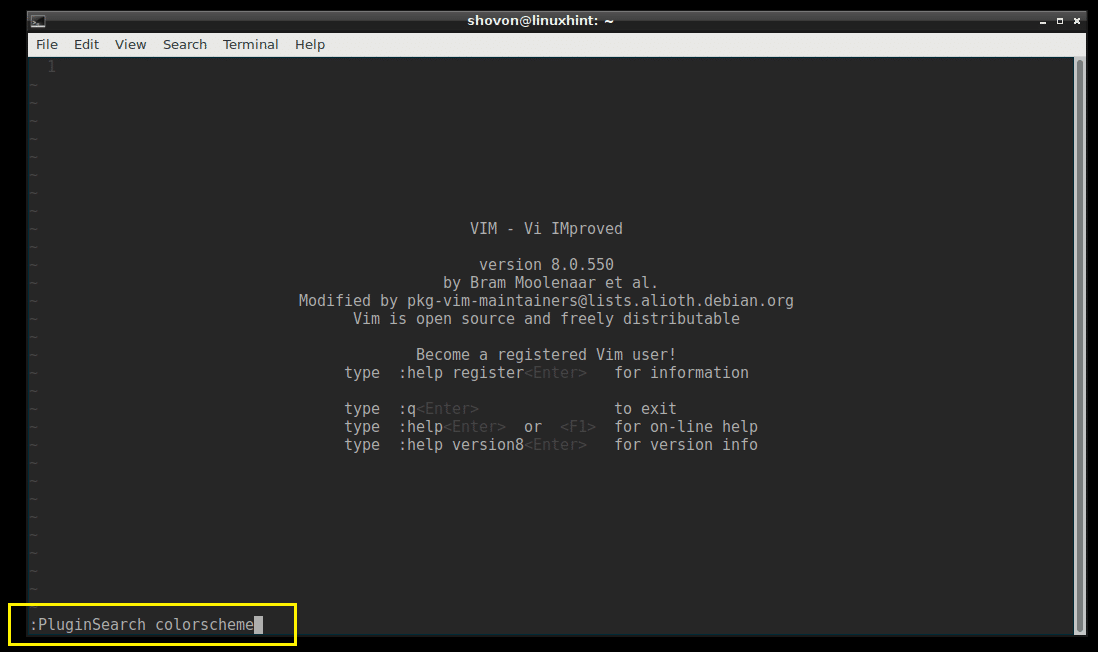
You should see a lot of colorscheme plugins as shown in the screenshot below.
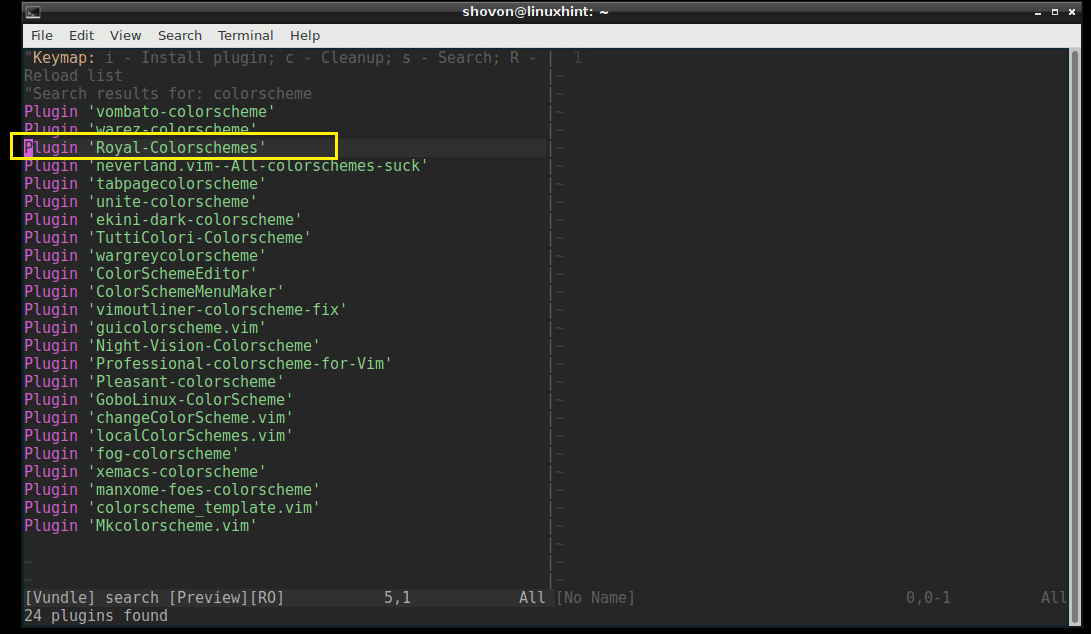
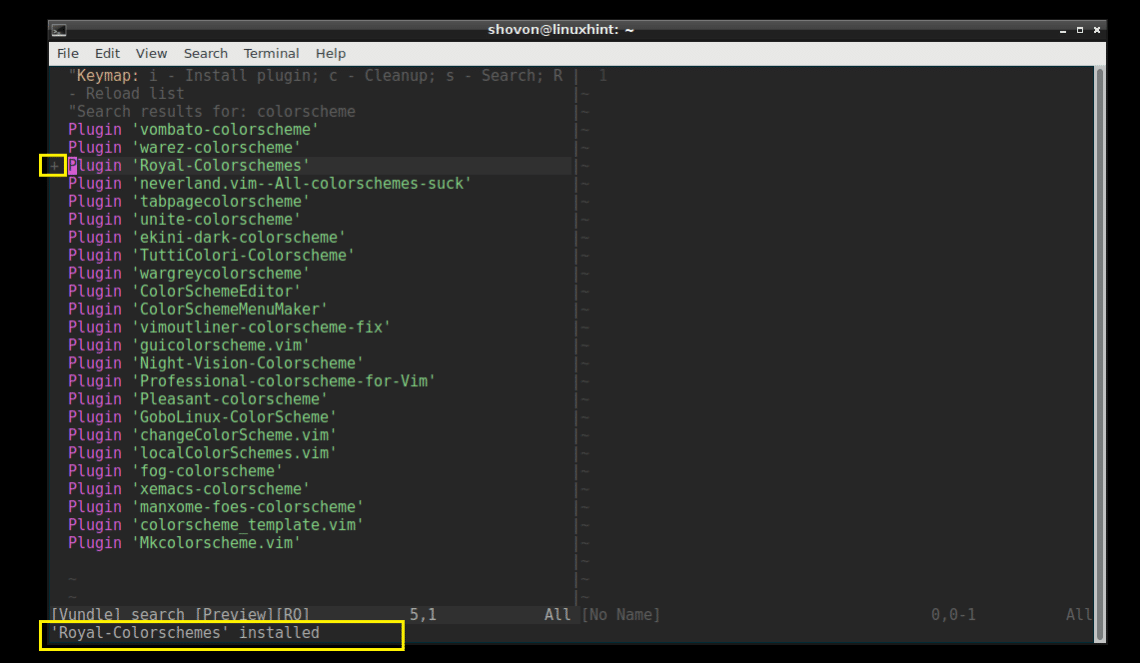
I am going to install ‘Royal-Colorschemes’.
To install a plugin, just move the VIM cursor to the line and press ‘i’
The plugin should be installed.
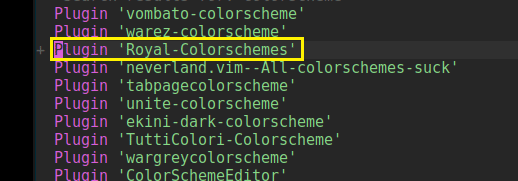
Now copy the line.
Paste it in the ‘.vimrc’ file in the section as shown in the screenshot below.
Listing Installed Plugins:
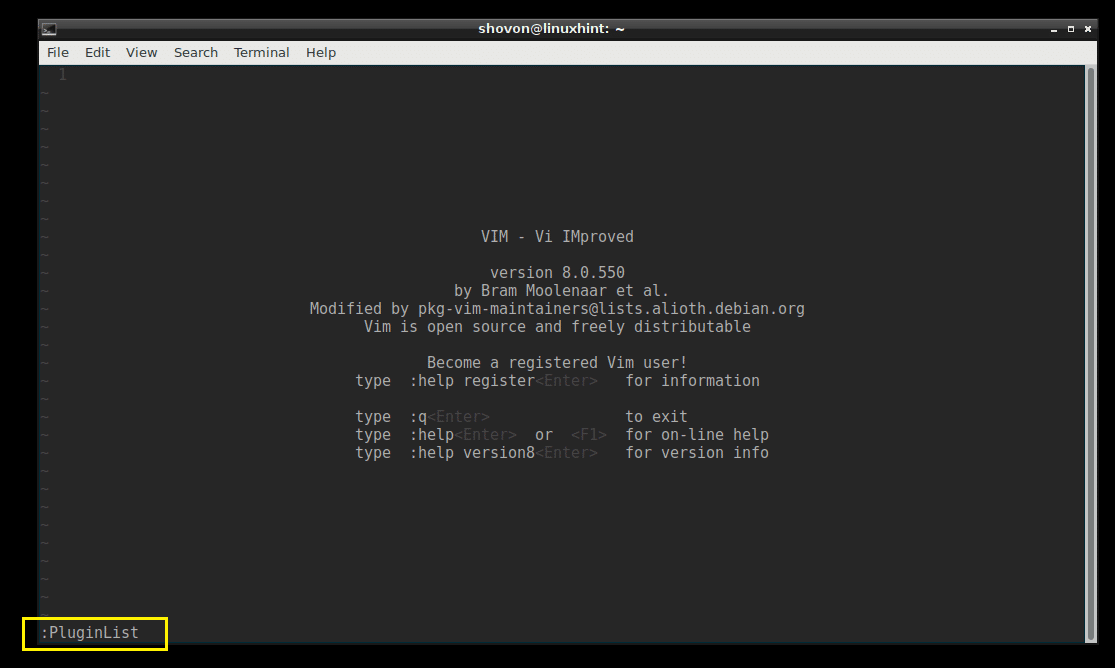
You can also list all the installed VIM plugins with the following VIM command:
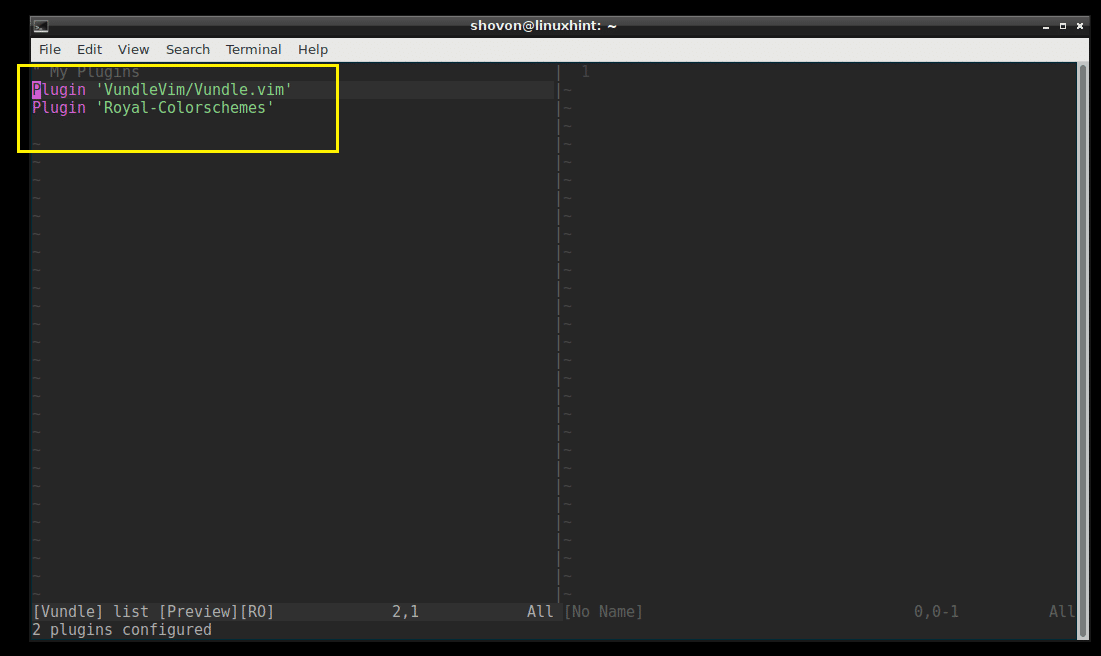
You can see that I have 2 plugins installed right now.
Installing a Plugin from Github using Vundle Plugin Manager:
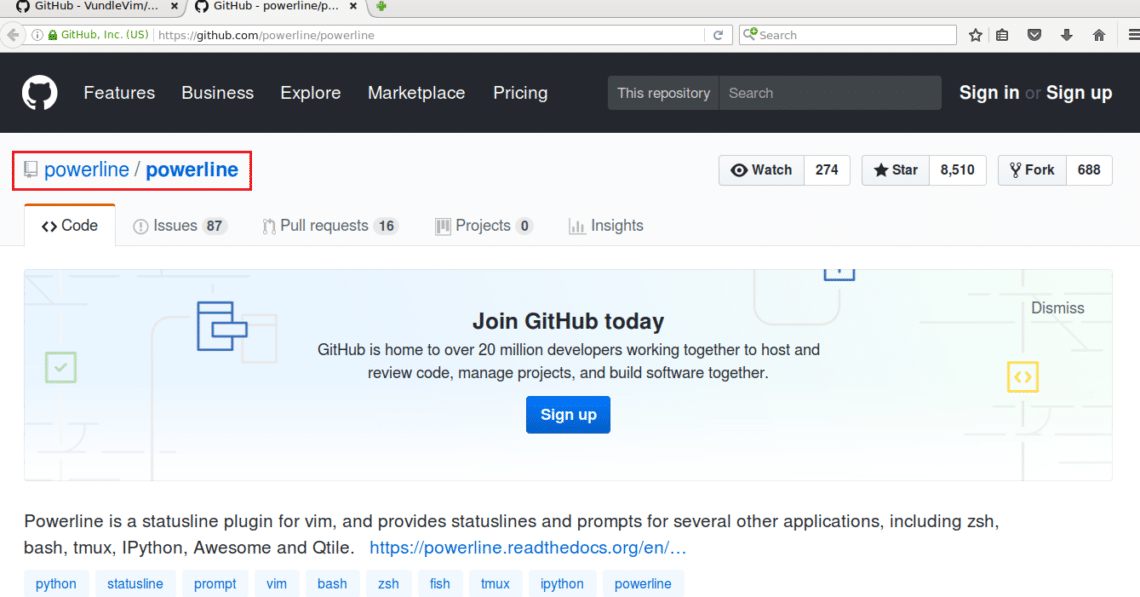
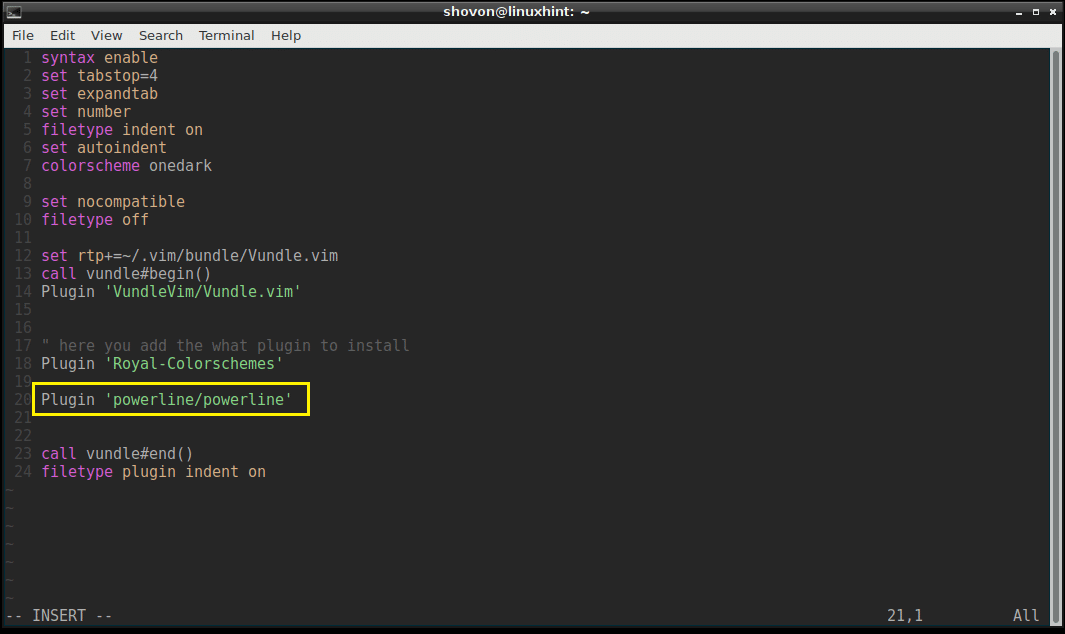
You can install a plugin from Github repository as well. Let’s say you want to install ‘powerline’ from the Github repository of powerline.
Go to the Github page of powerline and copy the project author/name section as marked in the screenshot below.
Open the ‘.vimrc’ file and type in the following line in the marked section.
Plugin ‘GITHUB_REPO_USER/GITHUB_REPO_PROJECT_NAME’
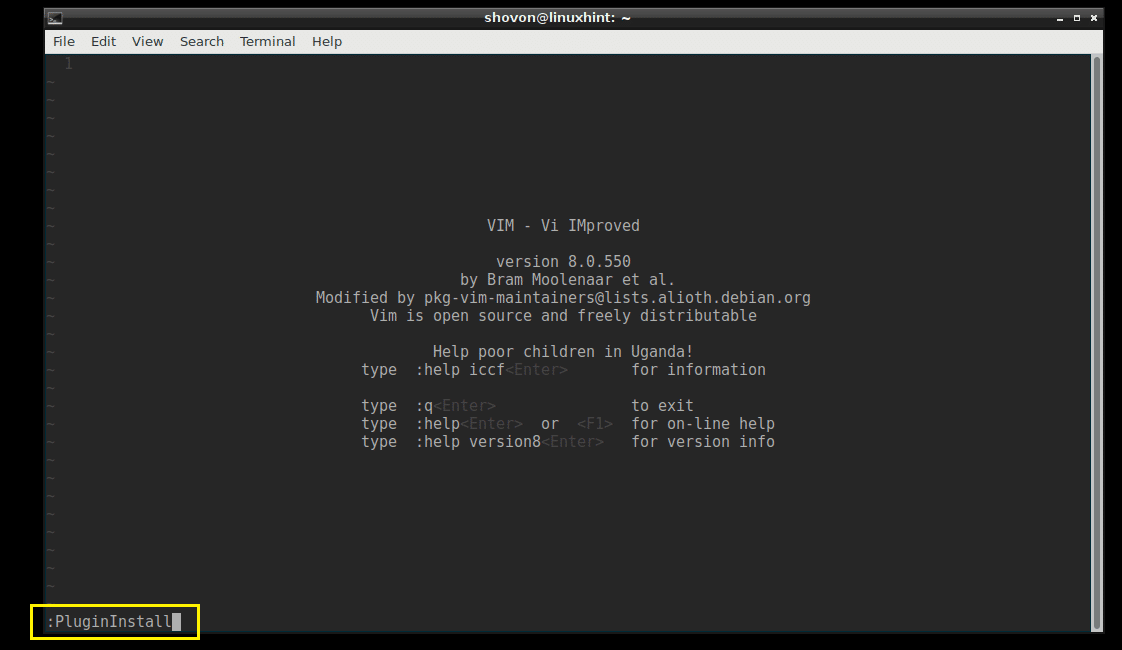
Then save the file and exit out of VIM.
Now start VIM and run the following VIM command to install the plugin using Vundle Plugin Manager.
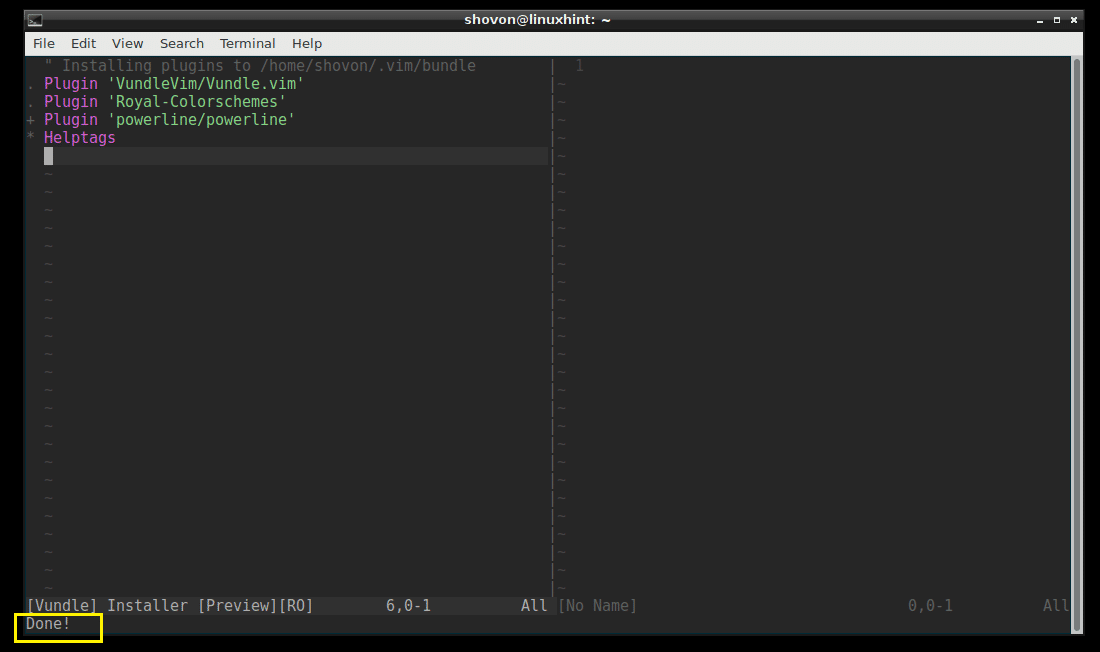
Powerline plugin should be installed as shown in the screenshot below.
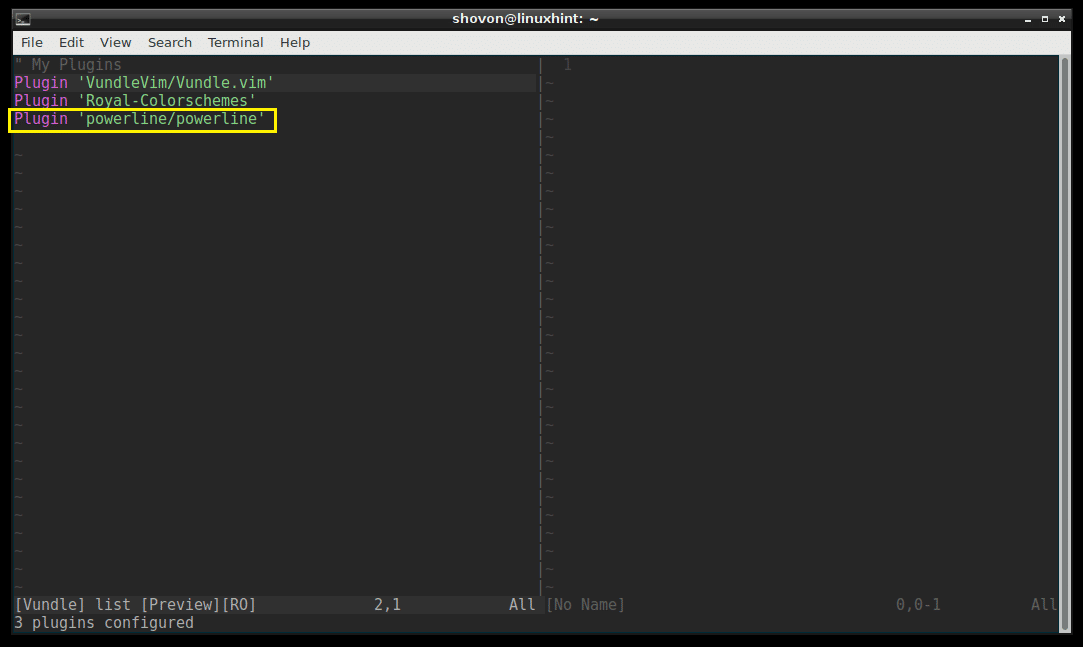
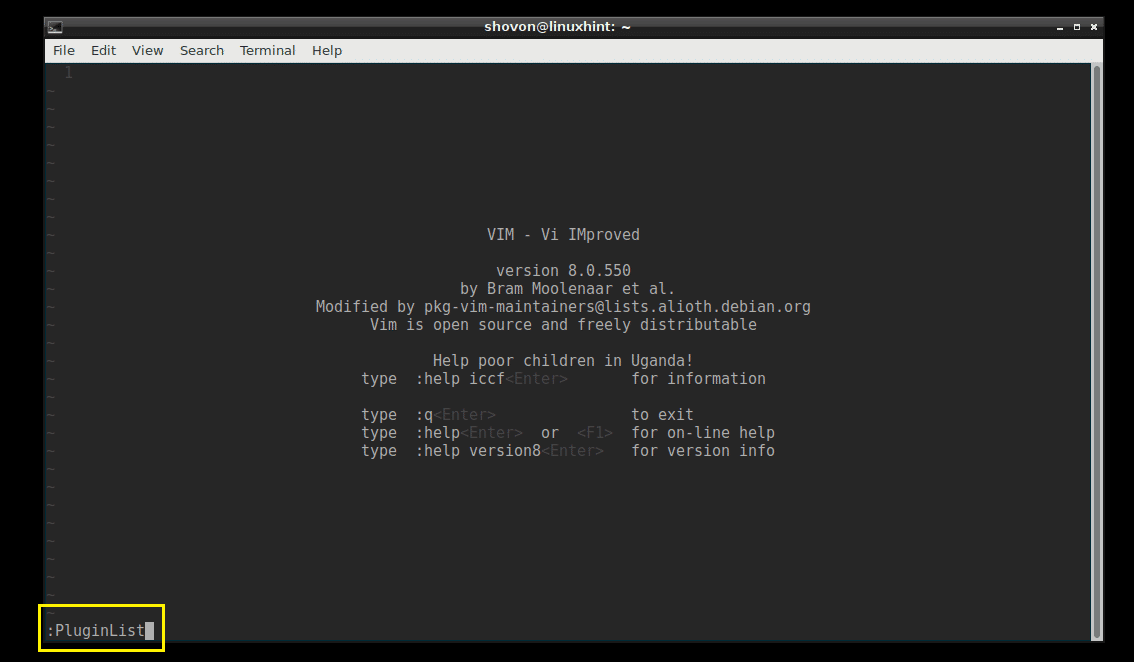
You can list the available plugins with ‘:PluginList’ command.

You should be able to see ‘powerline’ there.
Removing a Plugin using Vundle Plugin Manager:
You can also remove a Plugin using Vundle Plugin Manager.
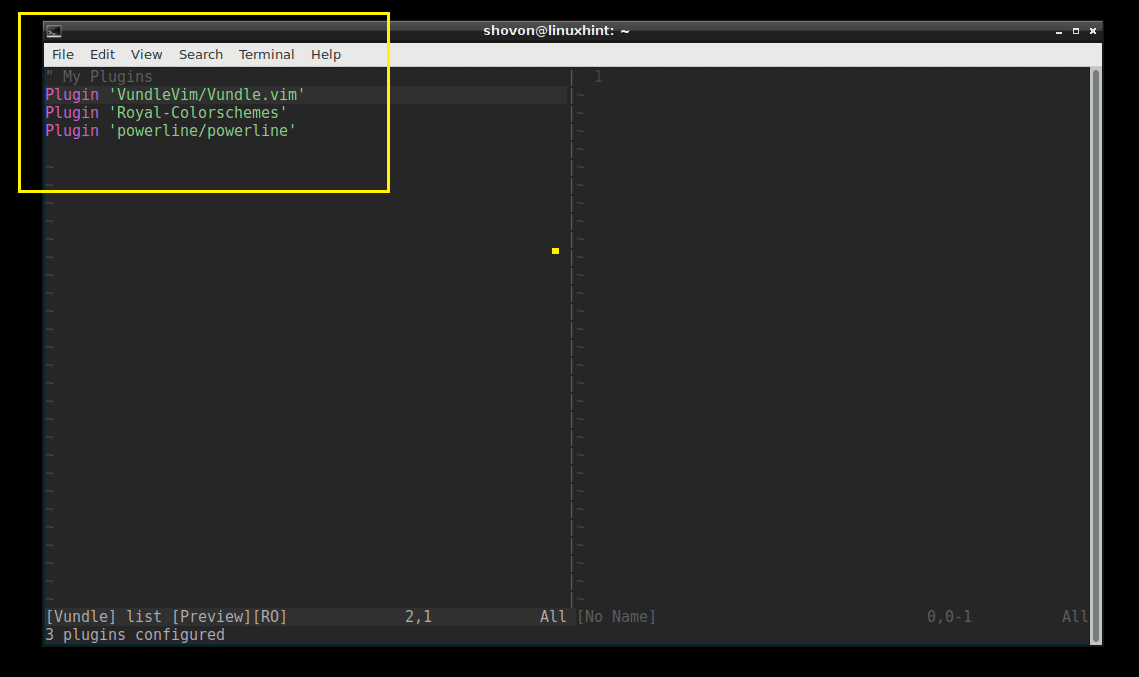
First run ‘:PluginList’ command to list all the installed VIM plugins.
These are the plugins I have installed right now.
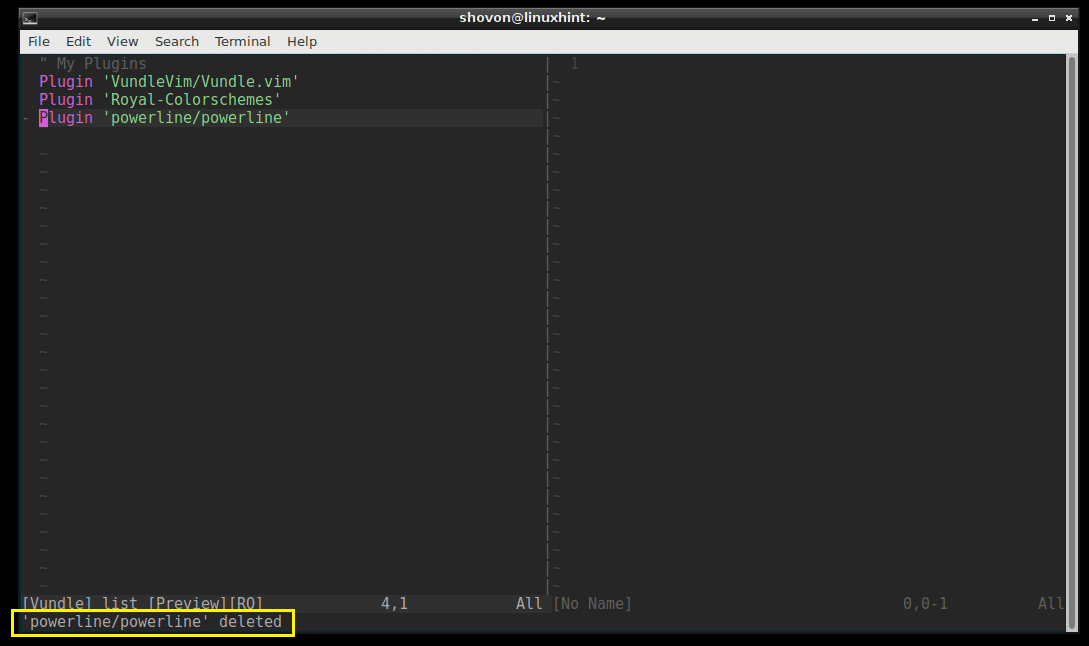
Let’s delete ‘powerline’ plugin. To delete powerline plugin, just move your cursor to the line and press <Shift>+<D>

The plugin should be deleted.
Now open ‘.vimrc’ file again, remove the marked line for powerline and save the file.
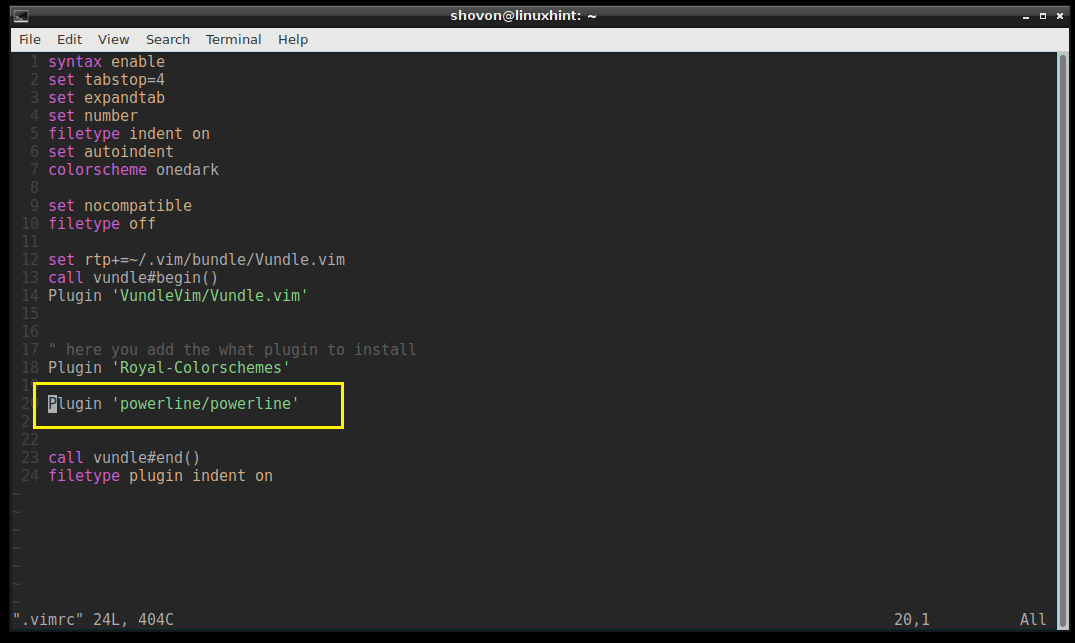
‘.vimrc’ file with powerline plugin line removed.
That’s it.
So that’s how you use VIM Vundle Plugin Manager to manage VIM plugins easily. Thanks for reading this article.