In this article, I am going to show you how to install phpMyAdmin 5 on CentOS 8. So, let’s get started.
Installing PHP, Apache, MySQL/MariaDB:
phpMyAdmin is written on PHP programming language. So, you must have a working LAMP server in order to run phpMyAdmin.
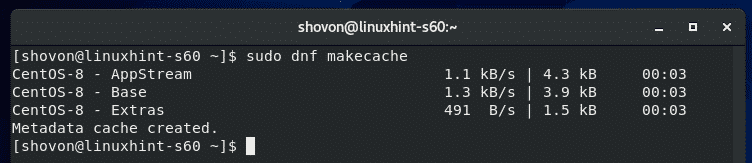
First, update the CentOS 8 package repository cache with the following command:
Now, install all the required packages (for Apache, PHP, MySQL/MariaDB) with the following command:
php-gd php-mbstring php-pdo php-xml php-mysqlnd

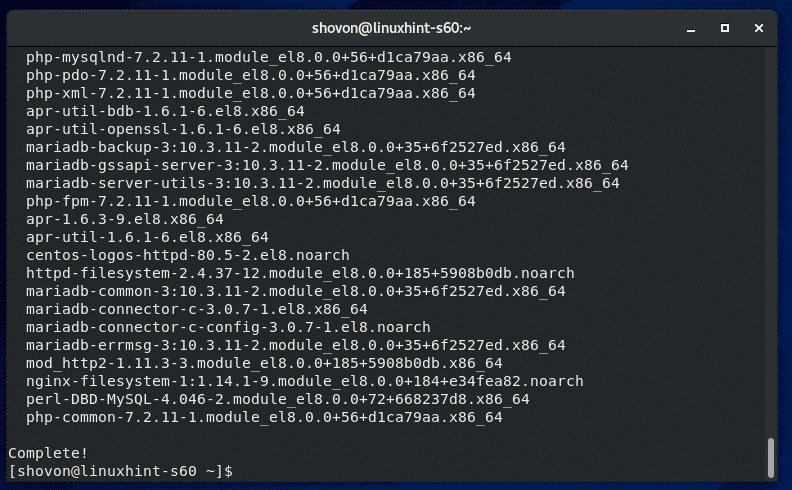
Press Y and then press <Enter> to confirm the installation.
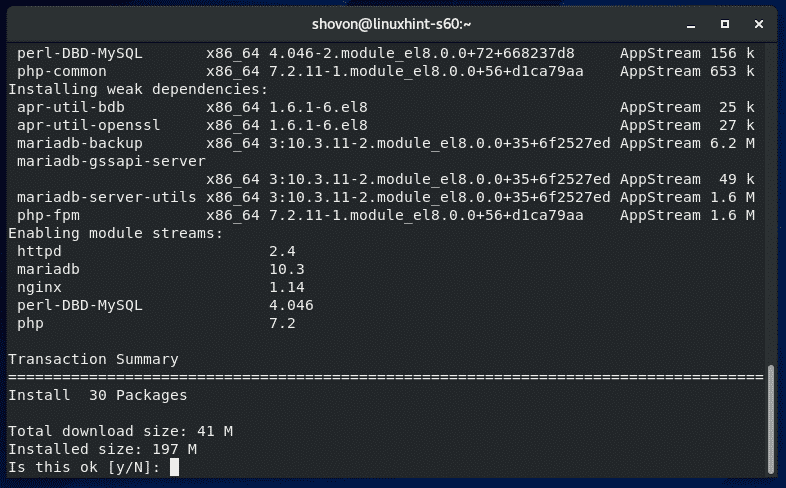
All the required packages should be installed.
Now, start the Apache web server with the following command:

Now, add Apache web server service to the system startup with the following command:

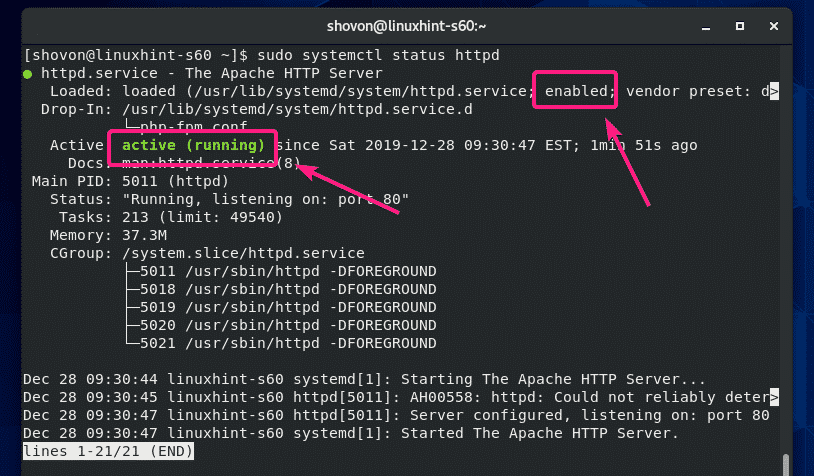
Now, check the status of the Apache web server service as follows:
It’s running correctly.
Now, start the MariaDB database server with the following command:

Now, add MariaDB database server service to the system startup with the following command:

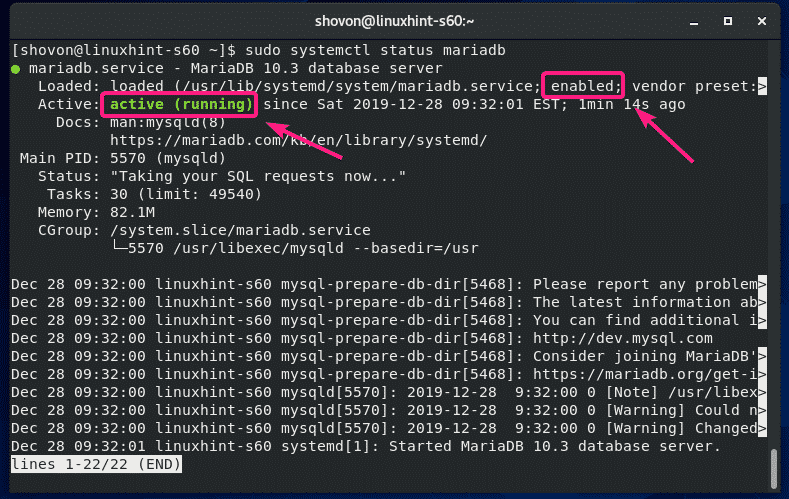
Now, check the status of the MariaDB database server service as follows:
It’s running correctly.
Setting Up a MySQL/MariaDB Account for phpMyAdmin:
Now, you have to create a MySQL/MariaDB user account for phpMyAdmin.
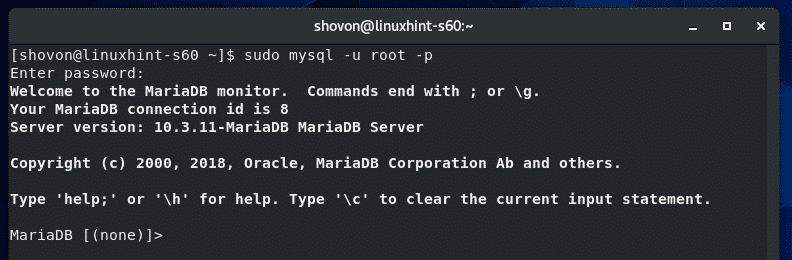
First, login to your MySQL/MariaDB database shell as root with the following command:

Now, type in the MySQL/MariaDB root password and press <Enter>. By default, no password is set. So, just press <Enter> if you haven’t set a MySQL/MariaDB password.

NOTE: For setting up a MySQL/MariaDB root password, run the following command and follow the wizard.
You should be logged in to the MySQL/MariaDB console as root.
Now, create a new MySQL/MariaDB user phpmyadmin as follows:
Make sure to replace the <password> with your own password.

Now, for the changes to take effect, run the following SQL statement.
Finally, exit out of the MySQL/MariaDB shell as follows:

Downloading phpMyAdmin 5:
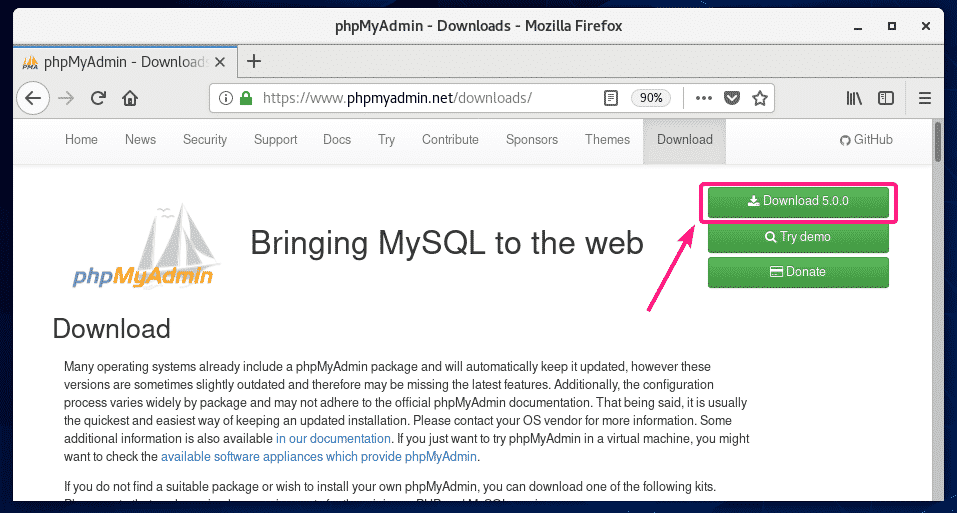
In order to download phpMyAdmin, visit the official phpMyAdmin Downloads Page from your favorite web browser and click on the Download button.
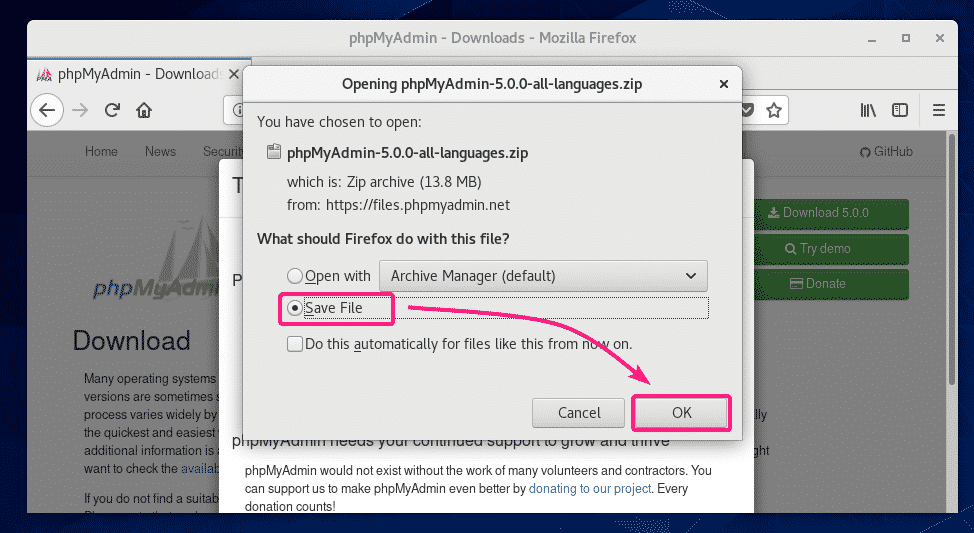
Your browser should prompt you to save the phpMyAdmin archive. Select Save File and click on OK.
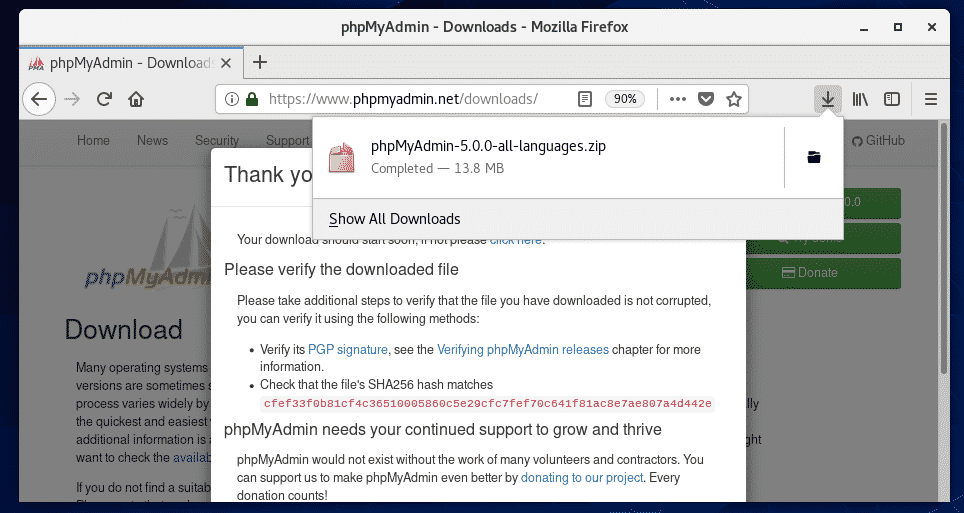
phpMyAdmin archive should be downloaded.
Installing phpMyAdmin 5:
Once phpMyAdmin archive is downloaded, navigate to your ~/Downloads directory as follows:

You should be able to find the phpMyAdmin 5 archive phpMyAdmin-5.0.0-all-languages.zip here.

Now, extract the phpMyAdmin-5.0.0-all-languages.zip archive in the /var/www directory with the following command:

The phpMyAdmin-5.0.0-all-languages.zip archive should be extracted to the /var/www directory.

A new directory phpMyAdmin-5.0.0-all-languages/ should be created in the /var/www directory. Remember the directory name as you will need it later.

Now, change the user and group of the /var/www/phpMyAdmin-5.0.0-all-languages directory and its contents to apache as follows:

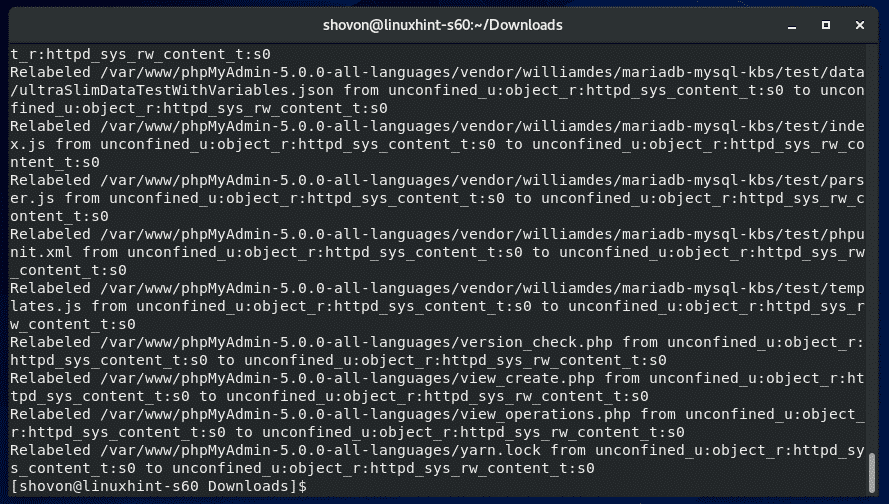
If you have SELinux enabled (which is very likely on CentOS 8/RHEL 8), run the following command to set the correct SELinux context to the /var/www/phpMyAdmin-5.0.0-all-languages directory and its contents.
phpMyAdmin-5.0.0-all-languages(/.*)?"

For the SELinux changes to take effect, run the following command:

The SELinux context should be applied to the /var/www/phpMyAdmin-5.0.0-all-languages directory and its contents.
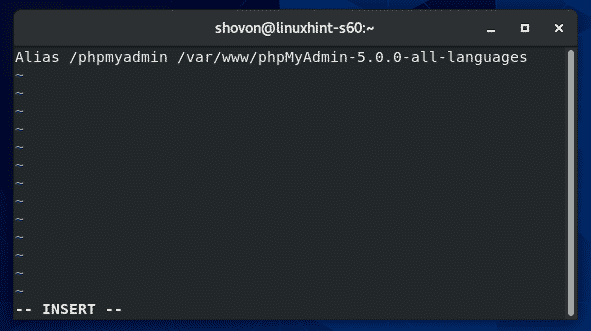
Now, create a new Apache configuration file for phpMyAdmin /etc/httpd/conf.d/phpmyadmin.conf with the following command:

Now, add the following line to the file /etc/httpd/conf.d/phpmyadmin.conf
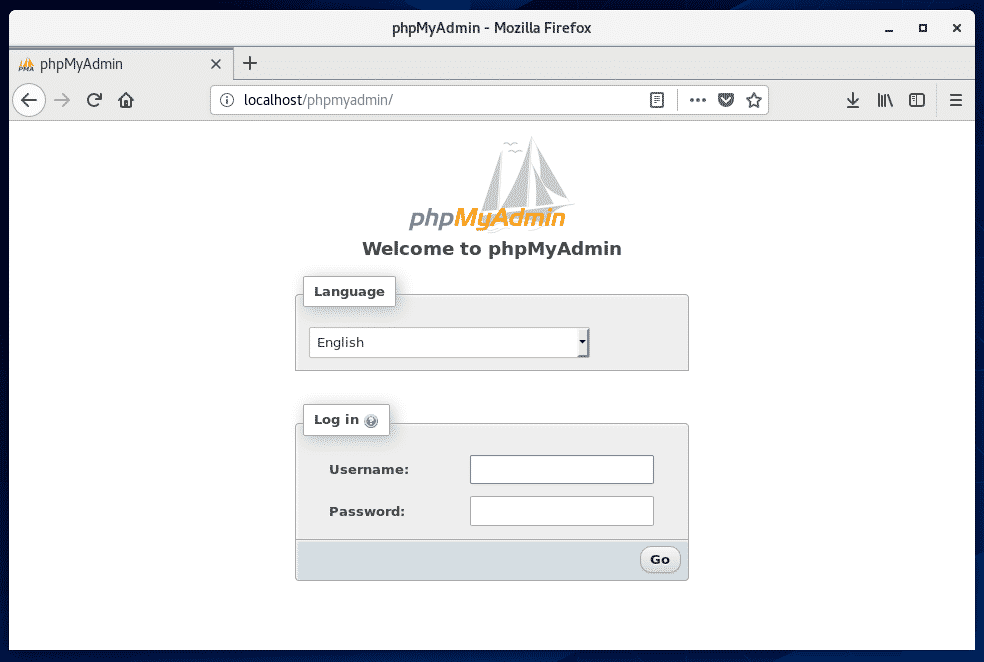
Now, restart the Apache web server service with the following command:

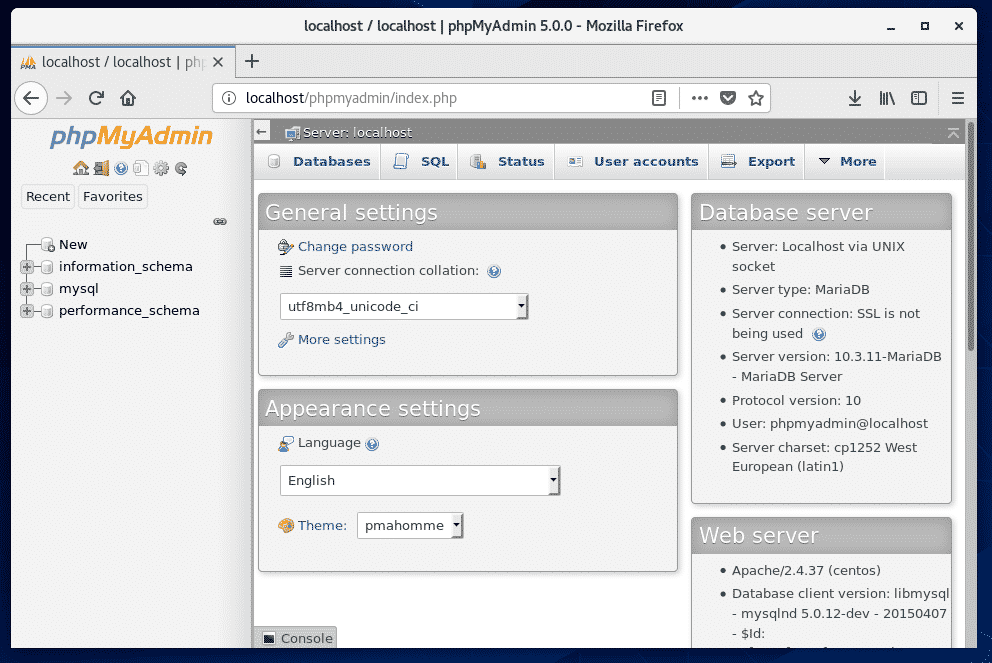
Now, visit http://localhost/phpmyadmin/ from your web browser and you should see the phpMyAdmin login page.
Type in the username phpmyadmin and the password and click on Go.
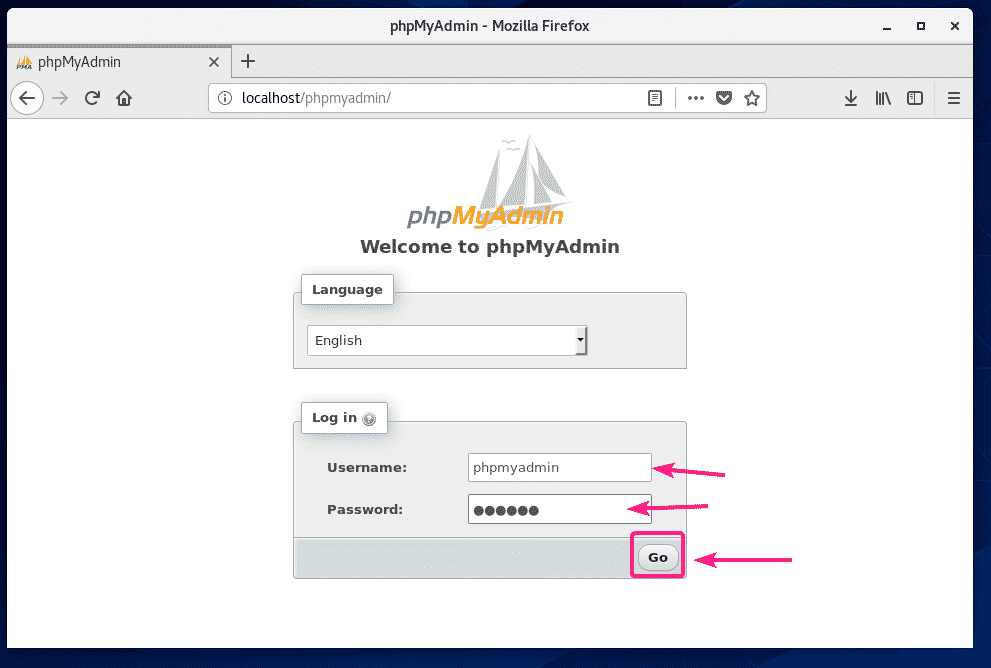
You should be logged in to phpMyAdmin. Now, you should be able to use phpMyAdmin to mange your MySQL/MariaDB database from your web browser.
Accessing phpMyAdmin 5 Remotely:
If you want to access phpMyAdmin remotely (from other computers on the network), then you will have to configure the CentOS 8 firewall to allow access to the port 80.
To allow access to the port 80, run the following command:

For the changes to take effect, run the following command:

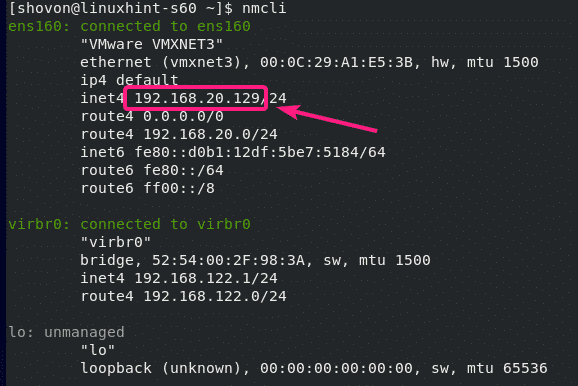
Now, find the IP address of your CentOS 8 machine with the following command:
In my case, the IP address is 192.168.20.129. It will be different for you. So, make sure to replace it with yours from now on.
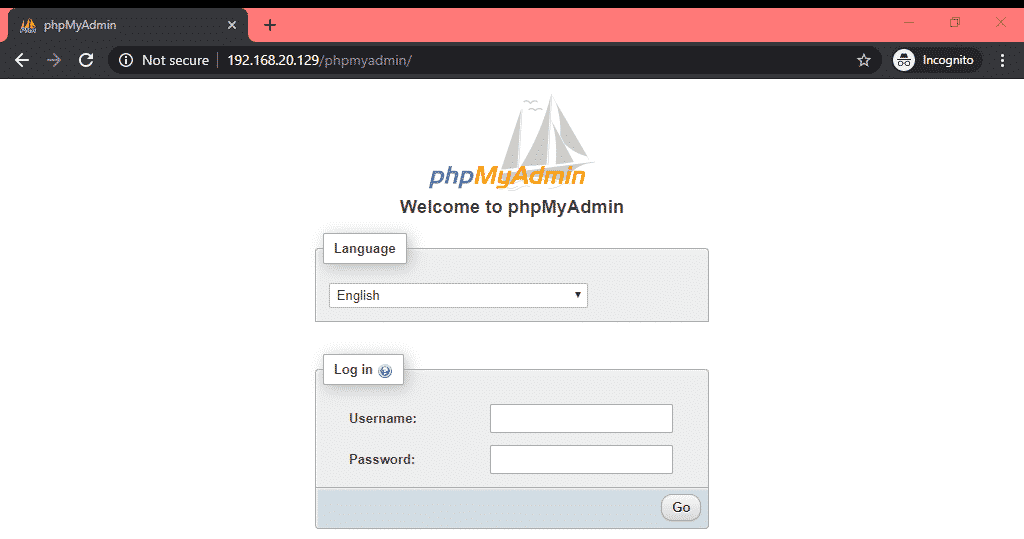
Now, from your remote computers, open a web browser and visit http://192.168.20.129/phpmyadmin/ to access phpMyAdmin.
So, that’s how you install phpMyAdmin 5 on CentOS 8. Thanks for reading this article.