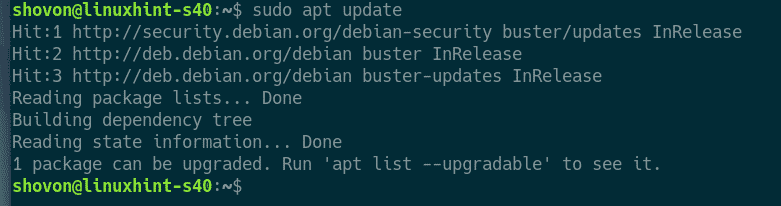
Updating APT Package Repository Cache:
First, update the APT package repository cache with the following command:

The APT package repository cache should be updated.
Installing and Configuring MySQL/MariaDB:
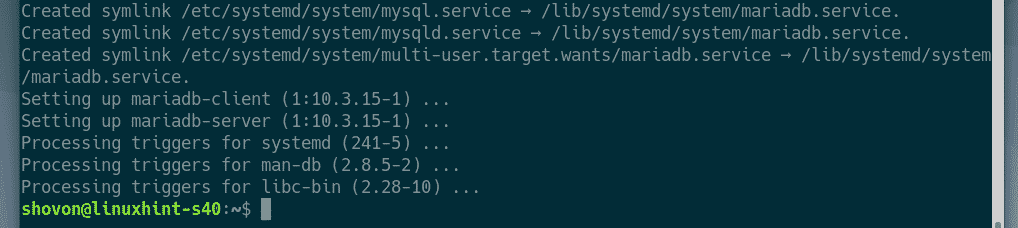
Now, install MariaDB server and client packages from the official package repository of Debian 10 with the following command:

To confirm the installation, press Y and then press <Enter>.
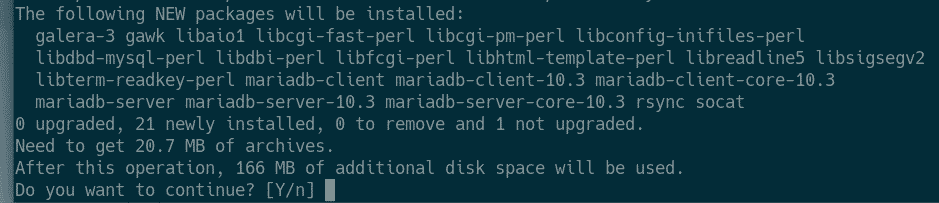
MariaDB should be installed.
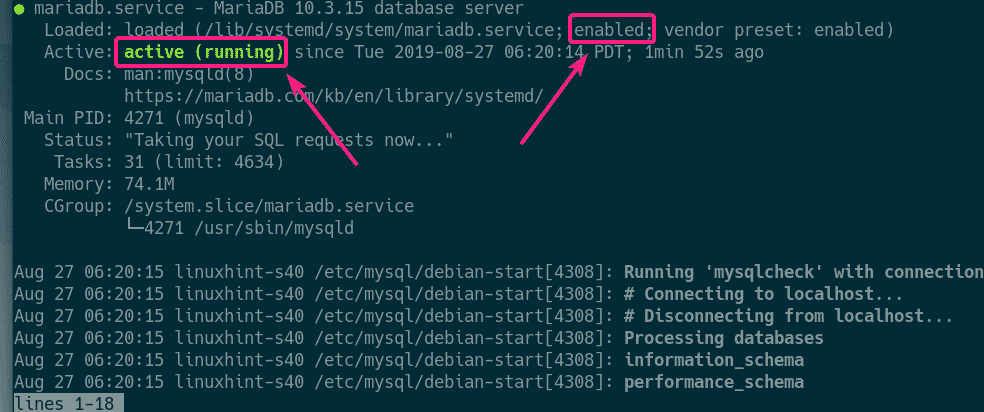
Now, check whether mariadb service is running with the following command:

As you can see, the mariadb service is running. It’s also enabled to automatically start on system boot.
If in any case, mariadb service is not running, then start the service with the following command:
Now, run the following command to set a root password for MariaDB:

Press <Enter>.

Now, press Y and then press <Enter>.

Now, type in your root password and press <Enter>.

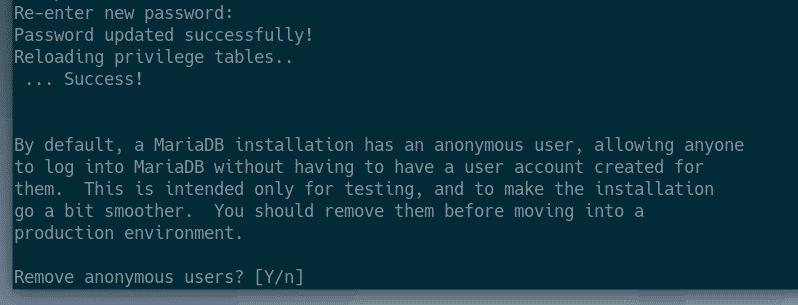
Type in your root password again and press <Enter>.

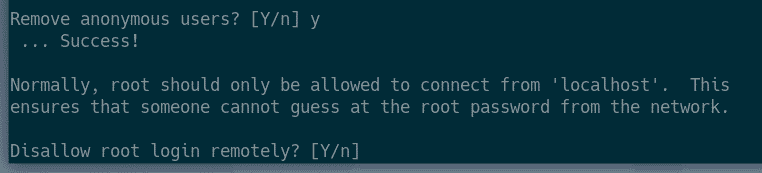
Press Y and then press <Enter> to remove anonymous users.
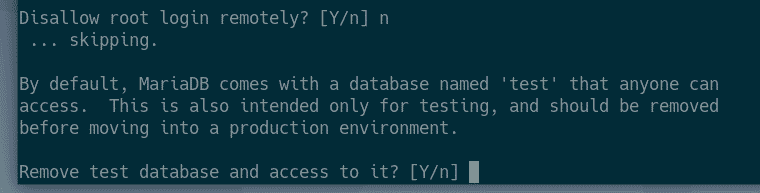
If you don’t want to allow root login remotely, press Y. Otherwise, press N. Then, press <Enter>.
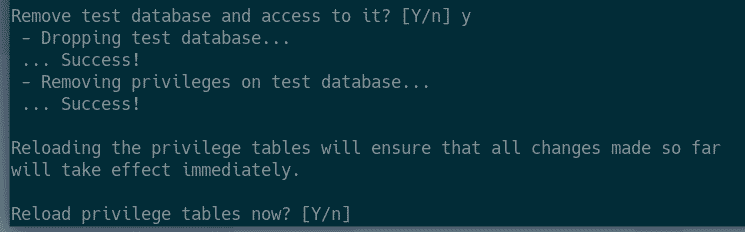
Now, press Y and press <Enter> to remove test database.
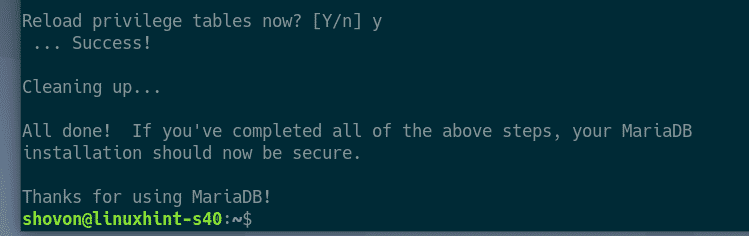
Now, press Y and then press <Enter> to reload the privilege table.
MariaDB should be configured.
Creating a New MySQL/MariaDB User for phpMyAdmin:
You can’t login to the latest version of MySQL/MariaDB database as root user without super user privileges. So, you can to create a non-root MySQL/MariaDB user and grant it required permissions to be able to use it from phpMyAdmin. It’s pretty easy to create a new user in MySQL/MariaDB.
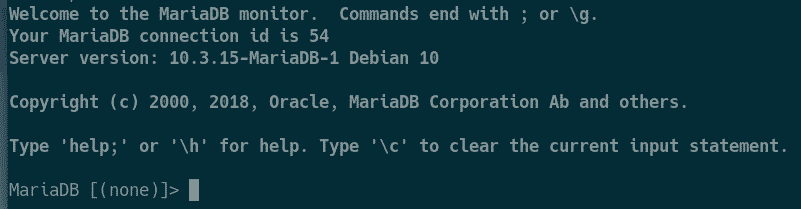
First, login to MariDB shell with the following command:

Now, type in the MariaDB root password you’ve already set and press <Enter>.

You should be logged in.
Now, create a new user shovon (let’s say), set the password 123 for the user and grant all the privileges to the user with the following SQL statement:

For the changes to take effect, run the following SQL statement:

Now, exit out of the MariaDB shell as follows:

Installing Apache Web Server, PHP and Required PHP Libraries:
Now, install Apache 2 web server, PHP and all the required PHP libraries with the following command:
php-gd php-xml php-curl php-mysql

Now, press Y and then press <Enter> to confirm the installation.
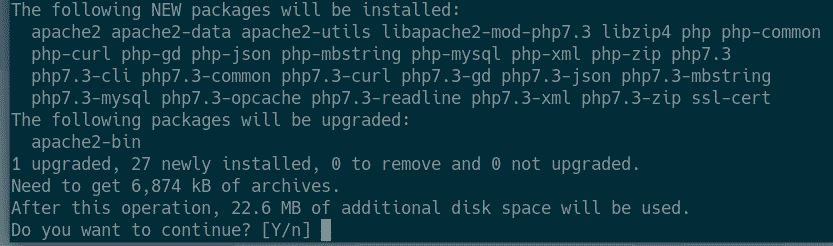
Apache 2 web server, PHP and all the required PHP libraries should be installed.

Downloading phpMyAdmin:
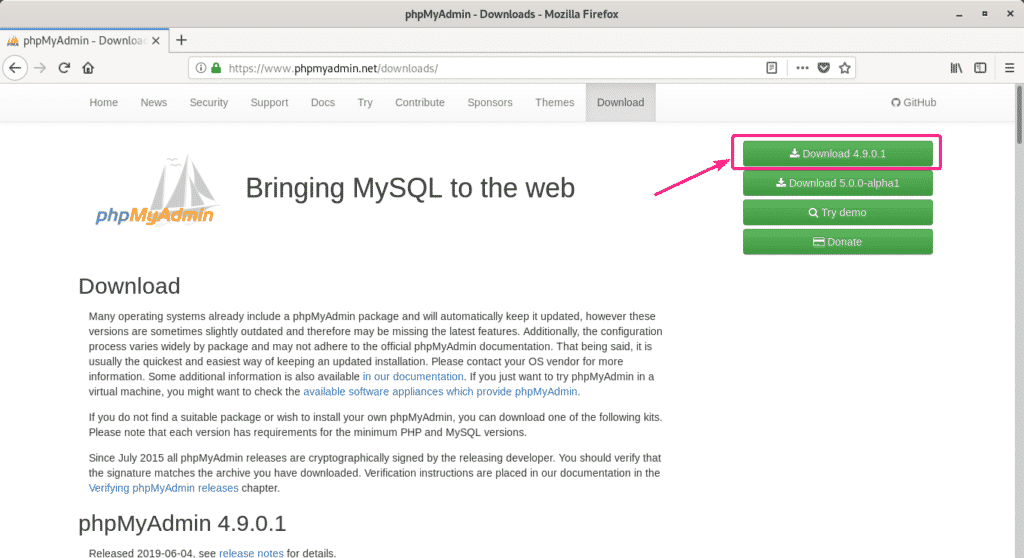
You can download phpMyAdmin from the official website of phpMyAdmin. Once the page loads, click on the Download button as marked in the screenshot below.
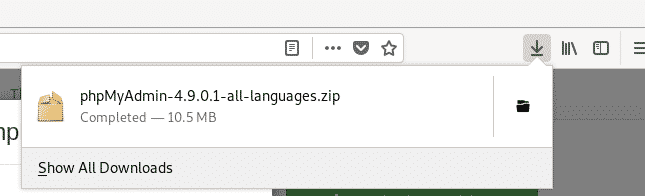
Your browser should prompt you to save the phpMyAdmin archive file. Select Save File and click on OK.

phpMyAdmin archive should be downloaded.
You can also copy the download link and use wget to download phpMyAdmin archive from the command line as follows:
phpMyAdmin-4.9.0.1-all-languages.zip

Once the download is complete, navigate to the directory where phpMyAdmin archive is downloaded as follows.

As you can see, phpMyAdmin zip archive is here.

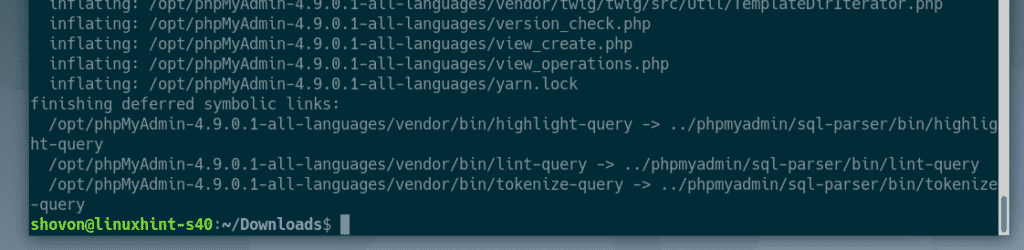
Now, extract the phpMyAdmin archive in the /opt directory with the following command:

phpMyAdmin archive should be extracted.
As you can see, a new directory is created in the /opt directory.

For the sake of simplicity, rename the directory to just phpMyAdmin/ with the following command:

The directory should be renamed.

Now, change the owner and group of the /opt/phpMyAdmin directory and all the contents of the directory to www-data.

The owner and group of the /opt/phpMyAdmin directory and contents of the directory should be changed to www-data.

Configuring Apache for phpMyAdmin:
Now, you have to configure Apache web server in order to use phpMyAdmin. I am going to configure phpMyAdmin on port 9000 in this article.
First, create a new site configuration file for phpMyAdmin with the following command:

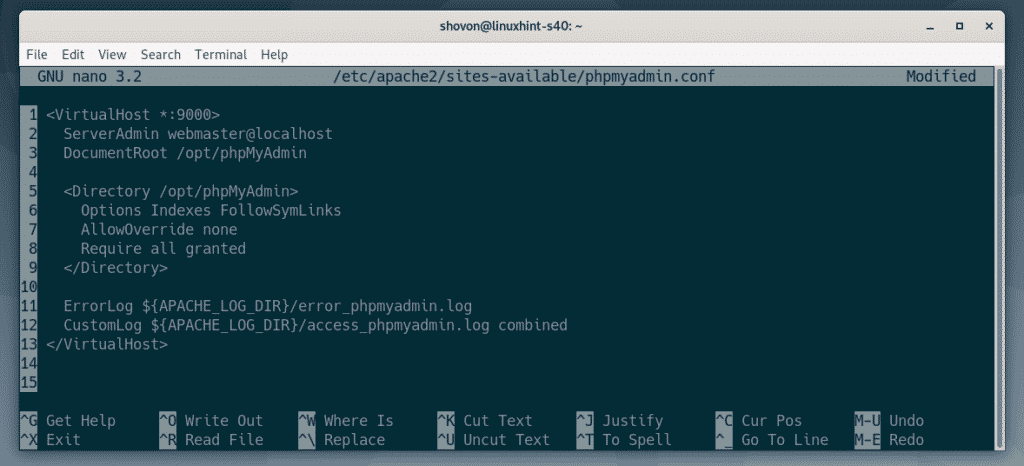
Now, type in the following lines to the phpmyadmin.conf file.
ServerAdmin webmaster@localhost
DocumentRoot /opt/phpMyAdmin
<Directory /opt/phpMyAdmin>
Options Indexes FollowSymLinks
AllowOverride none
Require all granted
</Directory>
ErrorLog ${APACHE_LOG_DIR}/error_phpmyadmin.log
CustomLog ${APACHE_LOG_DIR}/access_phpmyadmin.log combined
</VirtualHost>
The final configuration file should look as follows. Once you’re done, save the file by pressing <Ctrl> + X followed by Y and <Enter>.
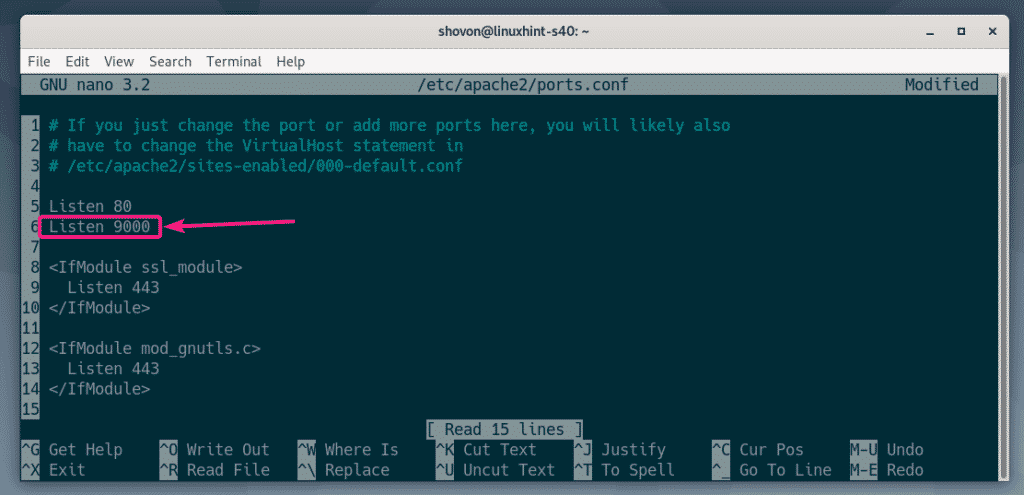
Now, you have to tell Apache web server to listen to the port 9000.
To do that, edit the /etc/apache2/ports.conf configuration file with the following command:

Now, add the line “Listen 9000” as marked in the screenshot below. Once you’re done, save the configuration file by pressing <Ctrl> + X followed by Y and <Enter>.
Now, enable the phpMyAdmin site that we’ve just configured with the following command:

Now, restart Apache web server with the following command:

Accessing phpMyAdmin:
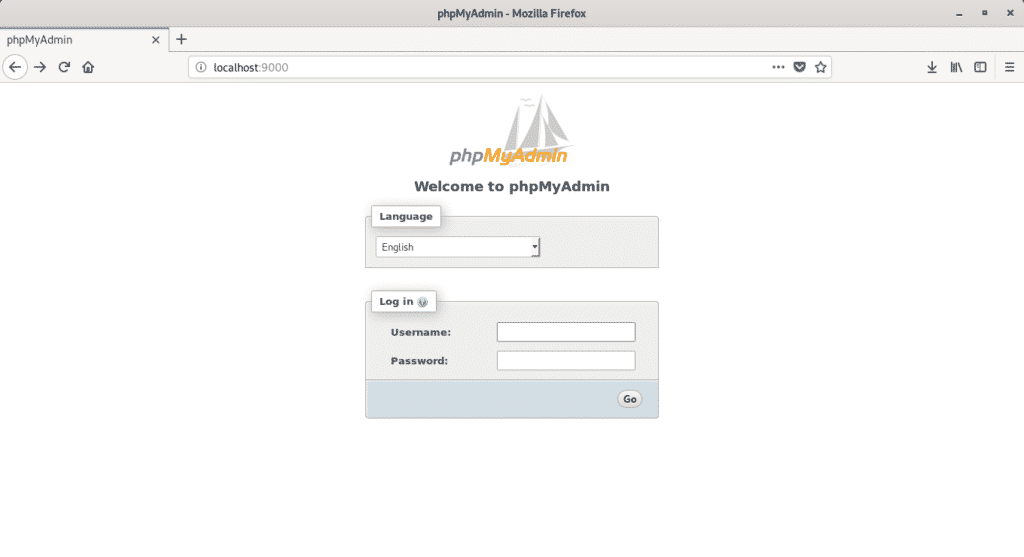
Now, you should be able to access phpMyAdmin on port 9000.
From a browser, visit http://localhost:9000 and you should see the login page of phpMyAdmin.
If you want to access phpMyAdmin remotely, then replace localhost with the IP address of the Debian 10 machine where you’ve installed phpMyAdmin.
Now, type in the MySQL/MariaDB username and password that you’ve set up recently and click on Go.
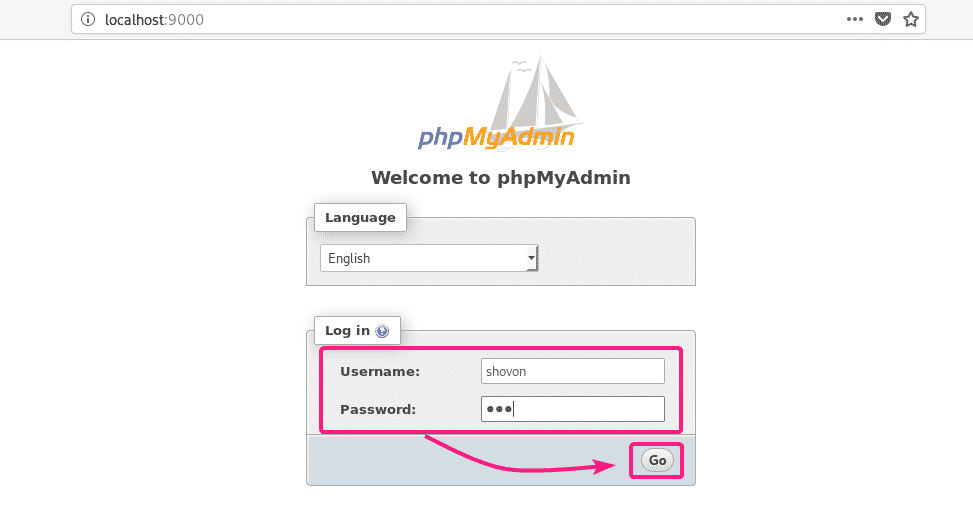
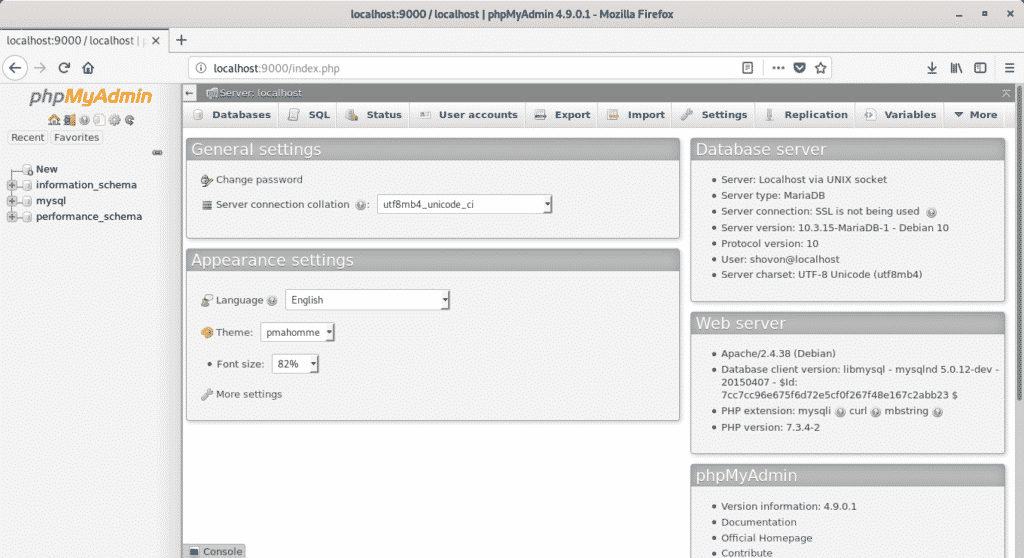
You should be logged in. Now, you can use phpMyAdmin to manage your MySQL/MariaDB databases and tables.
So, that’s how you install phpMyAdmin on Debian 10 Buster. Thanks for reading this article.