VirtualBox Guest Additions allows you to use the following features of VirtualBox:
- Mouse pointer integration: You can move in and move out of the VM freely. You no longer need to press the Host key (usually Right <Ctrl> key).
- Shared folders: You can share folders/directories from your host computer to the VirtualBox VM.
- Shared clipboard: You will be able to share clipboards between the host and the VM.
- 3D and 2D acceleration: You will be able to use 2D and 3D graphics acceleration in your VirtualBox VM.
- Resizable VM Window: You will be able to freely resize the VM window and the VM screen resolution will automatically adjust.
- Time synchronization: You will be able to synchronize the host time with the VM.
In this article, I am going to show you how to install VirtualBox Guest Additions on your Ubuntu VM. So, let’s get started.
Installing Required Build Tools on the Ubuntu VM:
In order to install VirtualBox Guest Additions on Ubuntu, you will have to install all the required build tools.
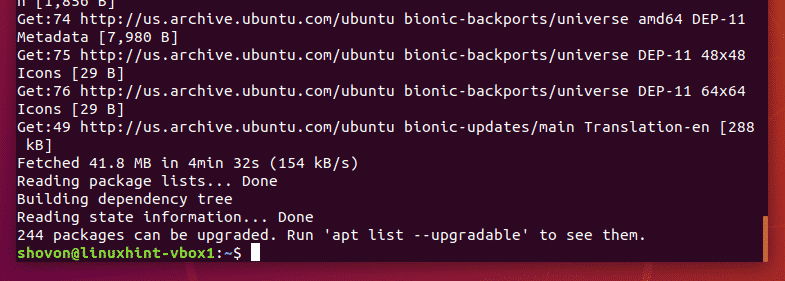
First, start your Ubuntu VirtualBox VM, open a Terminal and update the APT package repository cache with the following command:

The APT package repository cache should be updated.
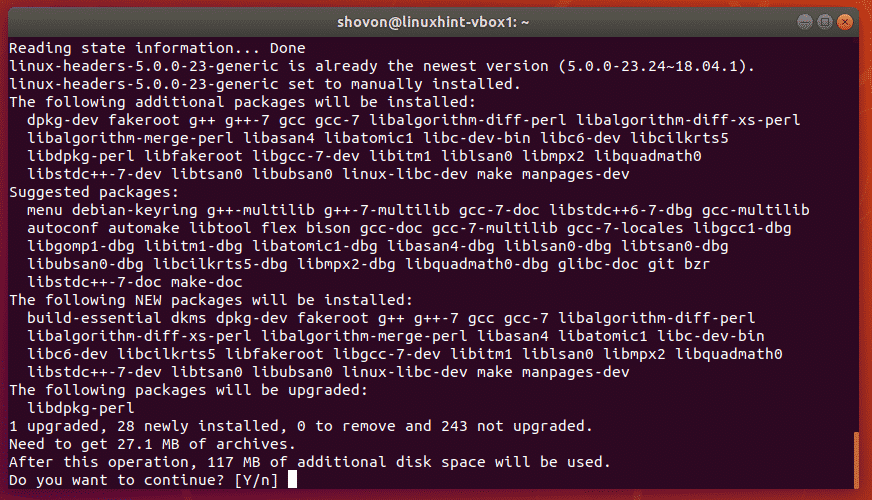
Now, install all the required build tools with the following command:

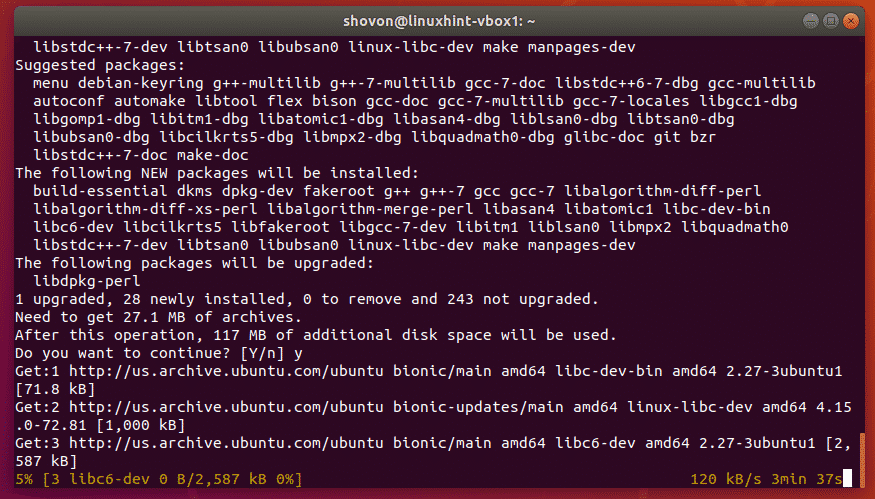
Now, press Y and then press <Enter> to confirm the installation.
The APT package manager should start downloading all the required packages from the official package repository of Ubuntu.
At this point, all the required packages should be installed.
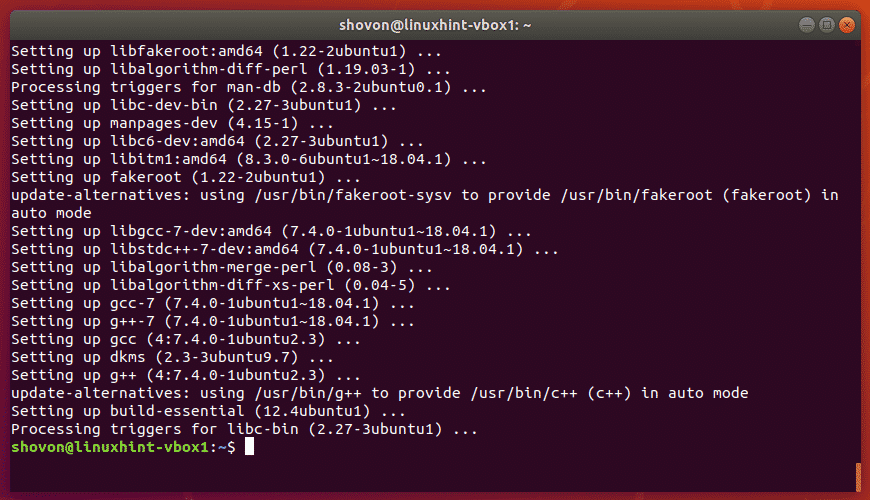
Now, shutdown the Ubuntu VM with the following command:

Inserting the VirtualBox Guest Additions CD to the VM’s CDROM:
Now, you have to insert the VirtualBox Guest Additions CD to the Ubuntu VM.
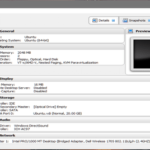
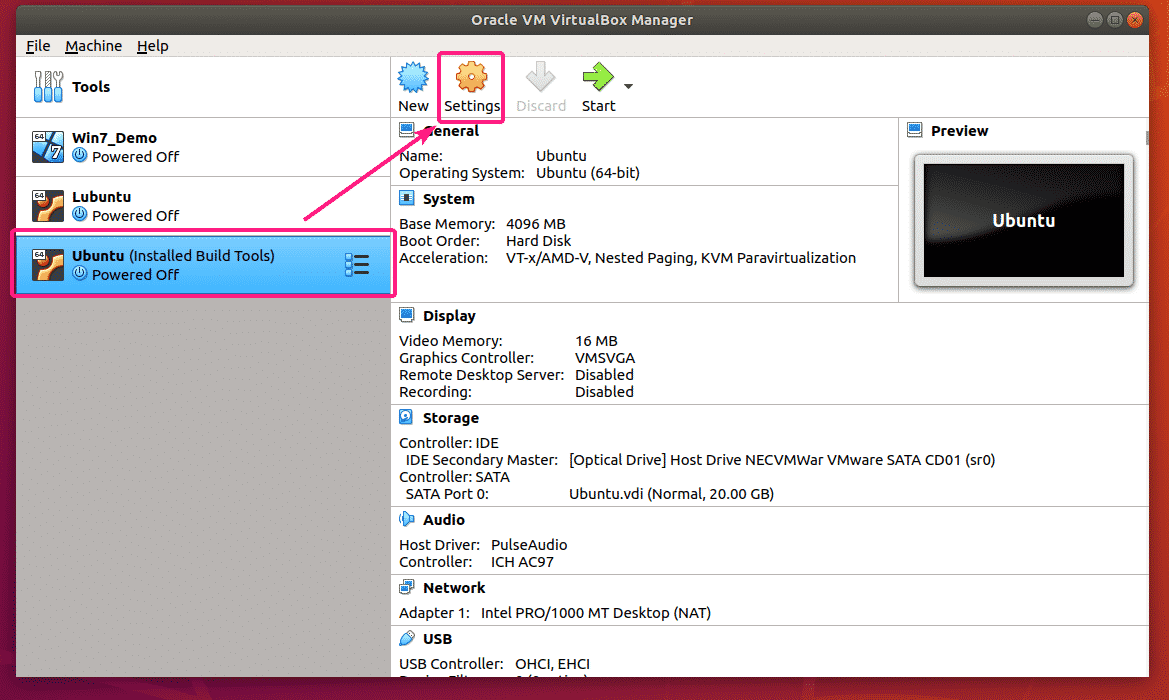
First, select the Ubuntu VM and click on Settings.
Now, from Storage, select the CDROM device, click on the CD icon and click on Remove Disk from Virtual Drive.
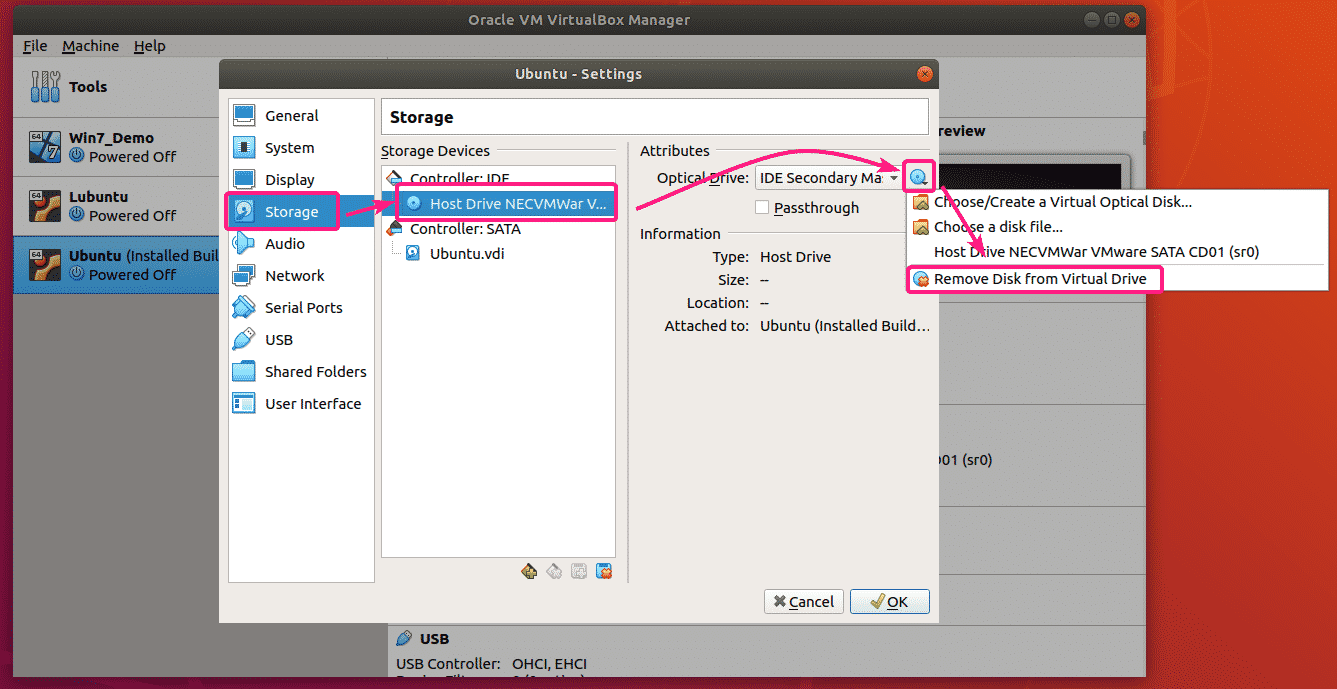
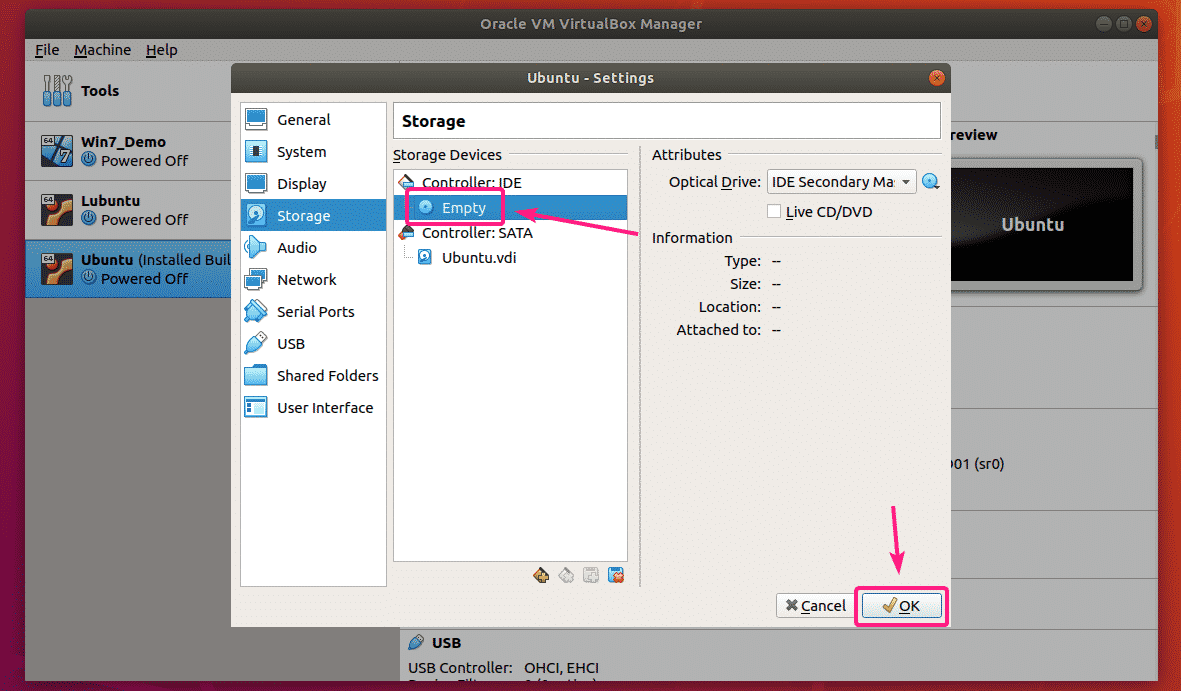
The currently attached CD/DVD should be ejected. Now, click on OK.
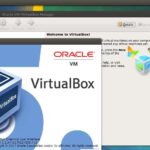
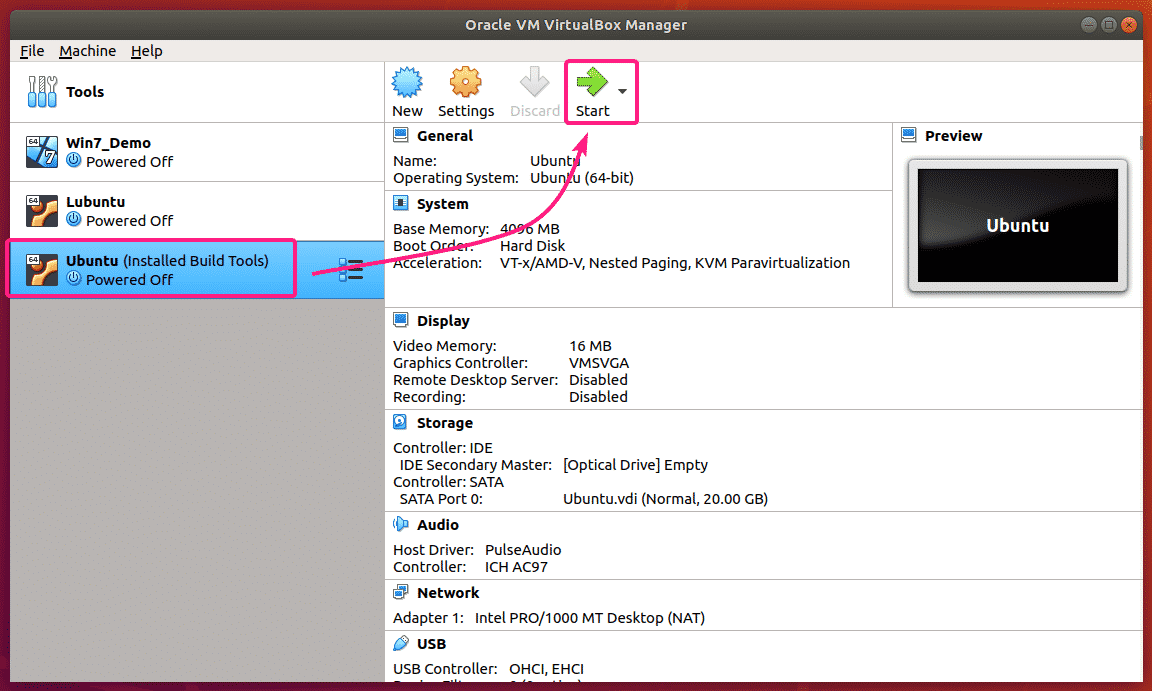
Now, select your Ubuntu VM and click on Start to start the VM.
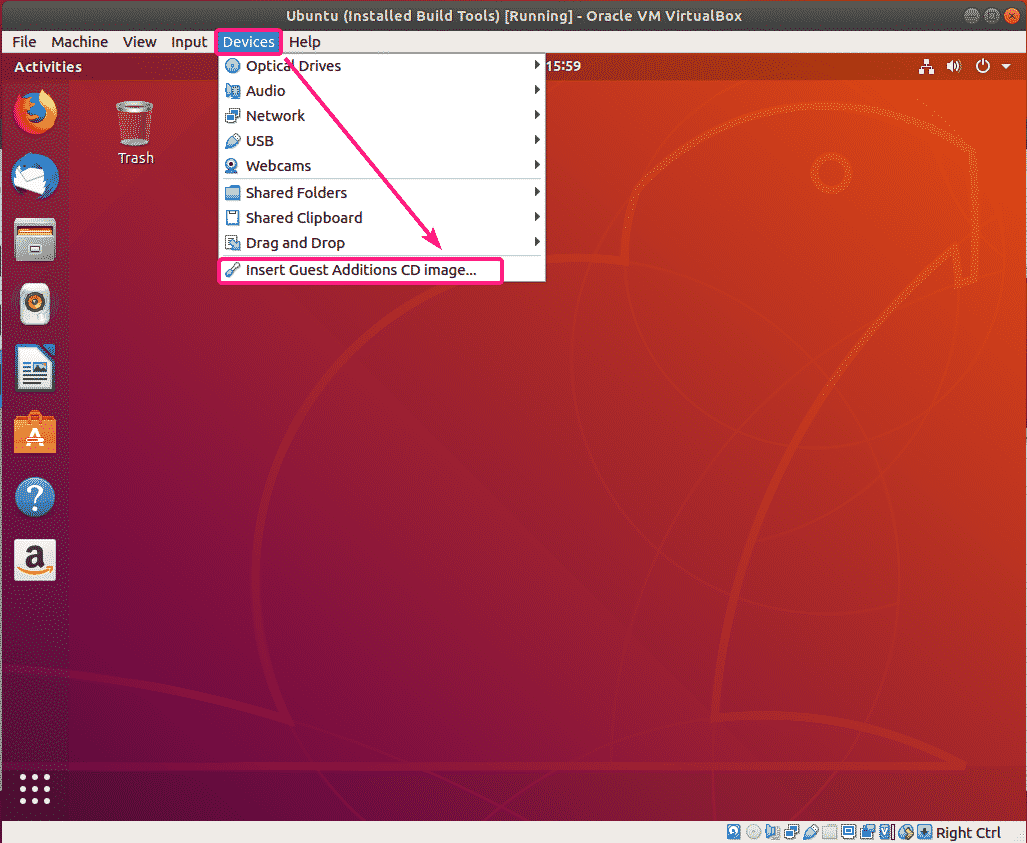
Once the Ubuntu VM starts, click on Devices > Insert Guest Additions CD image… as marked in the screenshot below. The VirtualBox Guest Additions CD image should be attached to the virtual CDROM of the Ubuntu VM.
Installing VirtualBox Guest Additions Graphically:
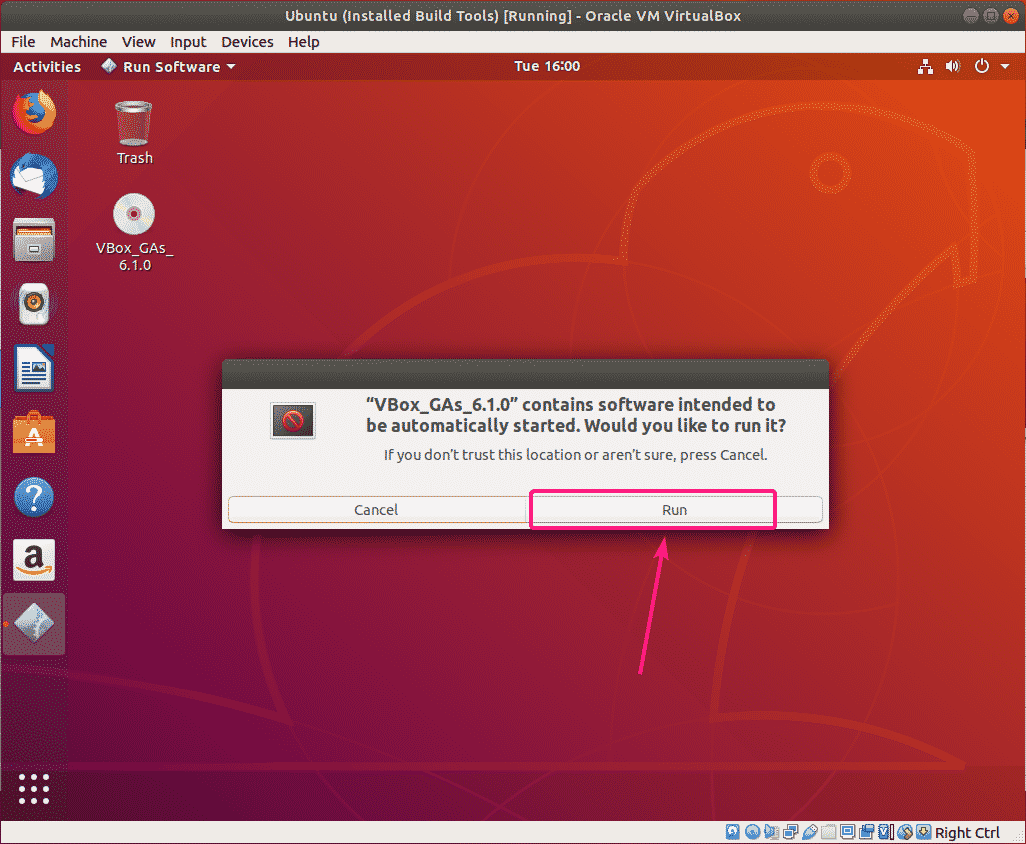
Once you insert the VirtualBox Guest Additions CD image, Ubuntu should ask whether you want to install VirtualBox Guest Additions or not as you can see in the screenshot below.
You can click on Run to start the installation.
You can also navigate to the VirtualBox Guest Additions CD from the file manager and click on Run Software in order to start the installation. Both ways work just fine.

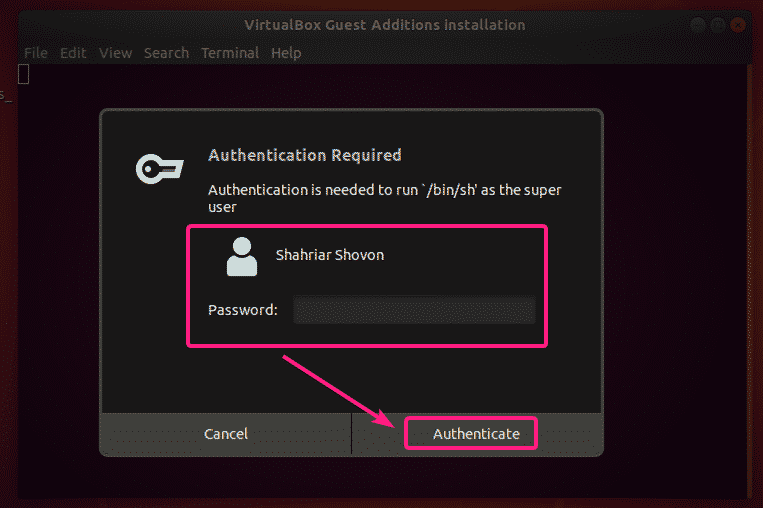
Once you click on Run, Ubuntu will ask you for the password of your login user. Type in the password of your login user and click on Authenticate.
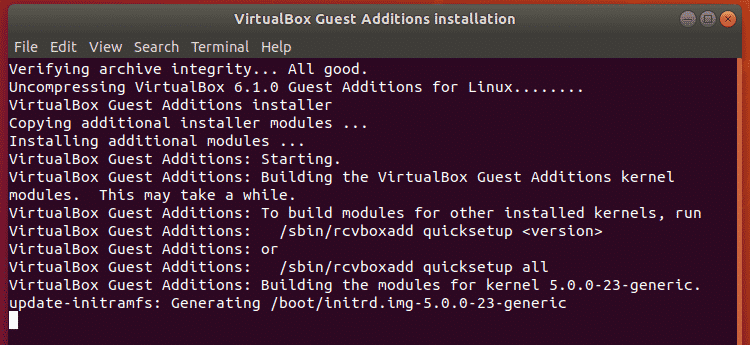
The installation should start. It may take a while to complete.

The installer is updating the kernel.
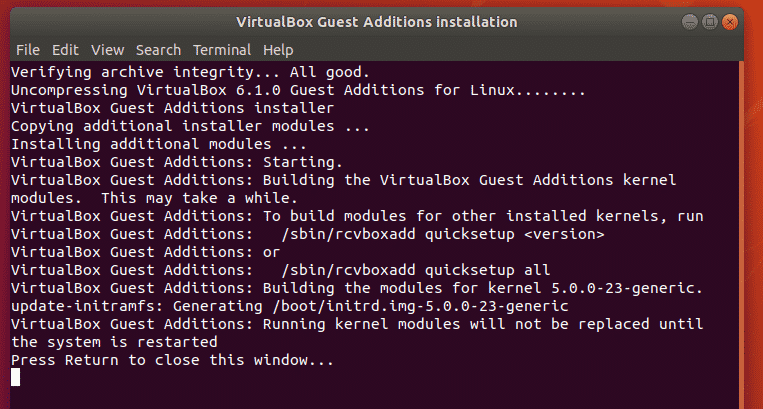
At this point, the installation should be complete. Now, press <Enter> to close the Terminal window.
Now, restart your Ubuntu VM for the changes to take effect with the following command:
Installing VirtualBox Guest Additions from the Command Line:
If you’re using Ubuntu server without any graphical user interface, then installing VirtualBox Guest Additions from the command line is your only option.
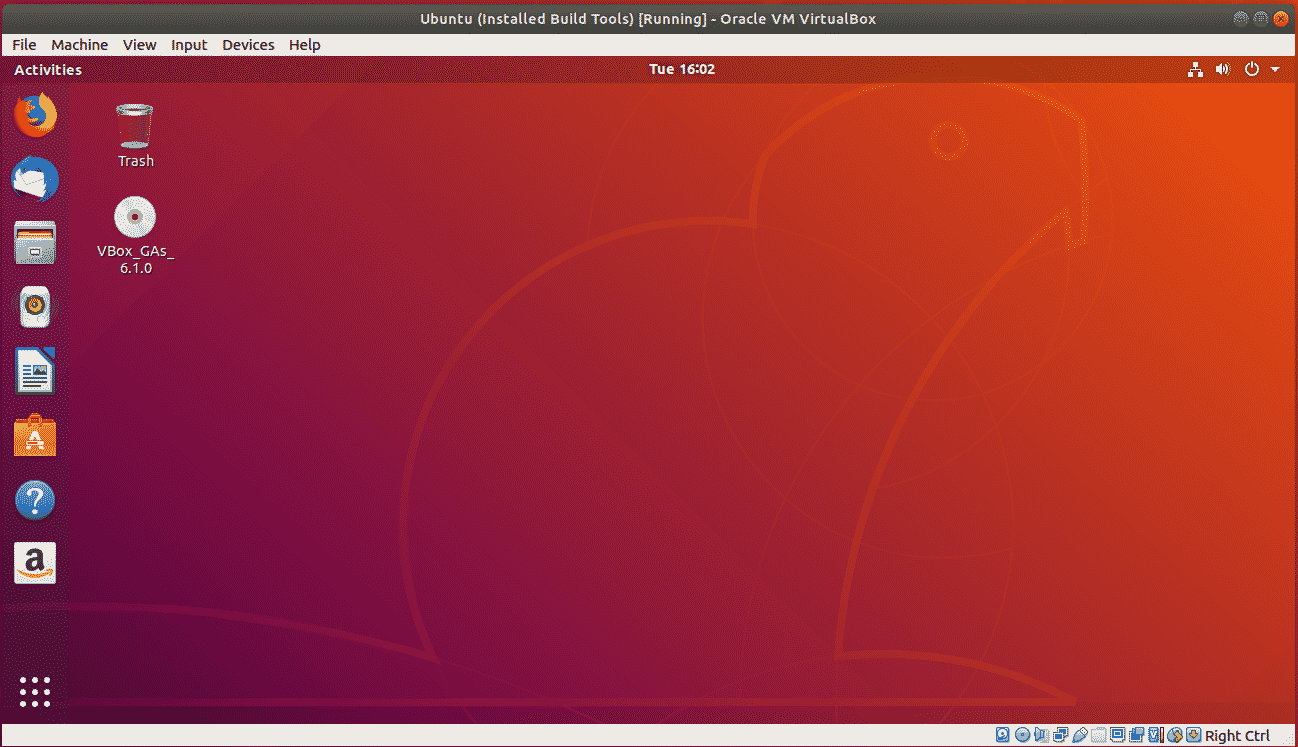
Once you attached the VirtualBox Guest Additions CD image to the virtual CDROM of your Ubuntu VM, mount the CD image to the /mnt directory with the following command:

The VirtualBox Guest Additions CD image should be mounted in the /mnt directory.

Now, navigate to the /mnt directory as follows:

You should see VBoxLinuxAdditions.run shell script in there.
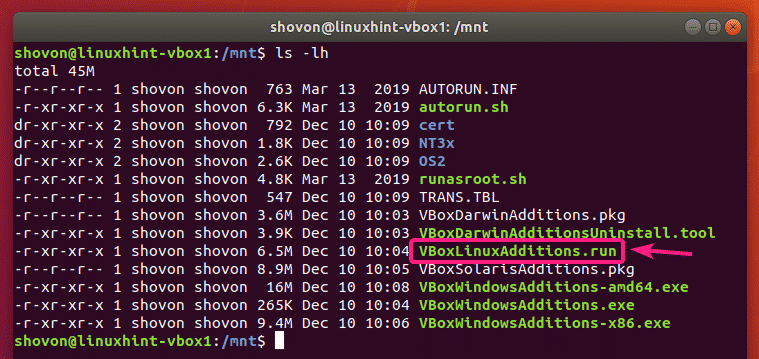
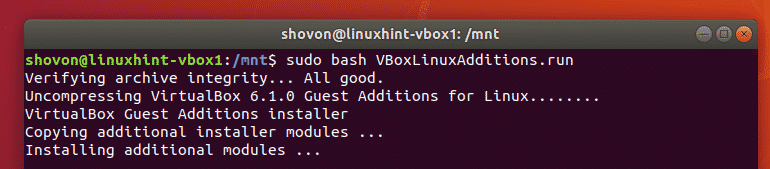
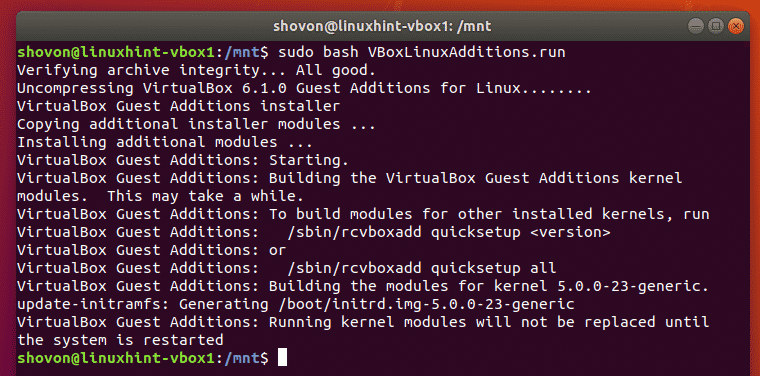
Now, run the VBoxLinuxAdditions.run shell script with superuser privileges as follows:

The installation should start. It may take a while to complete.
The installer is updating the kernel.
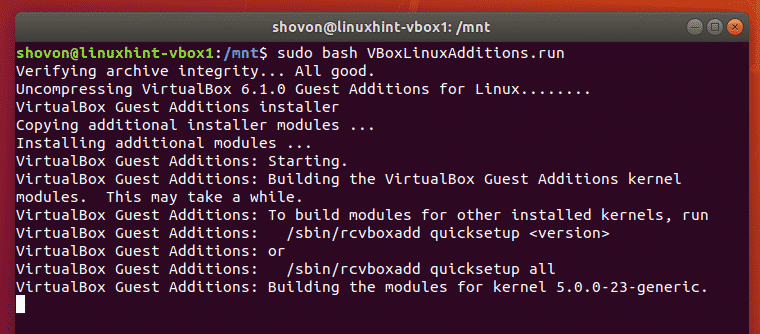
At this point, the installation should be complete.
Now, restart your Ubuntu VM for the changes to take effect with the following command:

Enabling Some VirtualBox Guest Additions Features:
Once you have VirtualBox Guest Additions installed, you will immediately be able to resize the VirtualBox window to any size and your Ubuntu VM will adjust to it automatically.
You can also enable Shared Clipboard and Drag and Drop features from the General > Advanced settings of Ubuntu VM.

So, that’s how you install VirtualBox Guest Additions on Ubuntu VirtualBox VM. Thanks for reading this article.