How to Backup and Restore Data from SQLite on Ubuntu
SQLite is a simple but very powerful database software. It is a very lightweight database solution. It is used mostly in low power, handheld, or embedded devices like Android due to it being lightweight. It is a file based database software. That means, you store everything in a single file and you can easily store that wherever you want without any complex configuration. Though you can store everything in a single file, it doesn’t mean you can’t store part of your data in a file, another part in another file. You can also store one table in one file, another table in another file and so on. Of course you can do these type of management with SQLite with ease. It doesn’t require much memory to run as well. You can manage everything with simple command line utilities that comes with SQLite. Currently the latest version of SQLite is 3.
In this article, I will show you how to backup and restore SQLite database on Ubuntu. Let’s get started.
Installing SQLite
SQLite is available in the official package repository of your Ubuntu operating system. There are 2 versions of SQLite in the official package repository of Ubuntu. SQLite 2 and SQLite 3. I will show you how to install both of these in this article.
First update the package repository cache of your Ubuntu operating system with the following command:

The package repository cache should be updated.

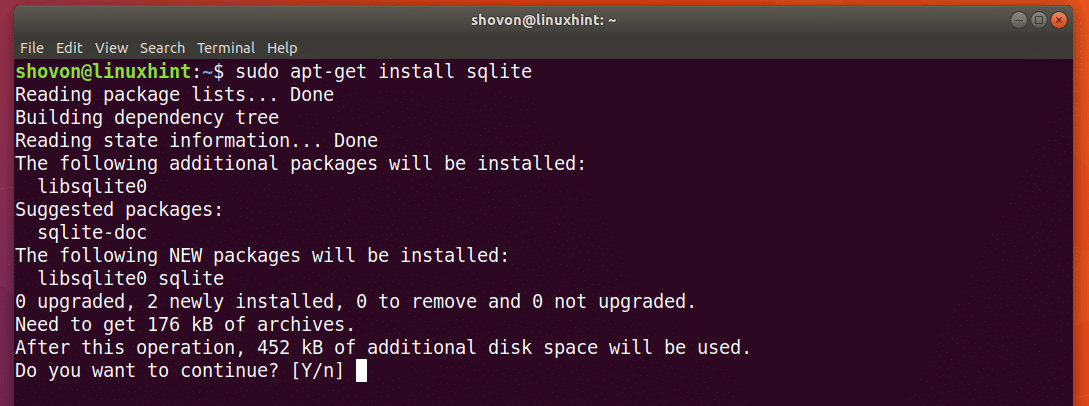
Now to install SQLite 2 on Ubuntu, run the following command:

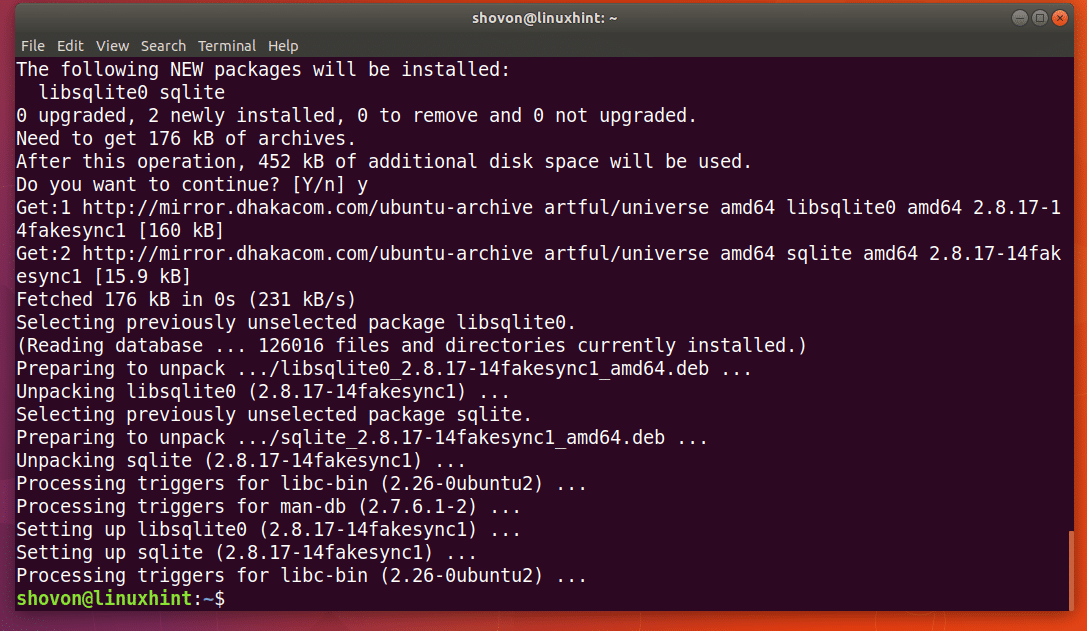
Now press ‘y’ and press <Enter> to continue.
SQLite 2 should be installed.
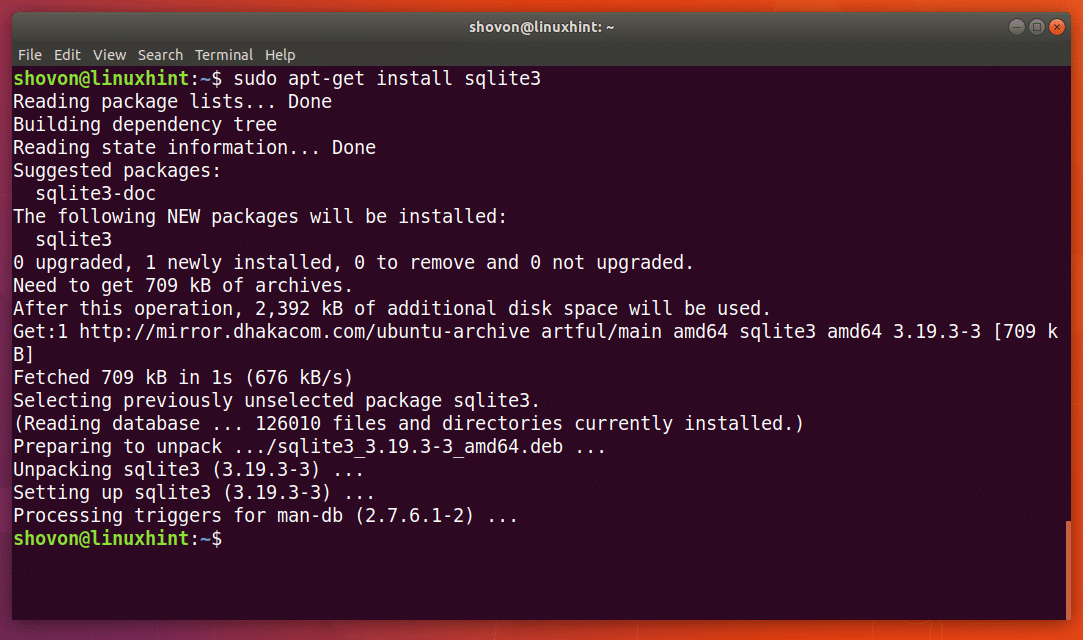
To install SQLite 3 on Ubuntu, run the following command:

I will install SQLite 3 and do the rest of the demonstration with SQLite 3 in this article. But everything should work the same way in SQLite 2. You can safely replace sqlite3 command with sqlite command.
Note that you can install both versions of SQLite at the same time. They have no problem coexisting with each other.
Inserting Dummy Data:
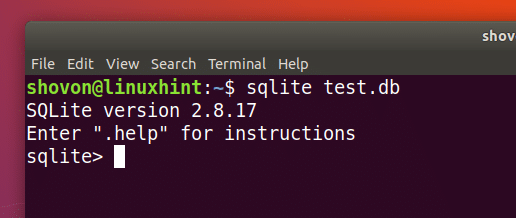
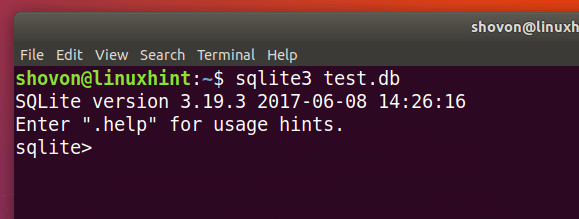
You can start working on a SQLite database file with SQLite 2 with the following command:

SQLite should open a test.db file. If the file doesn’t exist, it should create a new one once you save some data in it.
For SQLite 3, the command above should be:
Now I am going to create a simple table and insert some dummy data there.
The SQL code for the users table is given below:
id INTEGER PRIMARY KEY,
firstName TEST NOT NULL,
lastName TEXT NOT NULL,
country TEXT NOT NULL
);

Just copy and paste the SQL code into the command line interface of SQLite. The users table should be created.

Now run the following SQL codes to insert some dummy data into the table.

INSERT INTO users VALUES(2, ‘Shahriar’, ‘Shovon’, ‘BD’);
INSERT INTO users VALUES(3, ‘Sharmin’, ‘Akter’, ‘BD’);
INSERT INTO users VALUES(4, ‘MD’, ‘Shaikat’, ‘BD’);
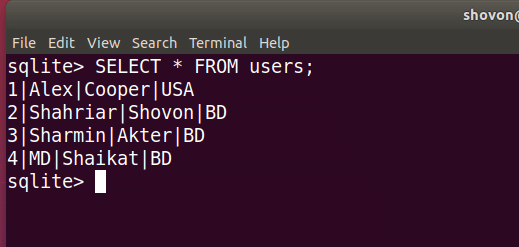
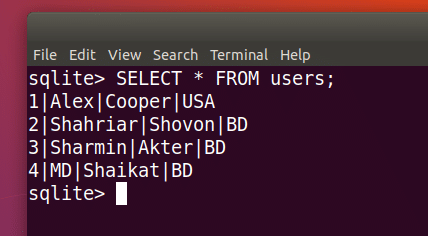
You can run the following SQL command to retrieve all the users data from the table.
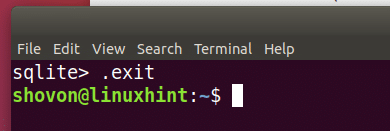
Once you’re done, run the following command to exit sqlite command line interface.
Backing up and Restoring SQLite Database:
File Based Backup:
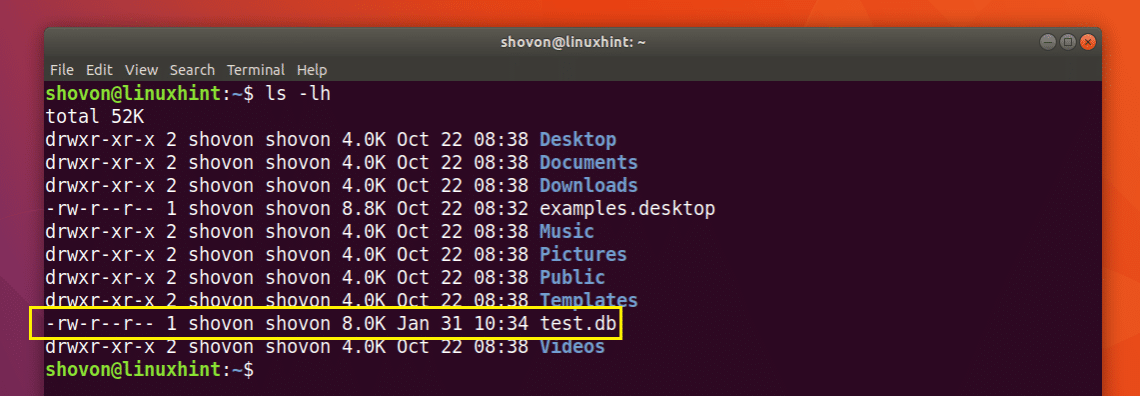
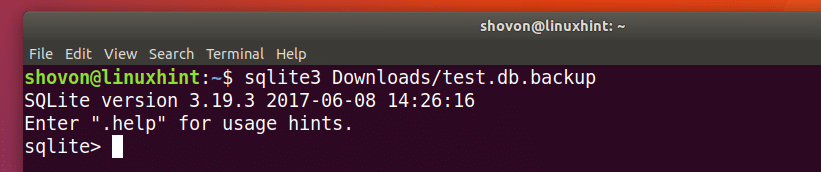
The best way to backup and restore SQLite database is to copy the database file to another location and paste the backed up database file when you need. In the example of this article, I stored all the SQLite data to the test.db file as you can see from the screenshot below.
I am going to copy the test.db file to another location with the following command:

Now I am going to start SQLite using the backup database file.
Now run the following SQL command, and you should see all the data.
Backup as SQL File:
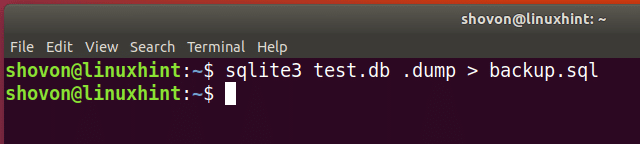
You can also backup a SQLite database using the SQLite command. This output or backup file in this way will contain all the necessary SQL codes to reconstruct the database.
Run the following command to backup the test.db database file to backup.sql SQL file:
You can run the following command to see the contents of backup.sql file:
As you can see, it contains only SQL codes.

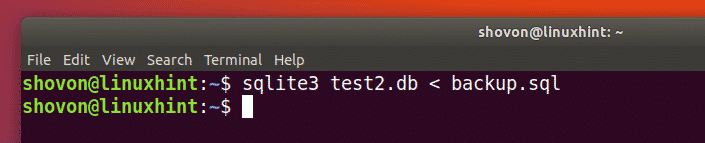
To restore another database test2.db from backup.sql backup file, run the following command:
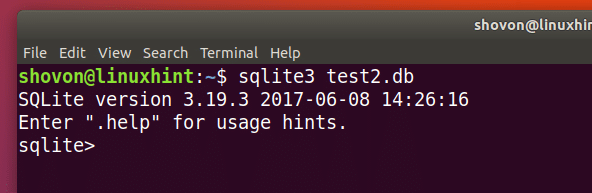
Now you can login to the test2.db SQLite database with the following command:
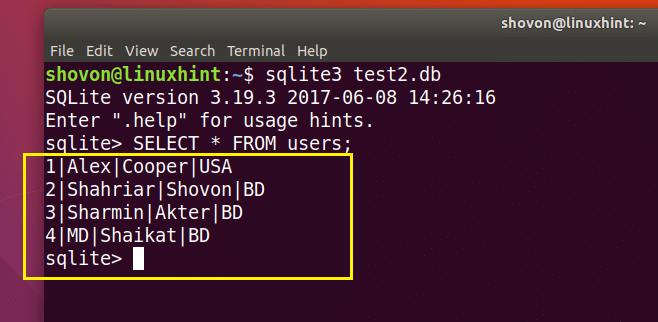
Now run the following SQL code and you should be able to see all the data there.
That’s how you backup and restore data from SQLite database on Ubuntu. Thanks for reading this article.