CentOS Change Password

29/12/2020
Passwords are the oldest and yet, effective form of security measure that almost every single system in the world offers to protect privacy and user data. In the case of CentOS, it’s more important to make sure that everything is secure with a powerful password. However, in cases, passwords need to be changed. There can be a number of reasons, for example, the password being obsolete or disclosed in other security breaches etc. Today, let’s check out the details changing the password on CentOS.

Changing the password

Note that there are 2 different types of passwords – “root” and user(s). If you’re currently within the system, you can easily change the password with a few commands. If not, it will require a bit of a task to change the “root” password and then, the other user(s) password(s).

Change the current user password

Fire up a terminal –

Run the following command –

passwd


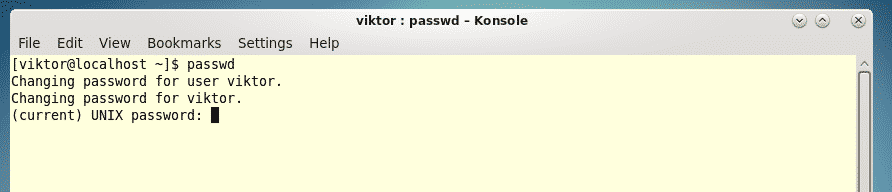
At first, you have to enter the “root” password. Now, time to enter your new password –

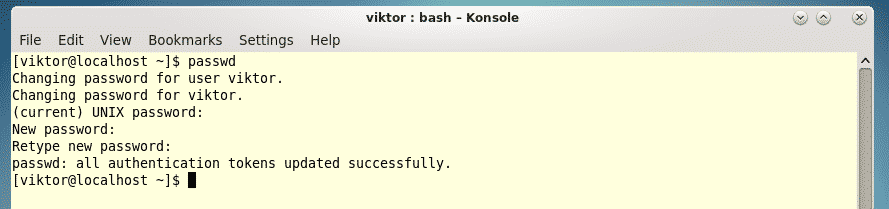
Once changed, you can see the success message.

Changing other user’s password

This is also possible. However, make sure that whatever you’re doing is the right thing. Don’t forget to notify your system admin first!

Enter the user account –

su<username>


Now, use the “passwd” tool for performing the password change –

passwd


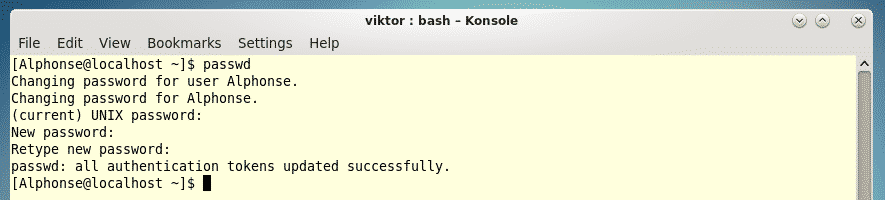
Voila! The user now got a new password!

Changing the “root” password

The same technique applies for the “root” user as well. At first, enter the root –

su

Now, run the command for changing the password –

passwd


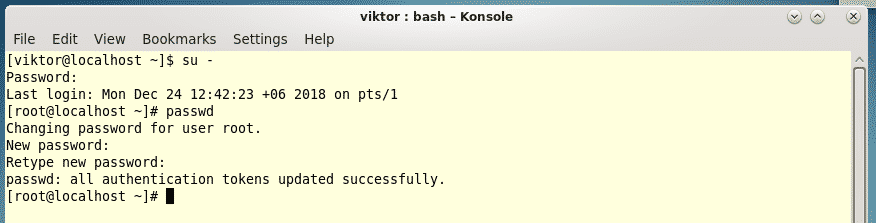
Voila! Password change successful!

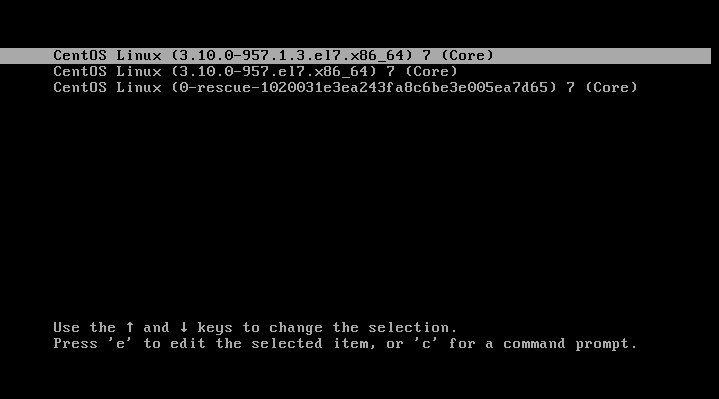
Now, in some cases, you forgot the passwords completely and not able to login into any other users, then the following steps must be followed. Make sure to follow each and every single step PRECISELY. Otherwise, you may ruin the entire system! Restart your system –

reboot


When the CentOS icon flashes, hit “e” key on keyboard for entering the grub edit mode.


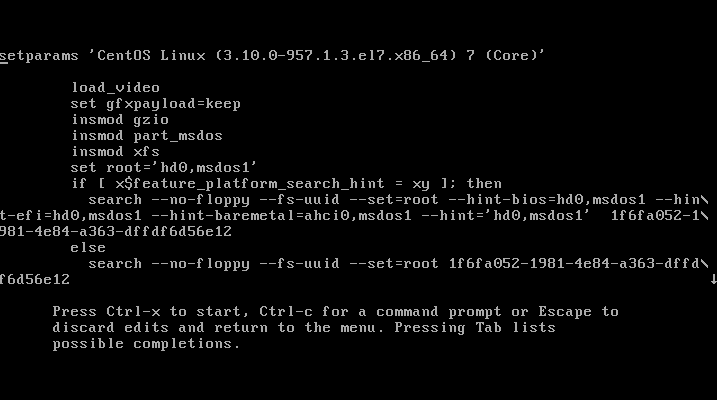
Scroll down to the line that starts with “linux” or “linux16” –

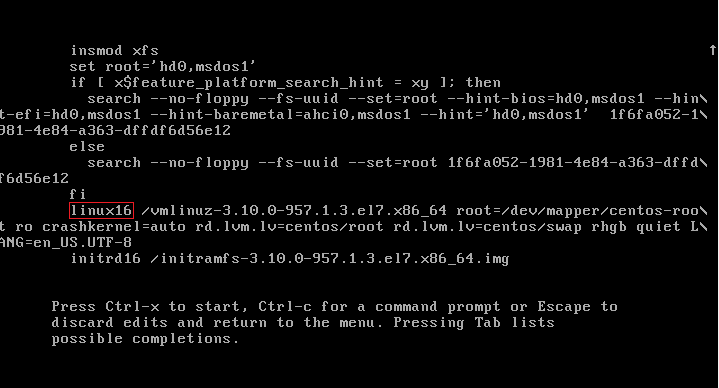
Now, change the word “ro” with the following line –

rw init=/sysroot/bin/sh


Then, press “Ctrl + X” for booting with the configuration.

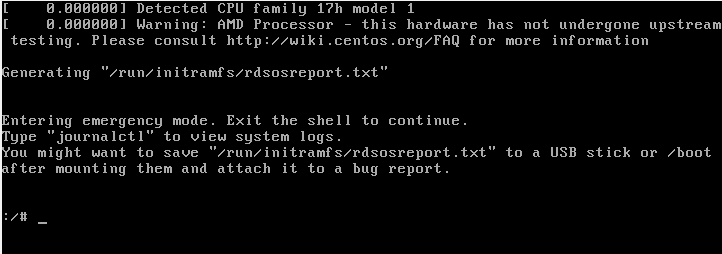
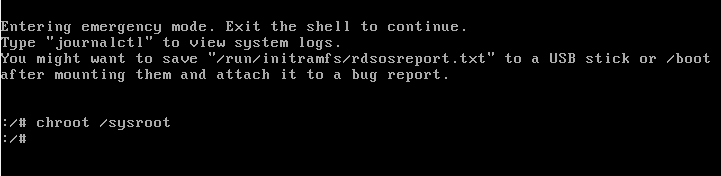
Now, we need to mount the system so that we can run all the commands as if we were inside the system. Enter the following command –

chroot /sysroot


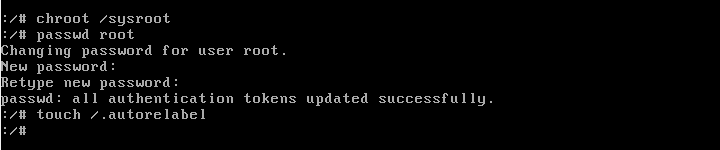
Time to perform the password change!

passwd root

The following step is an additional step. Apply this only if your system had SELinux enabled.

touch /.autorelabel


Exit the edit mode –

reboot

Voila! Your system password is changed! Enjoy!

ONET IDC thành lập vào năm 2012, là công ty chuyên nghiệp tại Việt Nam trong lĩnh vực cung cấp dịch vụ Hosting, VPS, máy chủ vật lý, dịch vụ Firewall Anti DDoS, SSL… Với 10 năm xây dựng và phát triển, ứng dụng nhiều công nghệ hiện đại, ONET IDC đã giúp hàng ngàn khách hàng tin tưởng lựa chọn, mang lại sự ổn định tuyệt đối cho website của khách hàng để thúc đẩy việc kinh doanh đạt được hiệu quả và thành công.
Bài viết liên quan

Mẹo #3 : Cập nhật WordPress không cần FTP

Đôi khi, khi bạn cập nhật WordPress, các plugin hoặc theme. Một cửa sổ có thể xuất hiện và yêu...
30/12/2020

Jitsi [Part 2] – Hướng dẫn cài đặt Jitsi Meet trên Ubuntu 18.04 LTS

Jitsi hiện đang là một trong số những công cụ hội nghị truyền hình mã nguồn mở được sử...
30/12/2020

Redmine – Hướng dẫn sử dụng Redmine để quản lý công việc (Phần 2)

Ở bài viết trước mình đã hướng dẫn các bạn cách tạo user, phân chia các phòng ban và tạo...
30/12/2020
Bài Viết

Bài Viết Mới Cập Nhật

Reliable IPv4 and IPv6 Subnet Rental Services: The Perfect Solution for Global Businesses
23/12/2024

Tìm Hiểu Về Thuê Proxy US – Lợi Ích và Cách Sử Dụng Hiệu Quả
11/12/2024

Mua Proxy V6 Nuôi Facebook Spam Hiệu Quả Tại Onetcomvn
03/06/2024

Hướng dẫn cách sử dụng ProxyDroid để duyệt web ẩn danh
03/06/2024

Mua proxy Onet uy tín tại Onet.com.vn
03/06/2024