Prerequisites:
You must have a CentOS 8 server or virtual machine. You must have access to your CentOS 8 server’s console. You may also access your CentOS 8 server’s console via SSH.
You also need to know the IP address, the login username and password of your CentOS 8 server.
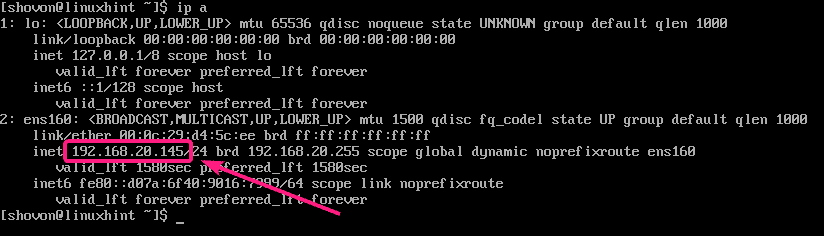
You can find the IP address of your CentOS 8 server with the following command:
As you can see, the IP address of my CentOS 8 server is 192.168.20.145. It will be different for you. So, make sure to change it with yours from now on.
SSH Into CentOS 8 Server:
You can SSH into your CentOS server with the following command:

Now, type in yes and press <Enter>.

Now, type in the password of your login user and press <Enter>.

You should be logged in.

Installing Cockpit Web Console:
Now, update the CentOS 8 package repository cache with the following command:

CentOS 8 package repository cache should be updated.

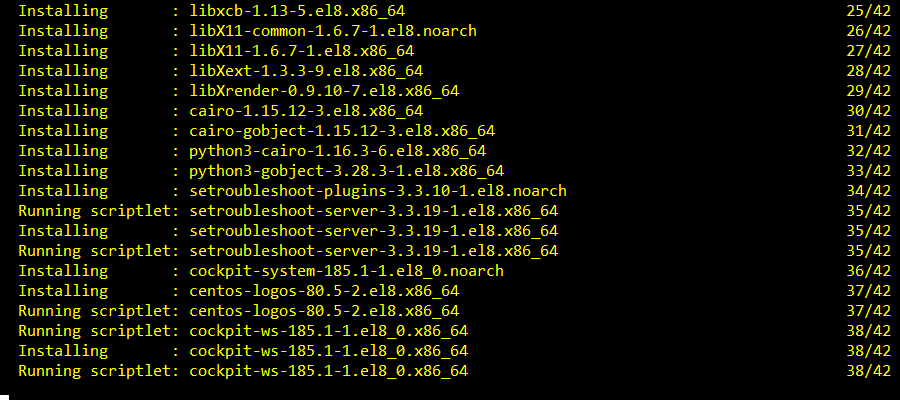
Now, install Cockpit with the following command:

Now, press Y and then press <Enter> to confirm the installation.
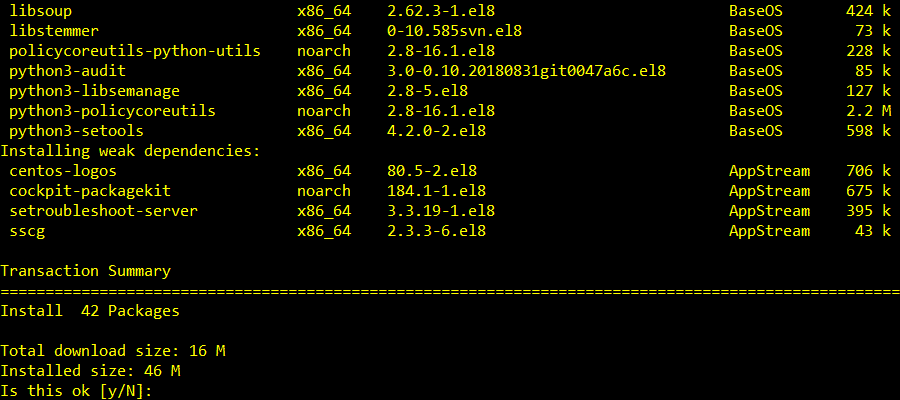
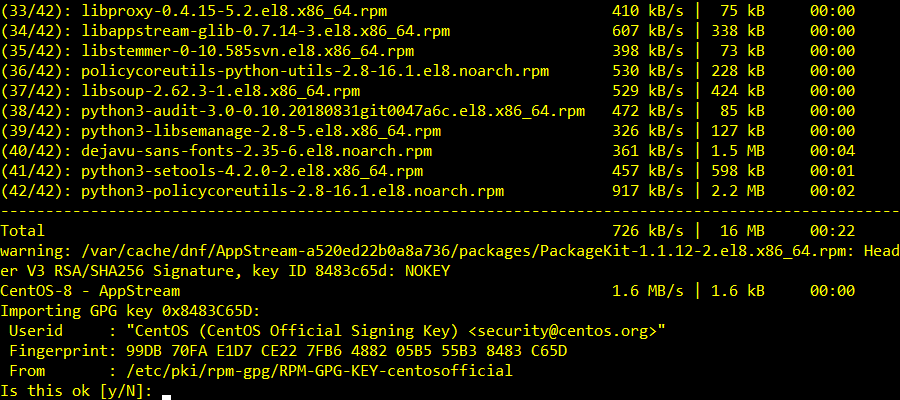
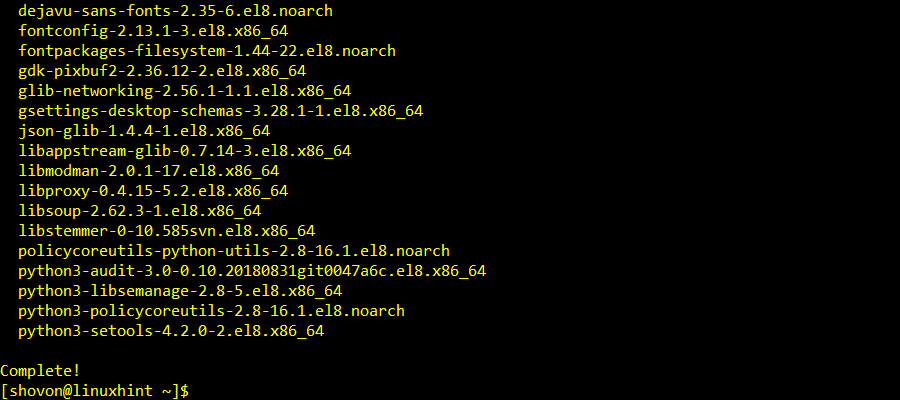
The DNF package manager should start downloading all the required packages.
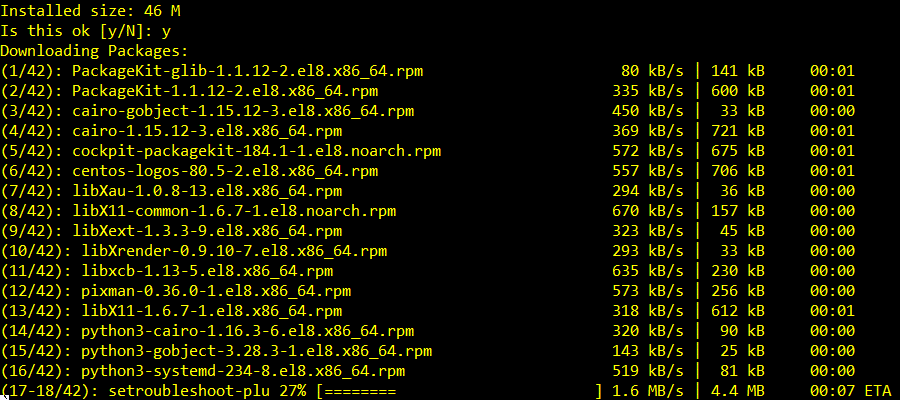
You may be asked to confirm the GPG key. Press Y and then press <Enter> to confirm it.
The installation should continue.
Cockpit should be installed at this point.
Automatically Start Cockpit on System Boot:
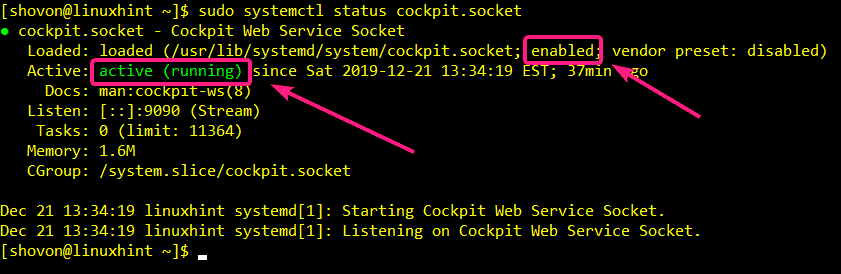
Now, check the status of the Cockpit web service socket with the following command:
As you can see, the Cockpit web service socket is inactive (not running) and disabled (won’t automatically start on system boot).

Now, start the Cockpit web service socket with the following command:

Now, add Cockpit web service socket to the system startup of CentOS 8 with the following command:

Cockit web service socket should be added to the system startup of CentOS 8.

Now, restart your CentOS 8 server with the following command:

Once your CentOS 8 server starts, the Cockpit web service socket should be active (running) and enabled (will automatically start on system boot).
Accessing Cockpit Web Console:
Once you enable Cockpit web console, every time you login to your CentOS 8 server, it will print the URL of your Cockpit web console.
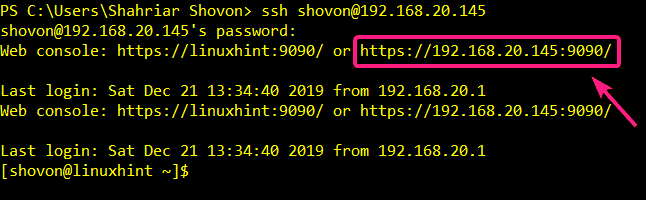
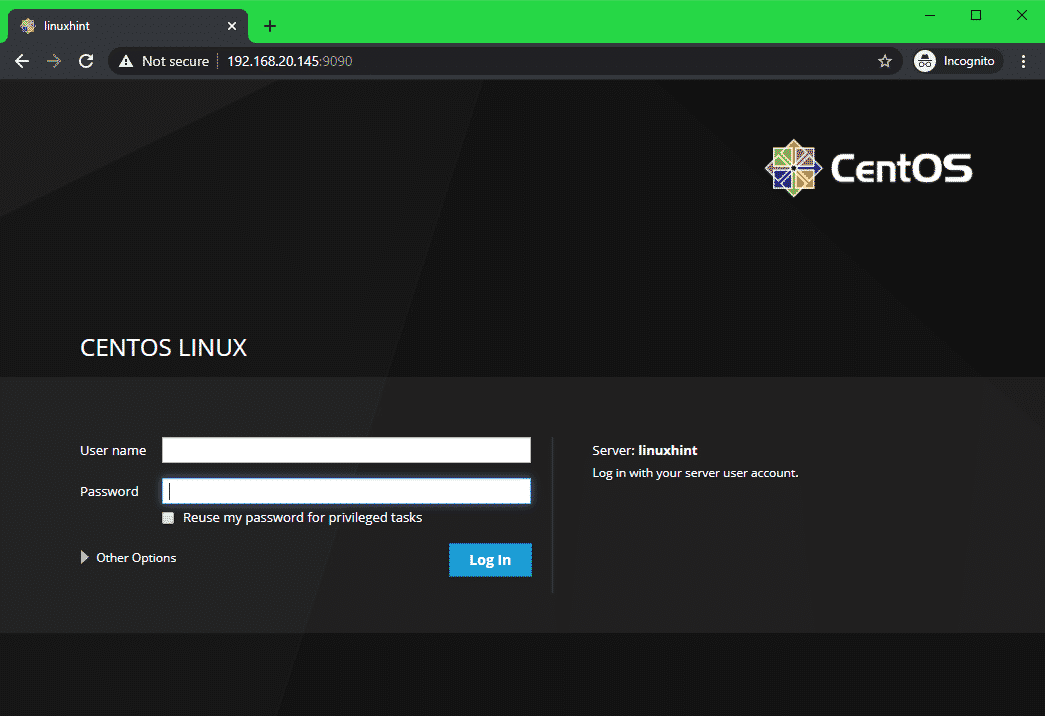
You can copy and paste the Cockpit web console URL on your web browser and access Cockpit. Once you visit the Cockpit web console URL, you will see the Cockpit login page as you can see in the screenshot below.
Now, type in root as the User name and the root password as the Password. Also, check Reuse my password for privileged tasks checkbox. Now, click on Log In.
You should be logged in to Cockpit web console.
Managing and Monitoring CentOS 8 Server using Cockpit Web Console:
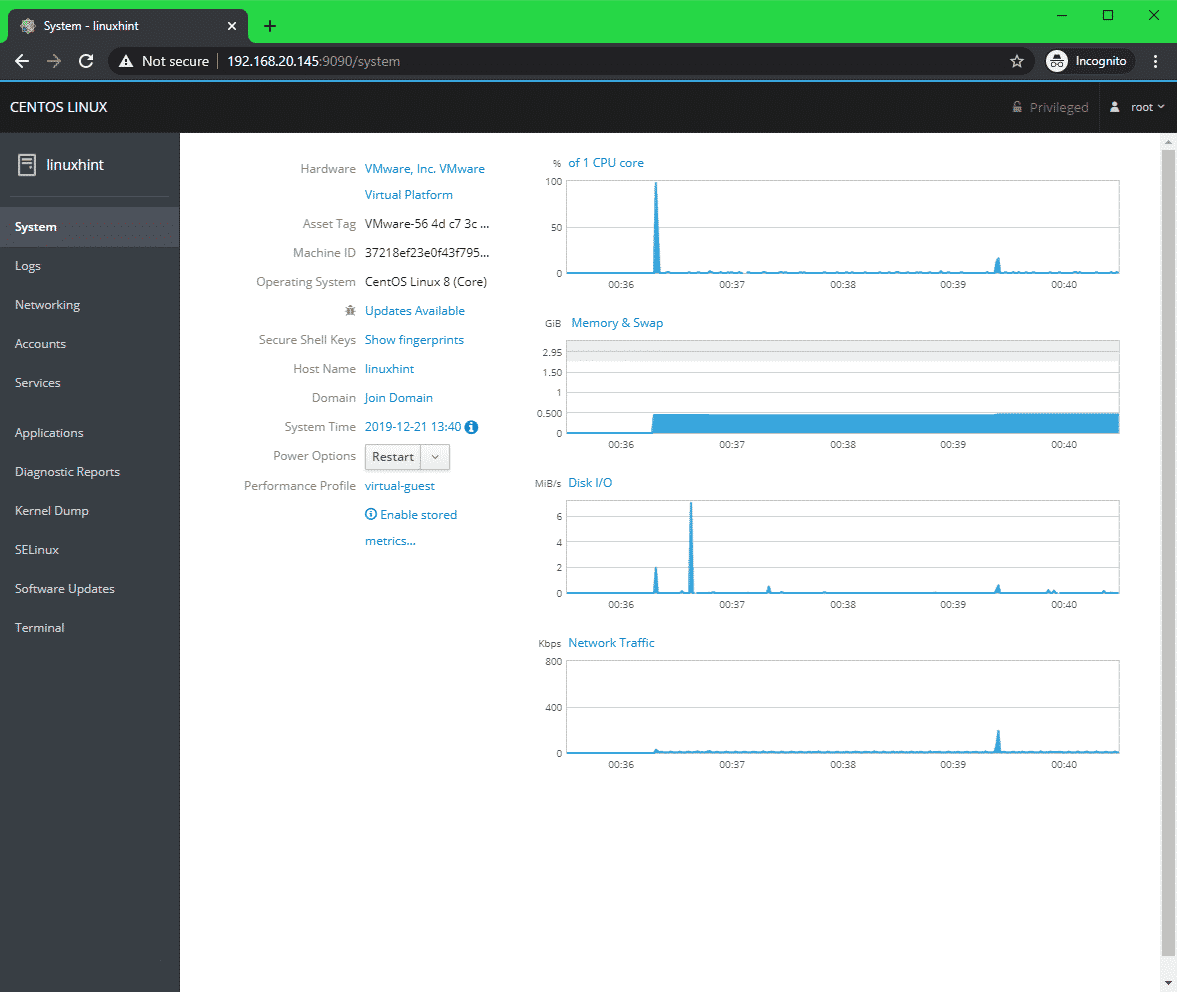
In the Systems tab, information and statistics (CPU usage, Memory and Swap usage, Disk I/O usage, Network usage) about your CentOS 8 server should be displayed.

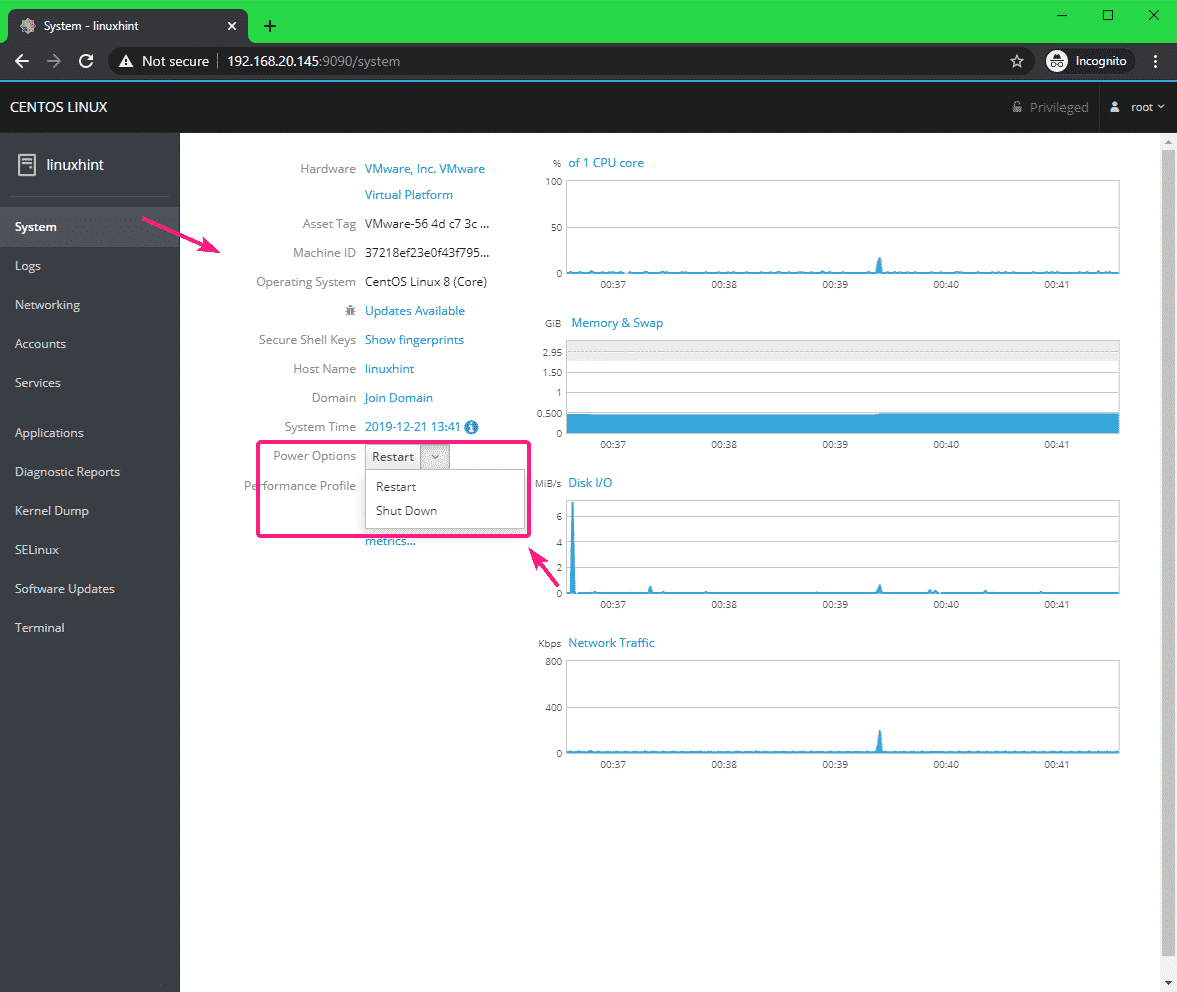
You can Restart or Shut Down your CentOS 8 server from the Power Options dropdown menu.
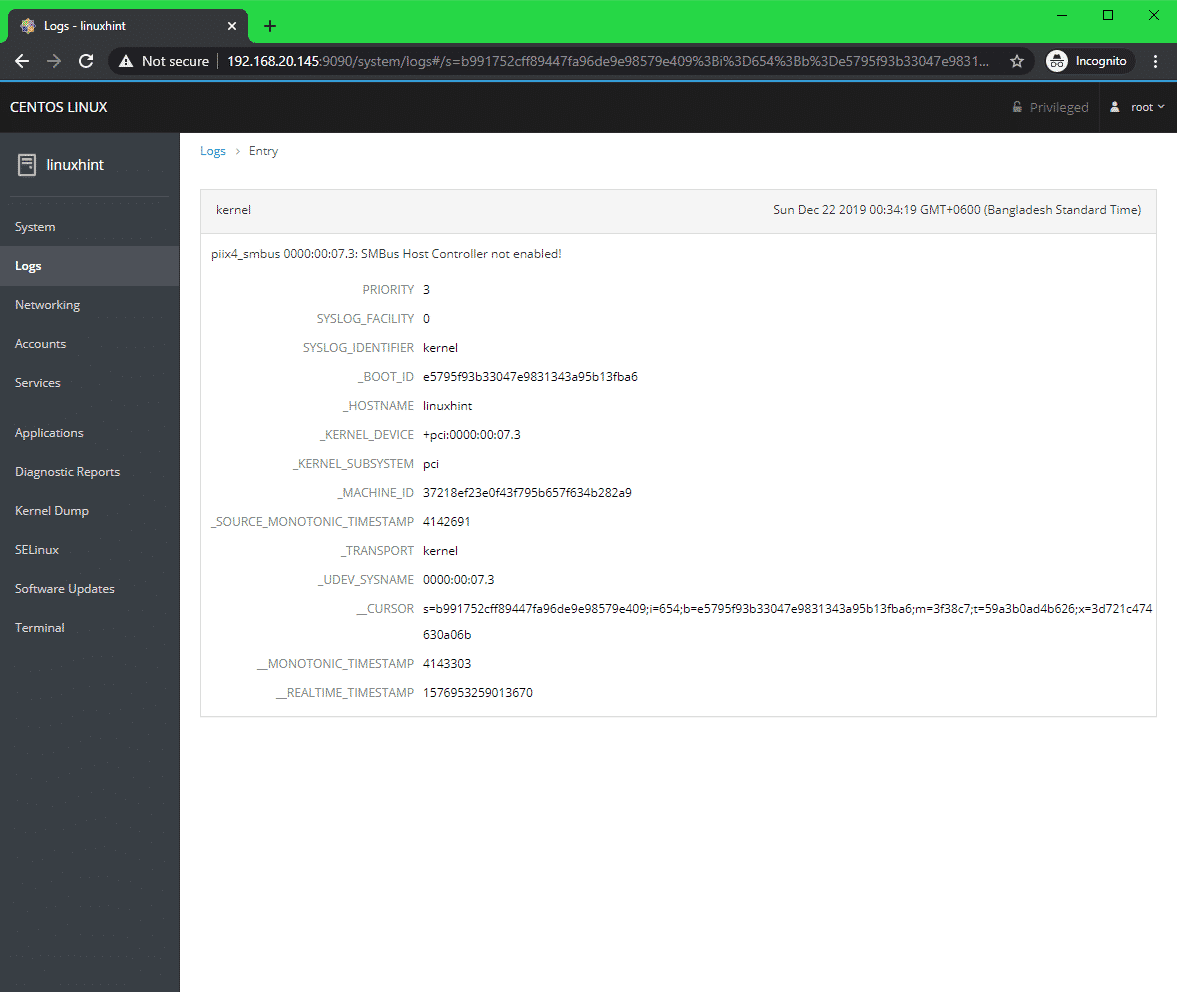
You can check all the system logs from the Logs tab. You can filter the log messages by Severity as well.
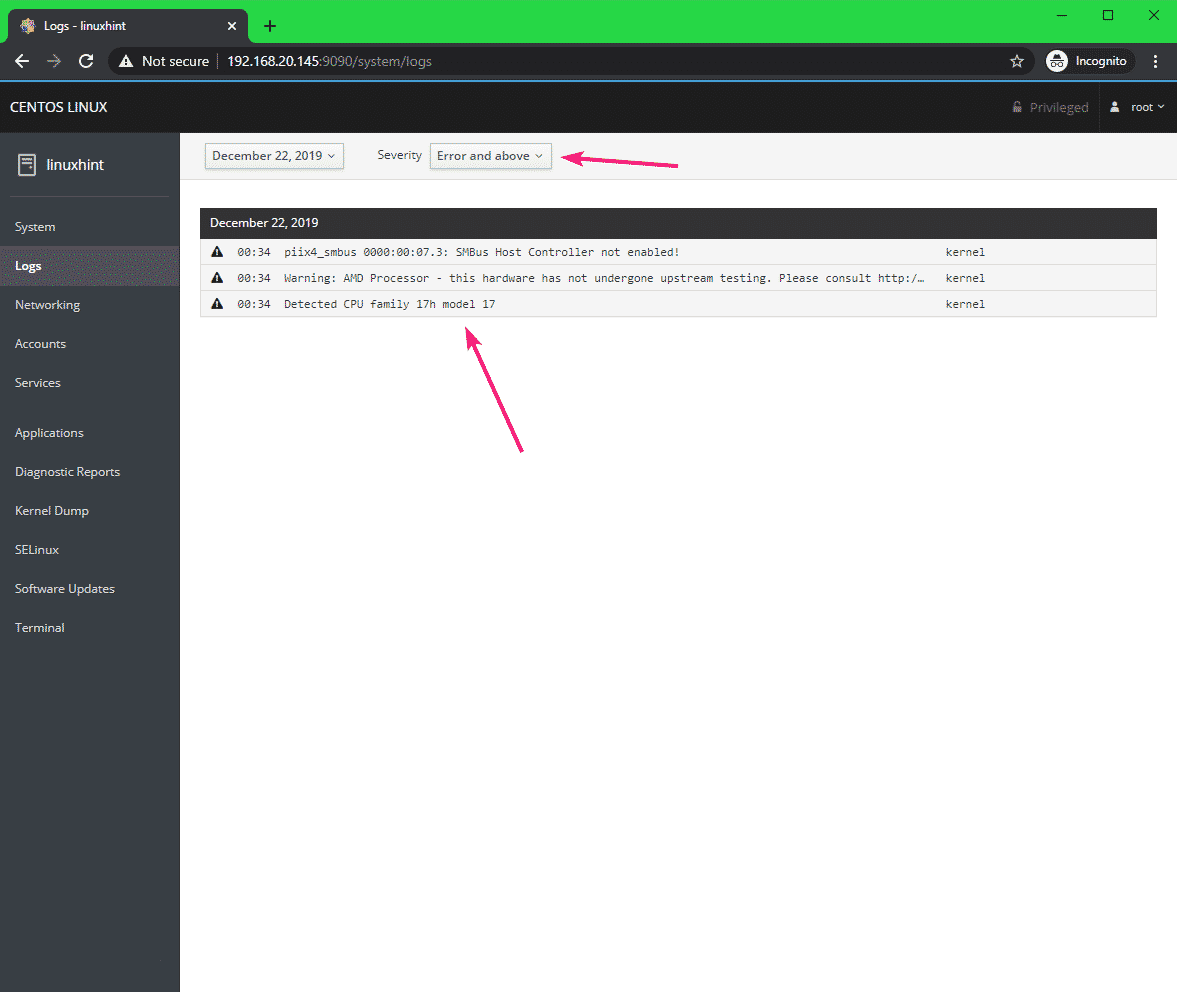
You can also click on any log message to find more information about it.
You can find information about the Network from the Networking tab.
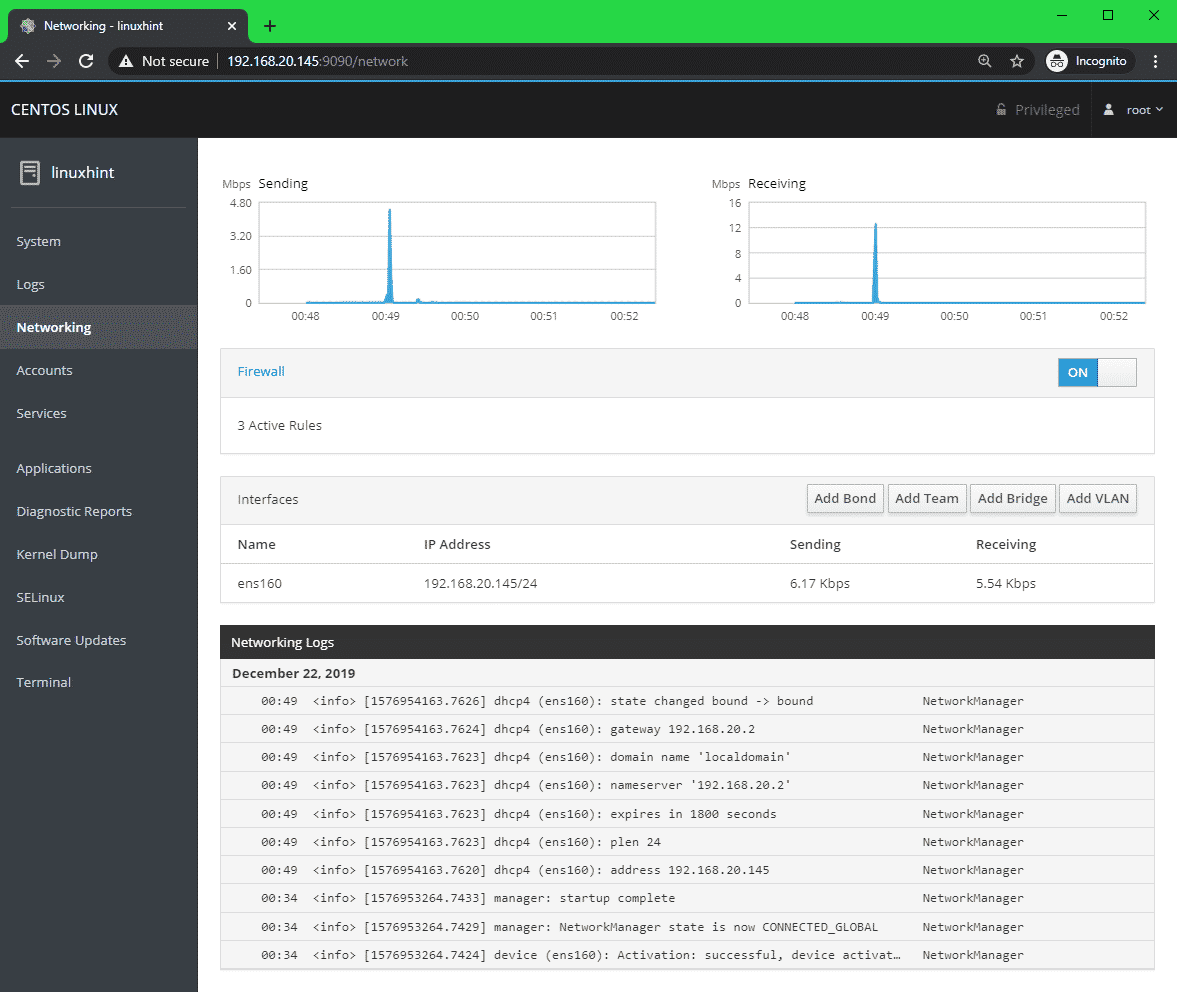
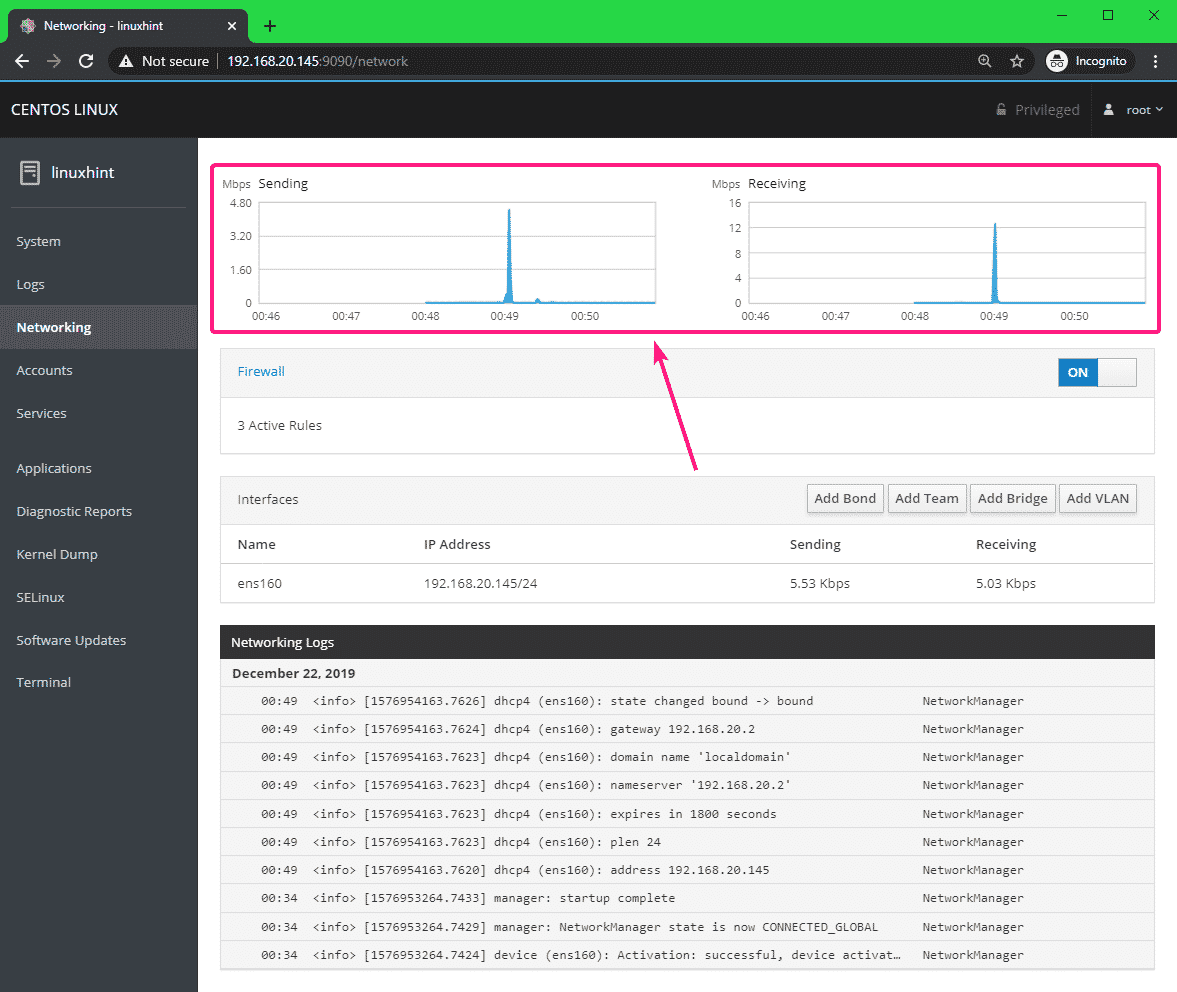
From the top section, you can find the total upload and download statistics.
You can find all the available network interfaces names, IP addresses assigned to them, the download and upload speed of each of these network interfaces from the Interfaces section.

You can also click on each of the network interfaces to learn more about them or configure them.

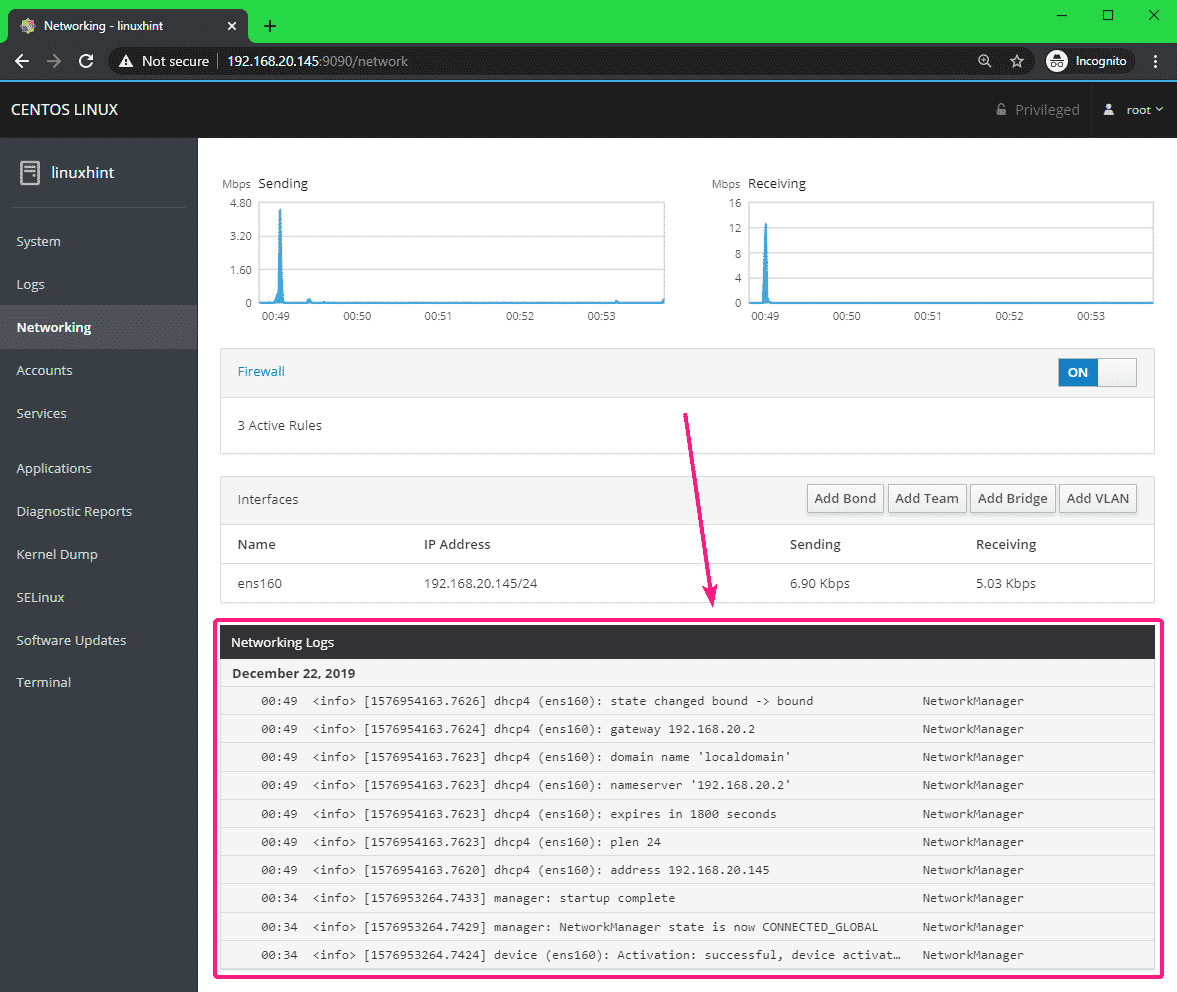
You can see network specific logs from the bottom section.
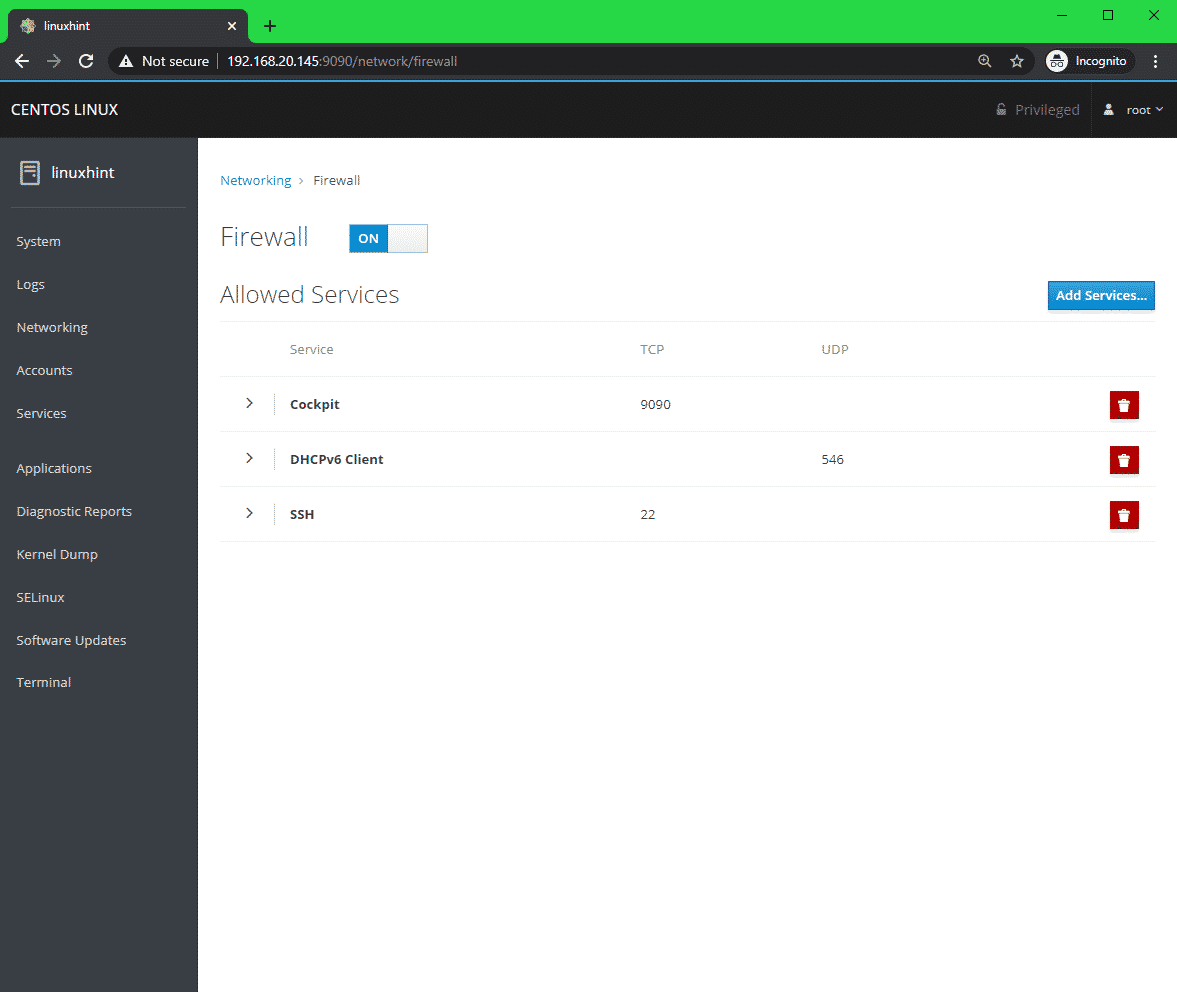
You can also check network firewall settings, enable or disable firewall from the Firewall section.

From the Firewall section, you can also find all the active firewall rules and manage them. You can also add new firewall rules.
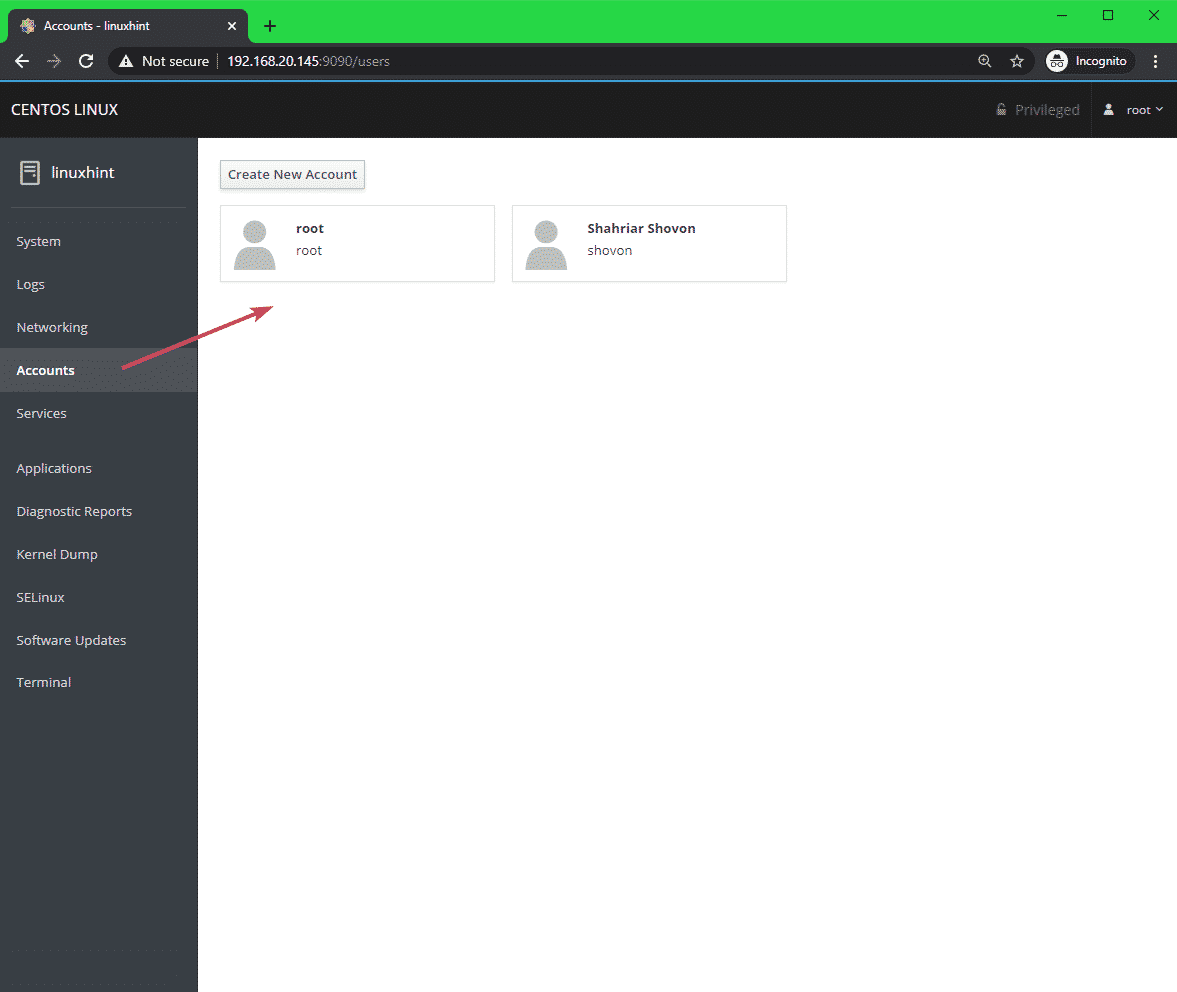
You can manage your CentOS 8 user accounts and add new user accounts from the Accounts tab.
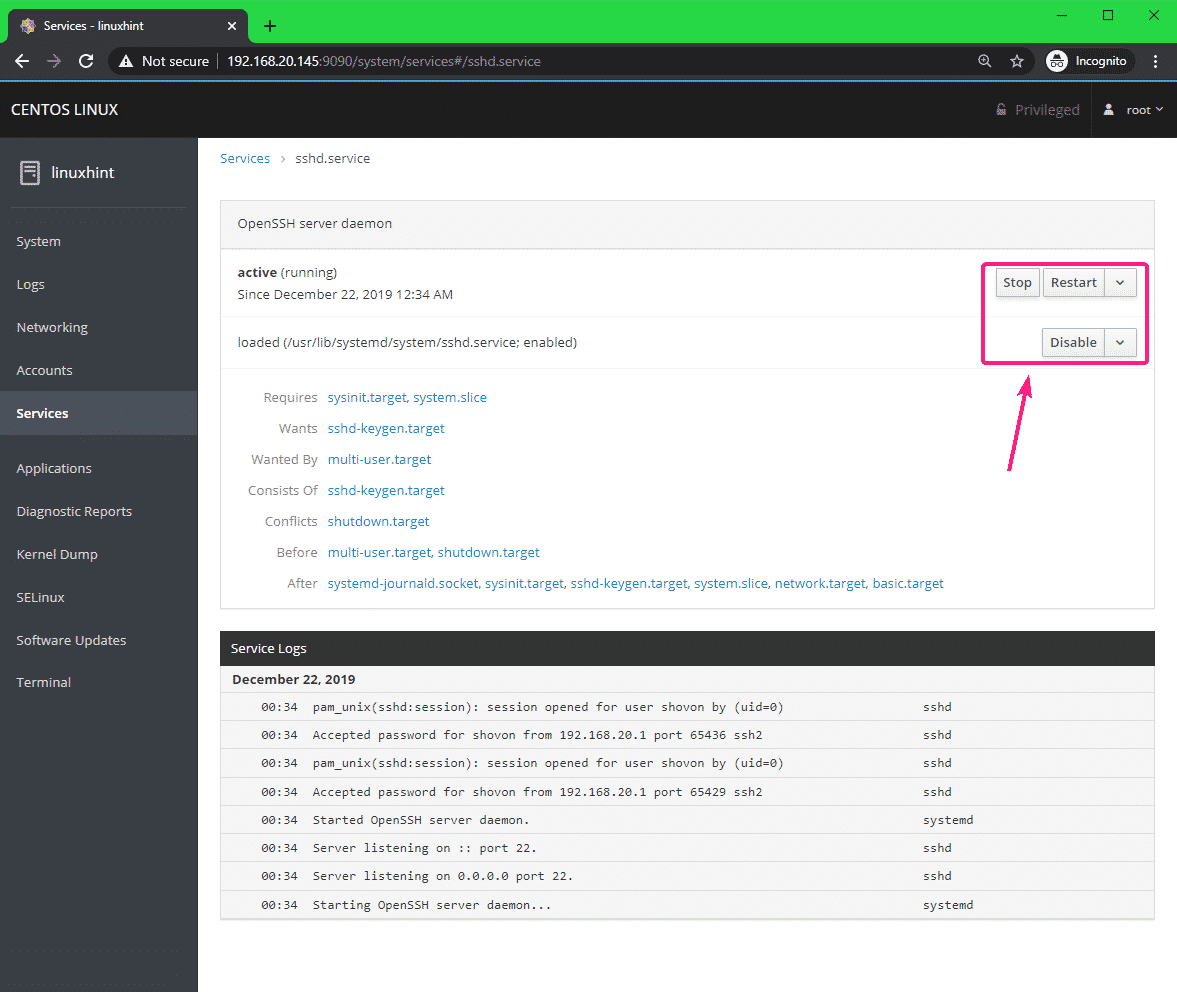
You can manage your CentOS 8 services from the Services tab. You can also navigate to different type of services from the buttons on the top.
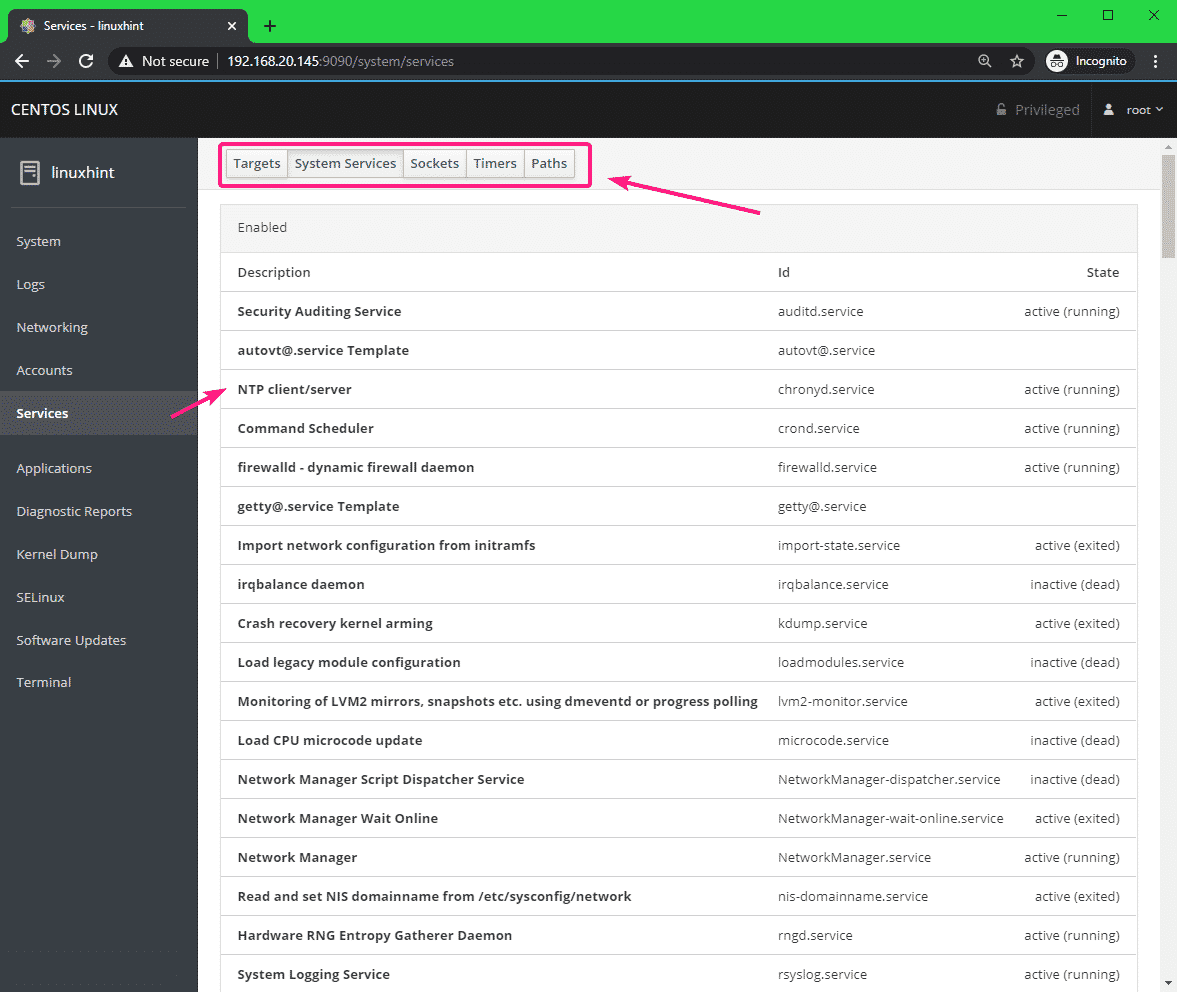
You can click on any service to learn more about it. You can stop, restart, start, enable/disable a service from here as well.
From the Software Updates tab, you can check for system updates. All the available updates should be listed.
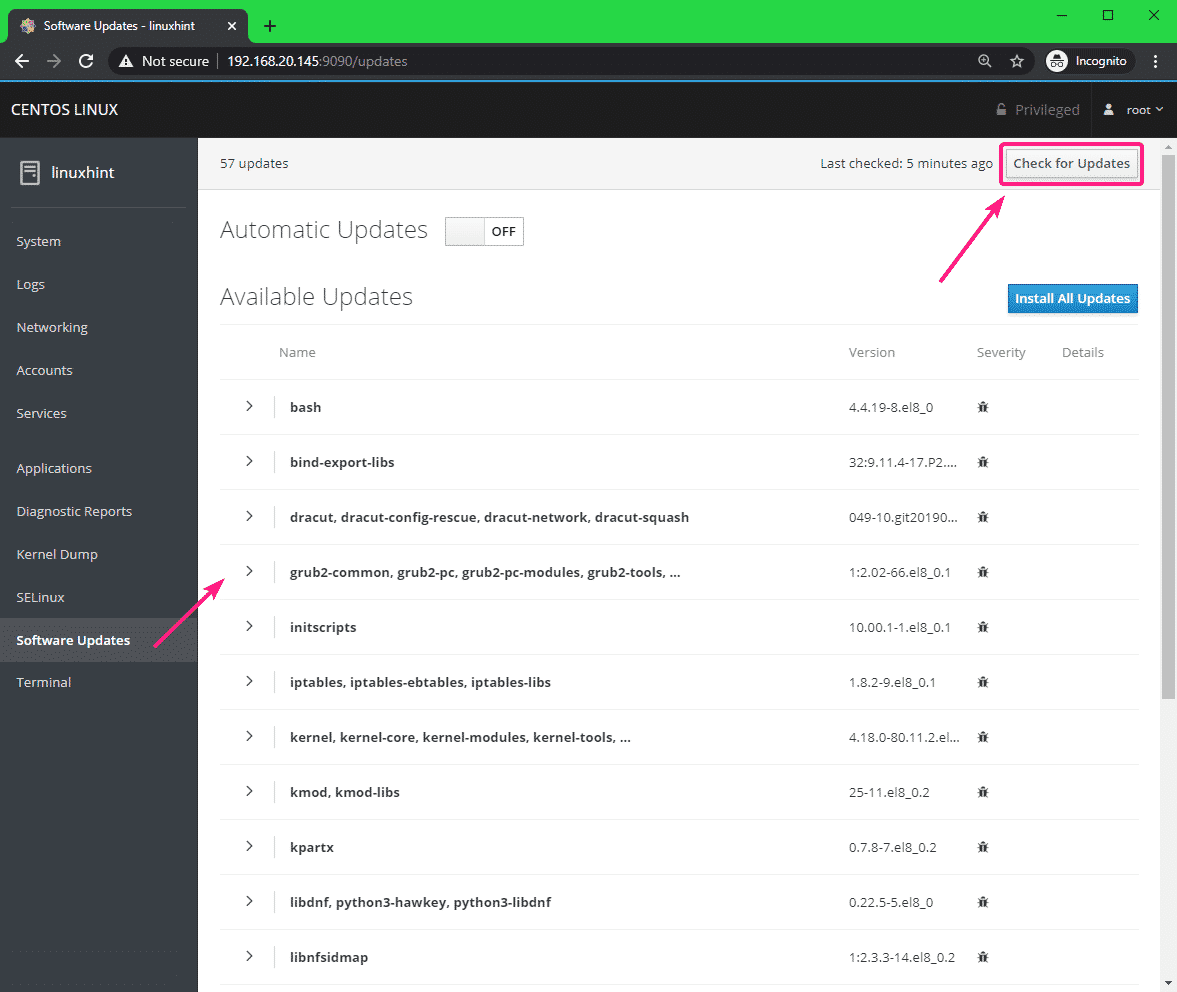
If you want to update the system, click on Install All Updates.

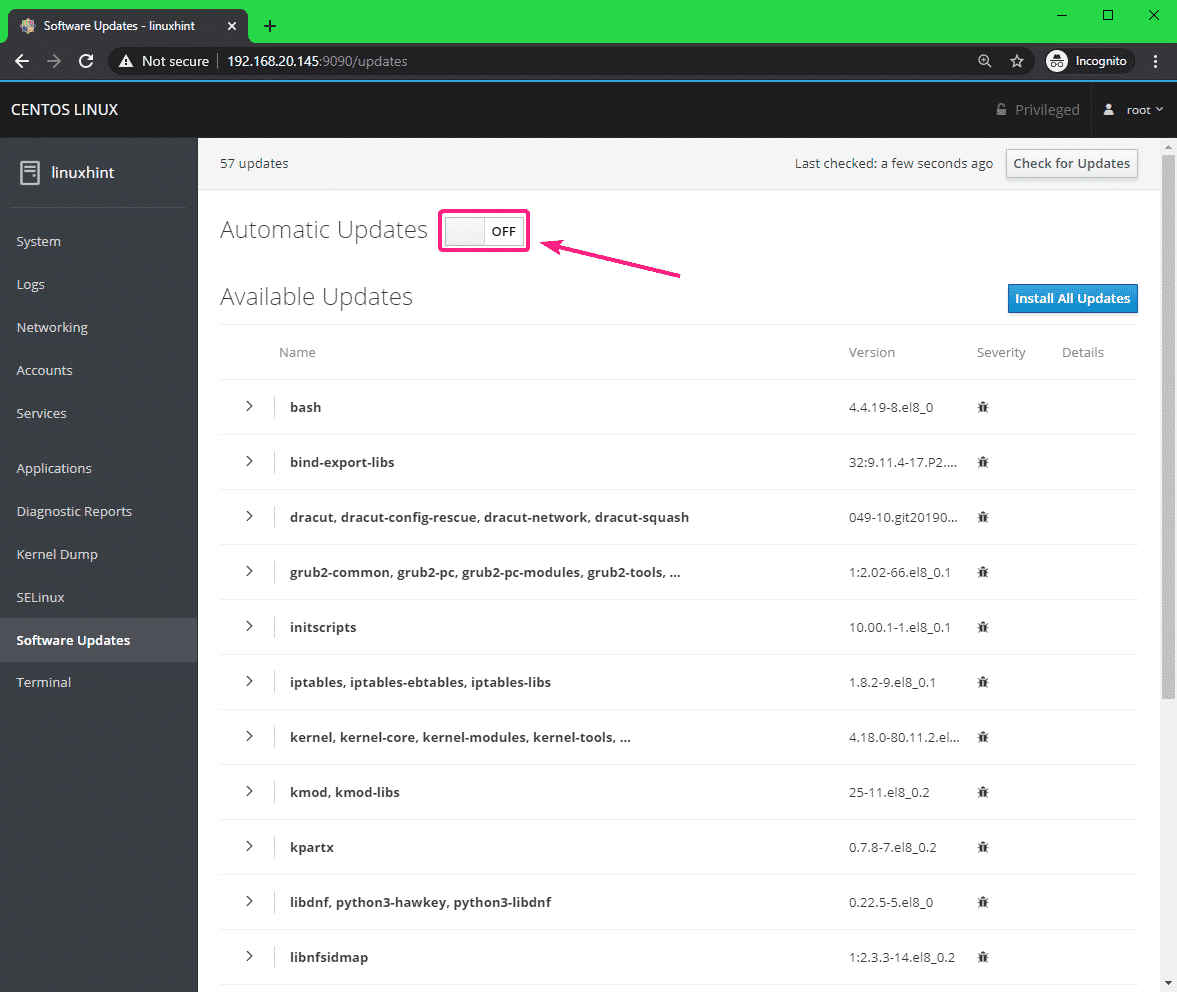
You can also enable/disable automatic updates from here as well.
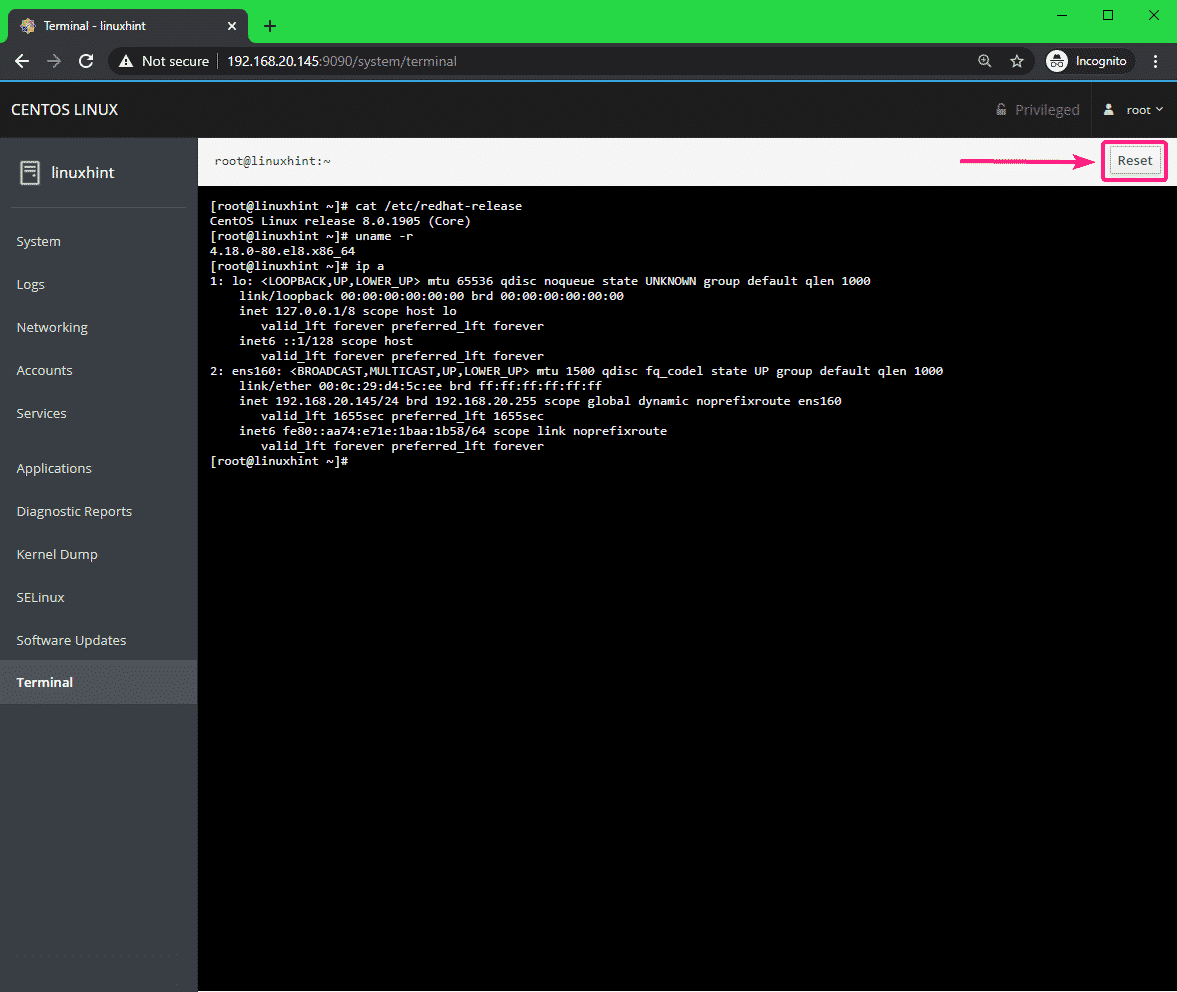
From the Terminal tab, you can bring the CentOS 8 command line.
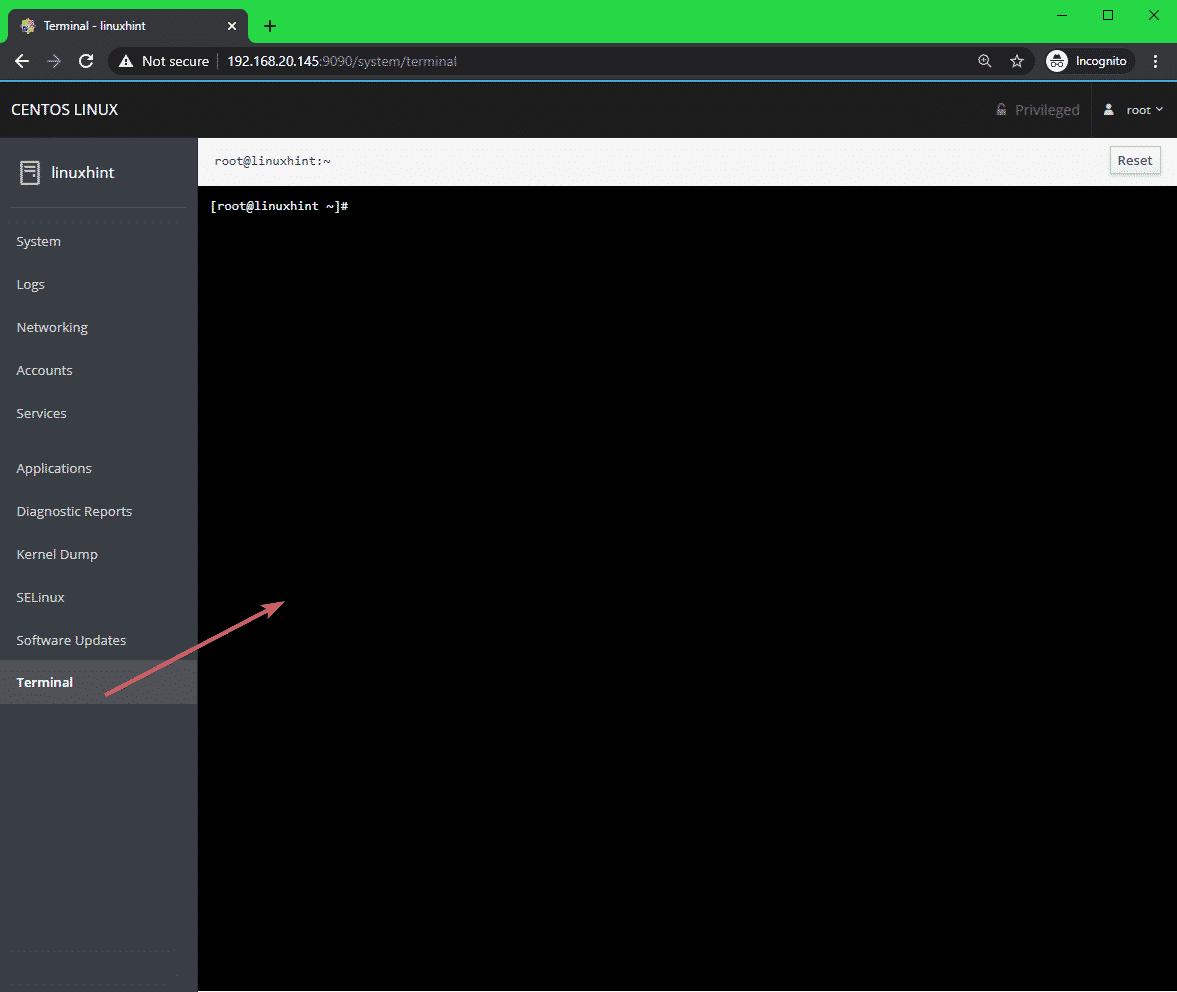
You can type in any commands here and get outputs as usual. To reset the terminal, click on Reset.
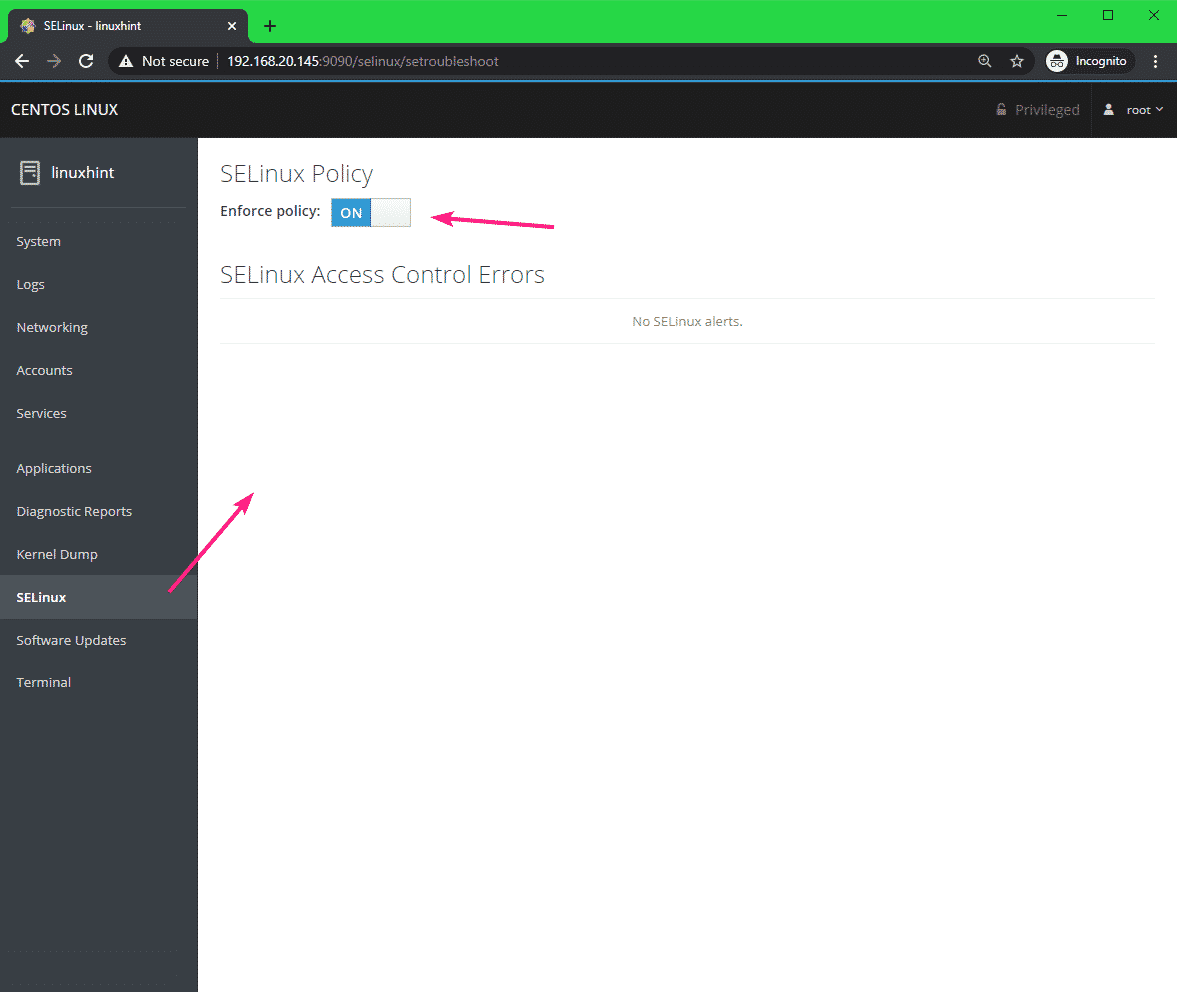
You can set SELinux to enforcing mode or permissive mode using the Enforce policy toggle button from the SELinux tab. From here, you can also see all the SELinux alerts.
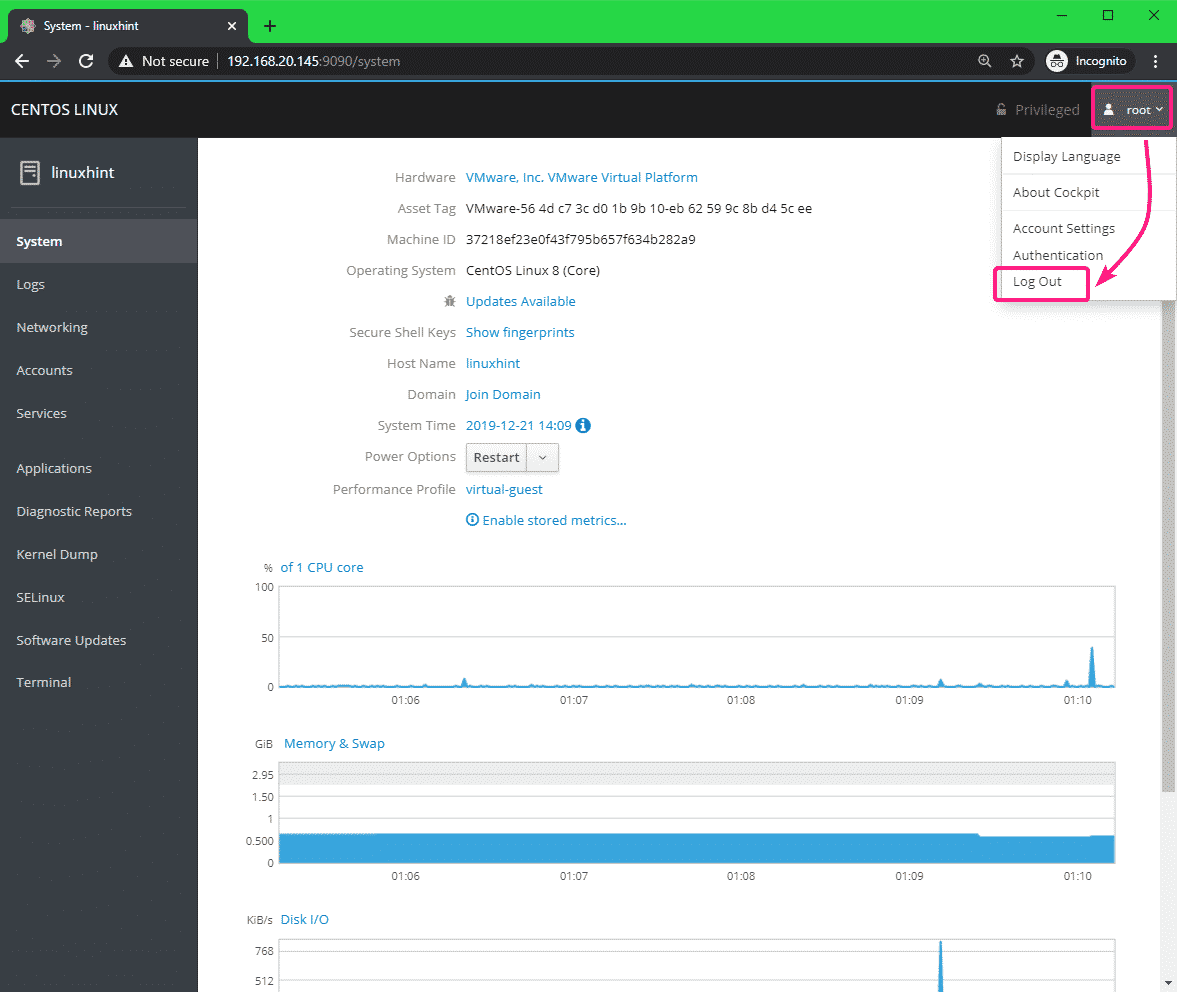
Once you’re done, you can logout of Cockpit web console. To do that, click on the dropdown menu at the top right corner and click on Log Out.
So, that’s how you install Cockpit web console on CentOS 8 and use the Cockpit web console to manage your CentOS 8 server from the web browser. Thanks for reading this article.