Configuring Git Server:
In this section, I am going to show you how to configure an Ubuntu server as a SSH accessible Git server.
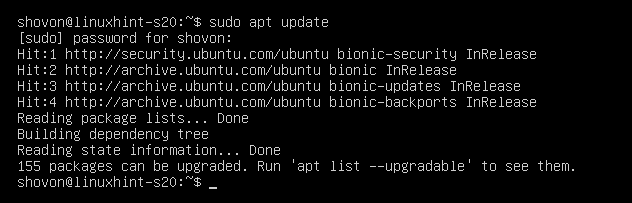
First, update the APT package repository cache with the following command:

The APT package repository cache should be updated.
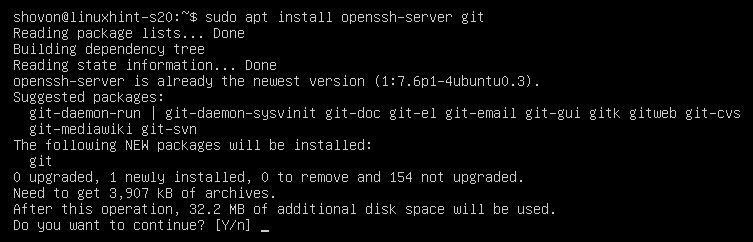
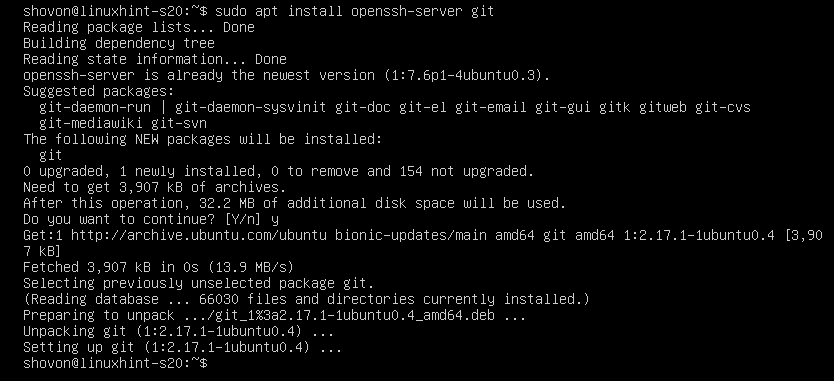
Now, install OpenSSH server and Git with the following command:

Now, press Y and then press <Enter> to confirm the installation.
OpenSSH server and Git should be installed.
Now, create a new user git with the following command:

All the Git repositories will be saved in the home directory of the git user /home/git.
Now, login as the git user with the following command:

Now, create a new directory .ssh with the following command:

Now, allow only git user to have read, write, exec permissions on the directory .ssh/ as follows:

As you can see, the git user only has read (r), write (w), execute (x) permissions on the .ssh/ directory.

Now, create a new empty file .ssh/authorized_keys as follows:

Only allow read and write to the file from the git user as follows:

As you can see, only the git user has read (r) and write (w) permissions to the file .ssh/authorized_keys.

In the .ssh/authorized_keys file, you have to add the public key of the users whom you want to access the Git repositories on the Git server.
Adding Client Public Key to the Git Server:
To access the Git repositories on the Git server, the client must add his/her public key to the Git server.
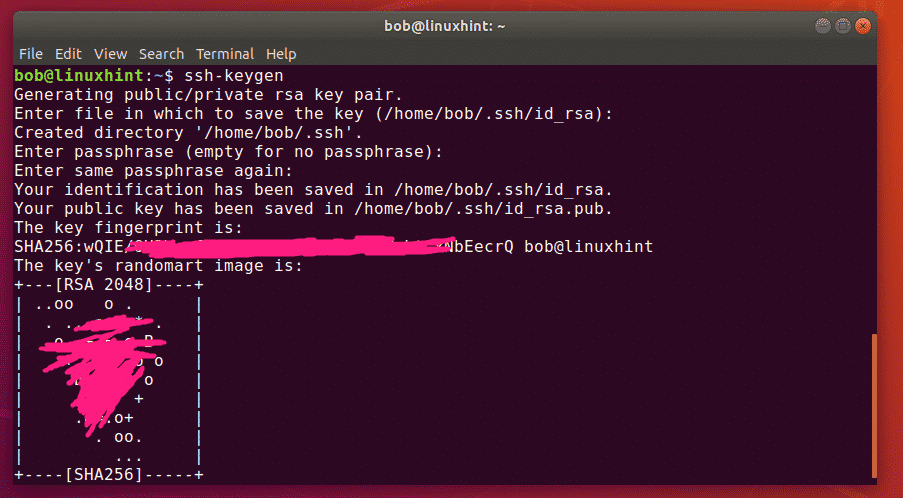
The client can generate a public-private key pair as follows:

Press <Enter>.

Press <Enter>.
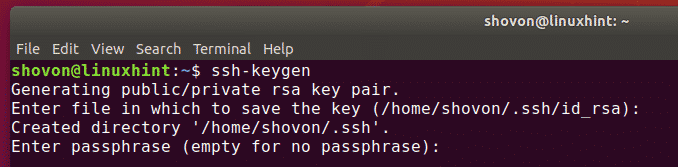
Press <Enter>.

Press <Enter>.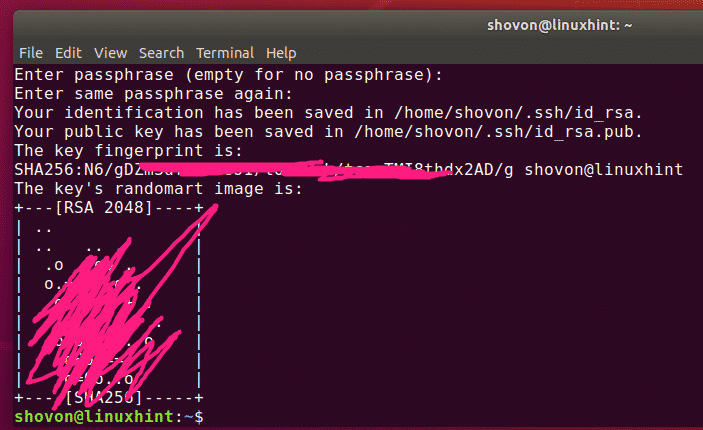
Now, the client can find his/her public key as follows:

Client’s public key should be printed. Now, the client can send this public key to the manager (who manages the Git server). The manager can then add the public key to the Git server. Then the client can access the Git server.

Let’s say, the client sent his/her public key to the Git server manager. The manager uploaded the public key to /tmp/shovon-key.pub file on the Git server.

Now, the Git server manager can add the public key of the client as follows:

Now, the .ssh/authorized_keys file should have the public key of the client.

Creating Git Repositories on the Server:
The clients can’t create new Git repositories on the server. The Git server manager must create a repository on the server. Then, the clients can clone, push/pull from the repository.
Now, create a new empty Git repository testrepo on the Git server as follows:

Now, the client only needs to know the IP address of the Git server in order to access the testrepo Git repository.
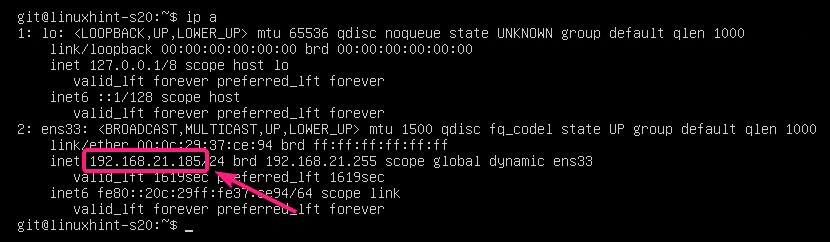
The Git server manager can find this information as follows:
As you can see, the IP address of the Git server is 192.168.21.185. Now, the server manager can tell it to the clients who will be working on the project.
Cloning Git Repository from the Server:
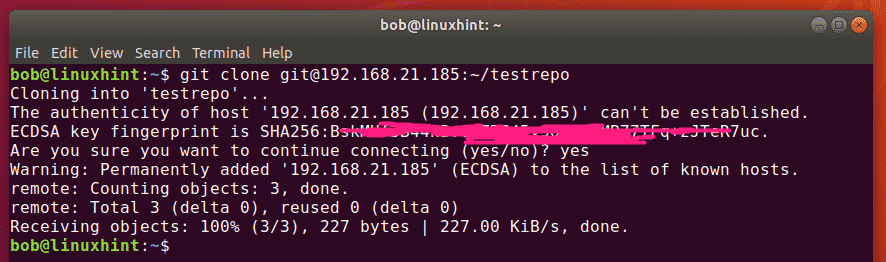
Once the client knows the IP address and the Git repository name, he/she can clone it to his/her computer as follows:

Now, type in yes and press <Enter>. You will need to do this once, only the first time.

The testrepo Git repository should be cloned from the server.
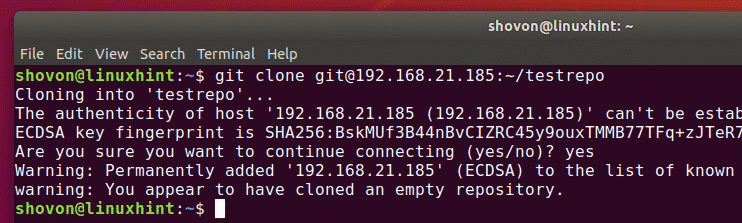
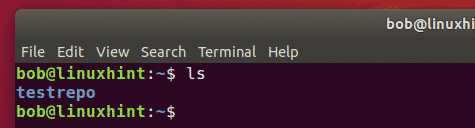
A new directory testrepo should be created.

Making Changes and Pushing Changes to Git Server:
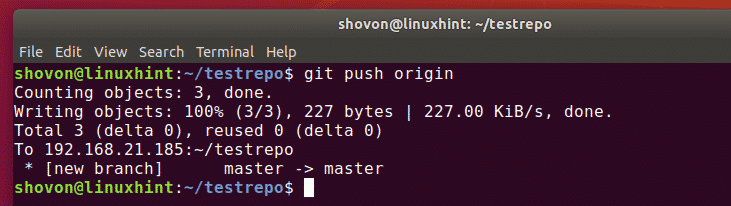
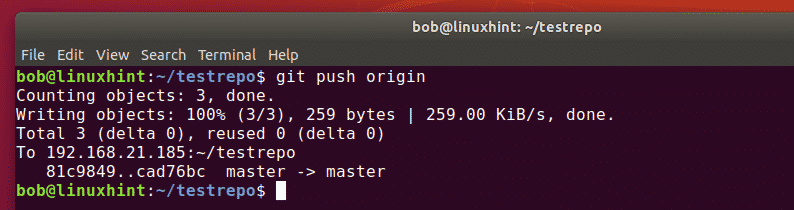
Now, the client can add commits to the testrepo/ repository and push the changes to the Git server.


[/cc[
<a href="https://linuxhint.com/wp-content/uploads/2019/09/33-6.png"><img class="aligncenter size-full wp-image-47672" src="https://linuxhint.com/wp-content/uploads/2019/09/33-6.png" alt="" width="706" height="171" /></a>
[cc lang="bash"]
$ git push origin
Adding a New Team Member:
Now, let’s say, bob wants to contribute to the testrepo Git repository.
All he has to do is generate a SSH key pair and send the public key to the Git server manager.
Once the Git server manager has the public key of bob, he can upload it to the Git server and add it to the .ssh/authorized_keys file as follows:

Now, bob can clone the testrepo Git repository from the server as follows:

testrepo should be cloned.
A new directory testrepo should be created in bob’s computer.
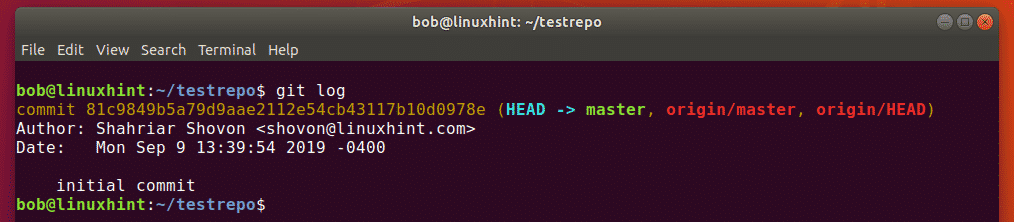
Now, bob can navigate to the Git repository as follows:

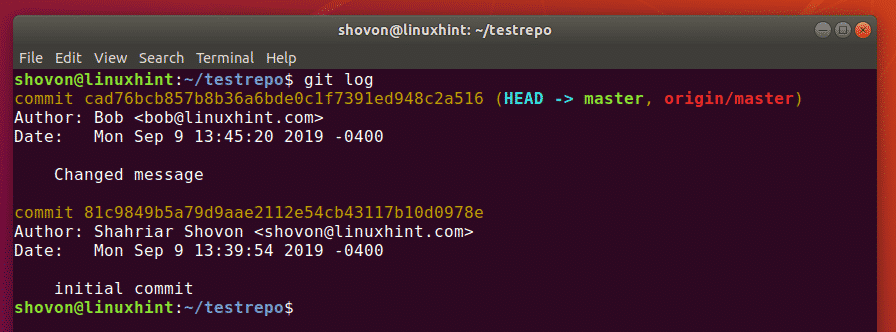
He should find some existing commits.
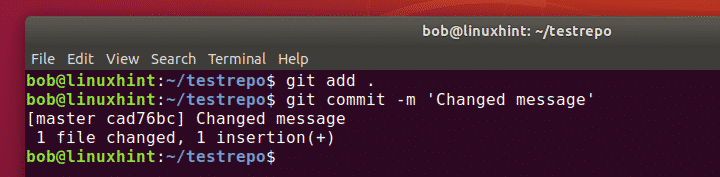
Now, bob can do his own work and commit it. Then, push the changes to the server.

$ git commit -m ‘Changed message’
Now, other people working on the same repository can pull the changes as follows:
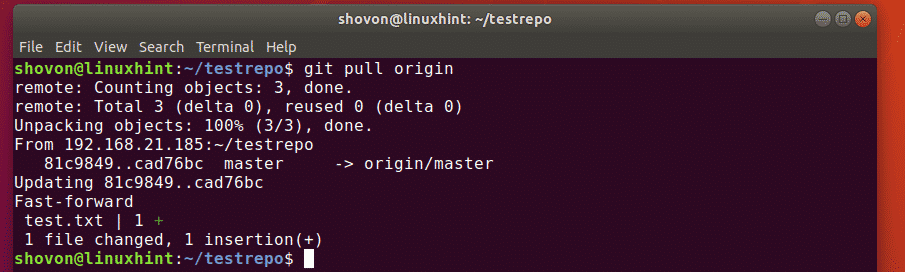
He/she should find the commits that bob made.
So, this is how you configure a Git Server with SSH on Ubuntu and use it. Thanks for reading this article.