In this article, I am going to show you how to install Git on Ubuntu. I will be using Ubuntu 18.04 LTS for the demonstration in this article. But, the procedures and commands shown here in this article should work for any supported version of Ubuntu. So, let’s get started.
Installing Git:
Git is available in the official package repository of Ubuntu. So, you can easily install Git on Ubuntu using the APT package manager.
First, update the APT package repository cache with the following command:
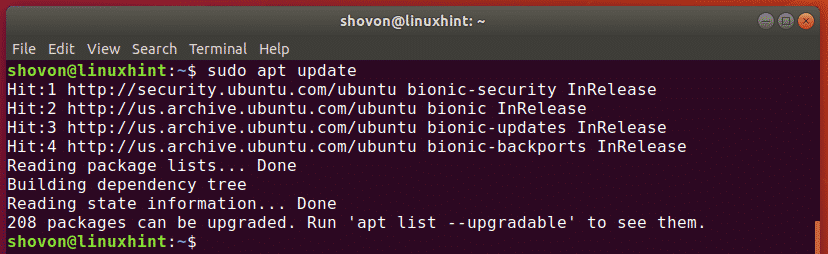
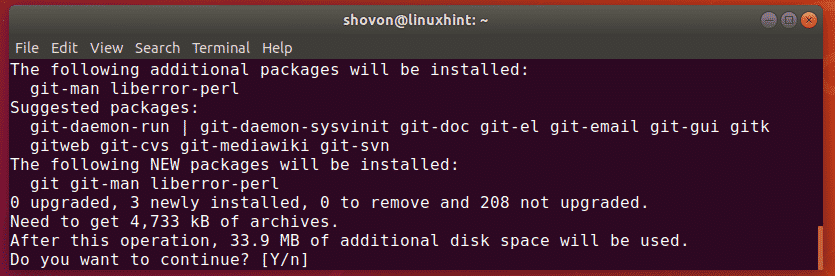
Now, install Git with the following command:

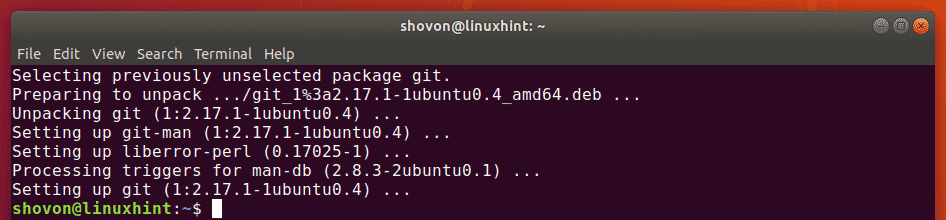
Now, press y and then press <Enter> to continue.
Git should be installed.
Now, run the following command to check whether Git is working correctly:
As you can see, the version of Git I am using is 2.17.1. It’s working correctly as well.

Setting Up Username and Email Globally:
The first thing you want to do when you install Git on your Ubuntu machine is to set the global configuration variables user.name and user.email. The value of these variables will be used when you use Git to manage your source code by default.
To set your global name, run the following command:
NOTE: Change YOUR_NAME to your full name.

You should also set a global email address. So, other developers can contact you if they have any questions about your code.
To set a global email address, run the following command:
NOTE: Change YOUR_EMAIL to your personal email address.

You can check all the variables you’ve set globally with the following command:
As you can see, the variables user.name and user.email I’ve set earlier and their respective values are printed on the screen.

Using Git:
In this section, I am going to show you how to create your own local Git repository and do basic tasks with Git.
Let’s say, you are developing a hello world program using C/C++. Now, you want to use Git to manage it.
To do that, first, navigate to your project directory as follows:

As you can see, I have a main.c file here.

Now, initialize a new Git repository here with the following command:
As you can see, an empty Git repository is initialized.

Now, you can see the status of the files in your Git repository with the following command:
I also don’t have any commits yet. The source file main.c is an untracked file on the repository. This is the default status of all the newly created files of the Git repository.

Now, before you add any file for tracking, let’s see if the source code is alright. I will just compile the main.c program and run it for that purpose.

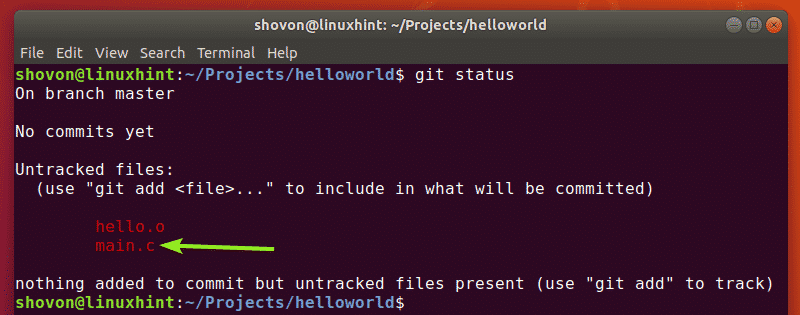
Now, check the status again as follows:
As you can see, I have 2 untracked files now.

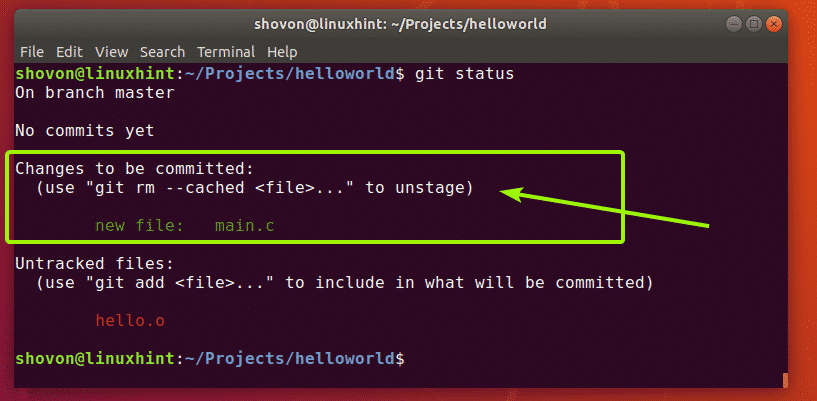
Now, let’s say, you want to track the file main.c. To do that, run the following command:

As you can see, the file main.c is now green. It means Git is now tracking the file and it’s ready to be committed.
If you’ve added any file by mistake, then you can remove it as well. To do that, run the following command:

As you can see, main.c file is no longer being tracked.
You can add all the untracked files with a single command as well as follows:
I’ve compiled the main.c file into hello.o file. You don’t really want Git to track these files in real life. Gladly, Git has .gitignore file which is used to tell Git what files and directories to ignore.
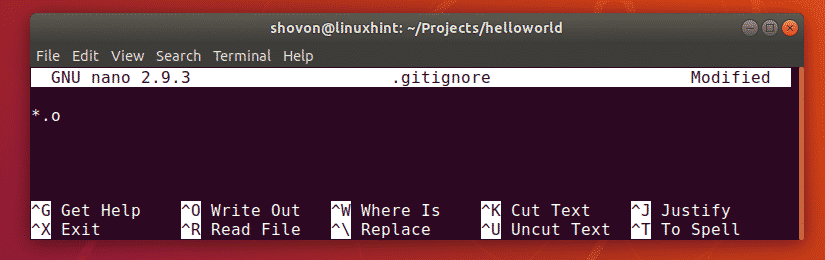
For, example, let’s say, you don’t want to track any files ending in .o extension. To do that, first, create a .gitignore file as follows:

Now, type in *.o in the file as shown in the screenshot below and save the file by pressing <Ctrl> + x followed by y and <Enter>.
Now, as you can see, the hello.o file is no longer listed.

Now, as I used git add -A command to add all the files of my project for tracking.

As you can see, both of the files are added for tracking.

Now, you can commit (save changes) this stage of your development on this project as follows:

As you can see, the state of the project is committed and a unique ID is printed. Every commit has a hash calculated depending on the contents of your project to differentiate between each projects.

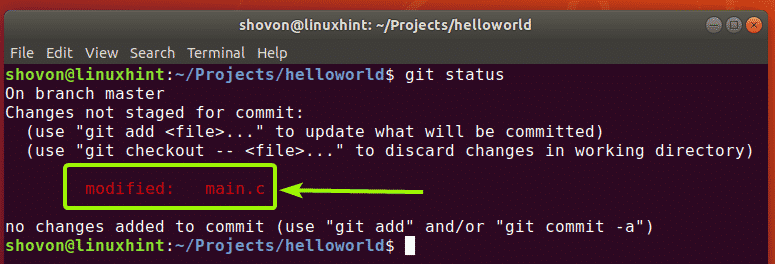
I changed the source code main.c and as you can see, the file status is now modified.
Now, you can commit the changes again as follows:
$ git commit -m "added printHello function to make the code in main.c more modular"
[

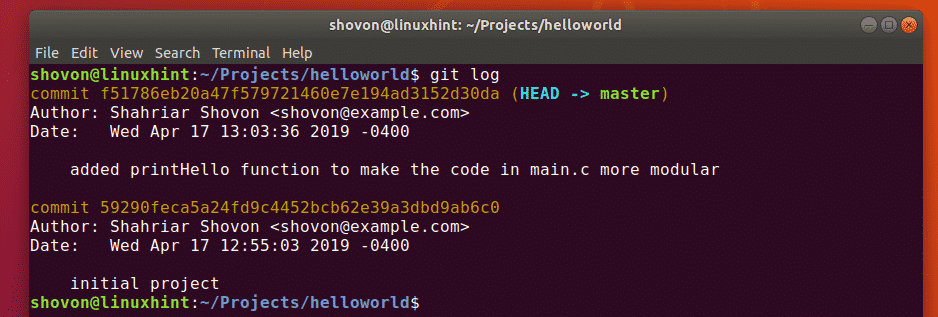
You can see all the commits that you’ve done in this Git repository with the following command:
As you can see, I’ve made 2 commits and they are listed including the commit messages.
You can also use the following command to see all the commits in a compact format:

So, that’s basically how you install Git and use it on Ubuntu. Thanks for reading this article.