Configuring the Server:
If your server doesn’t have openssh-server package installed, you must install it from the official package repository of Debian 10.
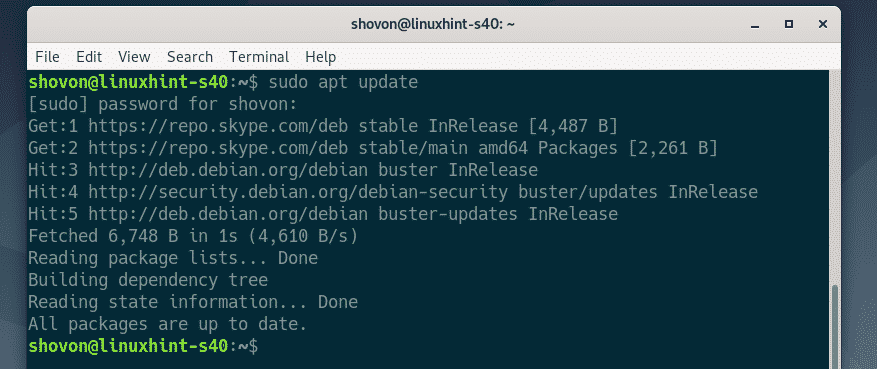
First, update the APT package repository cache with the following command:

The APT package repository cache should be updated.
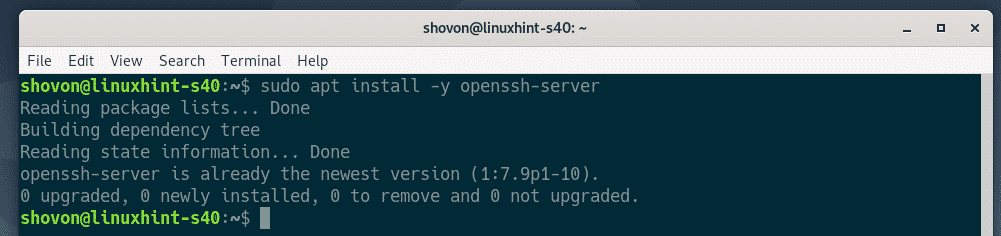
Now, install openssh-server package with the following command:

openssh-server package should be installed.
Now, open the OpenSSH server configuration file /etc/ssh/sshd_config with the following command:

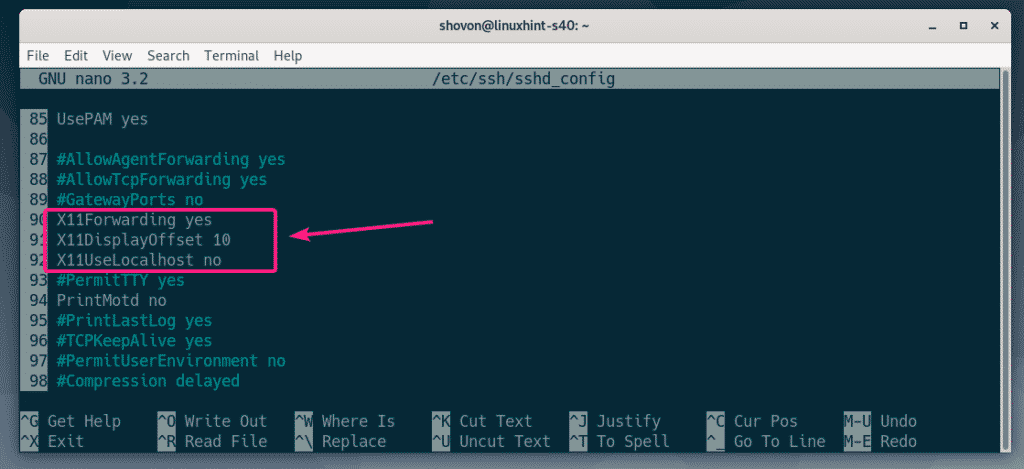
Now, locate the lines X11Forwarding, X11DisplayOffset and X11UseLocalhost, uncomment them (by removing #) and set X11Forwading to yes, X11DisplayOffset to 10 and X11UseLocalhost to no.
The final configuration file is shown in the screenshot below. Once you’re done, save the configuration file by pressing <Ctrl> + X followed by Y and <Enter>.
Now, restart the sshd service with the following command:

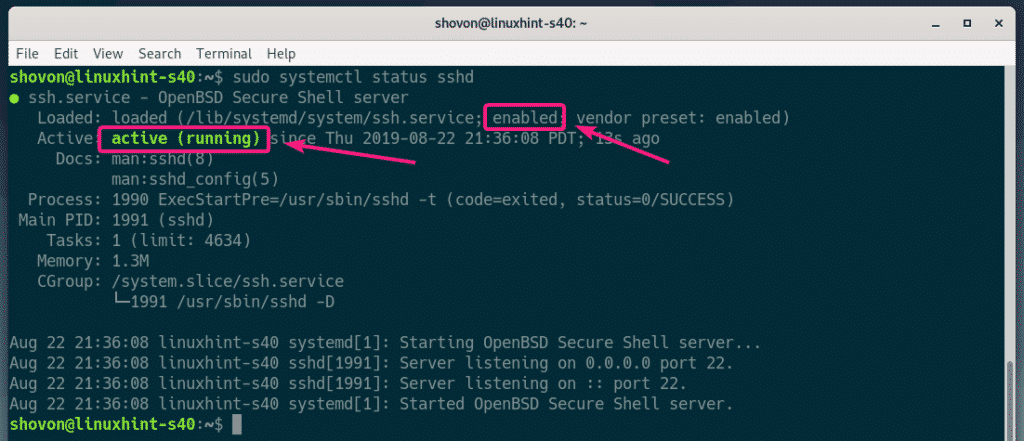
Now, check whether the sshd service is running with the following command:

As you can see, sshd service is running. It’s also enabled. So, it will start automatically on boot.
If the sshd service is not running in any case, then start it with the following command:
If the sshd service is not enabled, then, enable it with the following command.
Configuring the Client:
To connect to the remote server for X11 forwarding via SSH, you need to know the login username and the IP address of the remote server.
You can find the login username of the remote server with the following command:

You can find the IP address of the remote server with the following command:

In my case, the IP address is 192.168.21.131 and the username is shovon. It will be different in your case. Make sure to replace these with yours from now on.
On your client computer, you must have openssh client tools installed.
On Ubuntu/Debian machines, you can install openssh client tools with the following command:
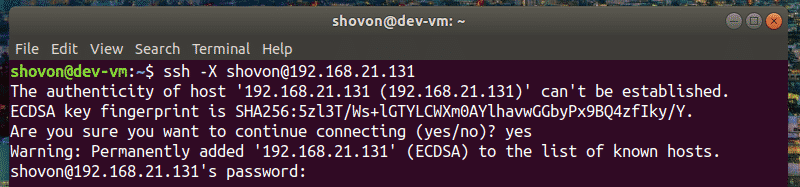
Now, login to the remote server for X11 forwarding with the following command:

If you’re SSHing into the remote server for the first time, then you will see the following prompt. Just type in yes and press <Enter> to continue.

Now, type in the password of the login user of the remote server and press <Enter>.
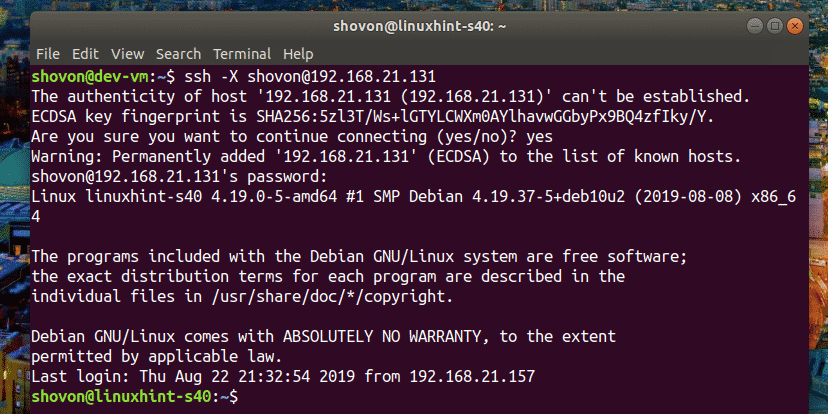
You should be connected to the remote server.
Now, to run a graphical application over SSH, run the command that starts the program.
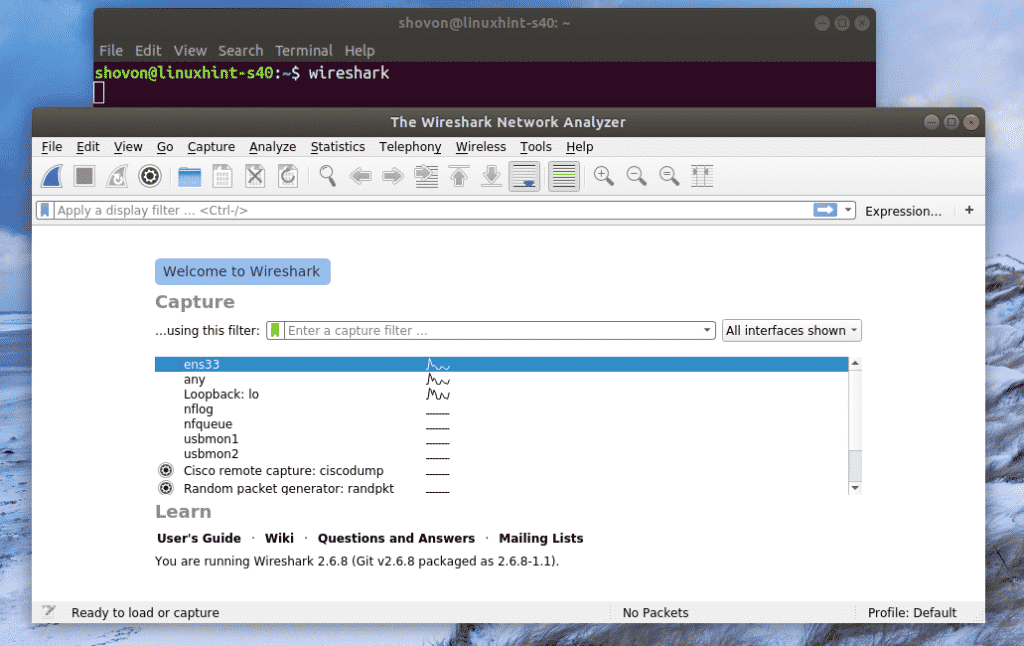
For example, to start wireshark, run the following command:

Wireshark should start on your client computer as you can see in the screenshot below. Wireshark is actually running on the remote server. But, you can use it from the client computer without having it installed on the client computer. Nice isn’t it!
If you run a graphical application like I’ve shown above, you won’t be able to use SSH to run any more command on the remote server.
To run a graphical application remotely and still able to run other commands, start the program as follows:
This way, the graphical application process will run as a background process and the shell will be usable.
Problems Running GNOME Apps Remotely:
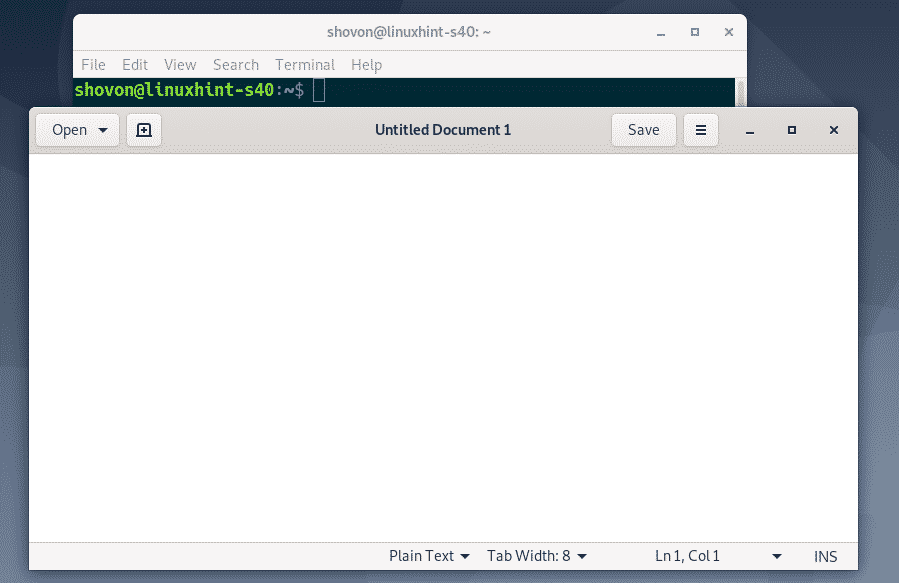
If you’re logged into the remote server already and try to run a GNOME official software such as Gedit, GNOME Disks remotely over SSH. The program will run on the remote server, not on the client as you can see in the screenshot below.
Command executed on the client

Gedit started on the remote server, not on the client.
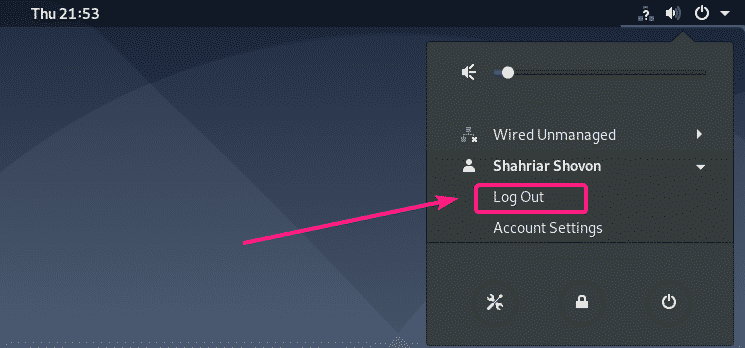
To solve this issue, you must log out on the remote server.
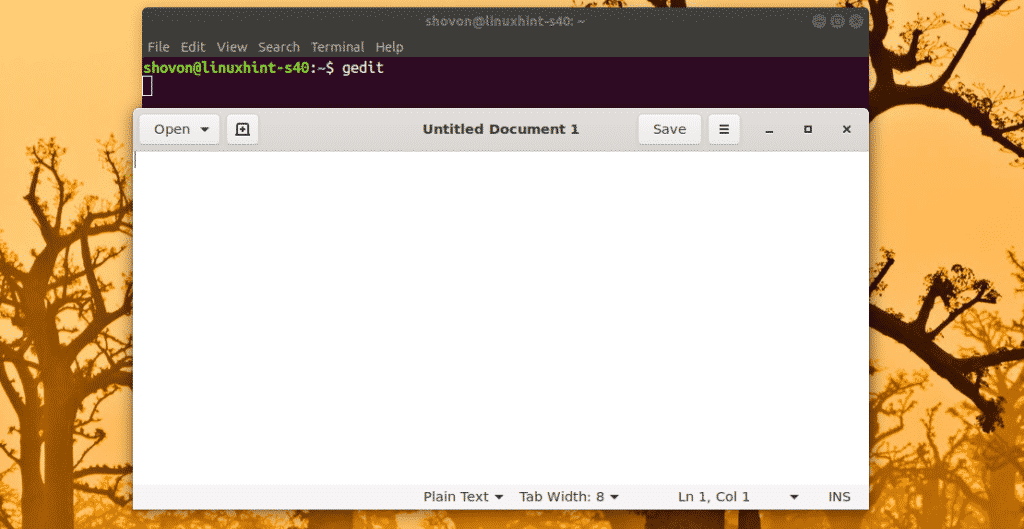
Then, you should be able to run official GNOME apps remotely over SSH. As you can see, I am running Gedit remotely. It’s working just fine.
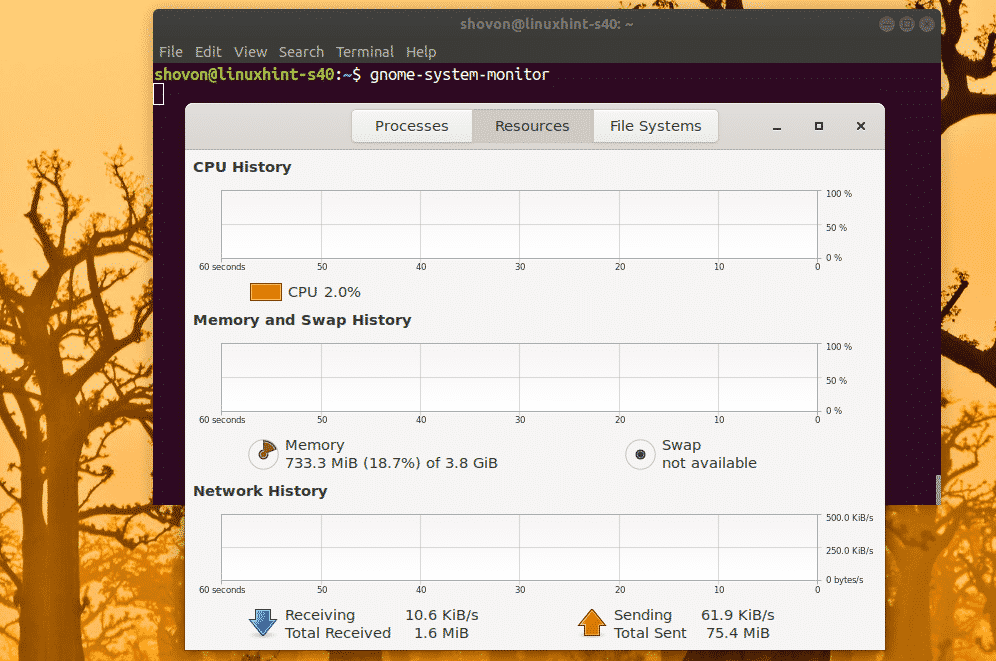
I can also use GNOME System Monitor.
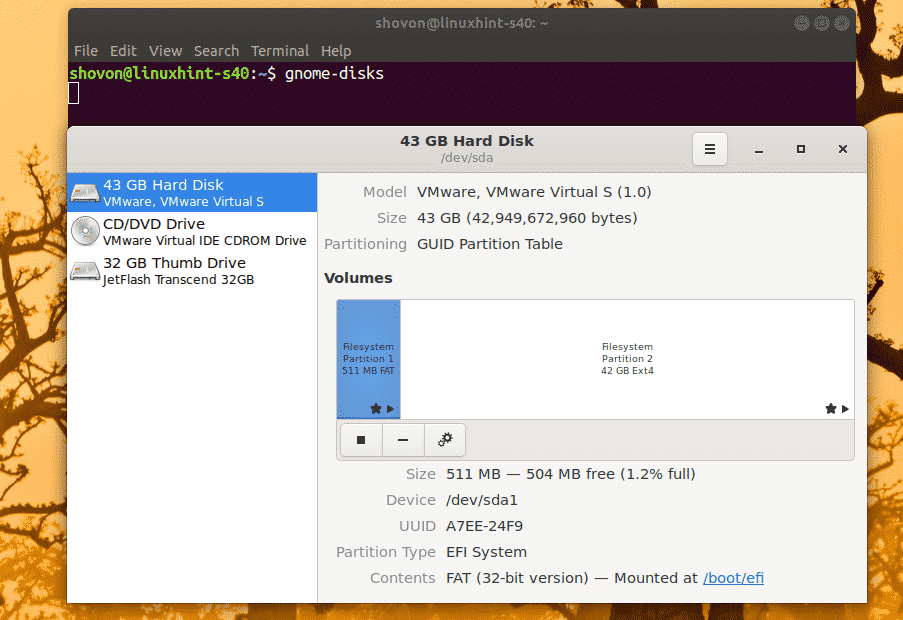
GNOME Disks works as well.
So, that’s how you configure SSH X11 Forwarding on Debian 10 and access graphical applications remotely. Thanks for reading this article.