Luckily, there is a better solution. You can tell all the servers that you administer to trust the computer or laptop that you’re using to connect and configure them. This way, you can log into these servers without any password or with the same password. In this method, you only need to know the login password of these servers only once. Then, you can forget about it as long as you’re using the same computer or laptop to connect to these servers.
In this article, I am going to show you how to setup passwordless login to servers via SSH. So, let’s get started.
Network Topology:

Here, I have 3 servers on my local network linuxhint-server1, linuxhint-server2, linuxhint-server3. I as a Linux system administrator, am using a laptop linuxhint-client which is also on the same network. So, I want to configure all the servers in a way that I can access to all these servers from my laptop linuxhint-client without any password. So, let’s see how this will be configured in next sections.
Generating SSH Keys on the Client:
The key idea here is that you generate an SSH key on your computer or laptop from which you want to access all the servers. Then, upload the SSH key to the servers from your computer or laptop.
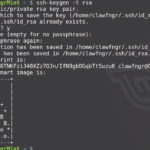
To generate an SSH key on the computer or laptop from which you want to connect to the servers, run the following command:

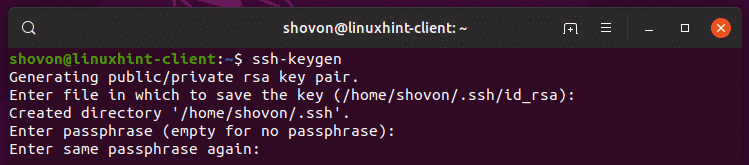
Now, press <Enter> to continue.

Now, you can set a password for your SSH key. It is optional. Whether you set up a password for your SSH key or not depends on how you want to configure access to the servers. If you don’t set a password for the SSH key here, you won’t need any password to SSH into the servers. If you do set a password here, you will need to enter the same password every time you connect to any of the servers. So, It’s up to you. I will not set a password for the SSH key in this article.
If you do want to set up a password, just type in the password and press <Enter>. Otherwise, leave it blank and press <Enter>.

If you’ve set a password earlier, just type in the same password again and press <Enter>. Otherwise, just press <Enter> without typing in anything.
The SSH key should be generated.
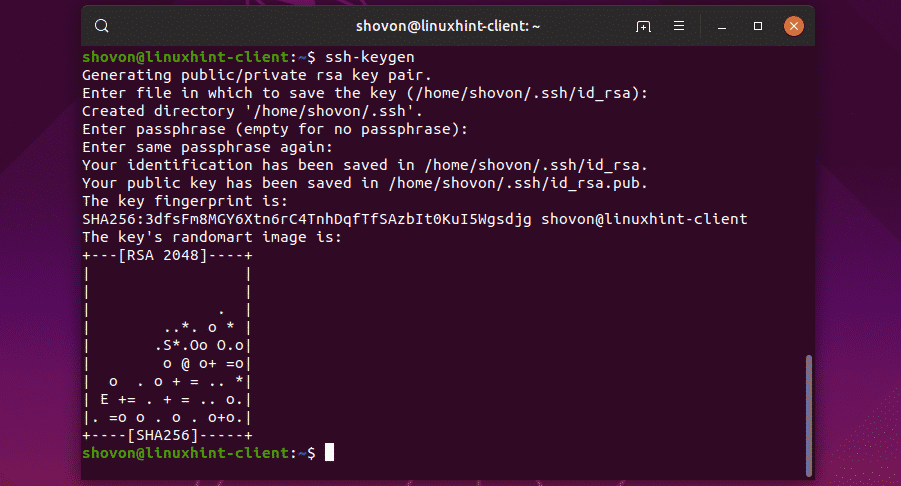
By default, the ssh-keygen generates a RSA key of length 2048 bits. But, if you want to change the key type and length, you can use the -t and -b options of ssh-keygen as follows:
Currently, the supported key_type is rsa, dsa, ecdsa, and ed25519 and the bit_length can be 2048, 4096 and so on.
Uploading SSH Key to the Servers:
Now, you have to upload the SSH key you just generated on your computer or laptop to the servers. For that, you have to have SSH server software (openssh-server) installed on each of the servers and must be able to login to the servers via SSH.
To login to linuxhint-server1 via SSH, you need the IP address of the linuxhint-server1 server. To do that, run the following command on the linuxhint-server1 server.
As you can see, the IP address of linuxhint-server1 is 192.168.21.203.

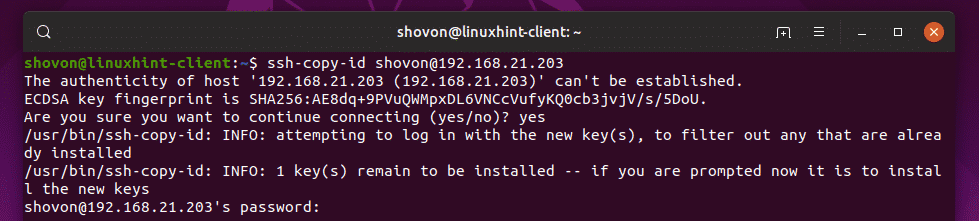
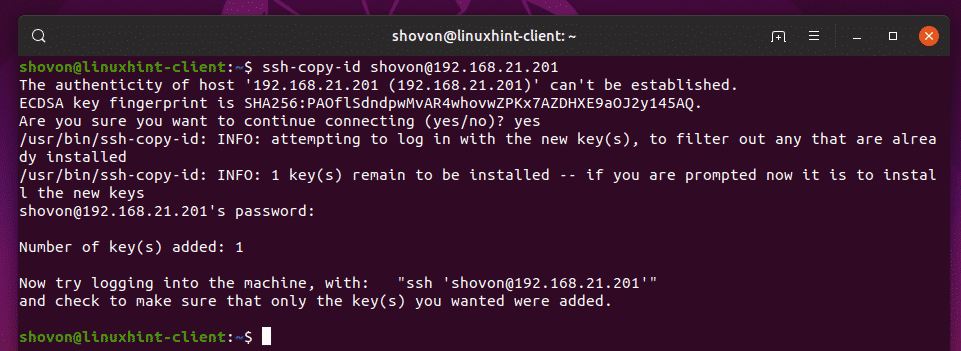
Now, from the linuxhint-client, upload the SSH key to the linuxhint-server1 as follows:

Now, type in yes and press <Enter>.

Now, type in the login password of the linuxhint-server1 server and press <Enter>.
The SSH key should be uploaded to the server linuxhint-server1.

The same way, upload the SSH key to the linuxhint-server2 as well.

Upload the SSH key to the linuxhint-server3 as well.
SSH into Servers without Password:
Now, you should be able to access all the servers via SSH without any password.
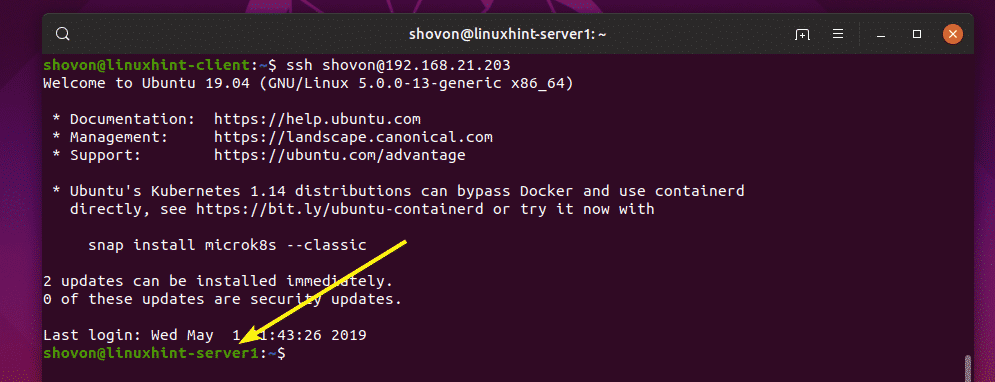
Let’s try to access the server linuxhint-server1:

As you can see, it didn’t prompt me for a password. Instead, I was logged in directly to the console of linuxhint-server1.
I can also log in to the linuxhint-server2 server without any password as you can see in the screenshot below.

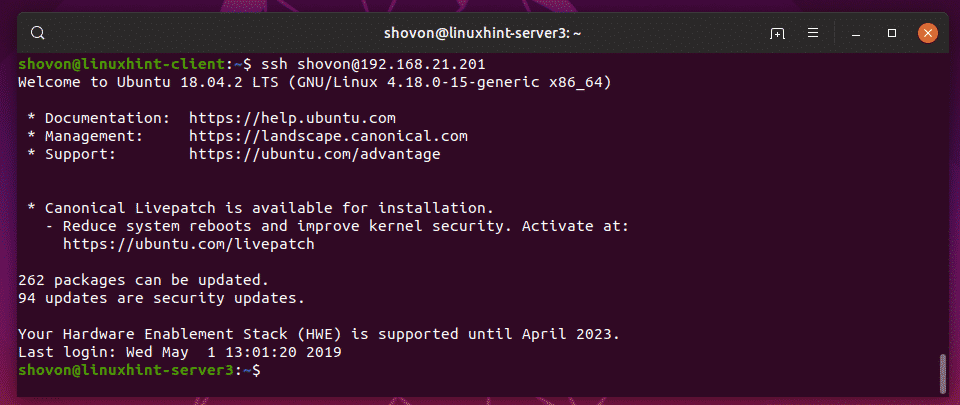
As you can see, I can also SSH into the linuxhint-server3 server as well. Great!
So, that’s how you configure passwordless login to Linux servers via SSH. Thanks for reading this article.