How to Connect Android Phone to Arch Linux
By default, Android Phone support is not enabled on Arch Linux.
In this article, I will show you how to enable Android Phone support on Arch Linux and connect your Android Phone for File Transfer on Arch Linux. Let’s get started.
First you have to do a full system upgrade. I once didn’t do it and some packages refused to install due to dependency issues. If you’re an Arch user, I think it’s a best idea to do a full system upgrade before you try this process.
You can run the following command to do a full system upgrade of your Arch machine:
As you can see, my Arch machine is fully upgraded.
Some packages we need are not available in the official package repository of Arch Linux, but are available in the AUR (Arch User Repository). This is why we need Git version control system to clone the files of AUR package repository.
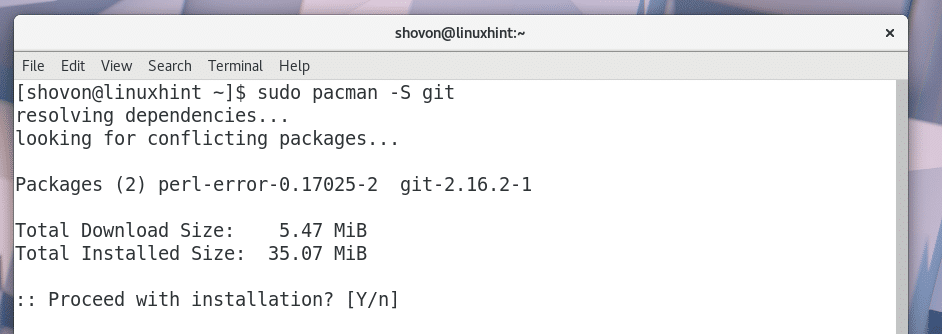
You can run the following command to install Git:
Press ‘y’ and then press <Enter> to continue.
Git should be installed.
You can run the following command to check whether Git is working.
As you can see Git is installed and working perfectly.
You access Android File System using MTP protocol. It is not installed on Arch Linux by default.
You can enable MTP support by install mtpfs Arch package.
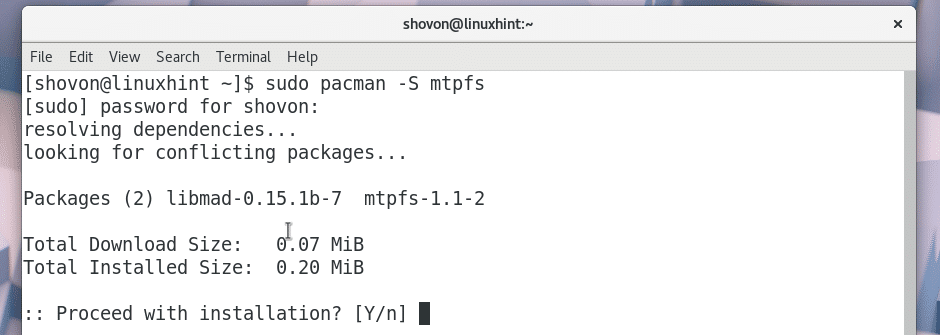
You can install mtpfs by running the following command:
Now press ‘y’ and then press <Enter> to continue.
mtpfs package should be installed.
Due to some changes in the Android 4+ devices, mtpfs sometimes is not enough to provide MTP support for Arch Linux. So you should also install another package called jmtpfs. jmtpfs is not available in the official package repository of Arch Linux. But is it available in the AUR. Now I am going to install it.
First, navigate to the ~/Downloads/ directory with the following command:
Now clone the jmtpfs git repository with the following command:
The jmtpfs repository should be cloned as you can see from the screenshot below.
A new directory jmtpfs/ should be created as you can see from the screenshot below.
Navigate to the jmtpfs/ directory with the following command:
Now you have to make a pacman package for Arch Linux using the jmtpfs repository files. On Arch Linux, makepkg command is available for that purpose.
Run the following command to make a pacman package of jmtpfs:
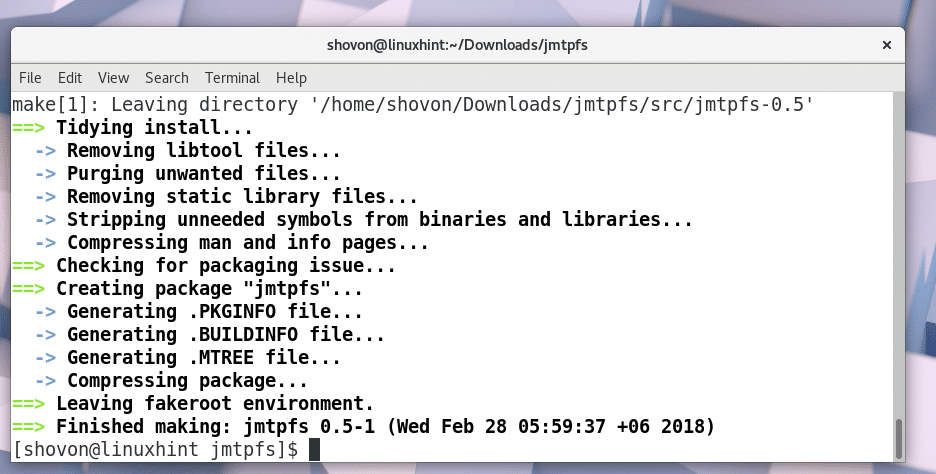
jmtpfs pacman package is being created.
Upon completion, you should see something like this.
Now you should see a .tar.xz file as shown in the marked section of the screenshot below.
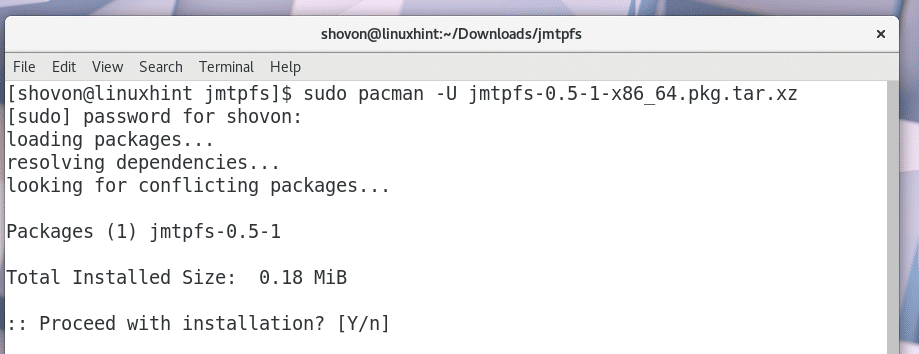
Just run the following command to install the .tar.xz package using pacman package manager:
Press ‘y’ and then press <Enter> to continue.
jmtpfs should be installed.
Now that MTP support is enabled, you must install some additional packages for integrating the MTP protocol with your File Manager such as Nautilus. Otherwise when you connect your Android phone to your Arch Linux machine, it won’t be displayed in the File Manager and you will have to mount it manually, which is not what you want.
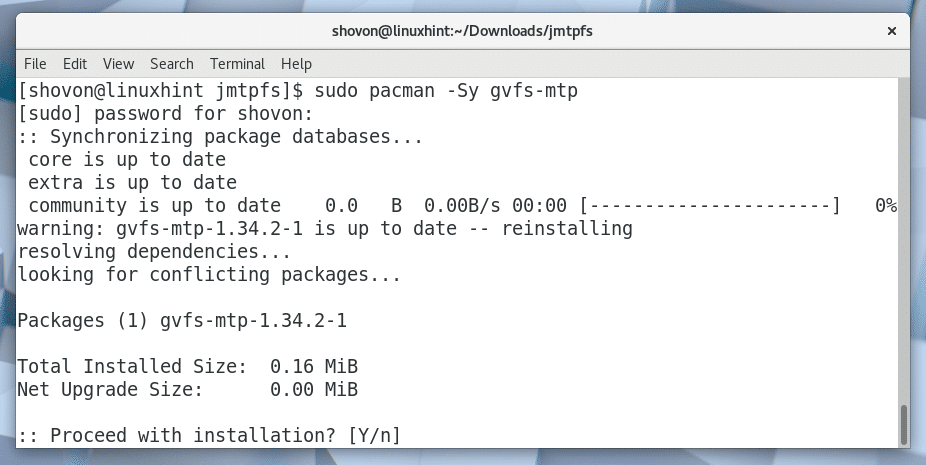
Run the following command to install gvfs-mtp package:
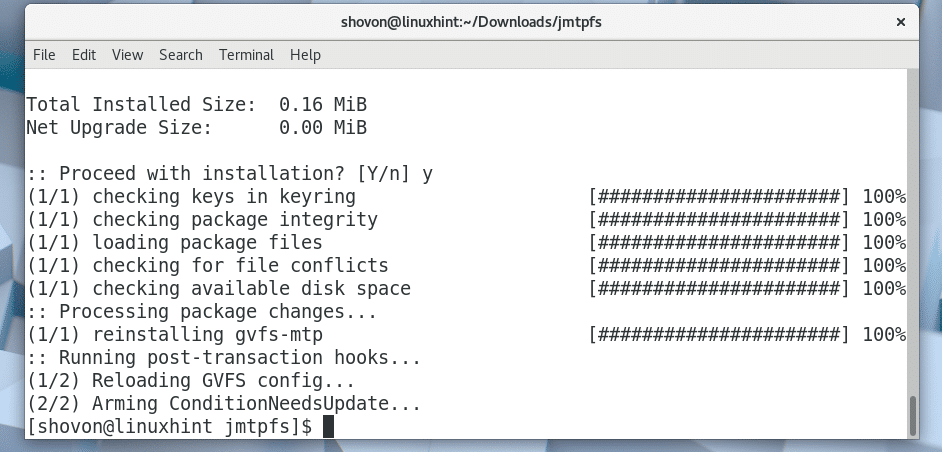
Now press ‘y’ and then press <Enter> to continue.
gvfs-mtp package should be installed.
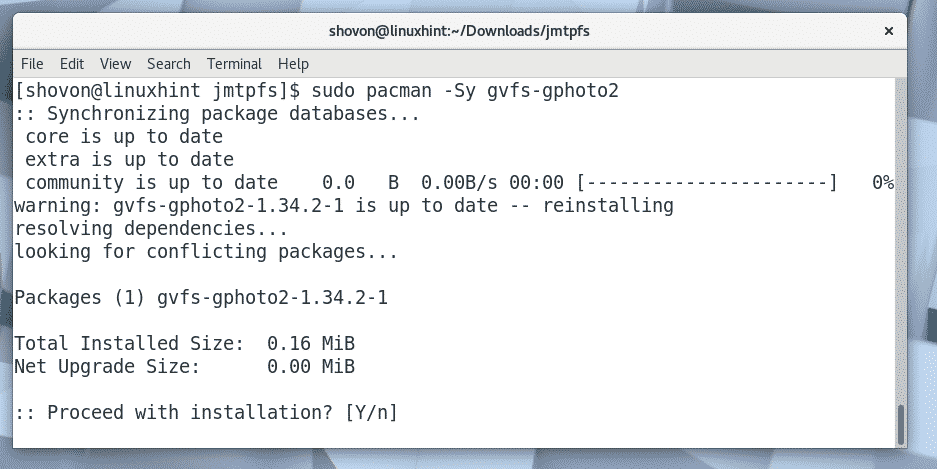
You can also enable PTP support for your File Manager by running the following command:
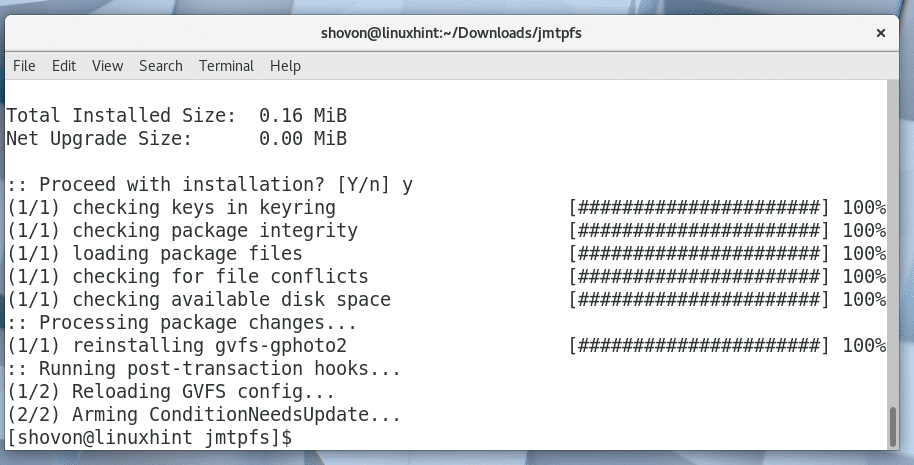
Press ‘y’ and then press <Enter> to continue.
gvfs-gphoto2 should be installed.
Now you must restart your Arch Linux machine for the changes to take effect.
Run the following command to restart your computer:
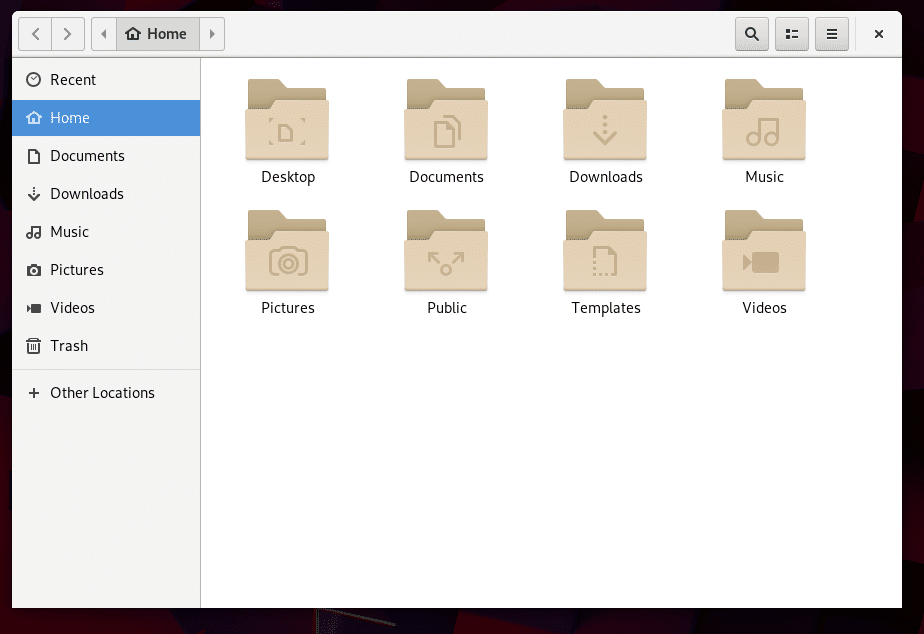
Once your computer starts, open your File Manager such as Nautilus and you should see the following window.
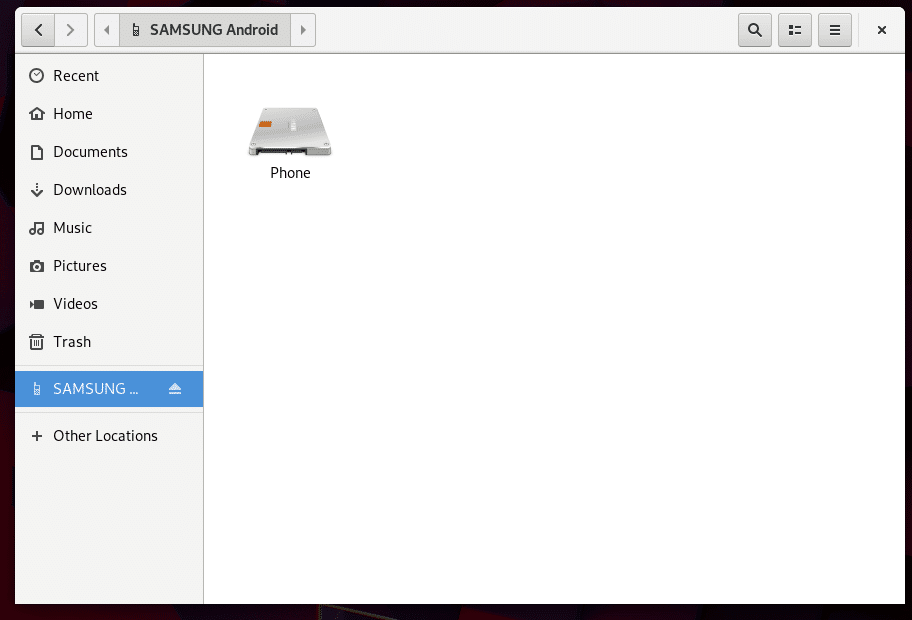
Now if you connect your Android device to your computer, it should show up in the File Manager as shown in the marked section of the screenshot below.
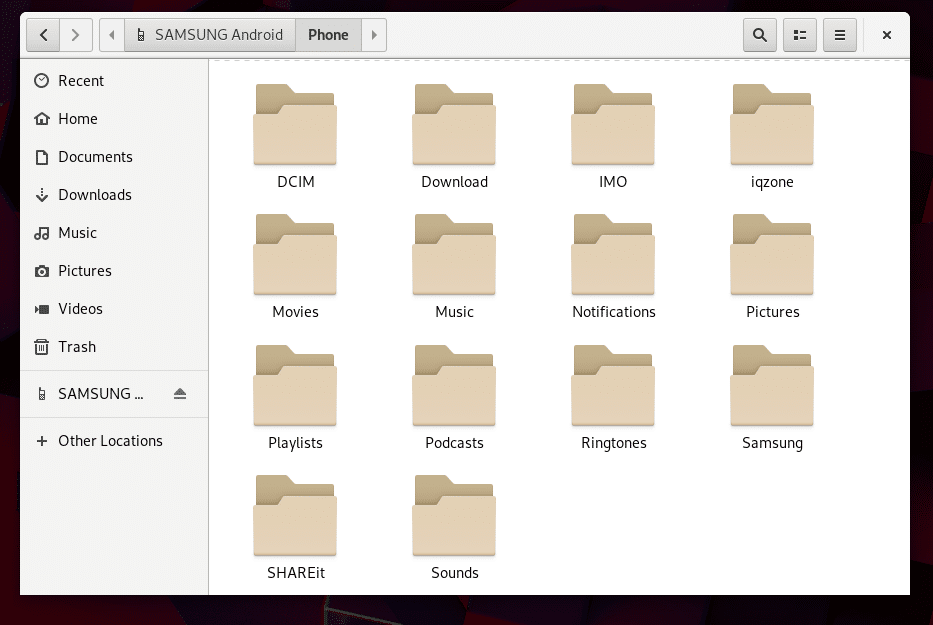
You can just click on your Android device and it should open up.
As you can see I can see all the files of my Android phone.
That’s how you connect your Android Phone to your Arch Linux machine. Thanks for reading this article.


