- How to disable ssh root access on Debian 10 Buster
- Alternatives to secure your ssh access
- Filtering the ssh port with iptables
- Using TCP wrappers to filter ssh
- Disabling the ssh service
- Related articles
How to disable ssh root access on Debian 10 Buster
To disable ssh root access you need to edit the ssh configuration file, on Debian it is /etc/ssh/sshd_config, to edit it using nano text editor run:

On nano you can press CTRL+W (where) and type PermitRoot to find the following line:

To disable the root access through ssh just uncomment that line and replace prohibit-password for no like in the following image.
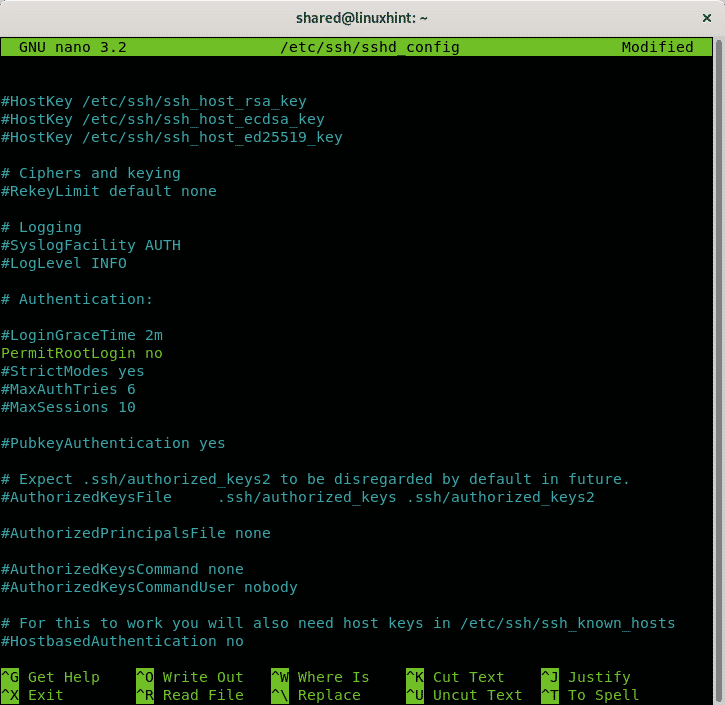
After disabling the root access press CTRL+X and Y to save and exit.
The prohibit-password option prevents password login allowing only login through fall-back actions such as public keys, preventing brute force attacks.
Alternatives to secure your ssh access
Restrict access to Public Key Authentication:
To disable password login allowing only login using a Public key open the /etc/ssh/ssh_config configuration file again by running:

To disable password login allowing only login using a Public key open the /etc/ssh/ssh_config configuration file again by running:
Find the line containing PubkeyAuthentication and make sure it says yes like in the example below:
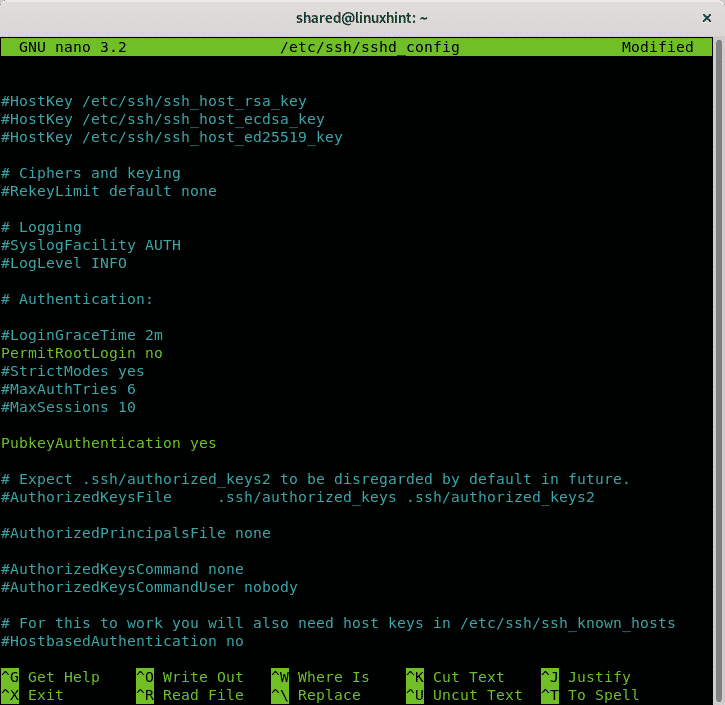
Make sure password authentication is disabled by finding the line containing PasswordAuthentication, if commented uncomment it and make sure it is set as no like in the following image:
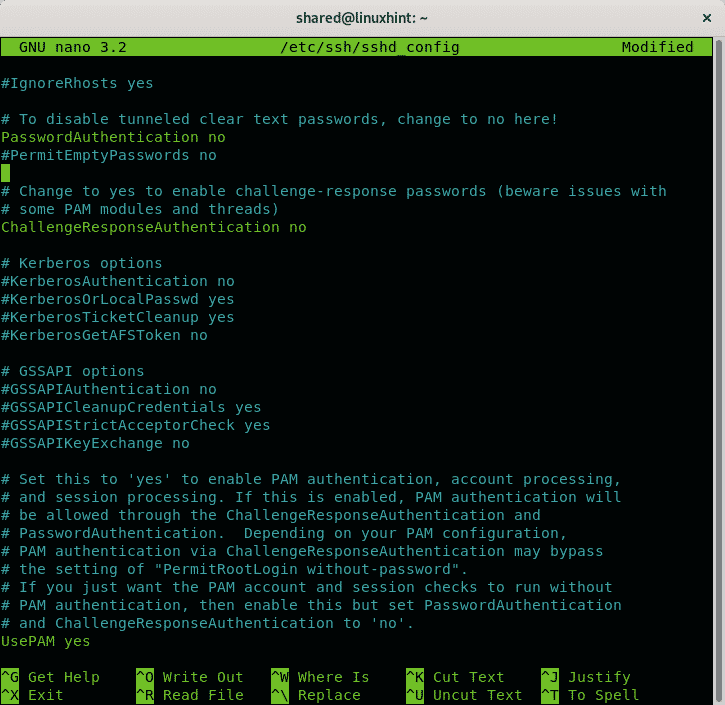
Then press CTRL+X and Y to save and exit nano text editor.
Now as the user you want to allow ssh access through you need to generate private and public key pairs. Run:
Answer the question sequence leaving the first answer the default by pressing ENTER, set your passphrase, repeat it and the keys will be stored at ~/.ssh/id_rsa
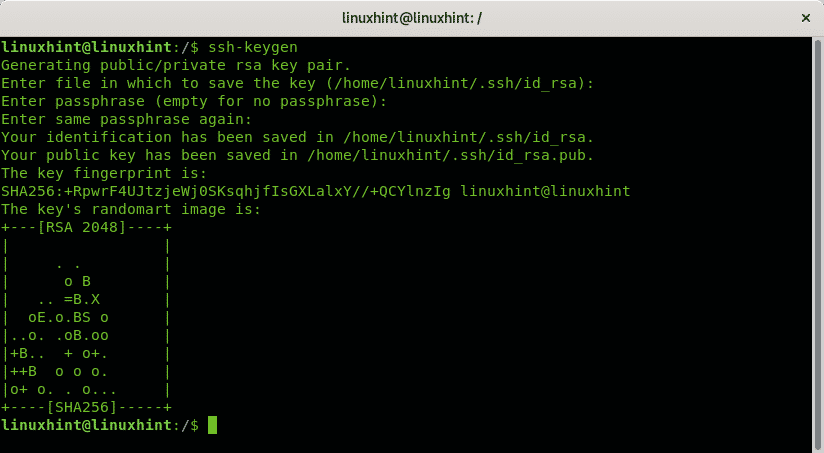
Enter file in which to save the key (/root/.ssh/id_rsa): <Press ENTER>
Enter passphrase (empty for no passphrase): <W
Enter same passphrase again:
Your identification has been saved in /root/.ssh/id_rsa.
Your public key has been saved in /root/.ssh/id_rsa.pub.
The key fingerprint is:
SHA256:34+uXVI4d3ik6ryOAtDKT6RaIFclVLyZUdRlJwfbVGo root@linuxhint
The key‘s randomart image is:
+—[RSA 2048]—-+
To transfer the key pairs you just created you can use the ssh-copy-id command with the following syntax:
Change the default ssh port:
Open the /etc/ssh/ssh_config configuration file again by running:

Let’s say you want to use the port 7645 instead of the default port 22. Add a line like in the example below:
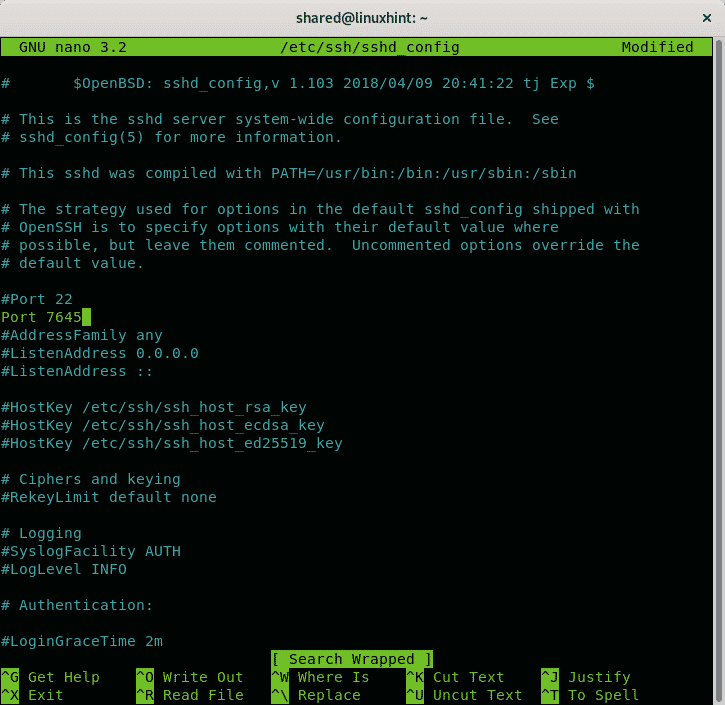
Then press CTRL+X and Y to save and exit.
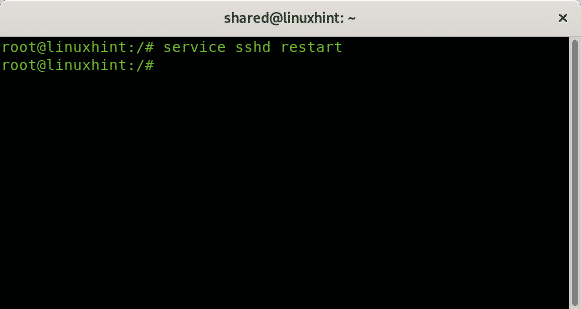
Restart the ssh service by running:
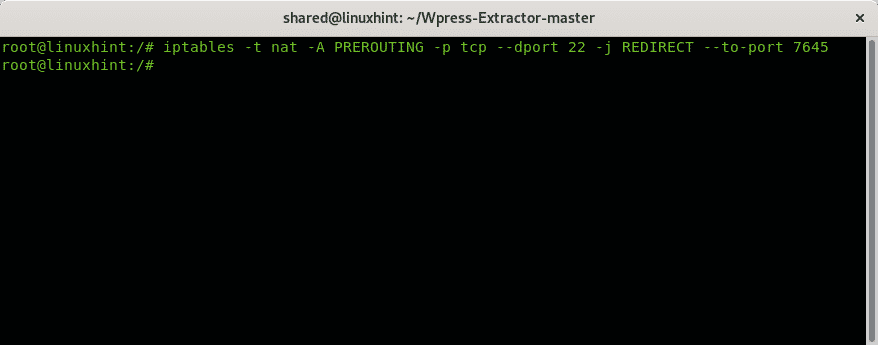
Then you should configure iptables to allow communication through port 7645:
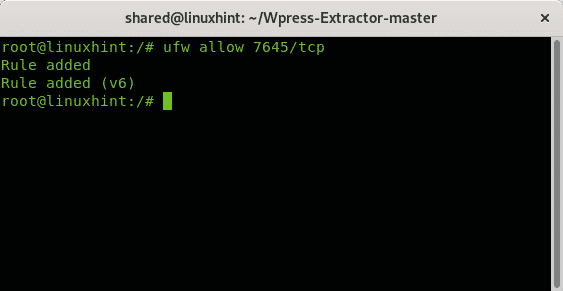
You can also use UFW (Uncomplicated Firewall) instead:
Filtering the ssh port
You can also define rules to accept or reject ssh connections according to specific parameters. The following syntax shows how to accept ssh connections from a specific IP address using iptables:
iptables -A INPUT -p tcp –dport 22 -j DROP
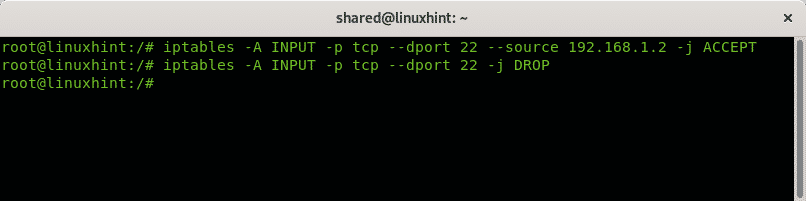
The first line of the example above instructs iptables to accept incoming (INPUT) TCP requests to port 22 from the IP 192.168.1.2. The second line instructs IP tables to drop all connections to port 22. You can also filter the source by mac address like in the example below:
-j REJECT

The example above rejects all connections except for the device with mac address 02:42:df:a0:d3:8f.
Using TCP wrappers to filter ssh
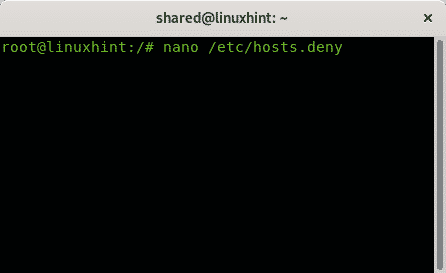
Another way to whitelist IP addresses to connect through ssh while rejecting the rest is by editing the directories hosts.deny and hosts.allow located in /etc.
To reject all hosts run:
Add a last line:
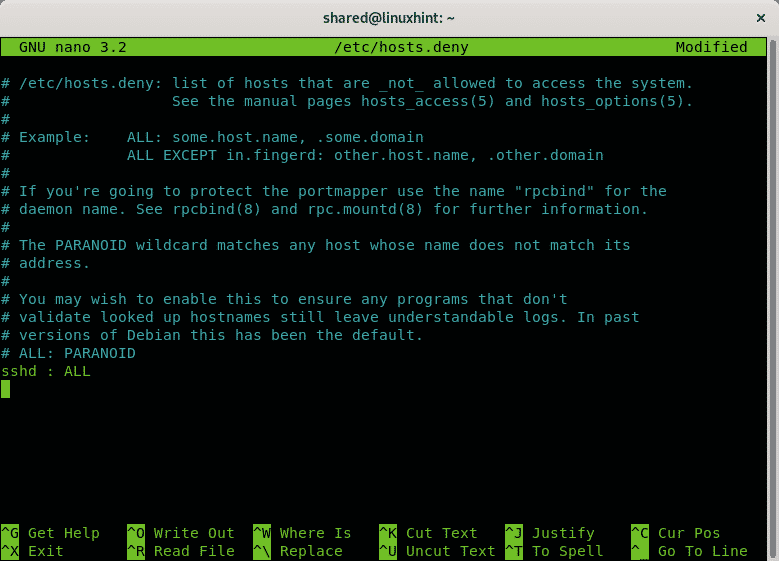
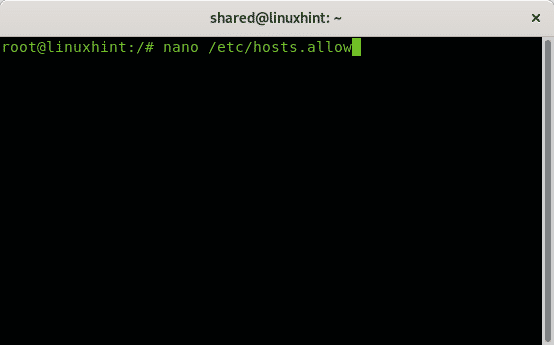
Press CTRL+X and Y to save and exit. Now to allow specific hosts through ssh edit the file /etc/hosts.allow, to edit it run:
Add a line containing:
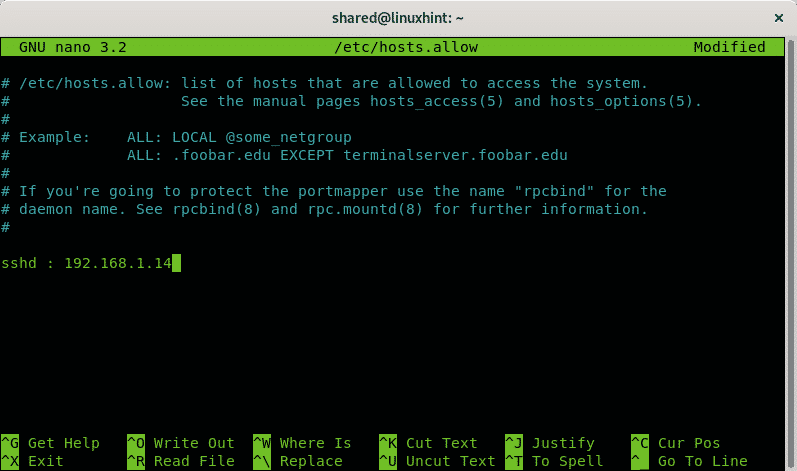
Press CTRL+X to save and exit nano.
Disabling the ssh service
Many domestic users consider ssh useless, if you don’t use it at all you can remove it or you can block or filter the port.
On Debian Linux or based systems like Ubuntu you can remove services using the apt package manager.
To remove the ssh service run:
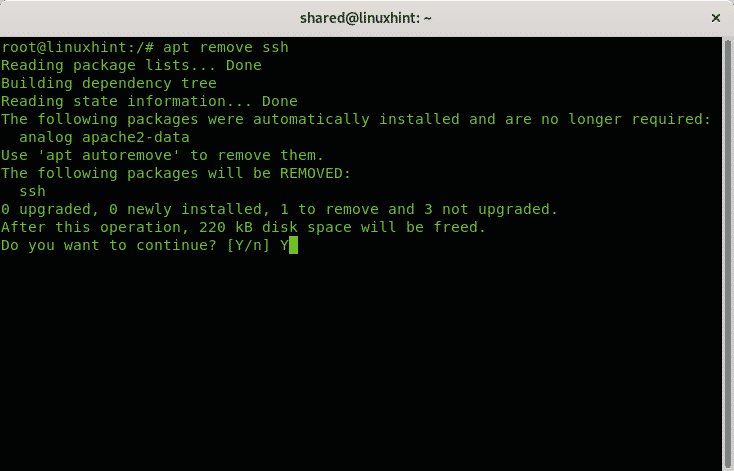
Press Y if requested to finish the removal.
And that’s all about domestic measures to keep ssh safe.
I hope you found this tutorial useful, keep following LinuxHint for more tips and tutorials on Linux and networking.
Related articles:
- How to Enable SSH Server on Ubuntu 18.04 LTS
- Enable SSH on Debian 10
- SSH Port Forwarding on Linux
- Common SSH Configuration Options Ubuntu
- How and Why to Change Default SSH Port
- Configure SSH X11 Forwarding on Debian 10
- Arch Linux SSH Server Setup, Customization and Optimization
- Iptables for beginners
- Working with Debian Firewalls (UFW)