How to Check RAM on Ubuntu 18.04
Random Access Memory or RAM in short, is a very important part of any computer. If you’ve bought a new pre-configured Ubuntu computer or a Virtual Private Server (VPS) and you don’t know any information about how much RAM it has, how much of it is used, the speed of the RAM installed, the type of the RAM, then this article is for you. In this article, I will show you how to find out information about your installed RAM or memory on Ubuntu 18.04 and also find out if you have any problems in your installed RAM. Let’s get started.
Checking Size and Availability of RAM
You can check how much RAM you have installed on your Ubuntu 18.04 machine using the following command:
As you can see from the marked section of the screenshot below, the total installed RAM on my Ubuntu 18.04 machine is 1.9 Giga Bytes (GB).
You can also find out how much RAM is used and how much RAM is available using free command.
As you can see from the marked section of the screenshot below, the RAM used on my Ubuntu 18.04 machine is 1.5 Giga Bytes (GB) and the RAM available or free is 258 Mega Bytes (MB).
Checking the Type and Speed of RAM
There are different types of RAM available in the market. For example, DDR1, DDR2, DDR3 and DDR4. DDR here means Double Data Rate. At the time of this writing, the most widely used RAM type is DDR3 and DDR4. There are other types of memory for portable devices as well such as SDRAM, DRAM etc.
Every RAM or memory module these days has different profiles. Each of these profile define the clock speed at which the RAM should be running.
You can check the type of RAM you have installed on your Ubuntu 18.04 machine using the following command:
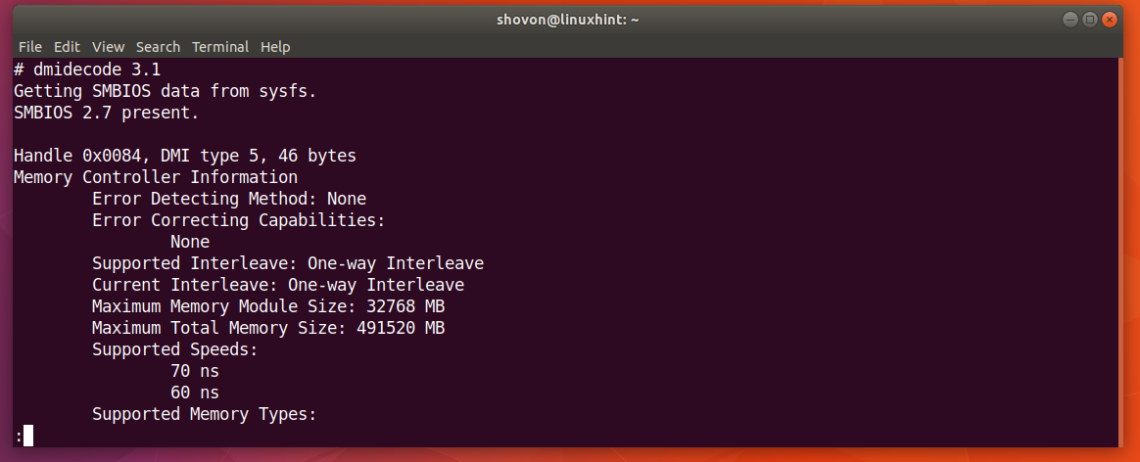
You should see the following window as shown in the screenshot below. This is a lot of information. You can press the <Up> and <Down> arrow keys to navigate this information.
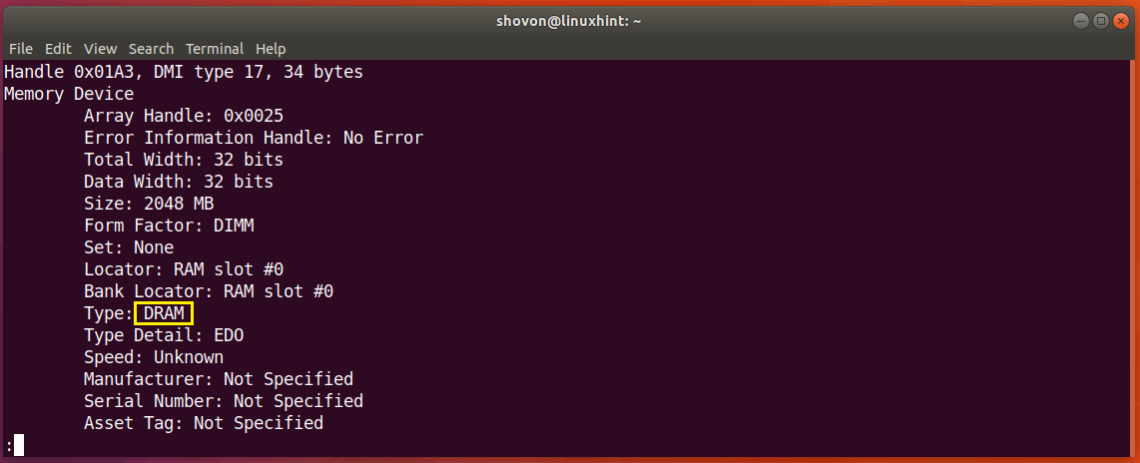
Just scroll down a little bit and you should find information about your RAM. As you can see from the screenshot below, the type of RAM installed on my Ubuntu 18.04 machine is DRAM.
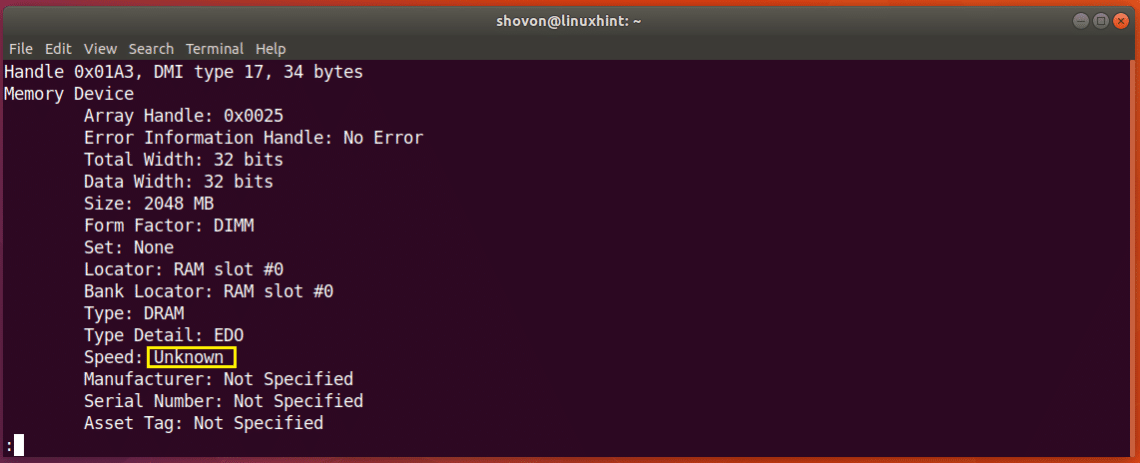
You can also find out the clock speed or speed of the RAM installed on your machine using the dmidecode command. As you see from the marked section of the screenshot below. I don’t have the speed of my RAM listed here as I am using a Virtual Machine. But on real computers, it should be something like 1333 MHz or something like that.
Checking RAM for Errors
At times your RAM may suffer many issues as semiconductor devices like RAM are very fragile. You can check your RAM for errors.
On Ubuntu 18.04, you can use memtester command line utility to check your RAM for errors. memtester is not installed on Ubuntu 18.04 by default. But it is available in the official package repository of Ubuntu 18.04.
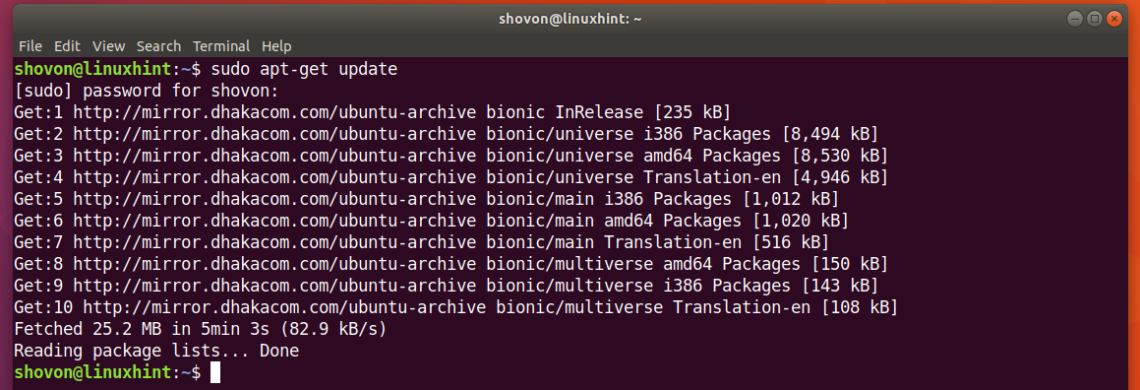
First update the package repository cache of your Ubuntu 18.04 machine with the following command:
The package repository cache should be updated.
Now you can install memtester on Ubuntu 18.04 with the following command:
memtester should be installed.
Now you can run memtester command to check memory as follows:
Here SIZE is the amount of memory to allocate and test using memtester utility. ITERATIONS is a number that specifies how many times you want memtester to test the allocated memory.
As SIZE you can use B for Bytes, K for Kilobytes, M for Megabytes and G for Gigabytes.
Let’s say you can to allocate 100 Megabytes in RAM and check it twice. You can run the following command to do that:
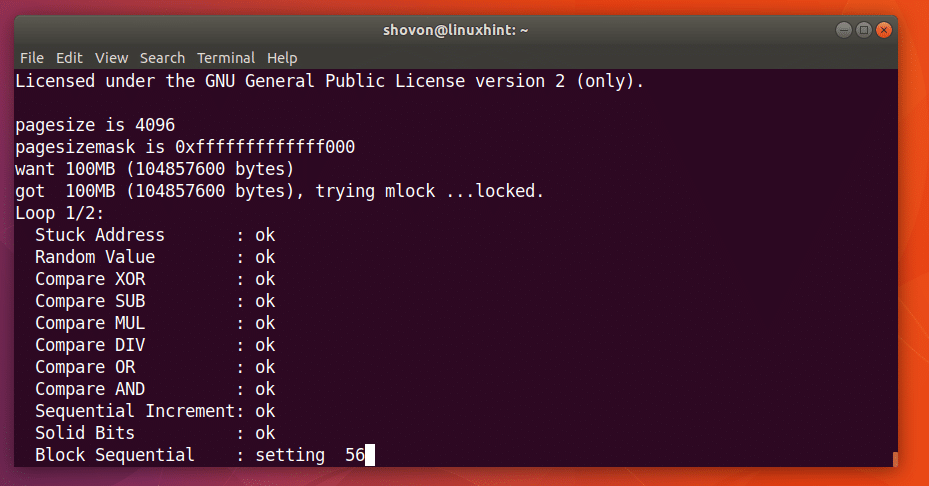
As you can see from the screenshot below, the memtester program is testing the RAM.
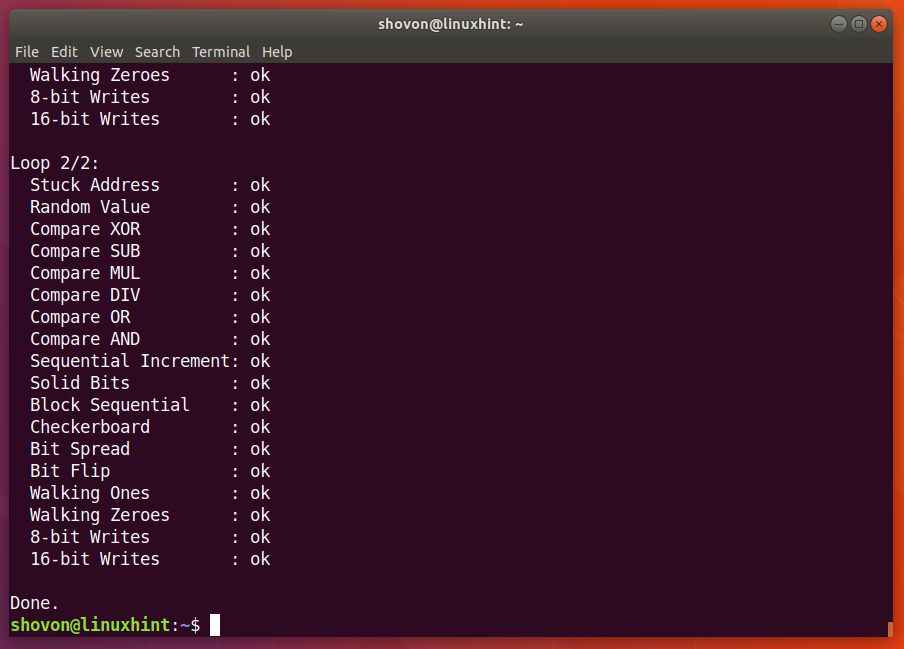
When memtester command is complete, as you can see from the screenshot below, all the tests are successful. It means the RAM has no errors. You can of course allocate more memory at once to perform a thorough test.
The only downside of memtester utility is that you can’t allocate more RAM than you have available as free.
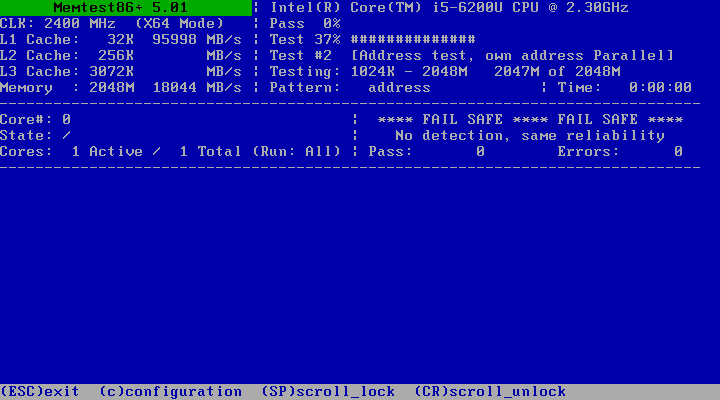
You can use memtest86+ to do a more thorough check of your RAM. It has no such limitations as memtester. It is installed by default on Ubuntu 18.04.
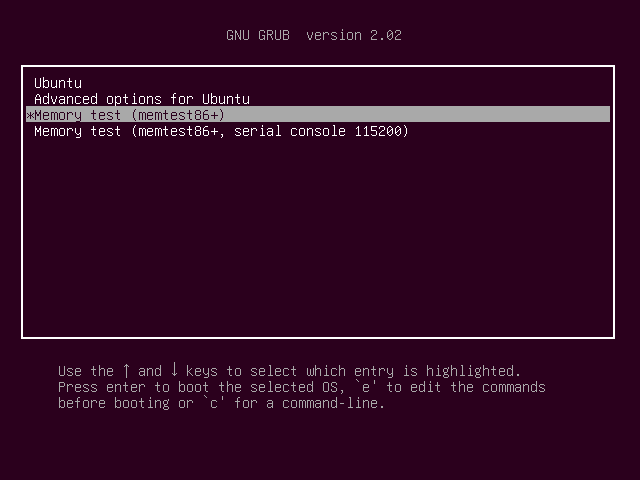
Just reboot your Ubuntu machine and from the GRUB menu, select Memory test (memtest86+).
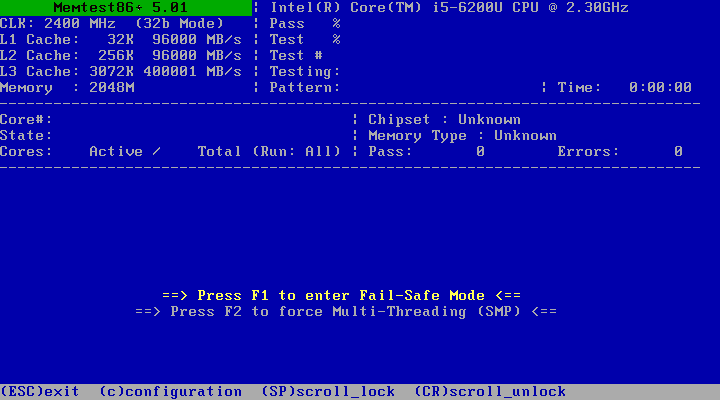
You should see the following window. Now press F1 to go to Fail-Safe Mode.
memtest86+ should start checking your RAM for errors as you can see from the screenshot below.
That’s how you find out different information about RAM and check RAM for errors on Ubuntu 18.04 Bionic Beaver. Thanks for reading this article.


