How to Install and Get Started With LastPass on Ubuntu
LastPass is a virtual vault which helps you protect all your passwords and manage them effortlessly. LastPass also offers some features like form-filling, generate password, store digital records and many more. Applications like LastPass becoming more and more important in today’s tech savvy world. Many of us face difficulty in remembering passwords from various accounts across social media, Ecommerce and other websites. LastPass makes this task little bit easier by storing all our passwords in a vault.
So before going into the installation process let’s have a looks at some of the best LastPass features.
- Auto Form-Filler
If you have saved your Ecommerce password in LastPass vault then at the time of purchase LastPass will automatically fill all the details like payment method and shipping details to make the process a bit easier.
- Generate Passwords
LastPass offers built-in password generator which helps you creates strong passwords that protects against hacking.
- Cross-Platform Support
LastPass is a cross-platform password manager which you can install on Windows, Mac, Ubuntu, Android and iOS devices and sync passwords and other data between them.
- Store Digital Records
LastPass is like a virtual vault where you can store all the important passwords and other important digital documents securely.
Installation
LastPass is available as a browser extension for almost all the popular web browsers across all the operating system platforms. So here is how you can install LastPass on Ubuntu.
Step01: First of all go to https://www.lastpass.com/ and click on Get LastPass Free tab. Now wait for download to complete.

Step02: Once the download is complete Firefox will ask for permission to install LastPass extension so just click on Allow and then finally click on Install.

Step03: Once the installations which should not take more than a minute you will notice LastPass icon on top right corner of your web browser.
That’s its now you are done with installation process and now we will see how to setup LastPass account and get started with it.
Getting Started With LastPass
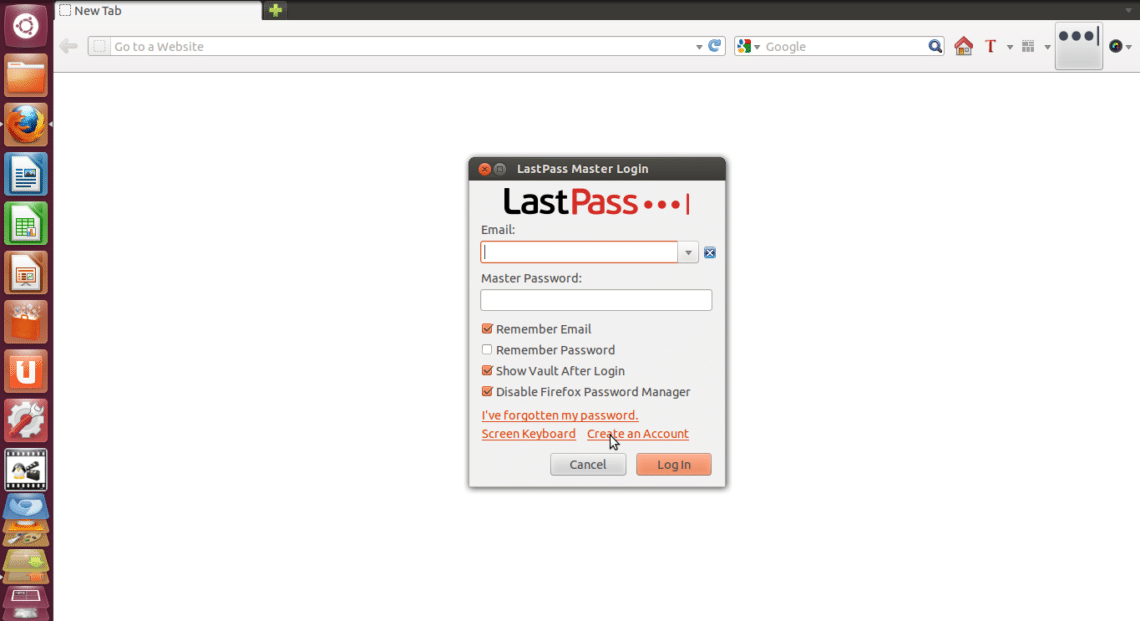
Step 01: Click on the LastPass icon present on top right corner of web browser. Now it will ask you for Email and Master Password for Log In but if you don’t have LastPass account just click on Create an Account.
Step 02: Now it will ask you to select language, just select your preferred language and click on Create an Account. Just fill up details like Email, Master Password and Password Reminder then select all the check boxes.

Step 03: Finally click on Create an Account and then you will see a message as shown in the below image.
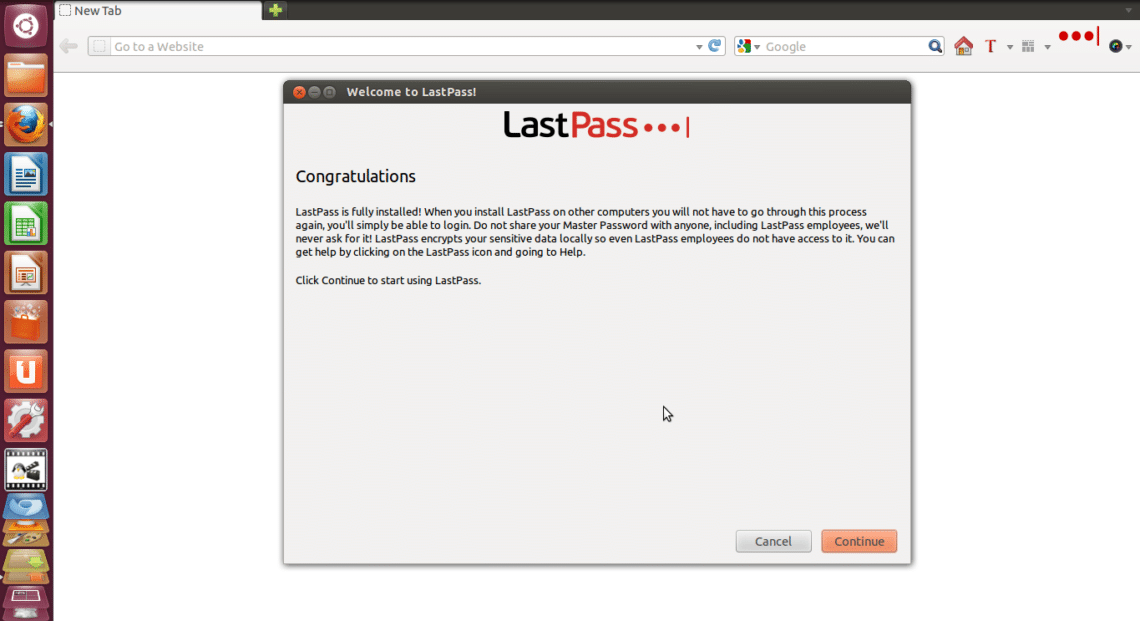
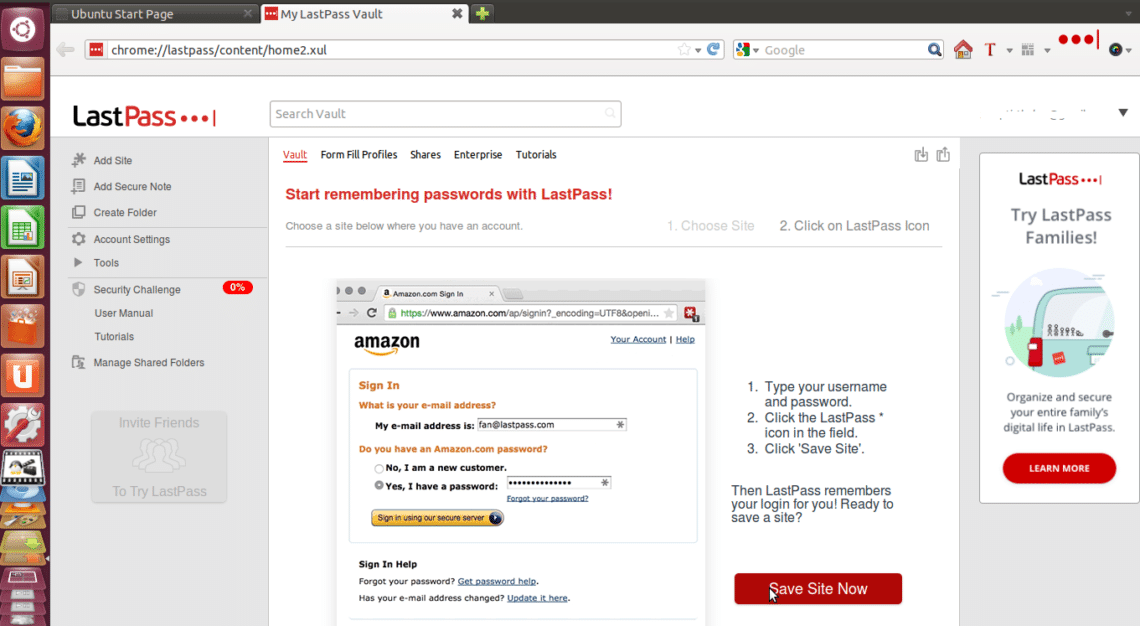
Step 04: Just click on Continue and now LastPass will ask you if you wish to import data into it. Then click on Continue. Now you will be redirected to LastPass homepage where you will see different tabs like Vault, Form Fill Profiles, Shares, Enterprise and Tutorials.

Step 05: Now you can store passwords of different websites like Amazon, Dropbox, Facebook, etc. and you can also add custom websites which are not present in the list. For example if you wish LastPass to remember your Amazon password then just click on Amazon tab and follow step-by-step process as described in image below.
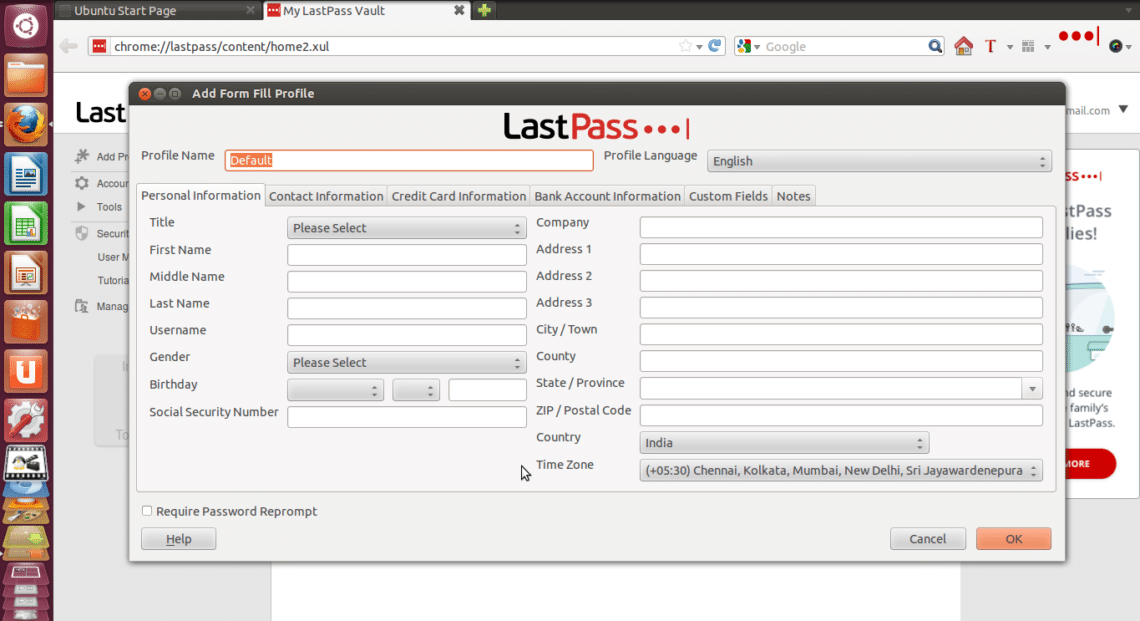
Step 06: Now you can auto Form-filling profiles by clicking on Form Fill Profiles tab.

Now click on Create A Profile and fill in all the details and click OK. You can add different Form-filling profiles.
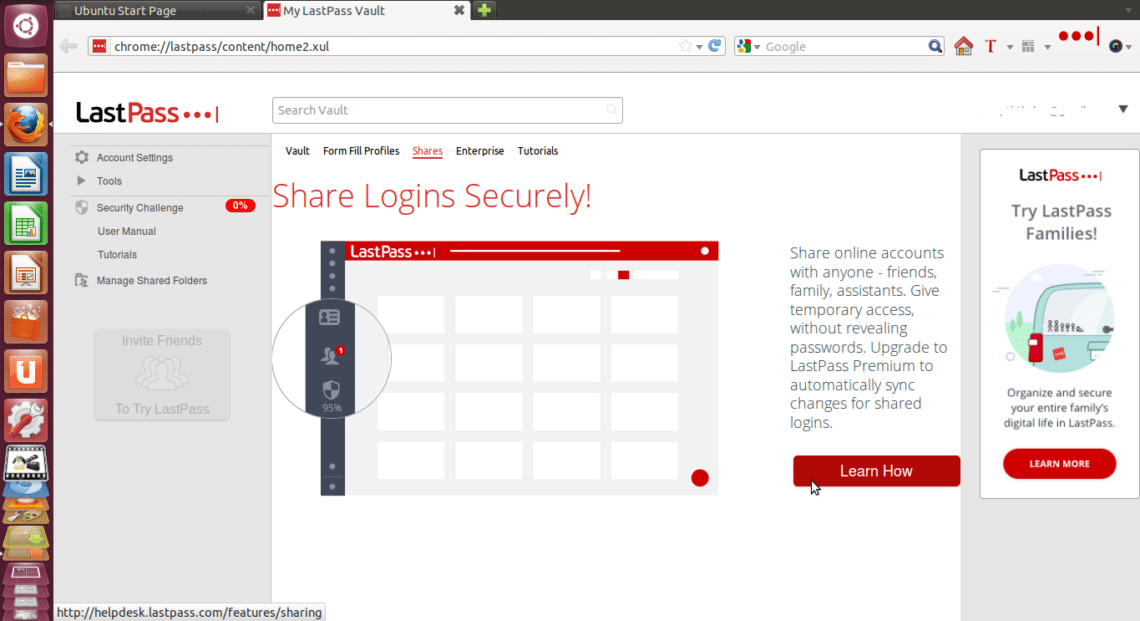
Step 07: You can also share your online account details with your friends, colleagues and family members in case of emergency without revealing your passwords.
That’s it now your LastPass account is completely set up and your passwords are saved securely in its vault. So this how you can install and set up your account on LastPass very easily.