On GNOME 3 desktop environment, you can use GNOME Tweak Tool to change the default fonts of Arch Linux. On KDE 5 plasma desktop environment, you can use the System Settings app to change the default fonts on Arch Linux.
In this article, I will show you how to customize Fonts of Arch Linux on GNOME 3 desktop environment and KDE 5 desktop environment. Let’s get started.
Customizing Fonts on GNOME 3 Desktop Environment
Like I said, you can use GNOME Tweak Tool to change the font of GNOME 3 desktop environment.
GNOME Tweak Tool may not be installed by default on your Arch Linux machine. But it is available in the official package repository of Arch Linux.
Before you install GNOME Tweak Tool, update the pacman package repository cache with the following command:

The pacman package repository cache should be updated.

Now install GNOME Tweak Tool with the following command:

Now press y and then press <Enter>.

GNOME Tweak Tool should be installed.

Now go to the Application Menu and search for GNOME Tweak Tool. You should see a Tweaks icon as marked in the screenshot below. Click on it.

GNOME Tweak Tool should start as you can see in the screenshot below.

Now go to the Fonts section and you should see the following options as you can see in the screenshot below.

From here you can change the default Window Title font, the Interface font, Document font and Monospace font.
You can also configure Antialiasing for fonts and fonts Scaling Factor for HiDPi monitors.
To change the Scaling Factor, click on the Scaling Factor text box and type in a value and press <Enter>. The changes should be applied. You can also press the + or – button to increase or decrease the Scaling Factor respectively. You can also press the <Up> or <Down> arrow keys of your keyboard or scroll the mouse wheel to change the Scaling Factor.

You can change the Hinting and Antialiasing options as marked in the screenshot below to configure the smoothness of the fonts of your Arch Linux machine.

To change Window Title font, Interface font, Document font and Monospace font, click on the buttons as marked in the screenshot below.

A fonts picker window should show up as you can see in the marked section of the screenshot below.

Select any font you want from the font picker, change the font size if you want and once you are happy, click on the Select button as marked in the screenshot below.

Your desired font should be applied.

Changed font in the File Manager UI:

Customizing Fonts on KDE 5 Plasma Desktop Environment
On KDE 5 plasma desktop environment, the fonts can be customized using the System Settings app.
From the KDE menu, search for settings, and click on the System Settings app as marked in the screenshot below.

System Settings app should be opened as you can see in the screenshot below.

Now click on the Fonts tab and you should see the following window as shown in the screenshot below.
From here you can configure many default fonts on the KDE 5 plasma desktop environment. You can also configure Anti-aliasing for smoothing fonts from here.

To change the Window title font, you can click on the Choose… button as marked in the screenshot below.

A font picker should open up as marked in the screenshot below.

From here you can choose a font from the marked section of the screenshot below.

You can also set a font style and font size from the marked section of the screenshot below.

You can also set strikeout or underline effects from the marked section of the screenshot below.

If you’re using languages other than English and it has different writing system, such as Arabic, you can change it from the marked section of the screenshot below.

You will get a preview of how your selected font will look in the preview section as marked in the screenshot below.

Once you’re satisfied, click on OK as marked in the screenshot below.

Then click on Apply, the changes should be applied.

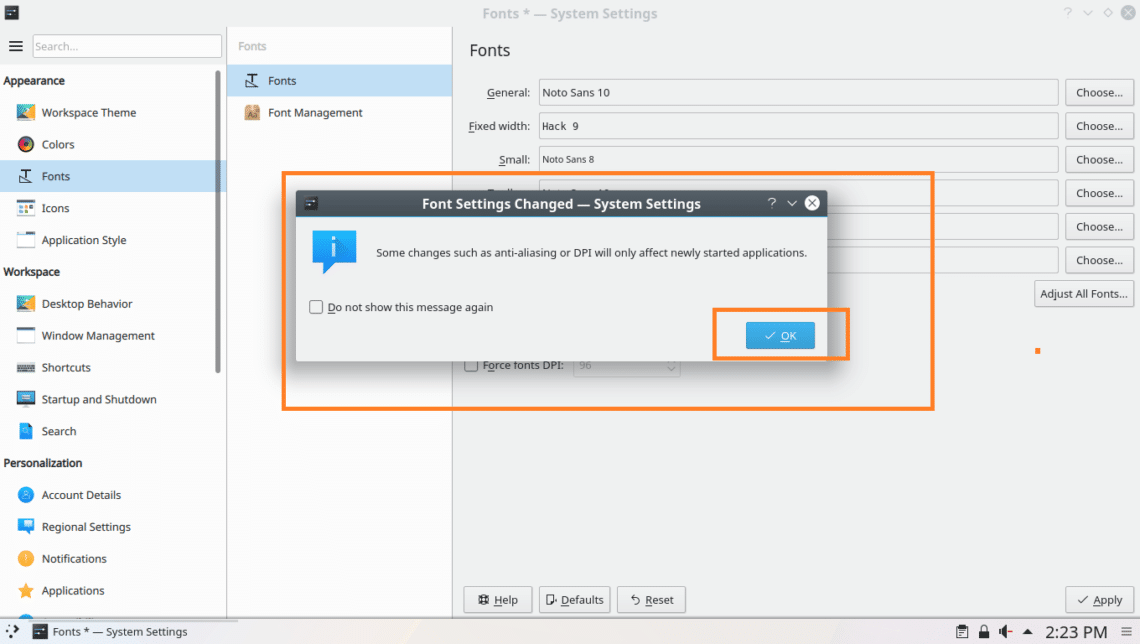
Click on OK if you see the following dialog window.
As you can see, the Window title font is changed.

The same way you can change General, Fixed width, small, Toolbar and Menu fonts.

To change the Anti-aliasing effect, click on the Anti-aliasing dropdown menu and choose any of the options as marked in the screenshot below.

That’s how you customize fonts on Arch Linux. Thanks for reading this article.