Installing SSH Client Softwares:
In order to connect to a SSH server, you must have OpenSSH client programs installed on your client machine.
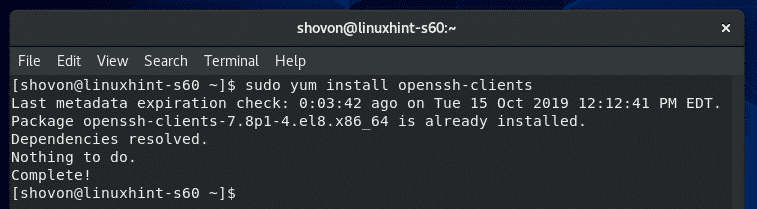
In a CentOS or RHEL machine, you can install OpenSSH client programs with the following command:

The SSH client programs should be installed. In my case, it’s already installed.
Installing SSH Server Software:
If you want to connect to your CentOS 8 server using SSH, then, you must have SSH server software installed on your CentOS 8 machine.
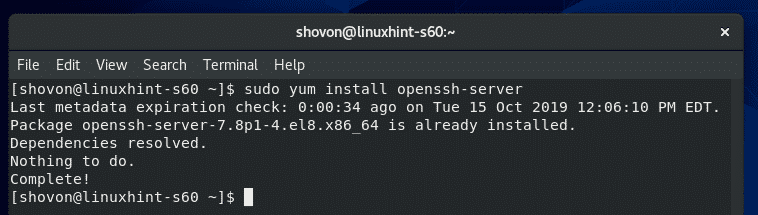
To install SSH server softwares on your CentOS 8 machine, run the following command:

OpenSSH server package should be installed. In my case, it is already installed.
Managing OpenSSH Server Service:
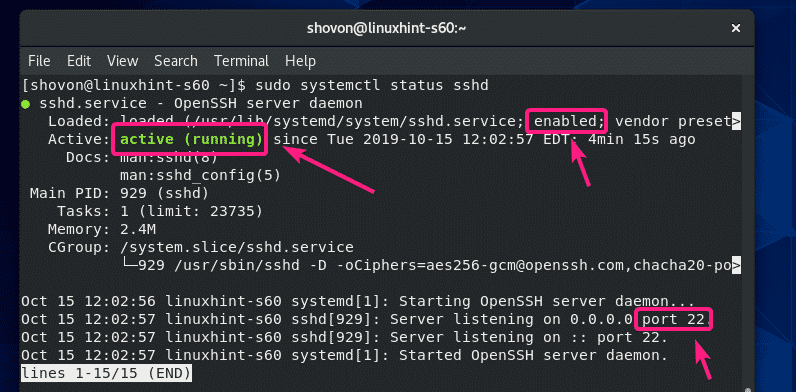
Once you have OpenSSH server software installed on your CentOS 8 machine, check whether the sshd service is running with the following command:

As you can see, the sshd service is active/running. It is also enabled to start automatically on system boot.
The SSH server is listening on all network interfaces (0.0.0.0) on port 22 by default.
If the sshd service is not running on your CentOS 8 machine for some reason, you can manually start is with the following command:

If the sshd service is not enabled to start automatically on system boot, then you can add it to the system startup as follows:

The same way, if you don’t want the SSH service to automatically start on system boot (for security reasons), then remove sshd service from the system startup as follows:

If you want to stop sshd service once you’ve configured your CentOS 8 server machine, then you can do so as follows:

If you change the SSH server configuration files, then for the changes to take effect, you will have to restart the sshd service. You can restart the sshd service as follows:

Connecting to the SSH Server:
In order to connect to the SSH server, you need to know the IP address of your CentOS 8 server when you’ve SSH server software installed.
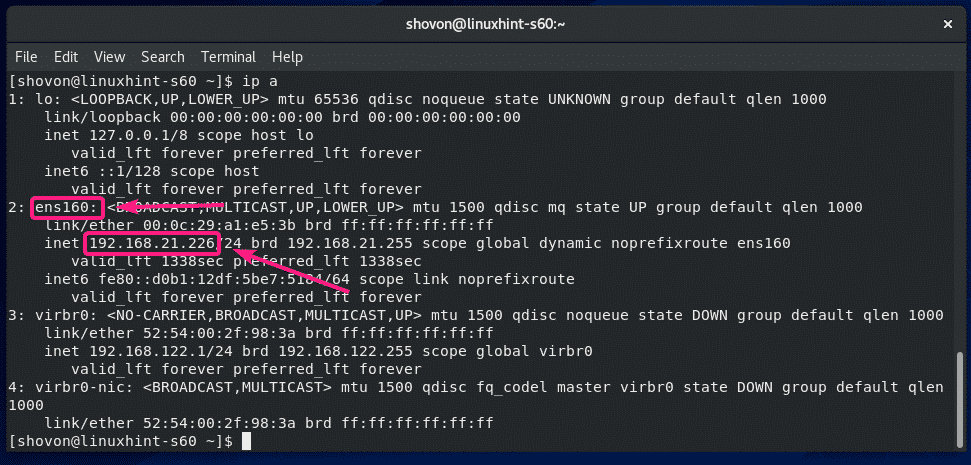
To find the IP address, run the following command on your CentOS 8 machine.
As you can see, the IP address of my CentOS 8 machine is 192.168.21.226. It will be different for you. So, make sure to replace it with yours from now on.
Now, from a client computer (must have SSH client programs installed), run the following command to connect to the CentOS 8 server using SSH:

Now, type in yes and press <Enter>.

Now, type in the password of your login_username and press <Enter>.

You should be logged in to the CentOS 8 machine via SSH.

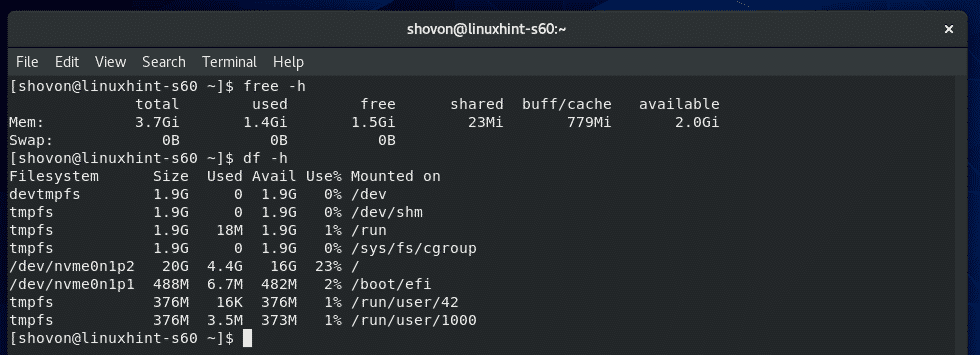
Now, you can run any command on your CentOS 8 server from the client.
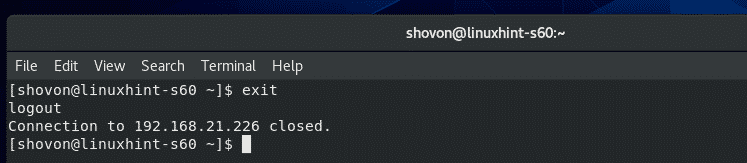
Once you’re done, close the SSH session as follows:
The SSH session should be closed.
SSH Configuration Files:
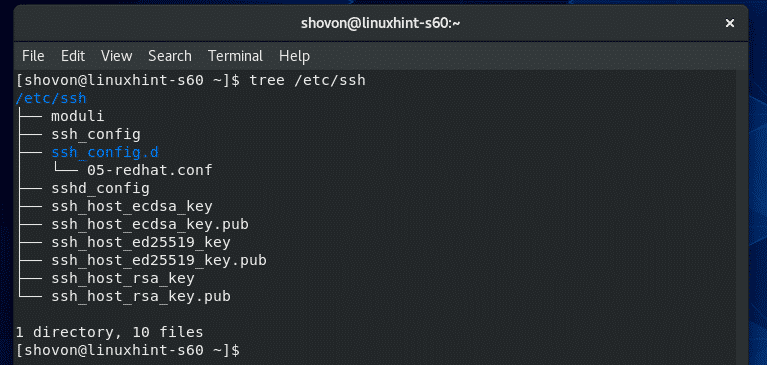
On CentOS 8, the SSH server and client configuration files are in the /etc/ssh directory.
The contents of the /etc/ssh directory are shown in the screenshot below.
Here, ssh_config and ssh_config.d/05-redhat.conf are the SSH client configuration files.
sshd_config is the SSH server configuration file. sshd_config file is our main focus in this article.
Configuring SSH Server:
To edit the sshd_config file, you can use the CentOS 8’s default text editor vi.
To open /etc/ssh/sshd_config configuration file in vi text editor, run the following command:

The configuration file should be opened. To modify the file, press i to go to insert mode.
Once you’re done editing the configuration file, press <Esc> to go back to command mode.
If you want to save the file and close vi text editor, type in :wq! and press <Enter>.
If you want to discard the changes and close vi text editor, type in :q! and press <Enter>.
Changing SSH Server Port:
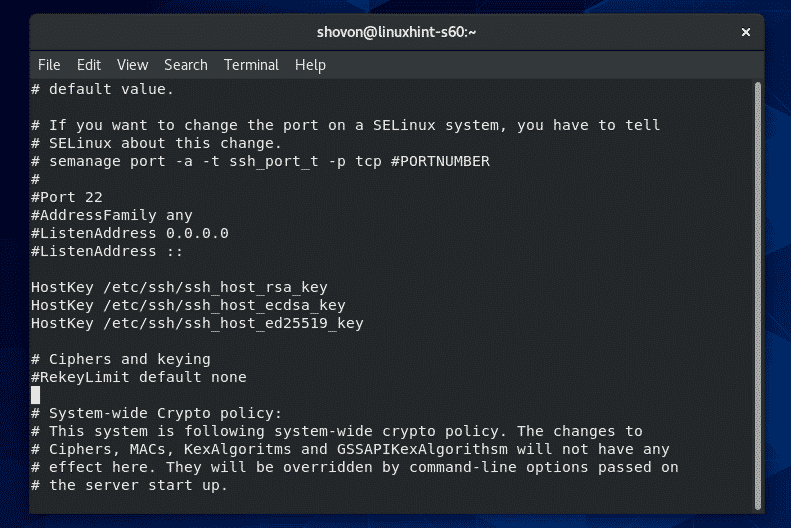
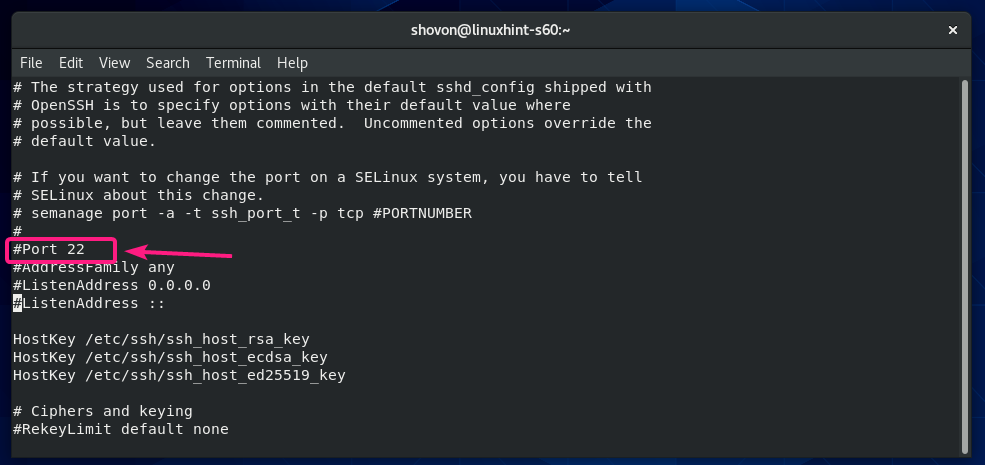
If you want to change the SSH server port from the default port 22 to something else (let’s say 8111) for security reasons, then uncomment the line as marked in the screenshot below from the sshd_config configuration file.
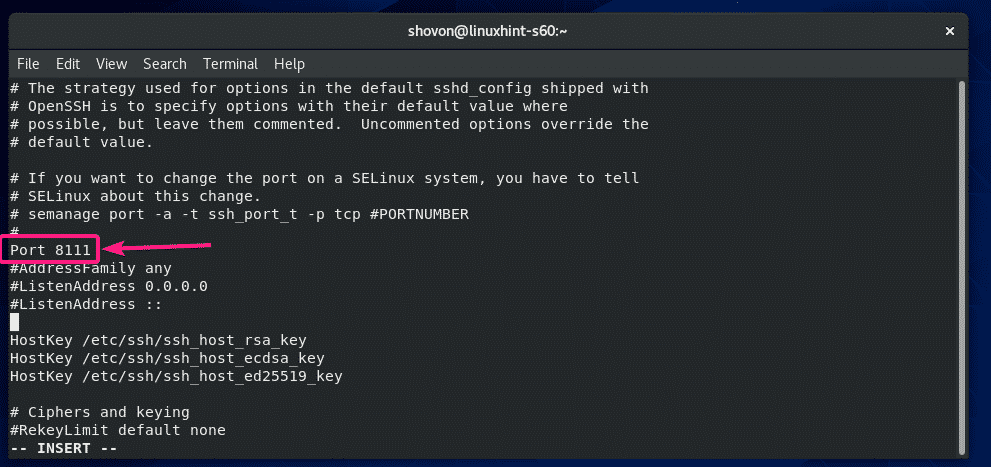
The configuration file should look as follows once Port is set. When you’re done, save the file.
Now, configure SELinux to allow the port 8111 for SSH with the following command:

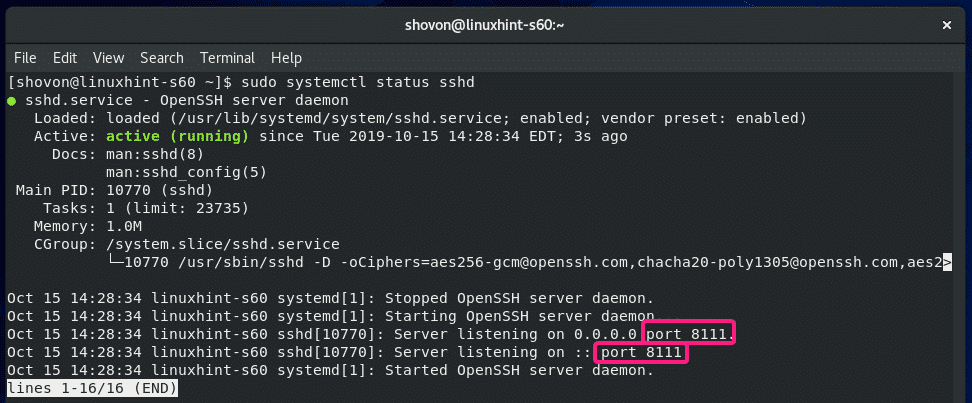
Now, restart the sshd service as follows:

SSH server should run on port 8111 from now on.
Changing Listening Address:
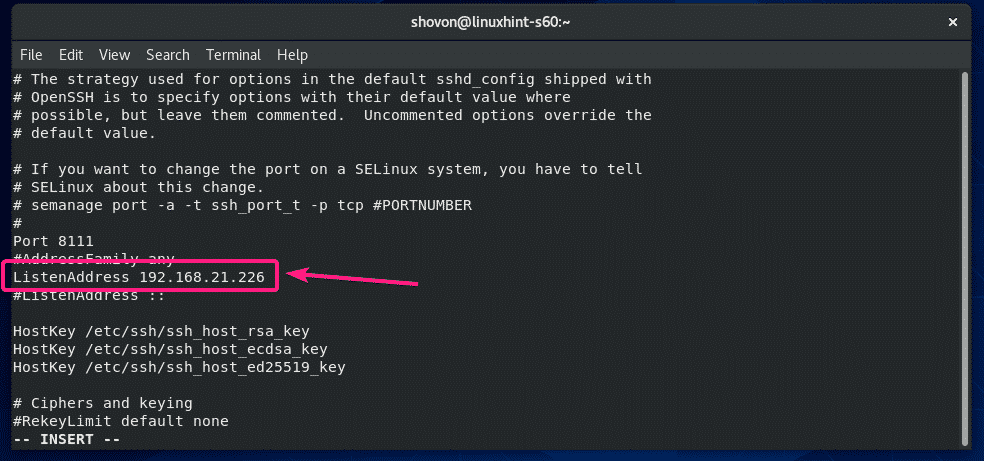
If you want the SSH server to listen to only a single network interface, then add the following line in the sshd_config file.
ListenAddress IP_ADDRESS_OF_INTERFACE
The configuration file should look as follows once ListenAddress is set.
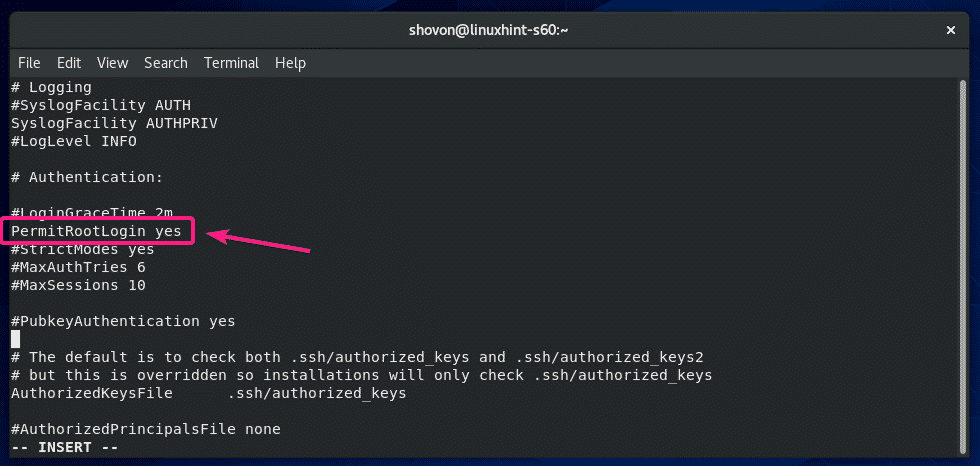
Disable root Login:
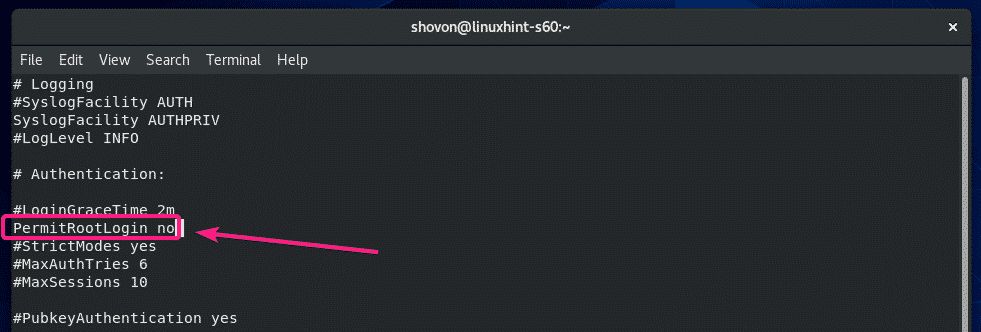
By default, CentOS 8 allows root user login over SSH. If you don’t want that, then change PermitRootLogin yes to PermitRootLogin no in the sshd_config configuration file.
The configuration file should look as follows once PermisRootLogin is set to no.
Configuring Max Session and Max Password Tries:
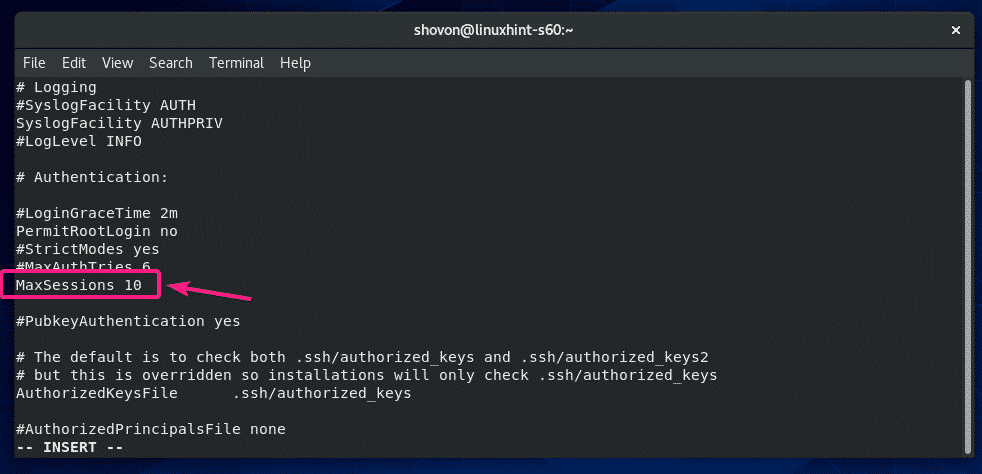
If you want to limit how many users can stay logged in to your CentOS 8 server via SSH, then uncomment MaxSessions in the sshd_config file and set your desired session number (default 10).
MaxSessions <How Many Sessions You Want>
The configuration file should look as follows once MaxSessions is set to 10.
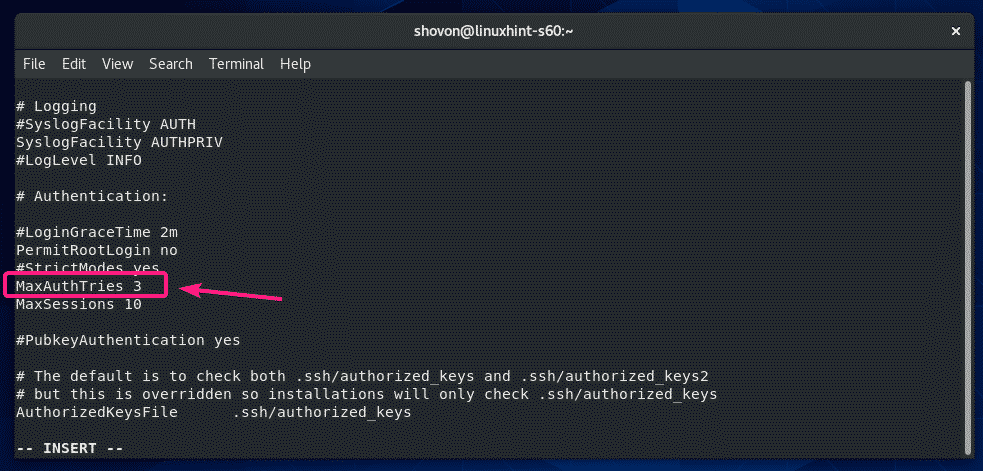
The same way, you can set a limit for failed login attempts. Just uncomment MaxAuthTries and set how many failed login attempts you want to allow before closing the connection.
MaxAuthTries <Number of Failed Login to Allow>
The configuration file should look as follows once MaxAuthTries is set to 3.
So, that’s how you install and configure SSH server on CentOS 8. Thanks for reading this article.