Note that, Anbox is still in beta version. So, don’t expect a bugless experience with Anbox.
In this article, I am going to show you how to install Anbox on Ubuntu 18.04 LTS. So, let’s get started.
Installing Anbox Kernel Modules:
First, you have to install the required kernel modules for Anbox. Otherwise, Anbox won’t run. The kernel modules that Anbox need are not available in the official package repository of Ubuntu. But, you can easily add the morphis/anbox-support PPA and install them from there.
To add the morphis/anbox-support PPA, run the following command:

Now, press <Enter> to continue.

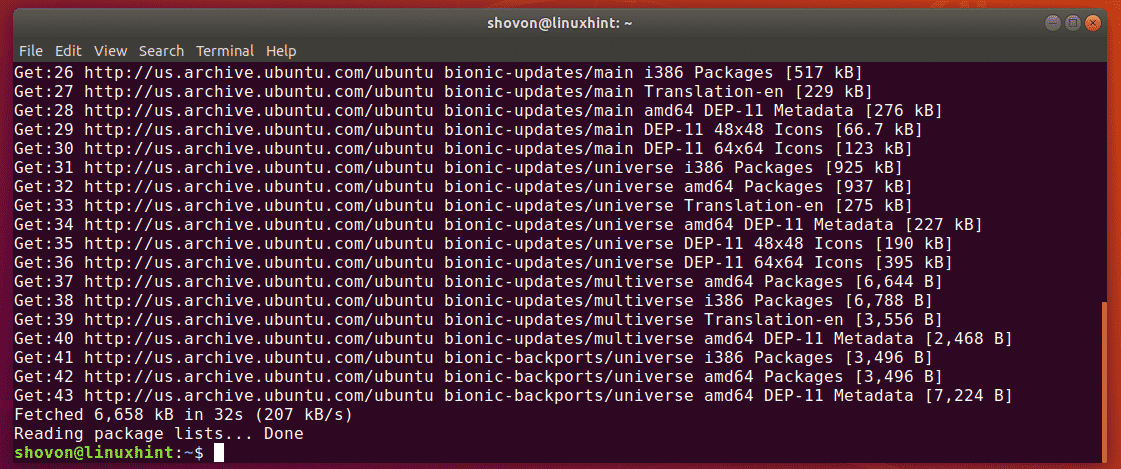
The PPA should be added and the APT package repository cache should be automatically updated.
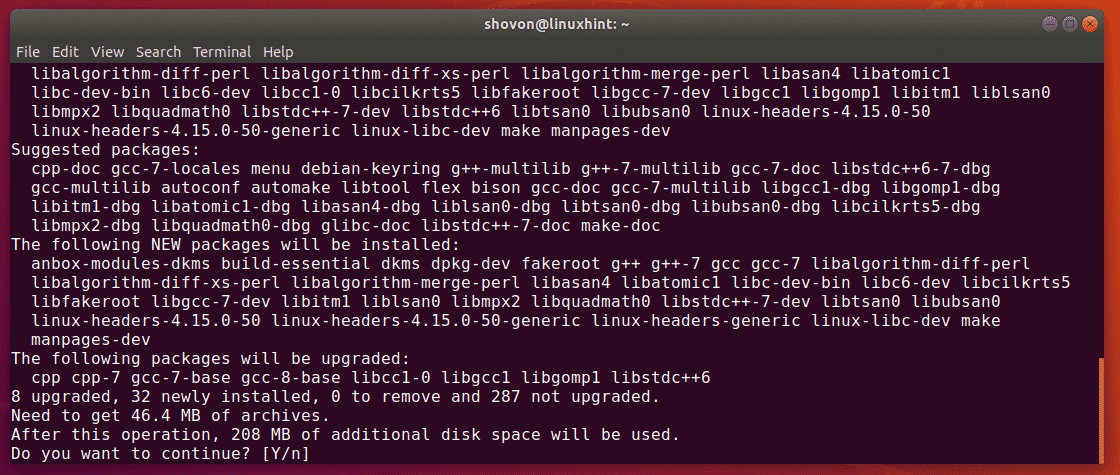
Now, install the Linux headers and Anbox kernel modules with the following command:

Now, press y and then press <Enter> to continue.
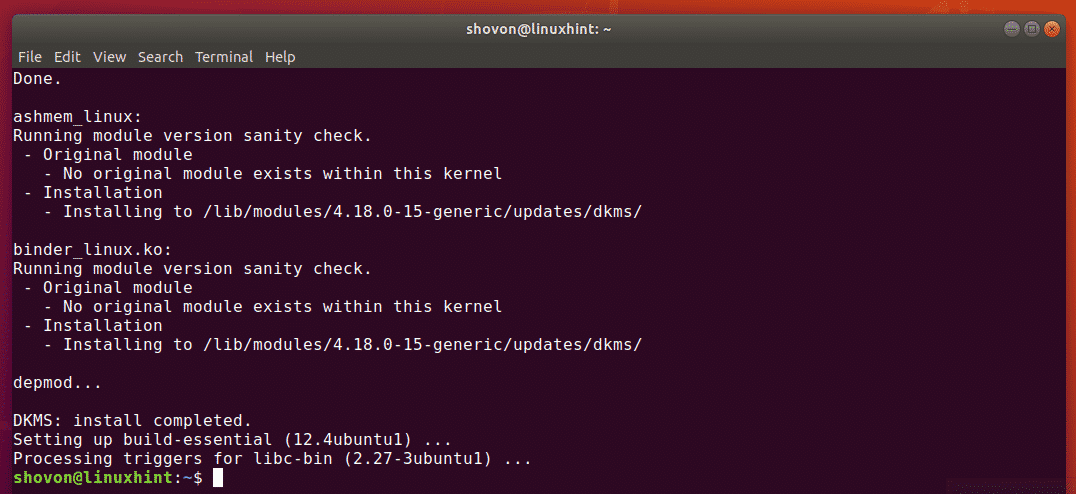
Linux headers and Anbox kernel modules should be installed.
Enabling Anbox Kernel Modules:
Now, you have to enable the ashmem and binder kernel modules.
To enable the ashmem kernel module, run the following command:

To enable the binder kernel module, run the following command:

Now, check whether the /dev/ashmem and /dev/binder devices are available as follows:
As you can see, the devices are available. So, you’re good to go.

Installing Anbox:
Anbox is distributed as a snap package. So, it is very easy to install on Ubuntu 18.04 LTS.
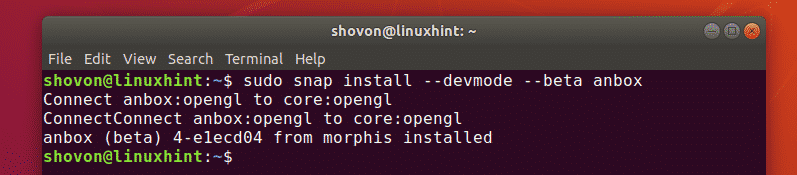
To install Anbox snap package, run the following command:

The Anbox snap package is being installed as you can see.

Anbox snap package is installed at this point.
Starting Anbox:
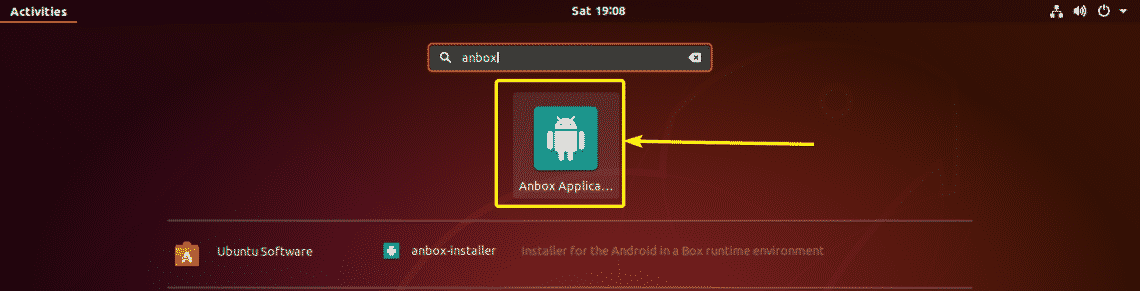
Once Anbox is installed, you can find Anbox in the Application Menu of Ubuntu 18.04 LTS as you can see in the screenshot below.
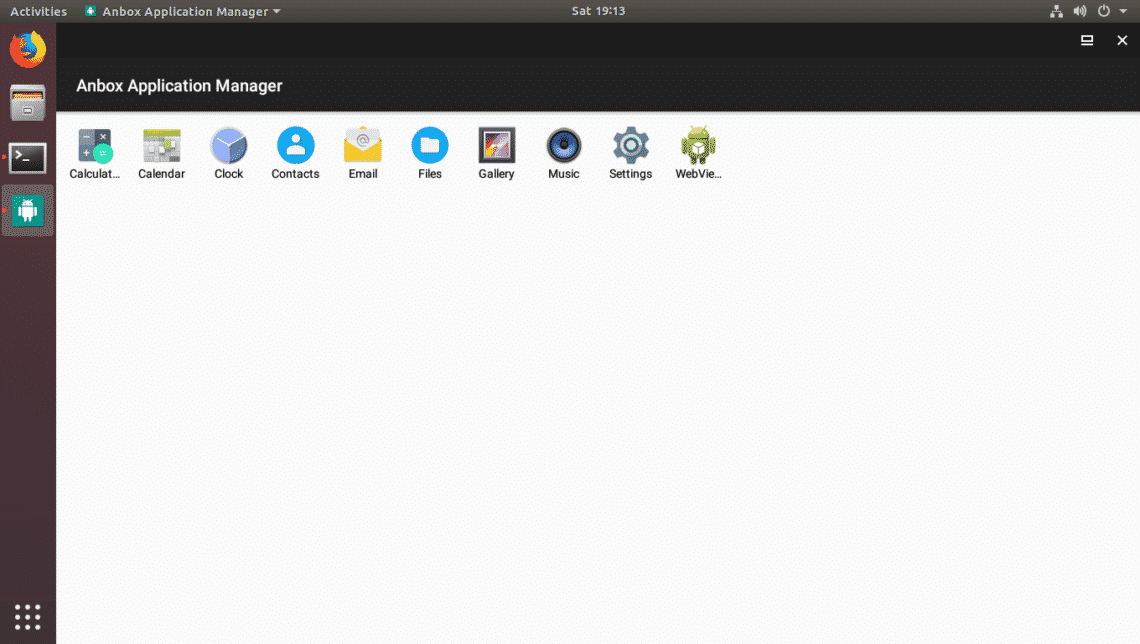
As you can see, Anbox is running. It has some preinstalled Android apps as well.
Installing Android Apps on Anbox:
In this section, I am going to show you how to install additional Android apps on Anbox. So, let’s dig in.
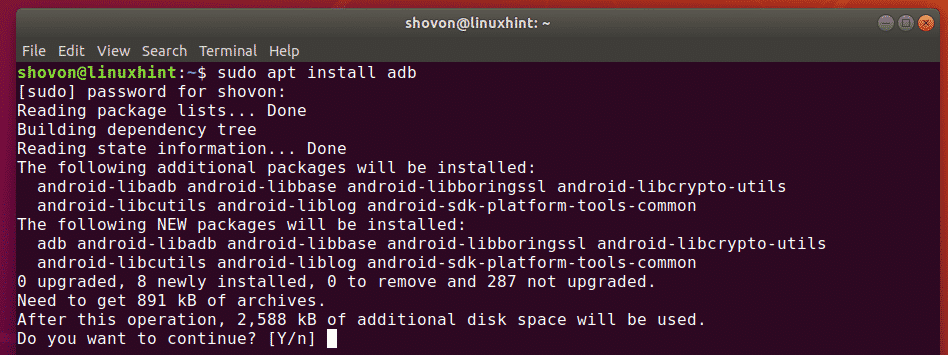
We know, Android apps are distributed as APK packages. In order to install these APK packages on Anbox, you need ADB (Android Debug Bridge).
ADB is available in the official package repository of Ubuntu 18.04 LTS. To install ADB, run the following command:

Now, press y and then press <Enter> to confirm the installation.
ADB should be installed.
You can download the Android APK file for your favorite app from many websites. One of them is APKMirror (https://www.apkmirror.com).
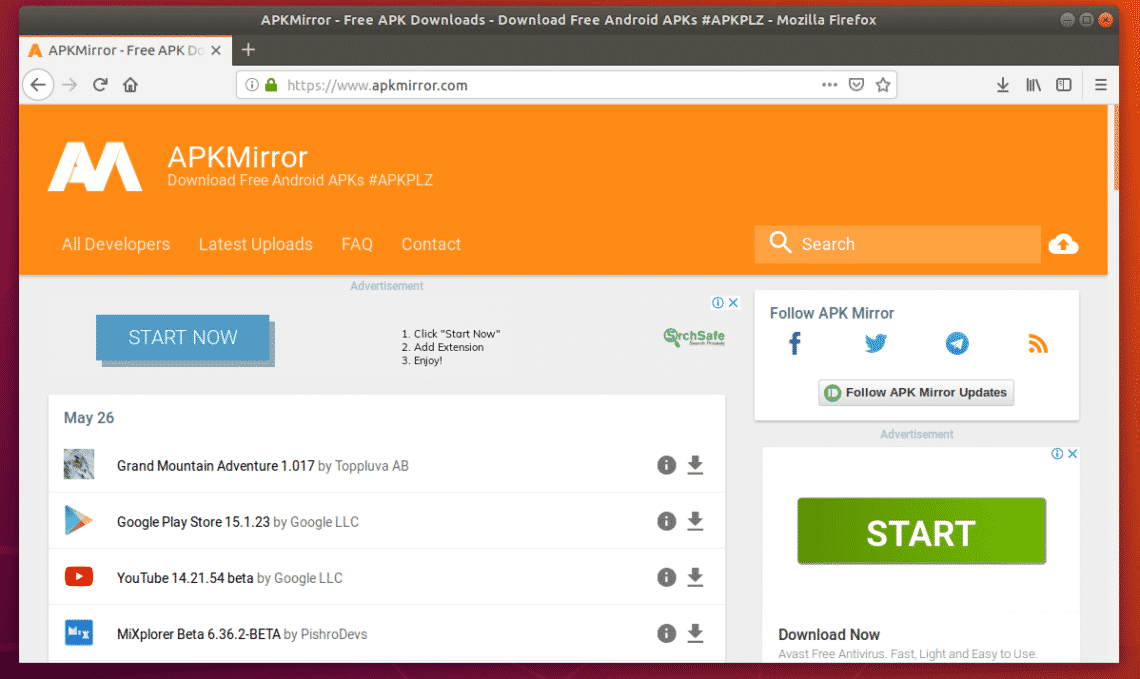
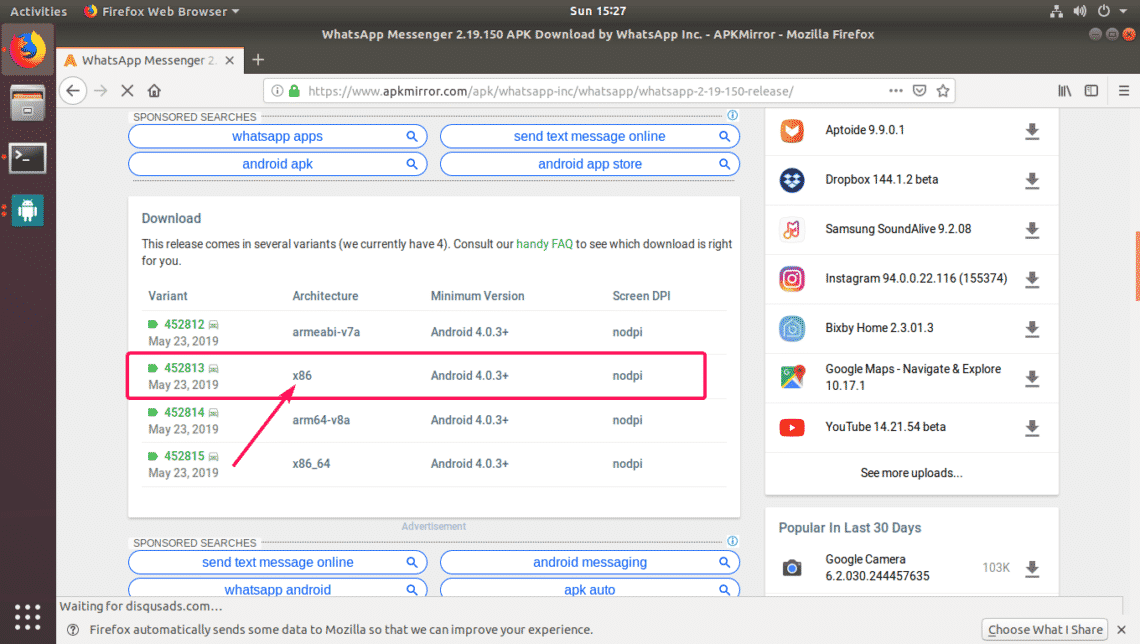
In apkmirror.com, find your favorite Android App and select the x86 or x86_64 architecture from the downloads page. Otherwise, it won’t install on Anbox. I am downloading WhatsApp in this article for the demonstration.
If you have multiple Android devices connected to your computer, you can use the following command to list them.
As you can see, I have one device (device ID is emulator-5558) connected on my computer. It is the Anbox device.

Now, you can install your favorite APK file on Anbox as follows:
Or
$ adb -s DEVICE_ID install /path/to/apk/file
NOTE: If you have only one Android device connected to your computer, then, you don’t have to specify -s DEVICE_ID option.
I’ve downloaded WhatsApp APK file as you can see in the screenshot below.

Now, to install the WhatsApp file, I ran the following command:
(x86)(nodpi)_apkmirror.com.apk
As you can see, the installation was successful.

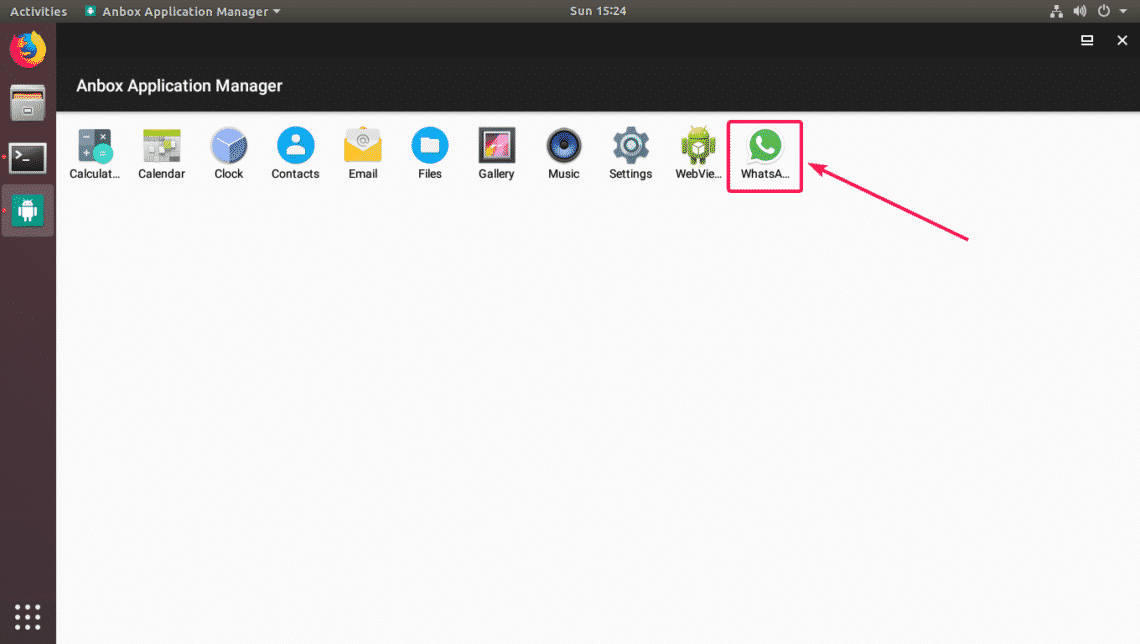
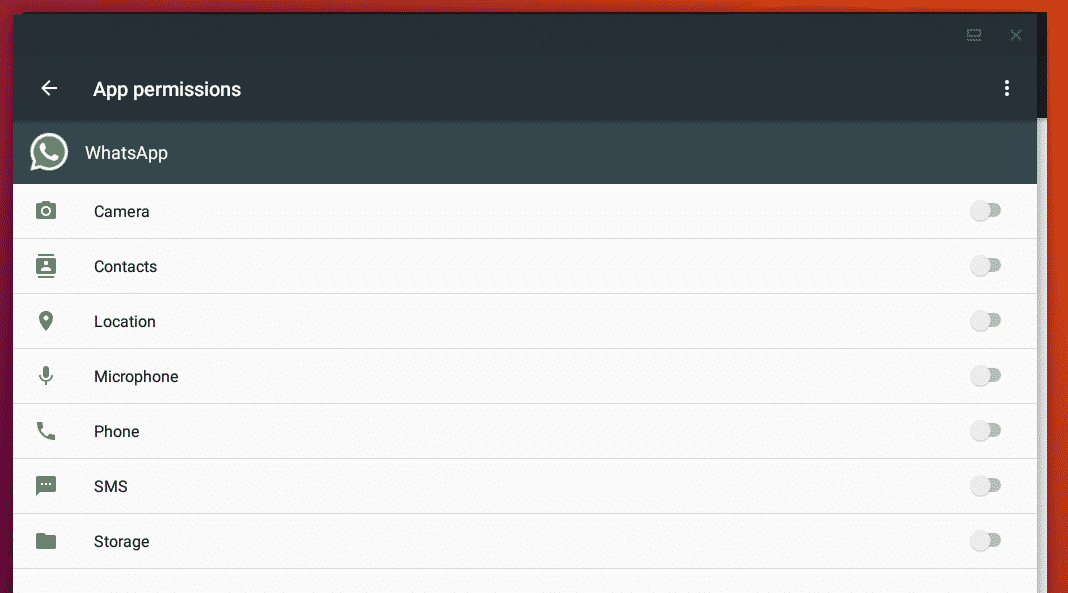
Now, WhatsApp should be listed in the Anbox Application Manager. Don’t start WhatsApp yet. Anbox assigns no permission to a newly installed app by default. But, you have to assign some permissions depending on the app you’re trying to run.
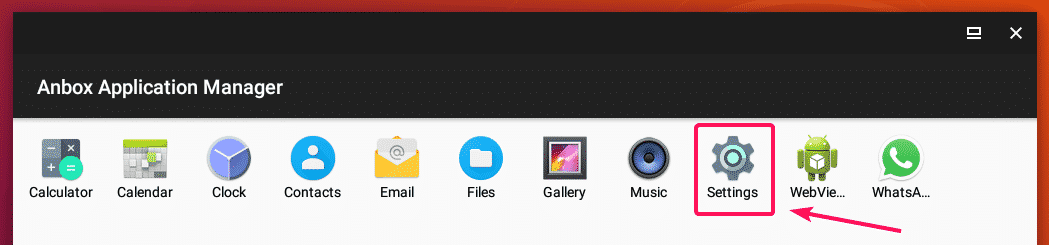
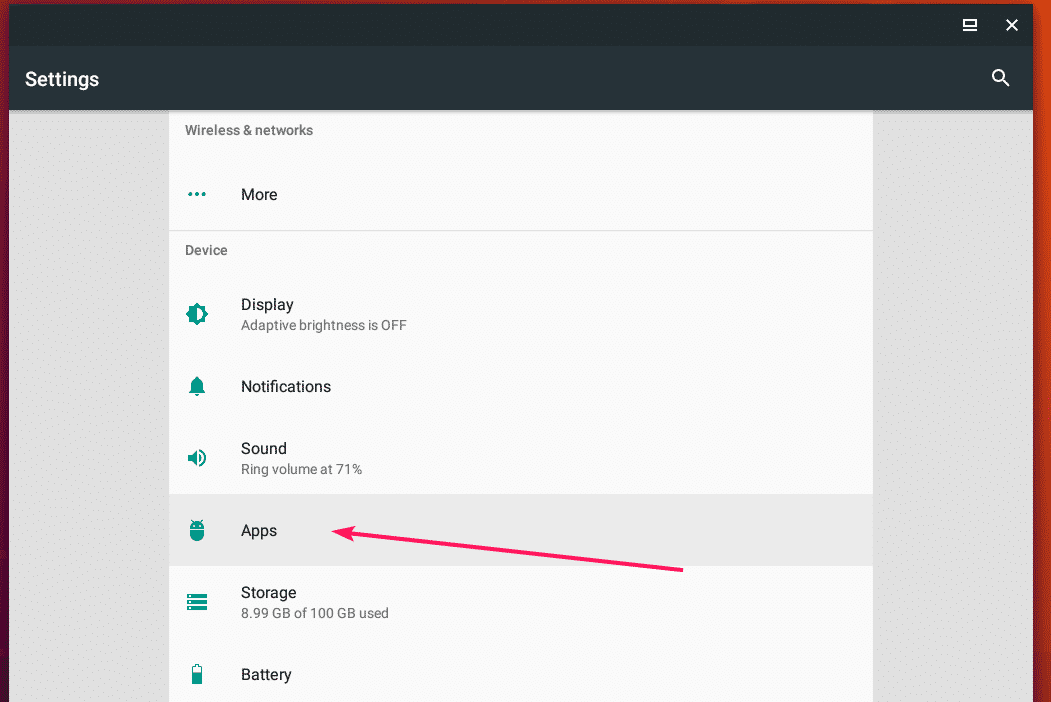
To assign permission to your app, go to Settings.
Now, go to Apps.
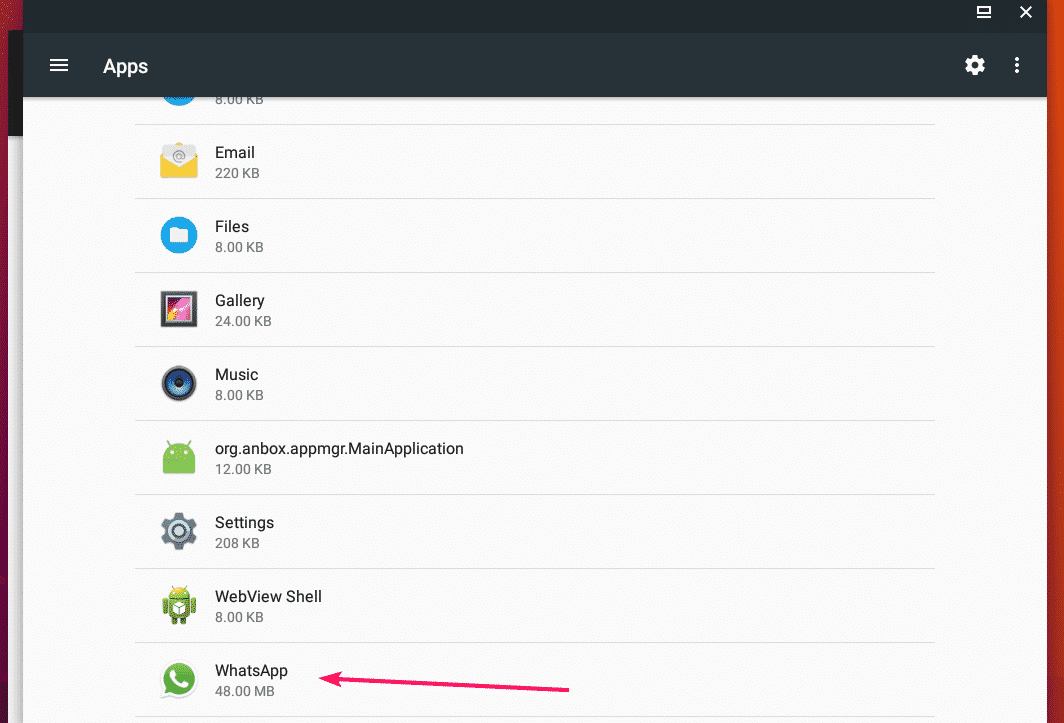
Select your app from the list.
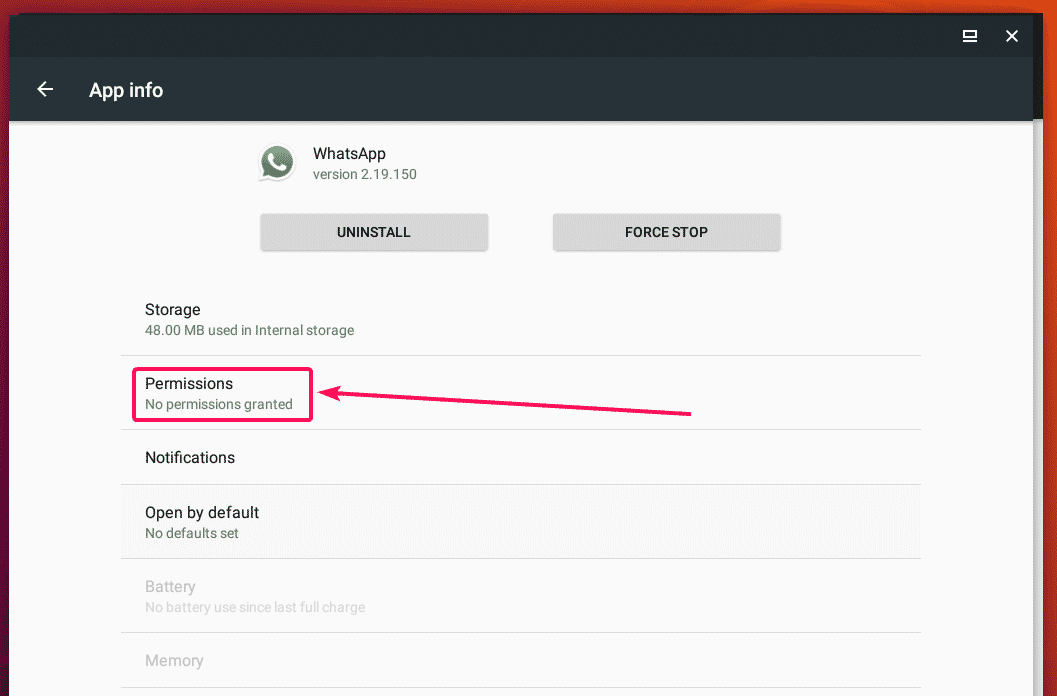
Now, go to Permissions.
Now enable the permissions that you need.
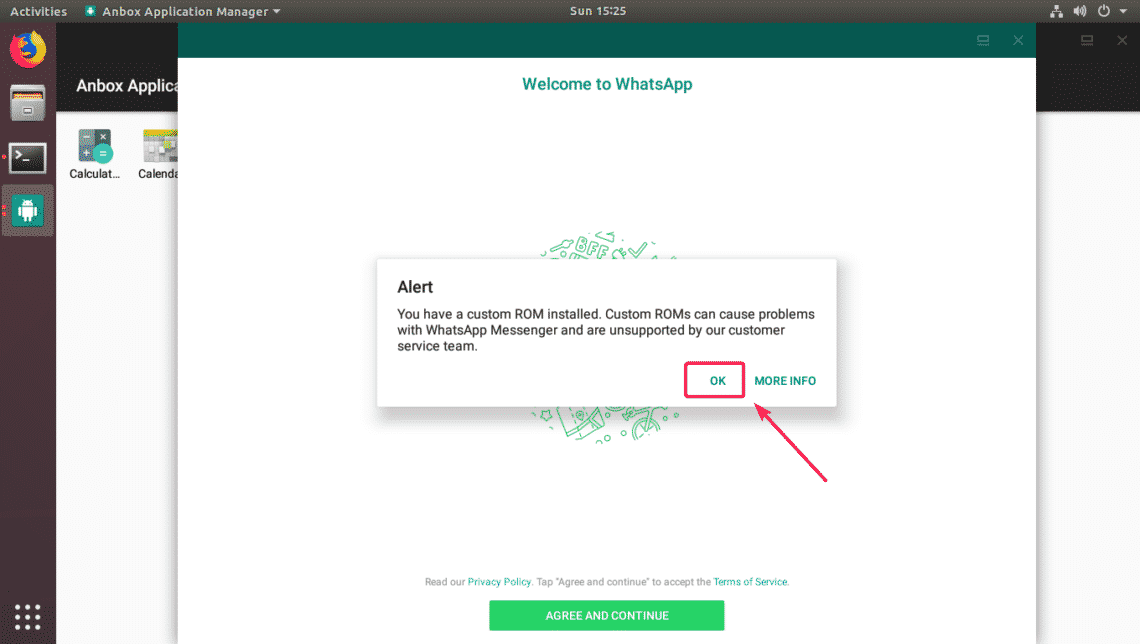
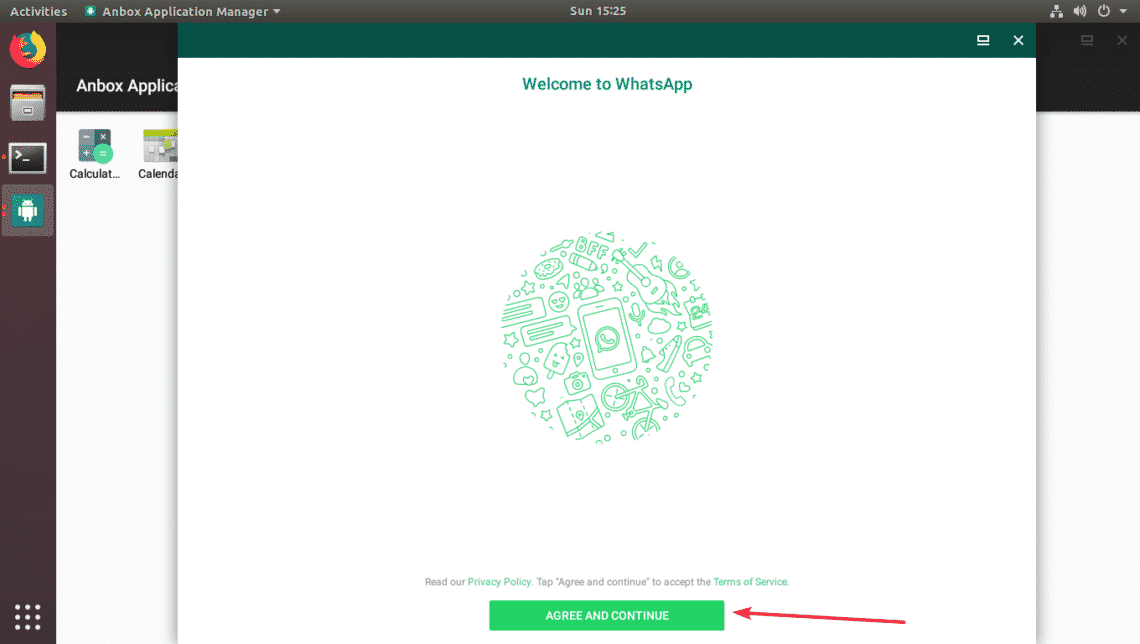
Once you’ve assigned the permissions, you should be able to start your desired app. As you can see, WhatsApp is running.
I can click on the buttons, no problem.
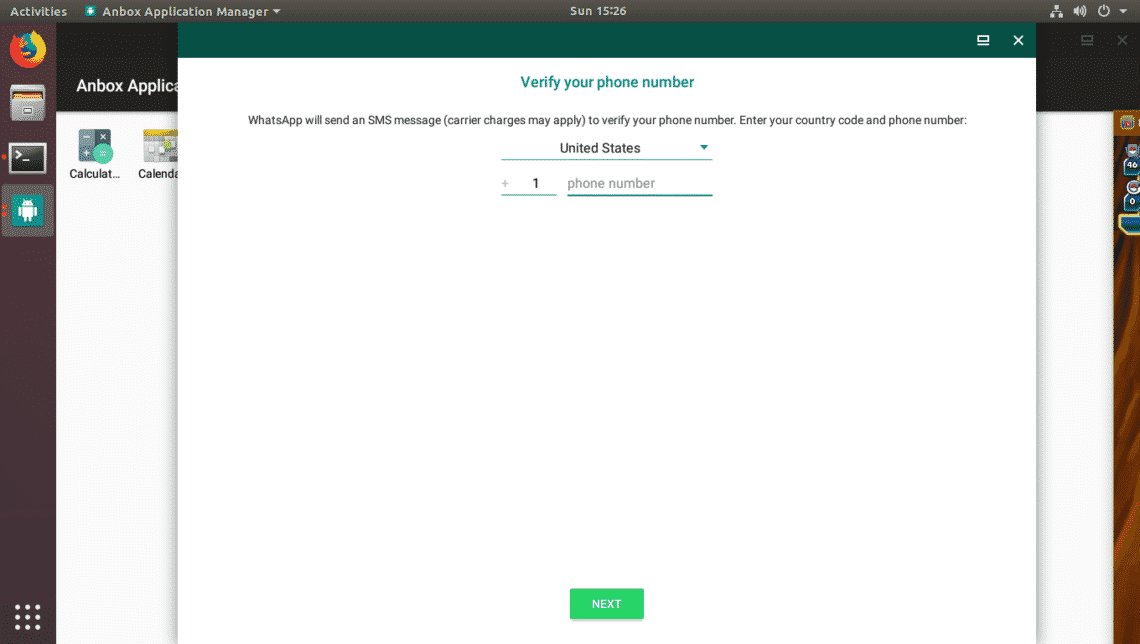
As you can see, the phone verification page works as well.
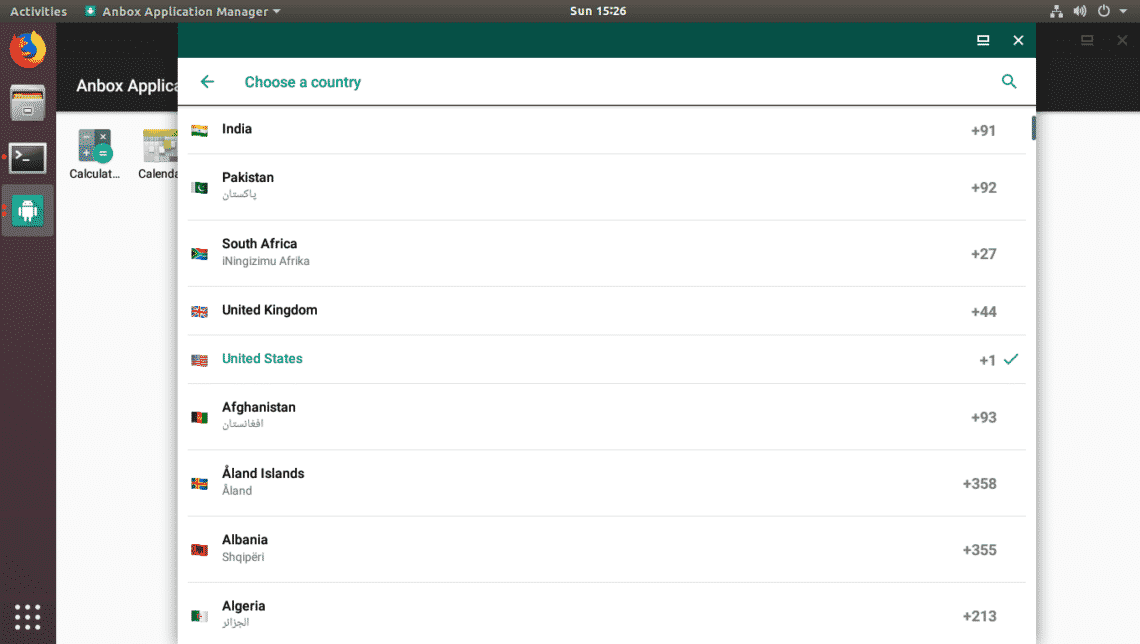
The country selection page works too.
So, that’s how you install and use Anbox on Ubuntu 18.04 LTS. Thanks for reading this article.