Install Apache, PHP and MySQL
Run the command to update the system before starting the installation process.

Before writing PHP script, you have to install Apache, PHP and MariaDB on Ubuntu. By default, apache server is installed on Ubuntu. So, you don’t need to install it. Check the version of Apache server by the following command.

If you didn’t install PHP before then run the command to install PHP.

After installing PHP, check the version of the PHP.

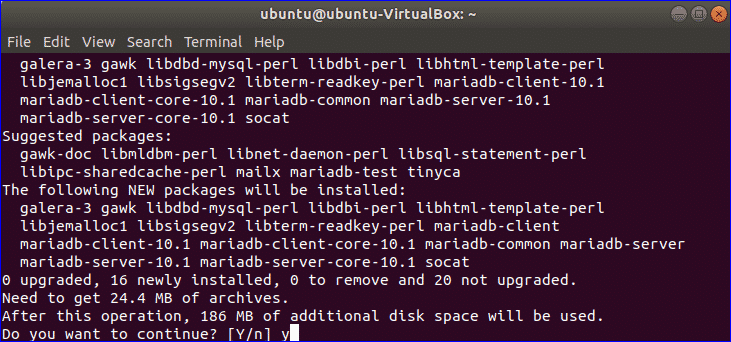
Now, run the command to install MariaDB server and client if it is not installed before.

Type ‘y’ and press enter to complete the installation process.
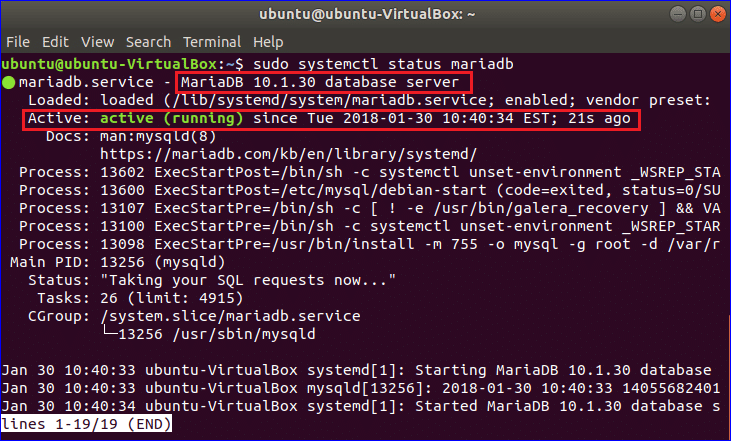
Run the following command to start MariaDB server.

Check if the server is working properly or not. The output of the following command will show the detailed status of the server. The output indicates that MariaDB 10.1.30 verion is running.
After installing the above three necessary packages successfully, you can start the next part of the tutorial.
Create database
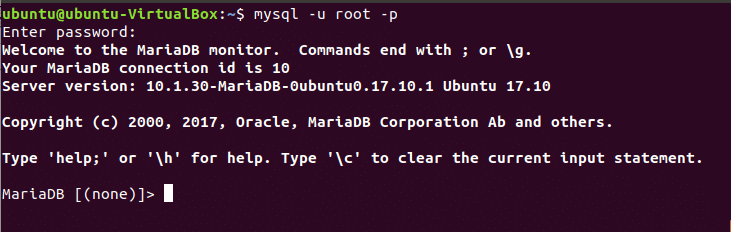
You will need a database with a minimum one table to check how PHP works with MySQL/MariaDB server. Run mysql client to create a new database named company. If you didn’t set any password for root user then you have to omit –p option.
Run the query to create company database.

Create a table
Select the database in which you want to create the table.

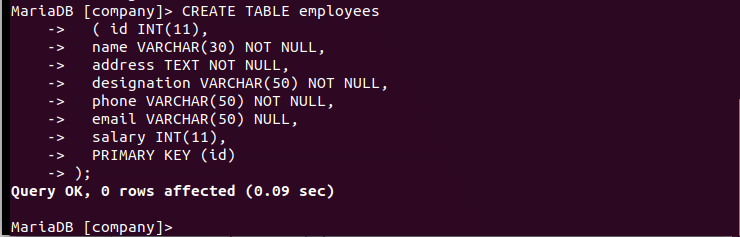
Run the query to create a table named employees.
( id INT(11),
name VARCHAR(30) NOT NULL,
address TEXT NOT NULL,
designation VARCHAR(50) NOT NULL,
phone VARCHAR(50) NOT NULL,
email VARCHAR(50) NULL,
salary INT(11),
PRIMARY KEY (id)
);
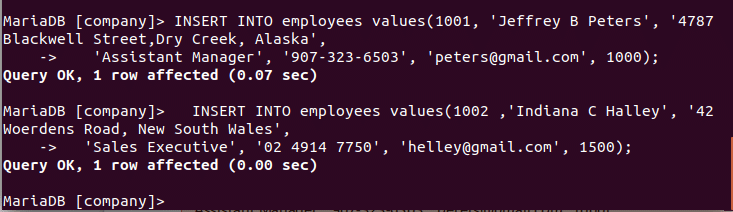
Insert some records into employees table using insert query.
Dry Creek, Alaska’,
‘Assistant Manager’, ‘907-323-6503’, ‘[email protected]’, 1000);
INSERT INTO employees values(1002 ,‘Indiana C Halley’, ’42 Woerdens Road, New South Wales’,
‘Sales Executive’, ’02 4914 7750′, ‘[email protected]’, 1500);
Create database connection using PHP
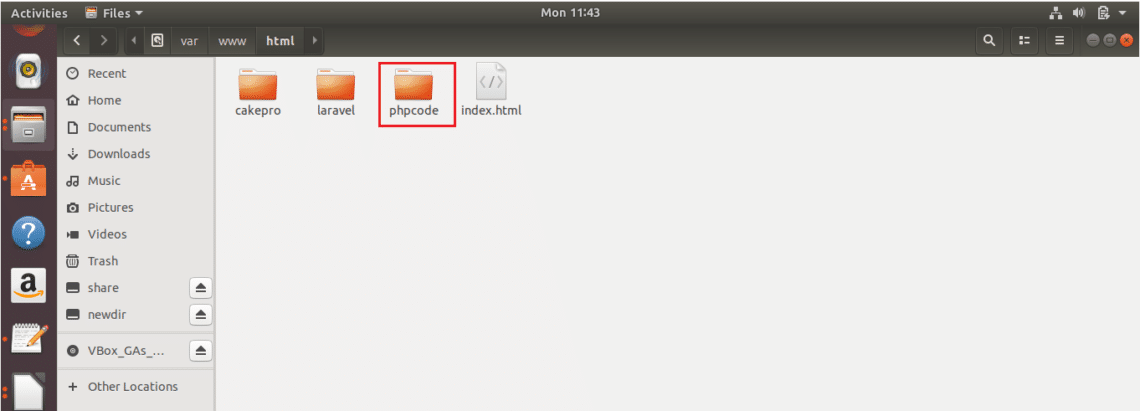
Create a new folder named phpcode in /var/www/html to store php files.
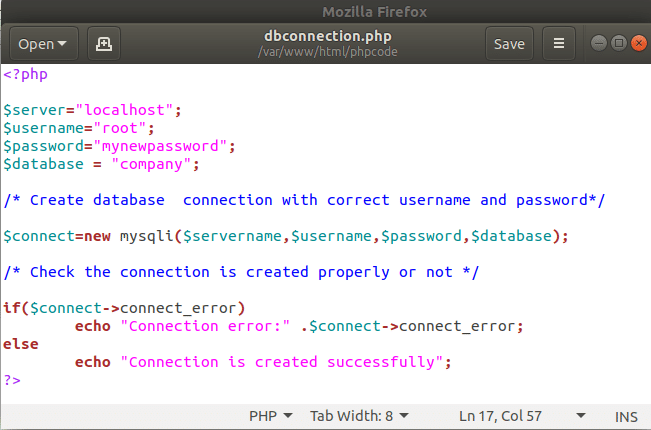
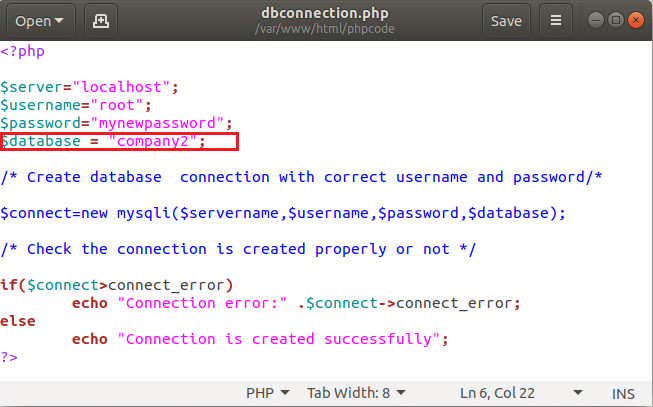
Open any editor and add the following script to make a connection with the previously created database company. Here, test editor is used to write the code. Assigning three values are mandatory to make the database connection, the first value is the web server name and localhost is used for apache server. The second value and third value are username and password. In the script, root is used as username and root password is used for making the connection. Database name company is used as fourth value which is optional. You can set the database name after creating the connection using another method. After running the script, if the connection can’t be established then an error message will print, otherwise it will print the success message. Save the file in the location which is mentioned above. Here, the filename is dbconnection.php.
$server="localhost";
$username="root";
$password="mynewpassword";
$database = "company";
/* Create database connection with correct username and password/*
$connect=new mysqli($servername,$username,$password,$database);
/* Check the connection is created properly or not */
if($connect->connect_error)
echo "Connection error:" .$connect->connect_error;
else
echo "Connection is created successfully"; ?>
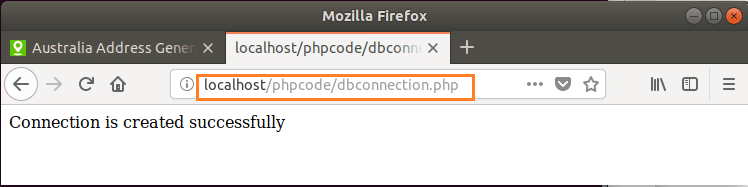
Open a browser and browse the location using localhost to run the script.
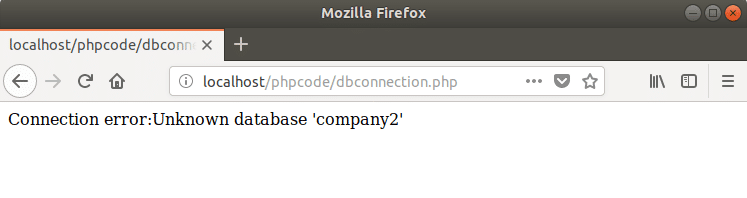
http://localhost/phpcode/dbconnection.php
Now, make some modification in the script to check the connection. For example, change the database value by company2 which is not exist.
Again, run the script and this time the following error will appear.
Read data from database using PHP
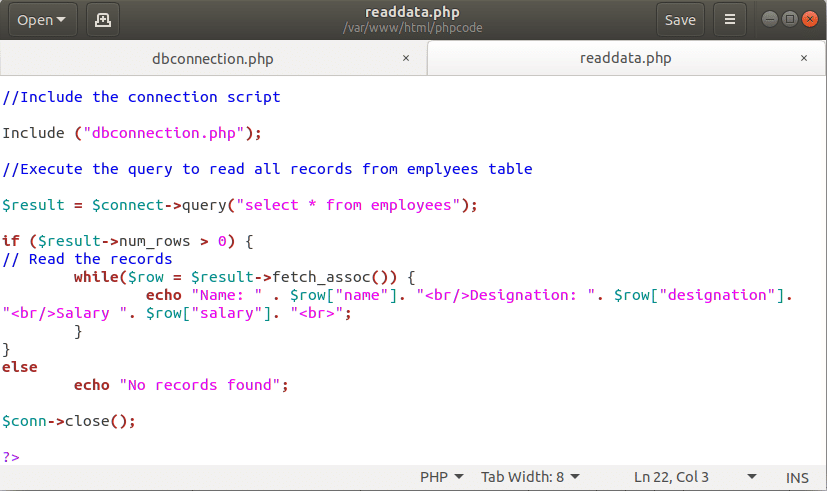
Create another file name readdata.php in the same location with the following code. dbconnection.php file is included at the beginning of the script to make connection with the database. Next, execute the select query to retrieve all records from employees table. If no records exist then the value of property, $result->num_rows will be zero and it will print “No record found”. If records exist then a while loop is used to read the records. There are various methods available to read records from the result set. Here, fetch_assoc() method is used to read the records. It reads each record as associative array.
//Include the connection script
Include ("dbconnection.php");
//Execute the query to read all records from emplyees table
$result = $connect->query("select * from employees");
if ($result->num_rows > 0) {
// Read the records
while($row = $result->fetch_assoc()) {
echo "<br/>Name: " . $row["name"]. "<br/>Designation: ". $row["designation"].
"<br/>Salary ". $row["salary"]. "<br/><br/>";
}
}
else
echo "No record found";
$conn->close();
?>
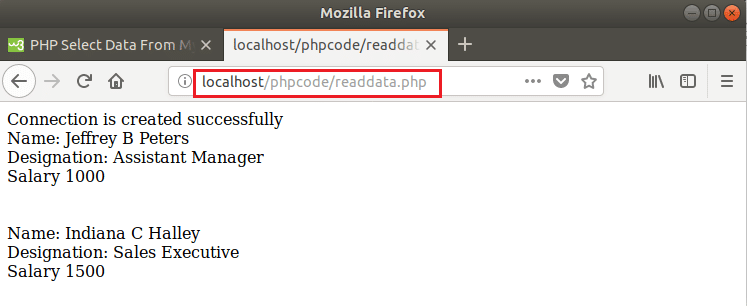
Now, open the browser and run the script to check the output.
http://localhost/phpcode/readdata.php
In a similar way, you can write PHP scripts to insert, update and delete data from MySQL database tables. I hope you enjoyed this lesson.