As part of my upcoming HowTo tutorials on my blog, I will need to install CentOS 7 on a virtualbox to accomplish this tasks. So for this reason, I will be showing you the fastest way to have a CentOS 7 machine up and running without incurring any cost. Thanks to the awesome work done by the team at OSBoxes, they have done more than 80% of the work for us by providing a ready-to-go VDI Image file for the major Linux Distros and all are up to the latest stable builds.
For those who may not know this, VirtualBox is a free, open source virtualization software that allows users to run multiple operating systems on their machine from within a single machine. In other words, you can spin up multiple virtual machines of any desired OS within minutes of each other as long as the underlining machine machine spec can handle the load.
Install CentOS 7 on VritualBox
- First install a VirtualBox on your machine (Windows or Linux)
Install latest VirtualBox VM on Linux
- Download the latest Virtualbox VDI Image file from OSBoxes. Unzip the file using 7zip to a dedicated folder
Please ONLY use these image files for testing purposes and not on a LIVE environment
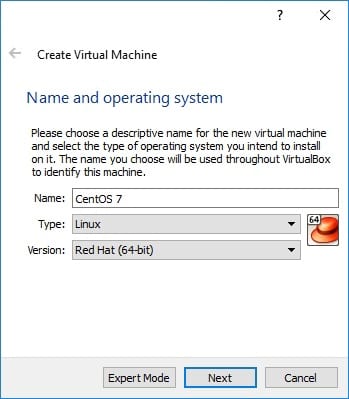
- Start your Virtualbox > Click on New and Enter details as follows
- Name: Enter name for your machine
- Type: Select Linux
- Version: Select Red Hat (64bit) or Red Hat (32bit) depending on the Image file version downloaded earlier
- On Next, enter desired memory size (recommend 1024mb)
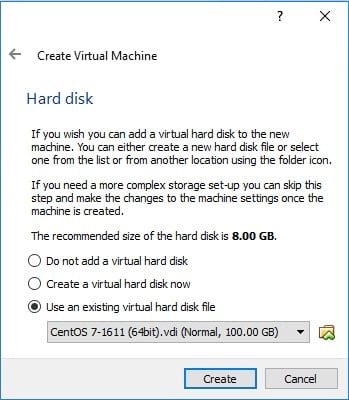
- On Next, select “Use an existing virtual hard disk file”. Click the small folder icon and navigate to the image file directory where you unzipped it to. Click Create
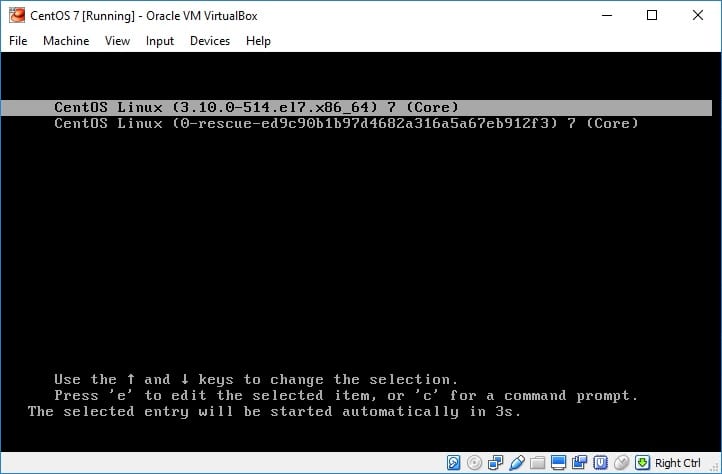
- Start the virtual machine > Ensure the first option as seen below is select
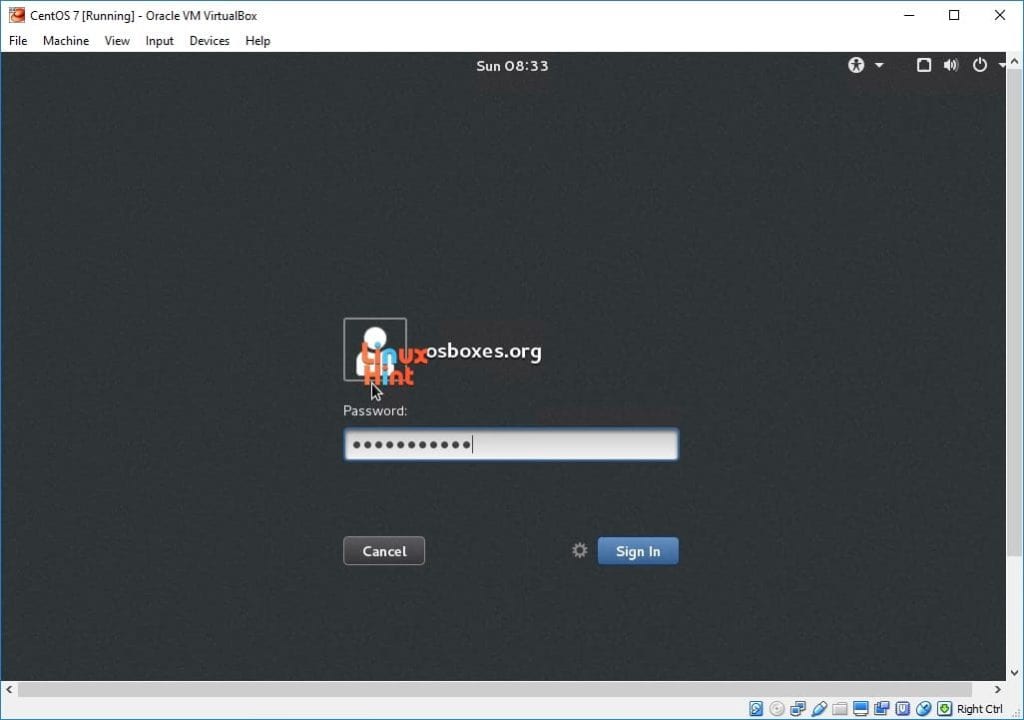
- Next login with the password provided when you downloaded the image file. Its usually “osboxes.org”
- Click on your desired Language / Keyboard Layout
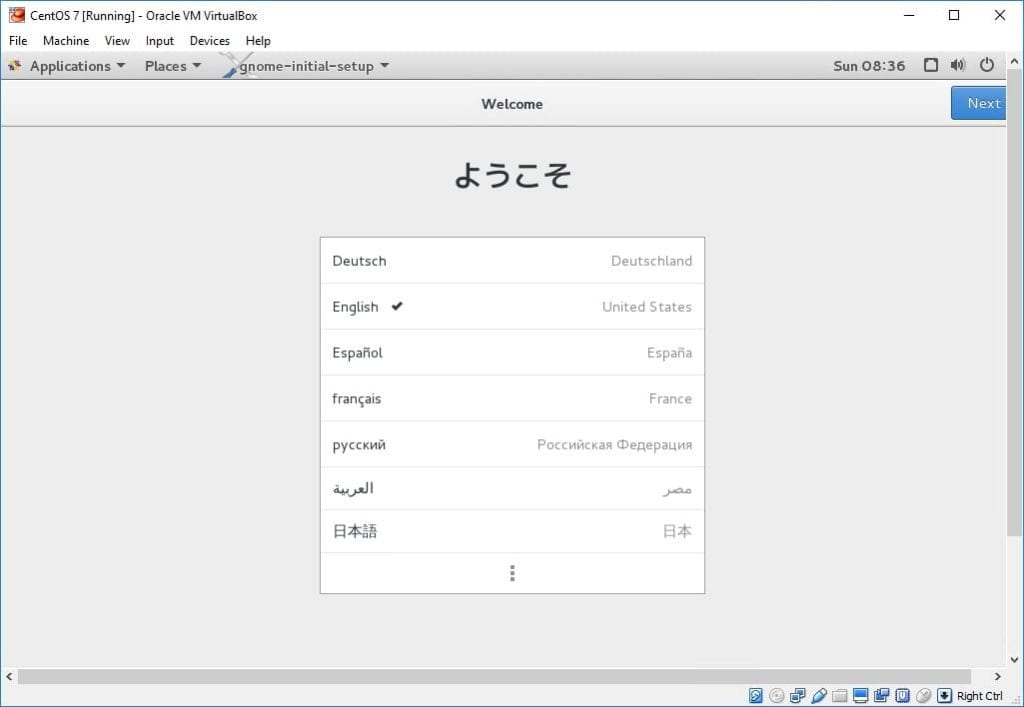

- You can skip the sign-in bit and start using your OS

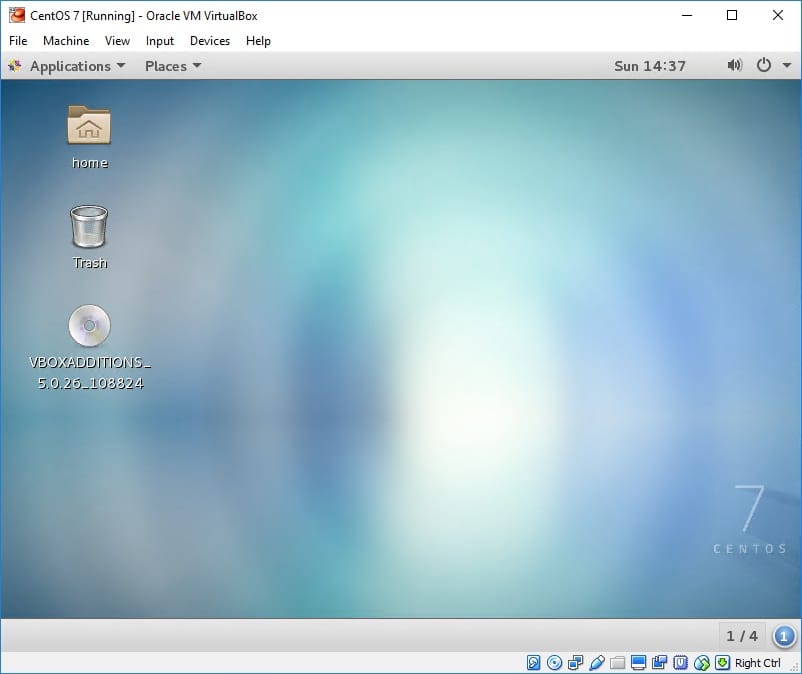
Install Guest Additions On CentOS 7
- You need to install the Guest Additions to allow you move your mouse freely between your VM and your physical desktop machine and also resize the VM desktop resolution.
Note: To move your mouse put of the VM desktop, simply press the following keys on your keyboard once at the same time “AltGr” + “Ctrl” (both keys on your right hand side)
- Let’s start. Open your terminal and change to root user
su -
- Update to latest kernel
yum update kernel* reboot
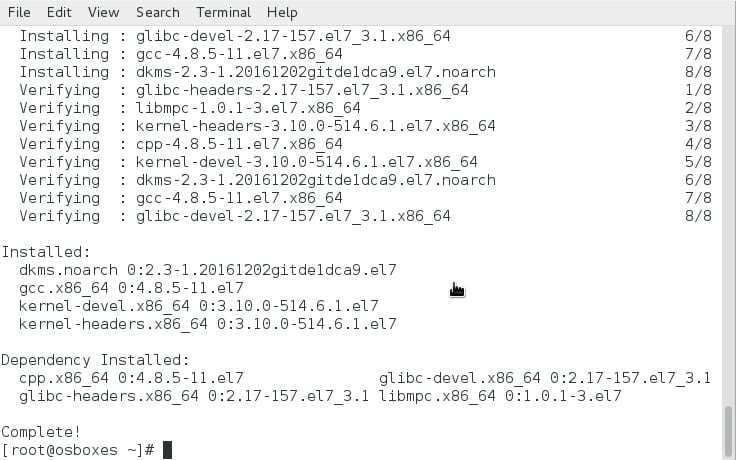
- Install following packages
rpm -Uvh http://dl.fedoraproject.org/pub/epel/7/x86_64/e/epel-release-7-9.noarch.rpm yum install gcc kernel-devel kernel-headers dkms make bzip2 perl
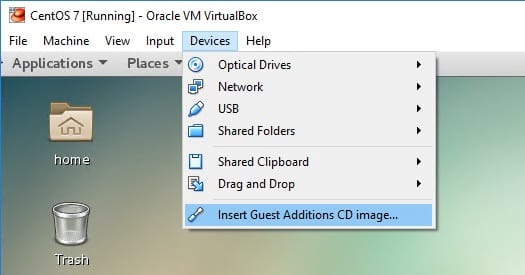
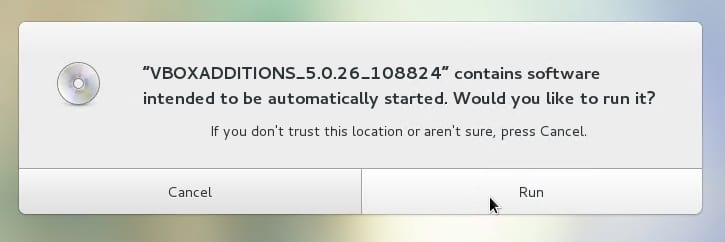
- Mount the Guest Additions CD by clicking on Devices > Insert Guest Additions CD image. Cancel the promt displayed
- Run the following commands
mkdir /media/VirtualBoxGuestAdditions mount -r /dev/cdrom /media/VirtualBoxGuestAdditions cd /media/VirtualBoxGuestAdditions ./VBoxLinuxAdditions.run
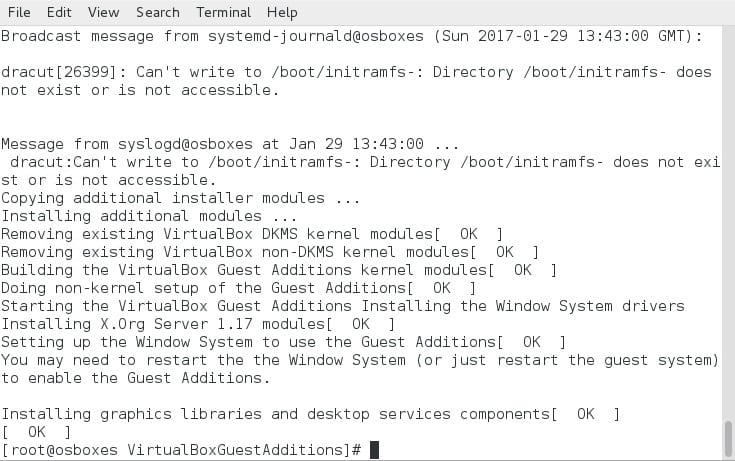
- Reboot the machine and you should now be able to move your mouse between the screens. As seen also, the scrollbar at the edge of the screen now gone
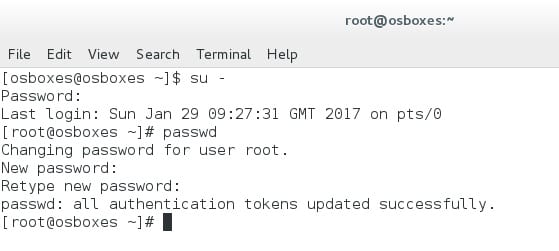
Change Root Password on CentOS 7
- First change to root user
su -
- Run the following command and enter new password
passwd


