Google Play Music Manager is a simple open source application used for adding the music files on your computer to your Google Play Music library. You can then listen to your songs on your mobile device or computer.
Google Play Music Manager Features
- You can now upload at least up to 20,000 songs to the app
- Choose how much bandwidth you use to upload music
- Download music you have uploaded or purchased on Google Play
- You now have options to upload your iTunes, Windows Media, or any other collections of music you have to Google Play Music App
How to Install Google Play Music Manager on Ubuntu 17.04, Ubuntu 16.10, Ubuntu 16.04, Ubuntu 15.04, Ubuntu 14.04
32bit OS
sudo apt-get install gdebi wget http://dl.google.com/linux/musicmanager/deb/pool/main/g/google-musicmanager-beta/google-musicmanager-beta_1.0.243.1116-r0_i386.deb sudo gdebi google-musicmanager-beta_1.0.243.1116-r0_i386.deb
64bit OS
sudo apt-get install gdebi wget http://dl.google.com/linux/musicmanager/deb/pool/main/g/google-musicmanager-beta/google-musicmanager-beta_1.0.243.1116-r0_amd64.deb sudo gdebi google-musicmanager-beta_1.0.243.1116-r0_amd64.deb
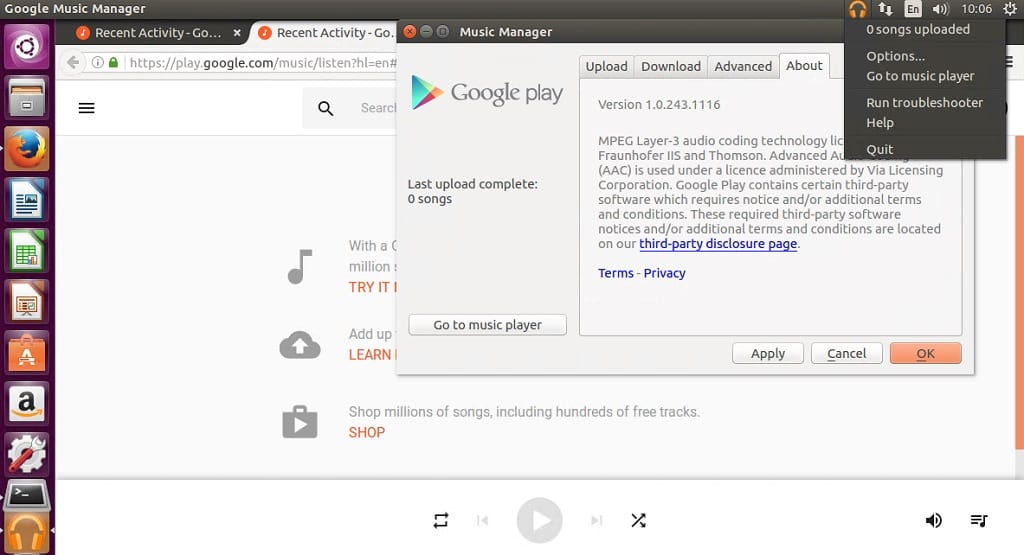
- Run the following command to start Google Play Music Manager
google-musicmanager
- Follow the on screen display to login with your gmail account to the app
Troubleshooting
If you are running this app on a virtualbox VM, you may likely receive the following error when trying to login
login failed could not identify your computer
Fix
From investigation, it appears Google does not support running Google Play Music Manager on a virtual machine. What happenns is Google Music Manager checks your machine MAC address on your NIC and tries to determine what type of computer you’re running. So since this is on a VM, it then that explains the error.
So to get work around this lockdown, you will need to tell the VM to use a real MAC address.
- First go here and generate a new mac address
- Open up your VirtualBox > Select the OS > Click on the Settings button
- Go to Network > Click on Advanced to expand it
- Copy one of the newly generated mac address and replace one in the Mac Address box.
Note you might have to try the different addresses generated incase the system does not accept the one copied
- Save and restart your VM