Adding oVirt Package Repository:
First, you have to add the oVirt package repository on CentOS 7. To do that, run the following command:

Now, press y and then press <Enter>.

oVirt repository should be added.

Updating the System Packages:
Now, you have to update all the packages of your CentOS 7 operating system. To do that, run the following command:

As you can see, my CentOS 7 machine has some updates available. Now, press y and then press <Enter> to continue.

Now, press y and then press <Enter> to accept the GPG key.

The CentOS 7 machine should be updated.

Now, reboot your computer with the following command:

Installing oVirt:
Now, you can install oVirt with the following command:

As you can see, 498 MB of packages will be downloaded from the internet. Now, press y and then press <Enter>.
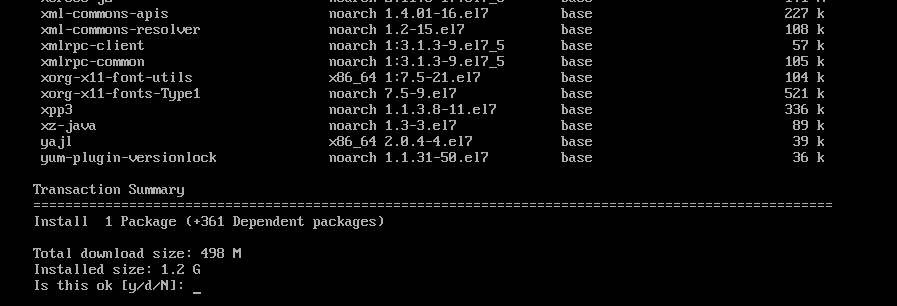
oVirt packages and dependencies are being downloaded.


Now, press y and then press <Enter> to accept the GPG key of the CentOS SIG Virtualization repository.

Now, press y and then press <Enter> to accept the GPG key of the CentOS SIG Storage repository.

Now, press y and then press <Enter> to accept the GPG key of the CentOS SIG OpsTools repository.

Now, press y and then press <Enter> to accept the GPG key of the CentOS SIG SCLo repository.

oVirt is being installed.

oVirt is installed.

Configuring oVirt:
Now that oVirt is installed, you have to configure it. To do that, run the following command:

Now, press <Enter> to select the default option Yes.

Press <Enter> to select the default option Yes.

Press <Enter> to select the default option Yes.

Press <Enter> to select the default option Yes.

Press <Enter> to select the default option Yes.

Press <Enter> to select the default option Yes.

Now, type in your fully qualified domain name (in my case ovirt.linuxhint.com) and press <Enter>.

Now, press <Enter> to select the default option Yes. It will configure the firewall for you.

Now, you have to configure the DWH database for oVirt. You can use either the Local database or a Remote database. If you want to use the Local database, just press <Enter>. If you want to use a Remote database, just type in Remote and press <Enter>. In that case, you will have to provide the credentials for your remote database.

If you want to automatically create all the required tables and insert data for oVirt to work, just press <Enter> to select the default option Automatic. If you want to manually configure it, then just type in Manual and then press <Enter>.

The same way, you can use a Local or Remote database for the Engine database. I will go with the Local database. Decide what you want to do and press <Enter> to continue.

The same way you can Automatically or Manually configure the Engine database. Once you decide what you want to do, just press <Enter> to continue.

Now, type in your oVirt admin password and press <Enter>.

Re-type your admin password and press <Enter>.

Now, press <Enter> to select the default option Both.

Now, press <Enter> to select the default option Yes.

Type in Yes or No depending on whether you want to wipe out the default SAN after you delete it or not and press <Enter>.

Now, press <Enter> to create a default user admin for administration purpose.

Now, press <Enter> to configure Apache web server.

Now, press <Enter> to select Automatic. It will automatically enable HTTPS using a self-signed SSL certificate.
If you want to use your own SSL certificate, type in Manual and press <Enter>.

Now, press <Enter> to select the default option Basic.

Finally, press <Enter> to confirm the oVirt installation settings.
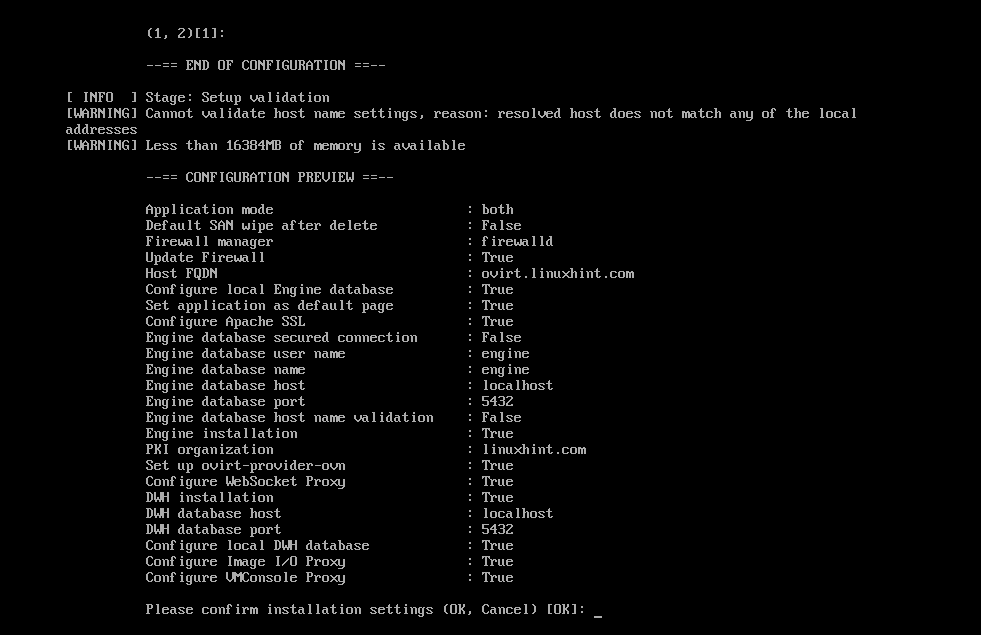
As you can see, oVirt is being configured.

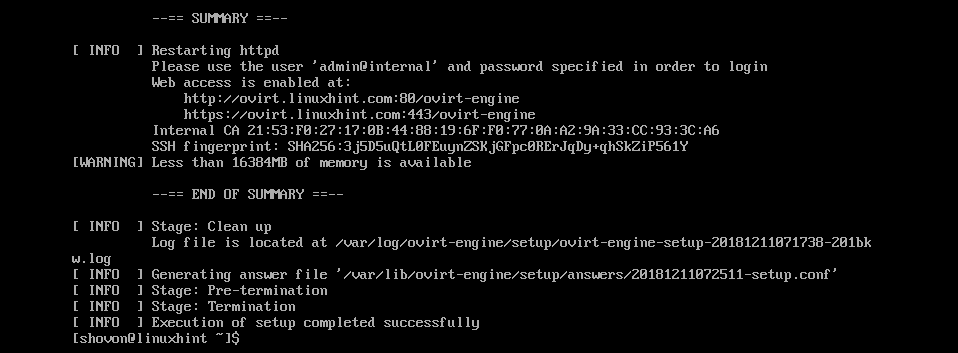
At this point, oVirt is configured.
Configuring Firewall:
To be able to access the oVirt web based management interface, you have to open HTTP and HTTPS ports. You can easily do it using firewalld on CentOS 7.
To open the HTTP port, run the following command:

To open the HTTPS port, run the following command:

Now, reload the firewalld daemon with the following command:

The firewall is configured correctly at this point.
Accessing oVirt Management Interface:
Now, you can access oVirt management interface from your web browser using the fully qualified domain name that you provided during oVirt configuration. In my case, it was ovirt.linuxhint.com
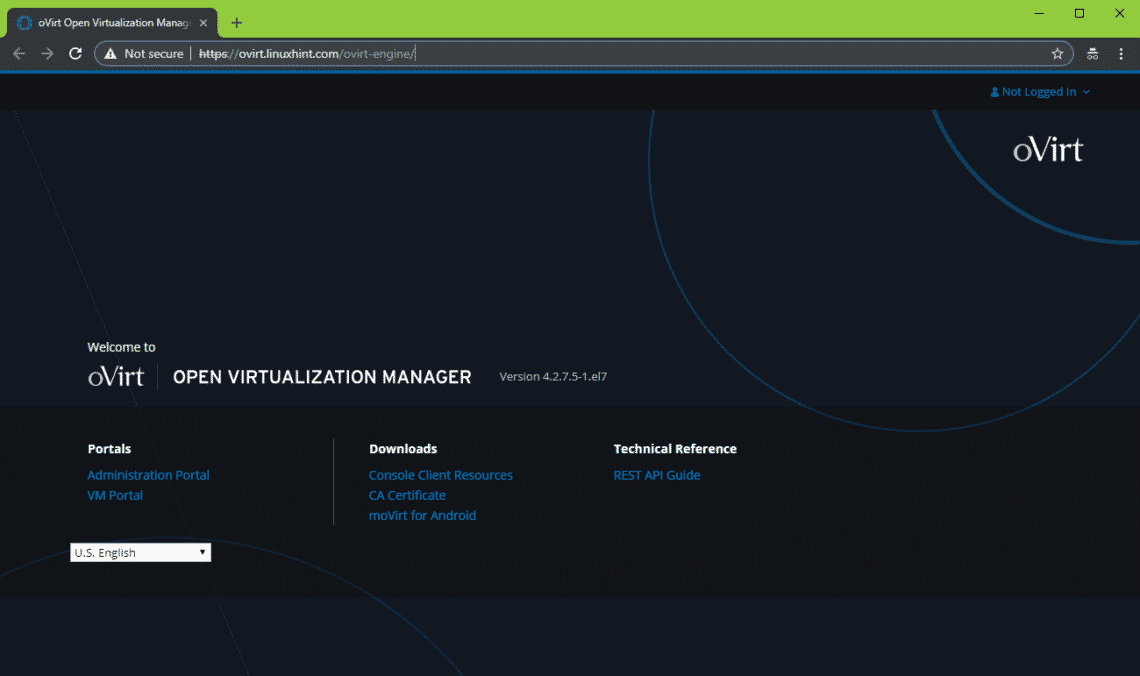
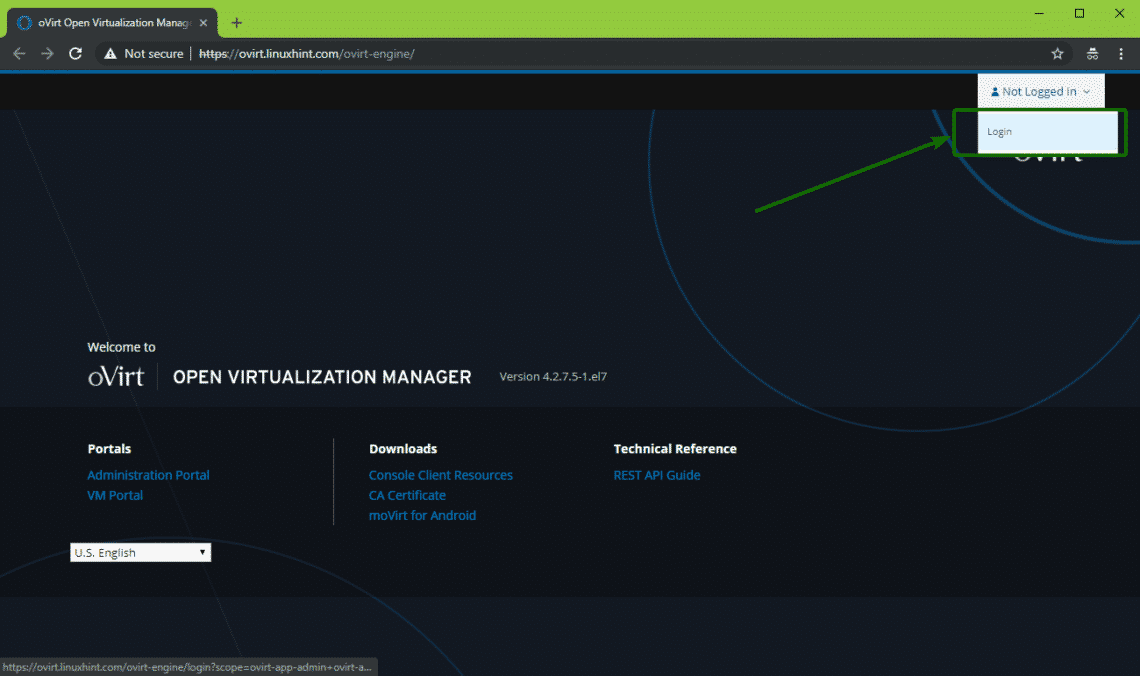
To login to the management interface, click on Login from the top right corner as shown in the screenshot below.
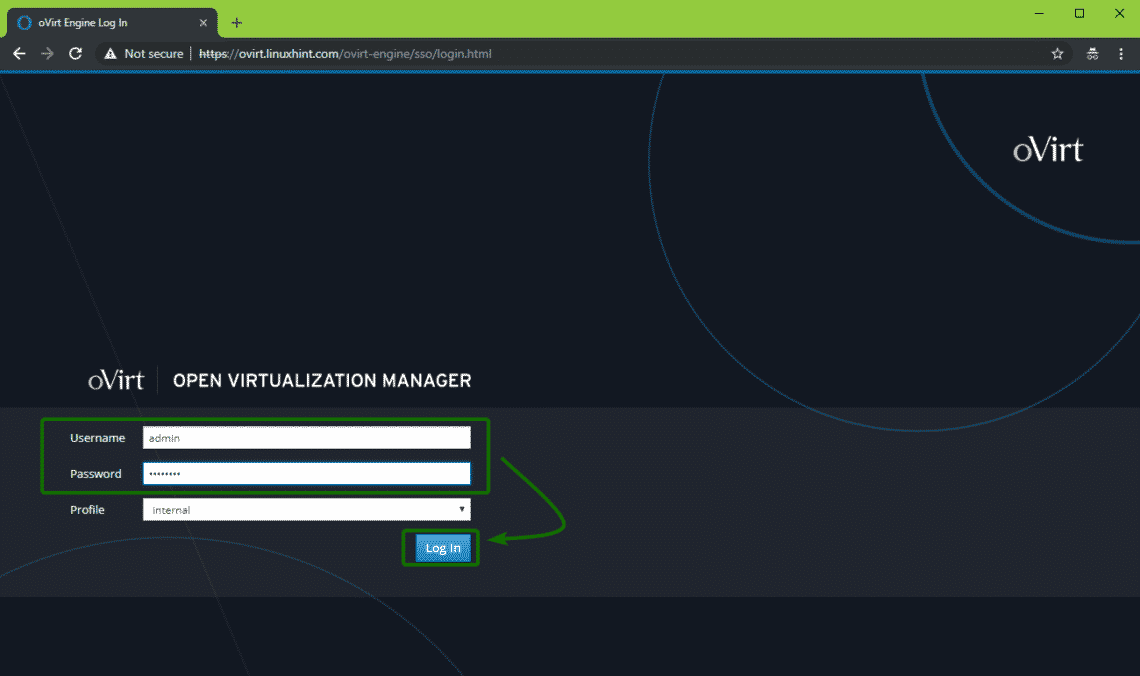
Now, type in the Username admin and the Password that you set while configuring oVirt. Once you’re done, click on Log In.
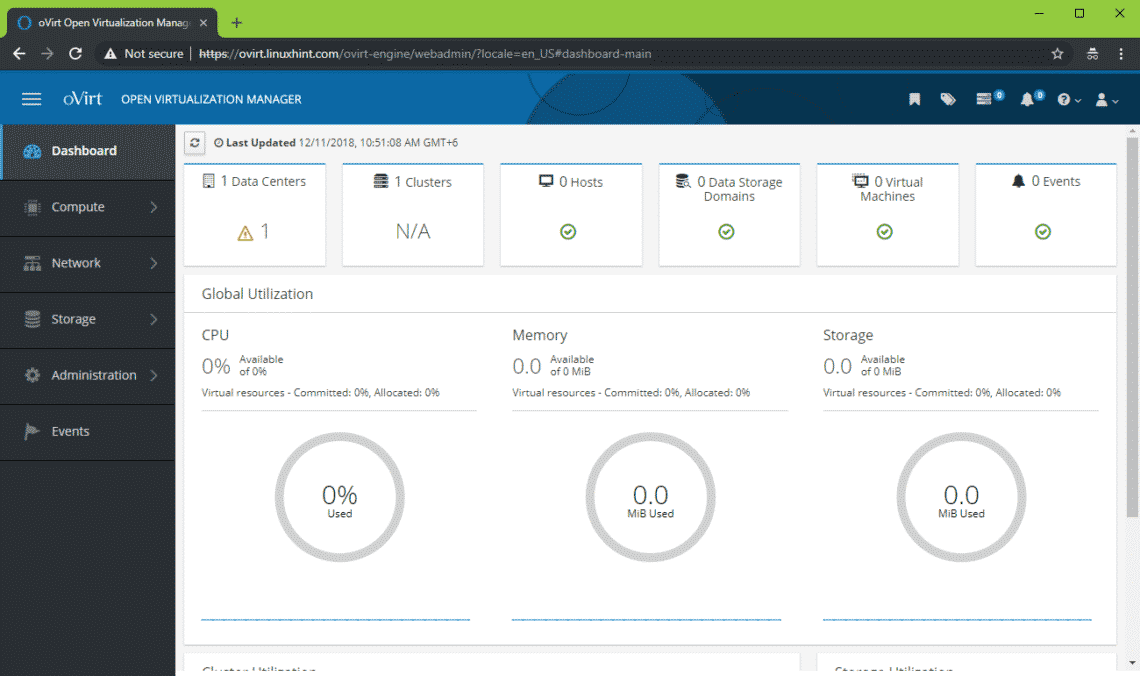
You should be logged in. Now, click on the Administration Portal as marked in the screenshot below.

You should see the management interface of oVirt. From here, you can administer oVirt graphically. You can also create virtual machines from here.
So, that’s how you install oVirt on CentOS 7. Thanks for reading this article.


