Installing Team Viewer
In this section, I will show you how to install Team Viewer 12 from Arch User Repository (AUR).
First update the pacman package repository cache with the following command:

pacman package repository cache should be updated.

Git version control system is required to install packages from AUR.
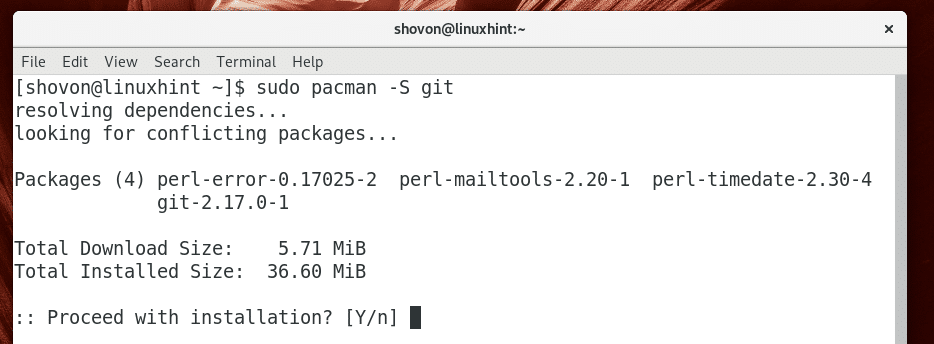
Now install Git version control system with the following command:

Now press y and then press <Enter>.
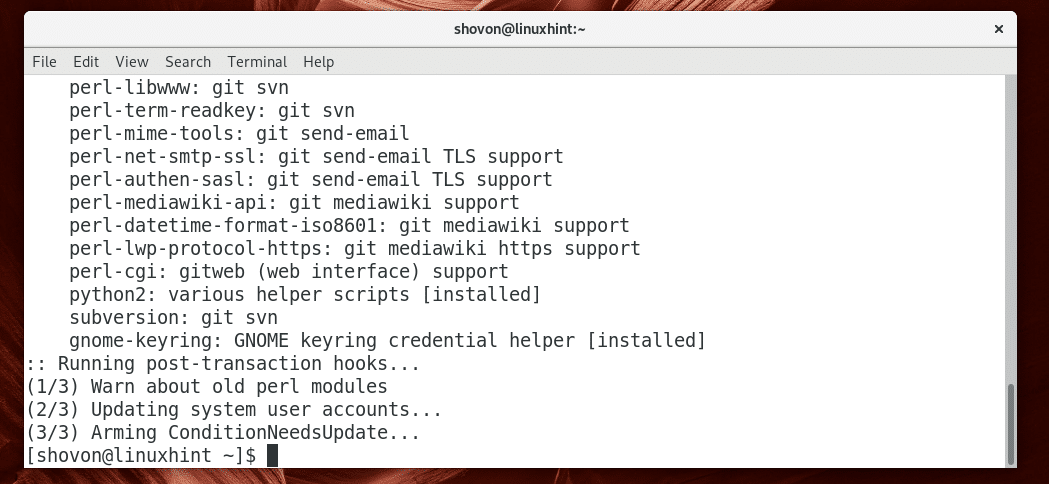
Git should be installed.
Now navigate to the ~/Downloads directory with the following command:

Now clone the Team Viewer 12 AUR repository with the following command:

The Team Viewer 12 AUR repository should be cloned.

Now navigate to the teamviewer12/ directory with the following command:

Now you can run the following command to generate a pacman package of Team Viewer 12:

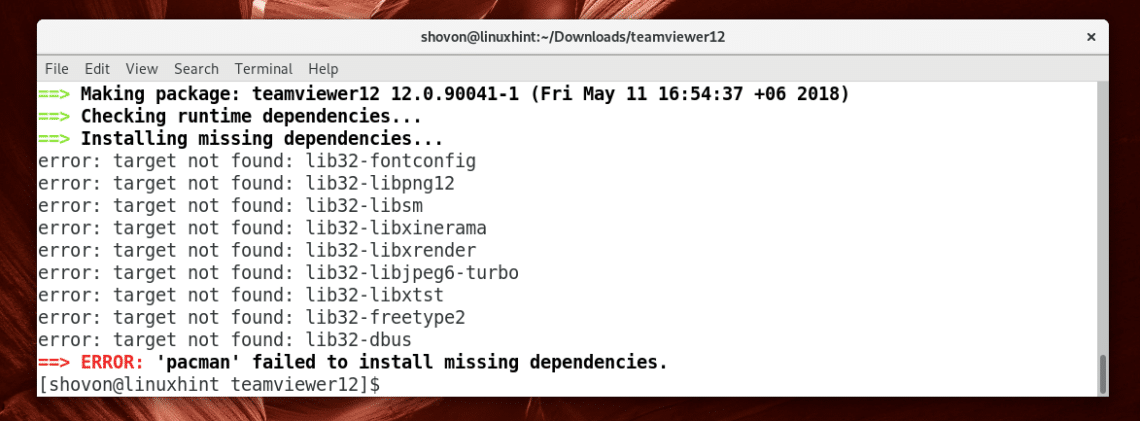
If you see the following error, don’t freak out. It means you don’t have Multilib package repository enabled.
To enable Multilib package repository, run the following command to edit pacman configuration file /etc/pacman.conf:

You should see the following window.
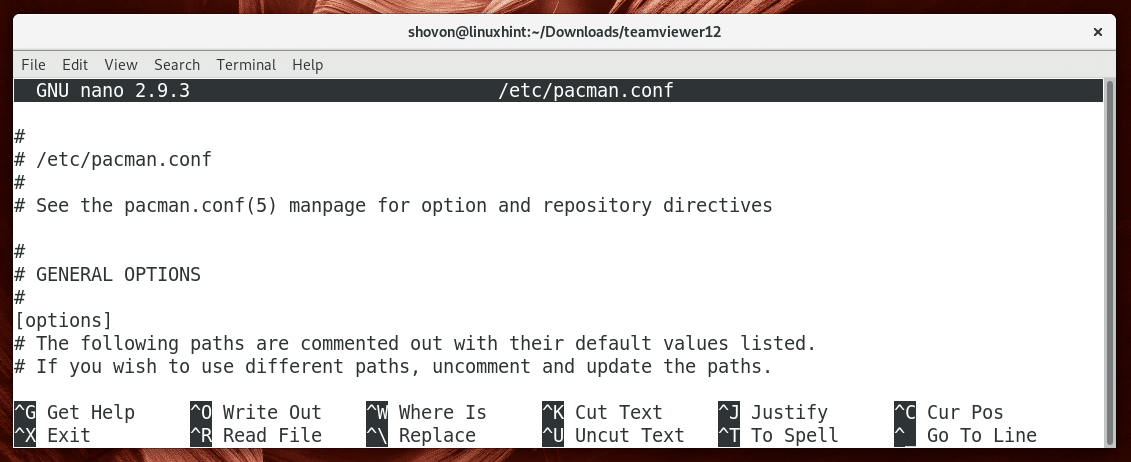
Scroll down a little bit and find the following lines as marked in the screenshot below.
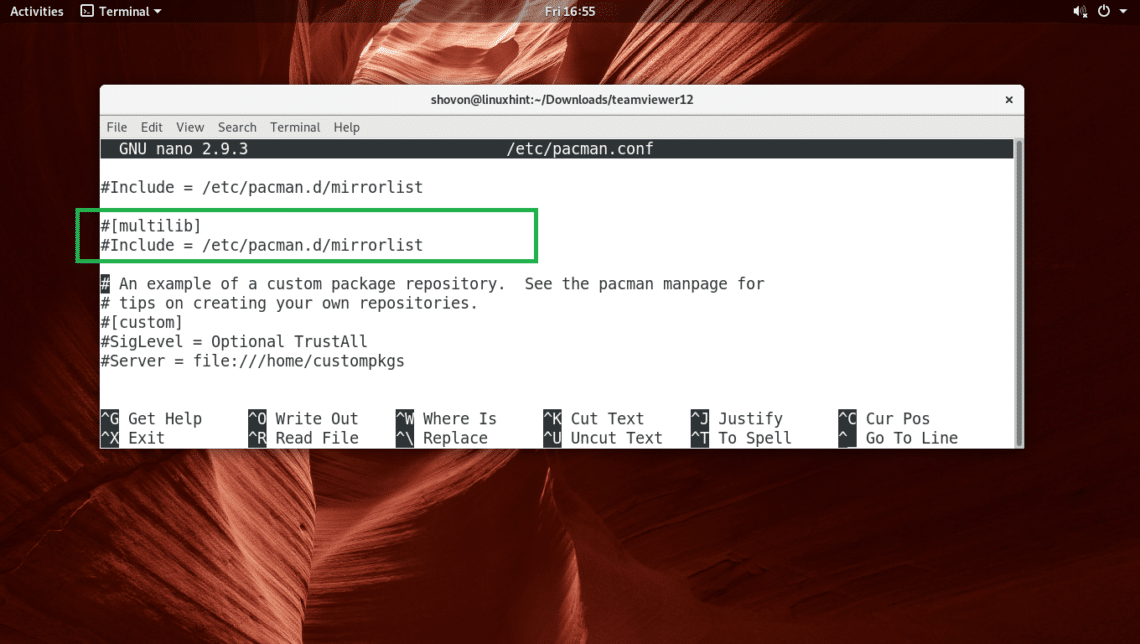
Uncomment these lines by removing the # mark from the beginning of the line. The final configuration file should look something like this.
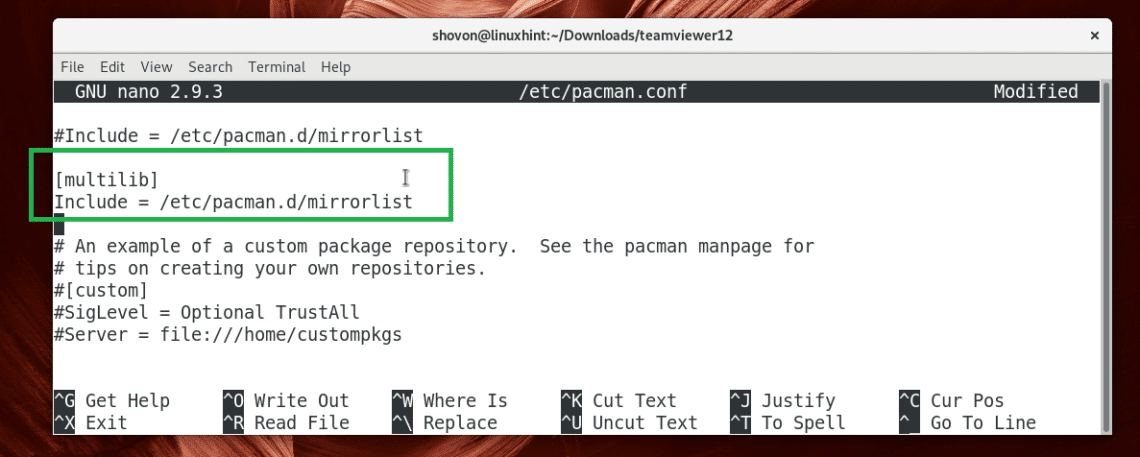
Now save the file by pressing <Ctrl> + x and then press y and then press <Enter>.
For more information on enabling Multilib, check https://wiki.archlinux.org/index.php/Multilib#Enabling
Now update the pacman package repository cache with the following command:

It should be updated.

Now try to generate a Team Viewer 12 pacman package again:

Now press y and then press <Enter> to continue.
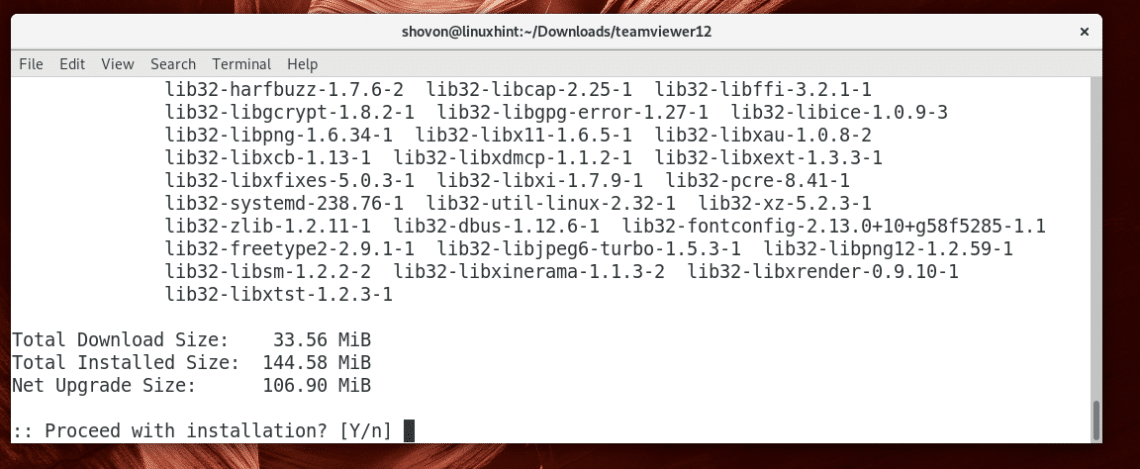
makepkg should download and install all the required packages and files.
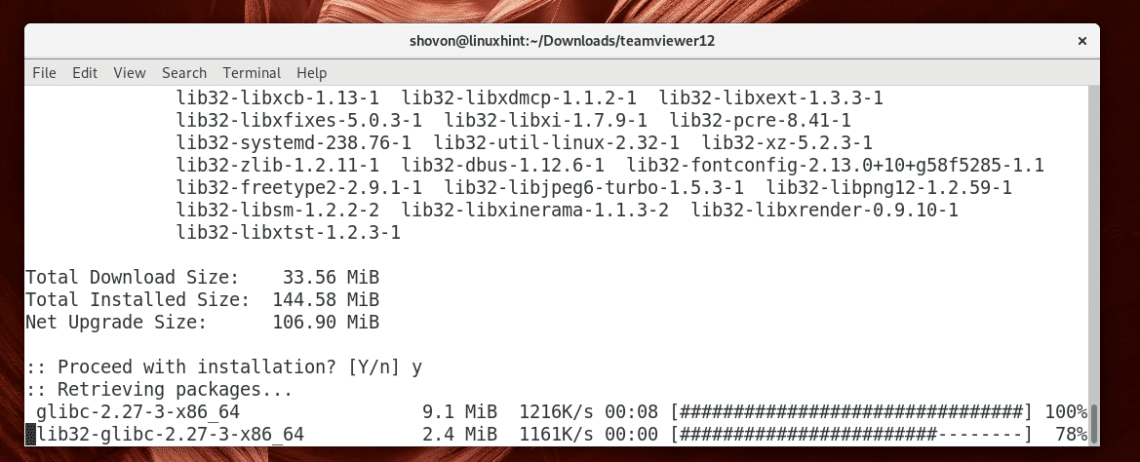
At this point, the package generation process should be completed.
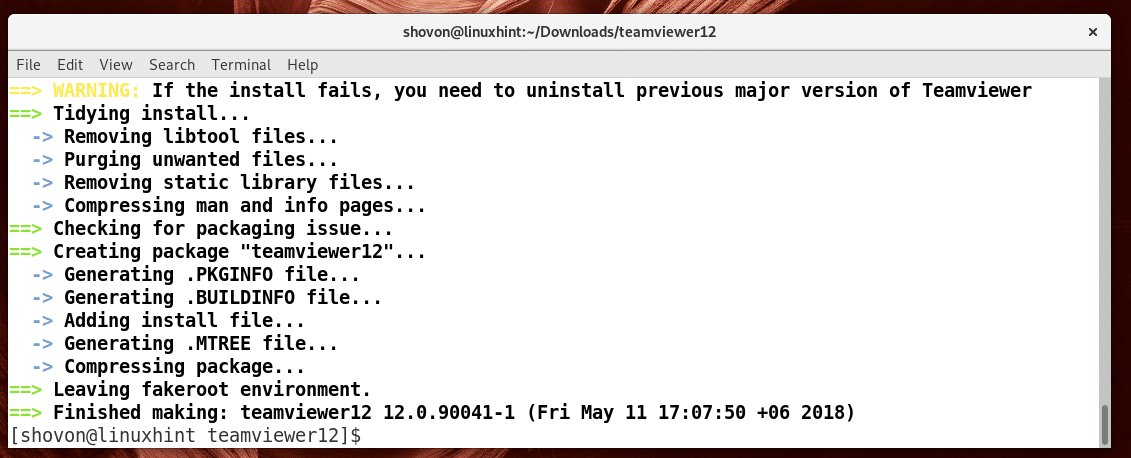
Now install Team Viewer 12 with the following command:

Now press y and then press <Enter> to continue.

Team Viewer 12 should be installed.
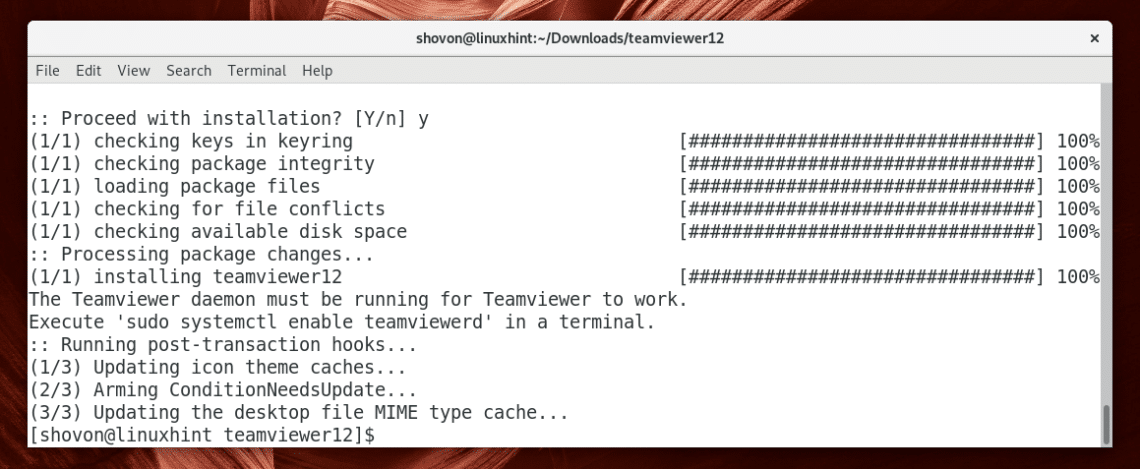
After the installation, you may run the following command to clean up the ~/Downloads directory.
Starting Team Viewer
Before you start Team Viewer, check whether the teamviewerd service is running with the following command:
As you can see it’s not running.

Now start the teamviewerd service with the following command:

Now the teamviewerd service should be running.
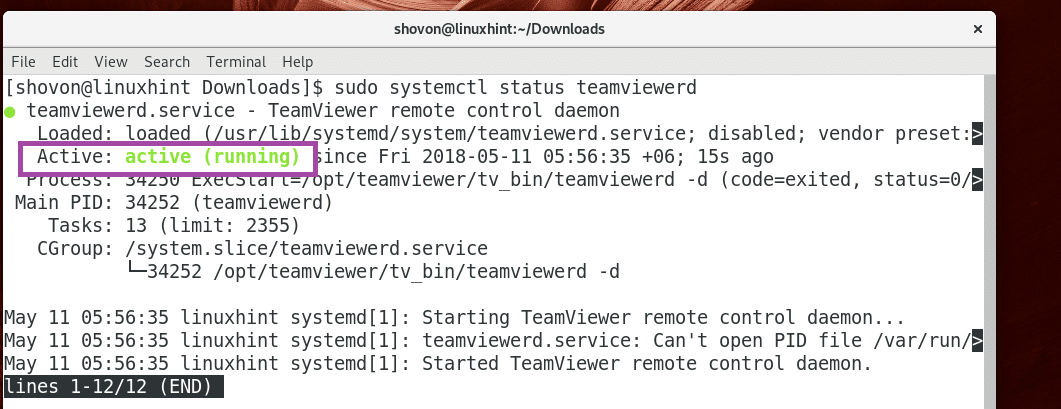
If you don’t want to do it every time you want to run Team Viewer, you may start it when your computer boots with the following command:

teamviewerd should now start when your computer boots.

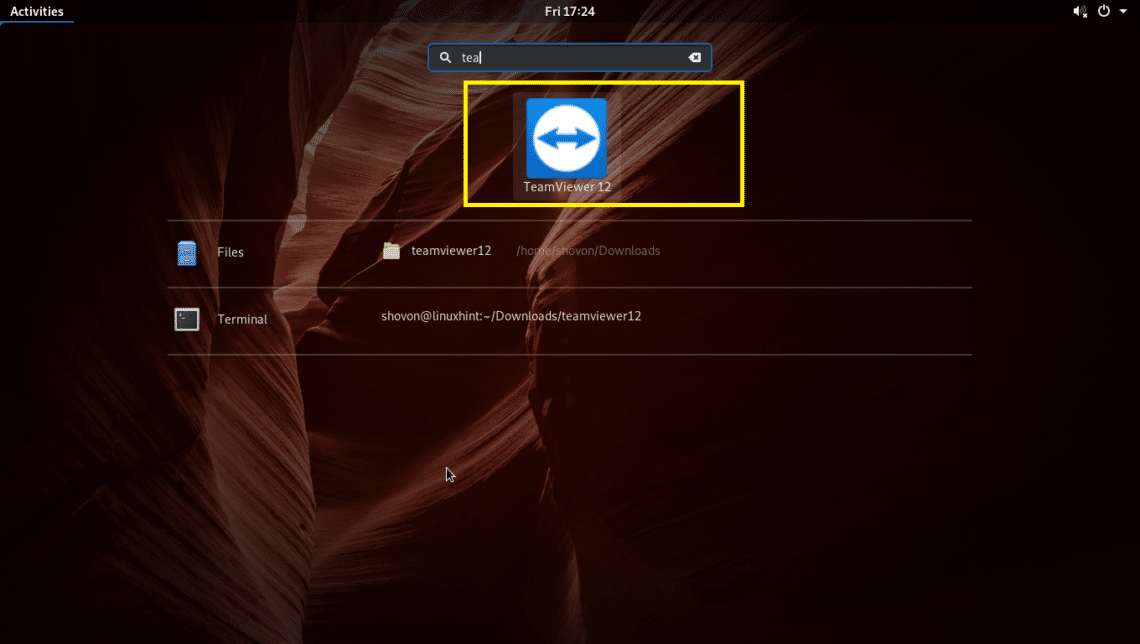
Now you can go to the Application Menu and search for Team Viewer. You should see the Team Viewer 12 icon as marked in the screenshot below. Click on it.
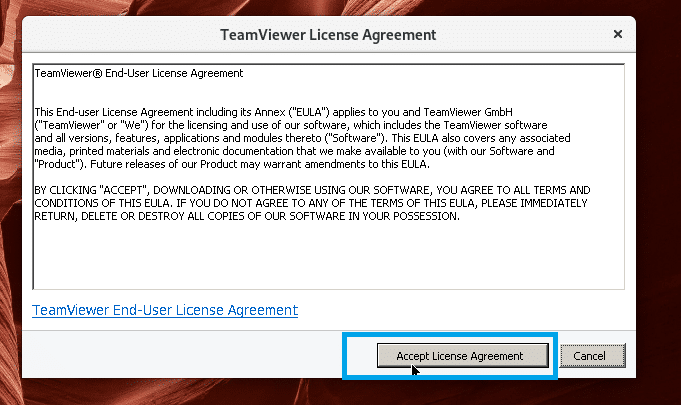
You should see the following window. Click on the Accept License Agreement button.
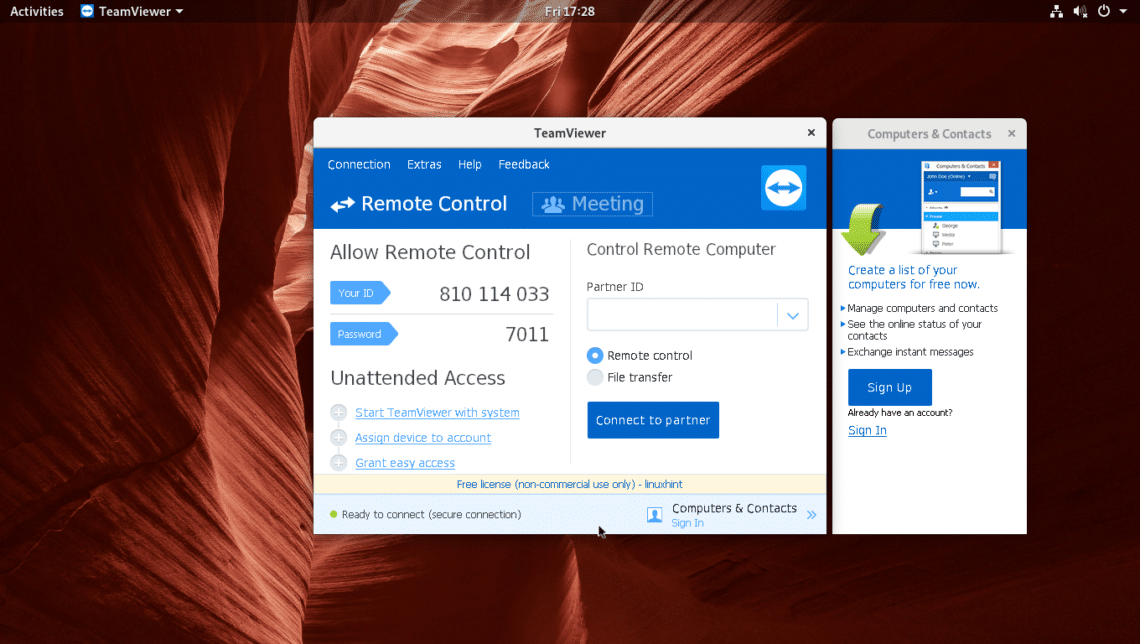
Team Viewer 12 should start as you can see in the screenshot below.
Using Team Viewer
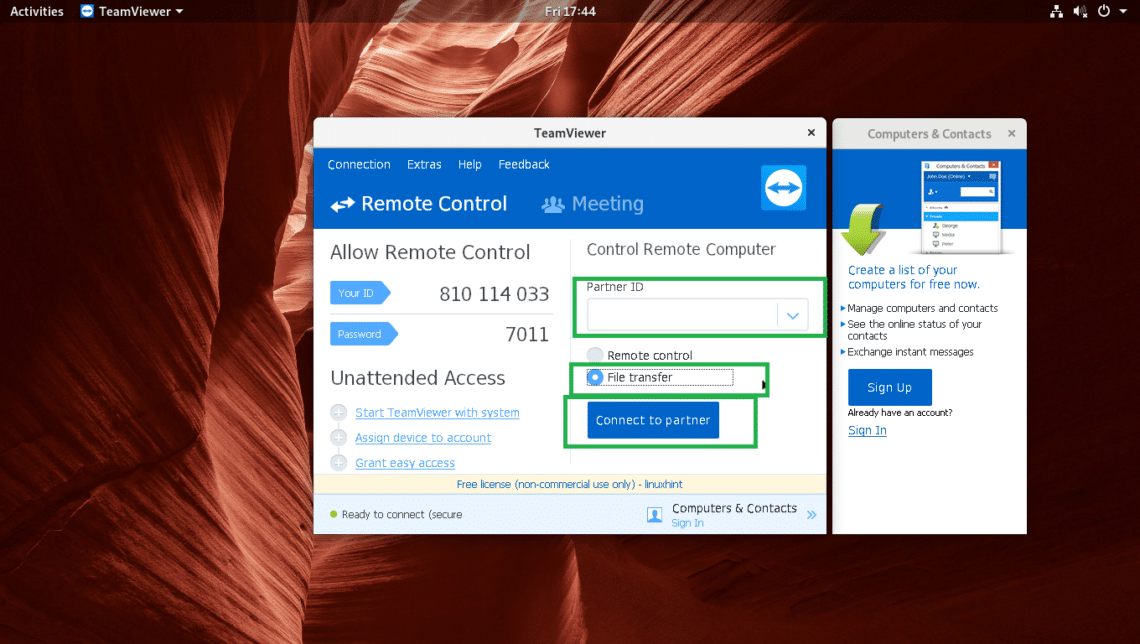
The marked section of the screenshot below has your Team Viewer ID in the Your ID section and Password in the Password section. When you want other people to connect to your computer using Team Viewer, these are the information that you send them.
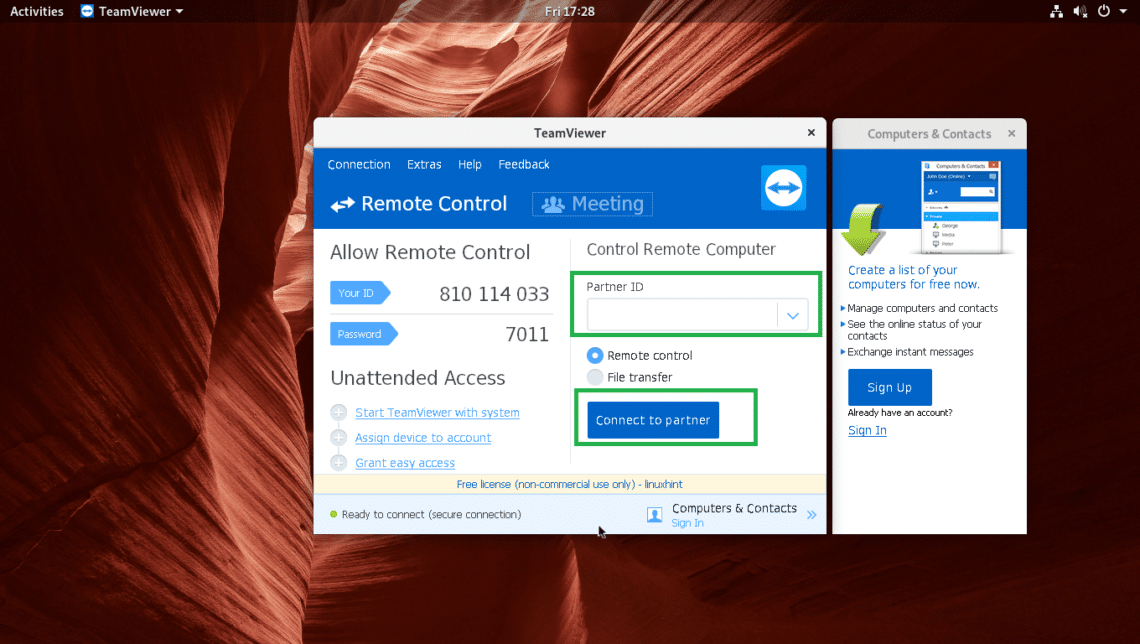
You can also transfer files to and from your computer and your partner’s remote computer. All you have to do is select the File transfer radio button as marked in the screenshot below before you connect to the Remote computer using Team Viewer.
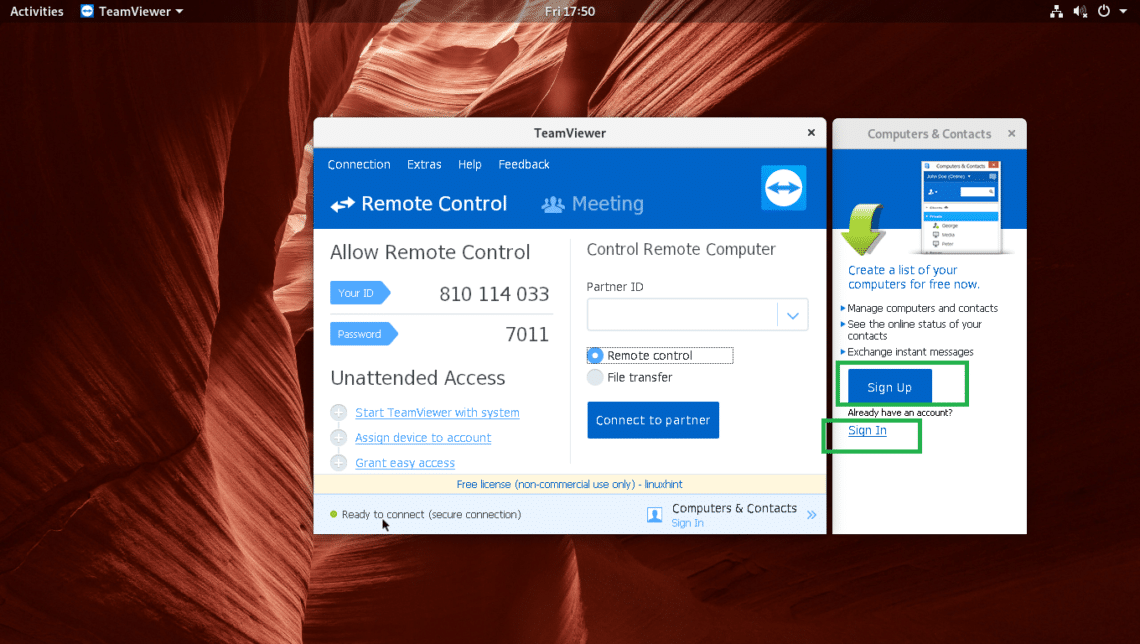
You can click on the Sign Up button to sign up for a Team Viewer account and click on Sign In to sign into your account as marked in the screenshot below. That you can manage your remote computers and see whether they are online or not. You can also do instant messaging.
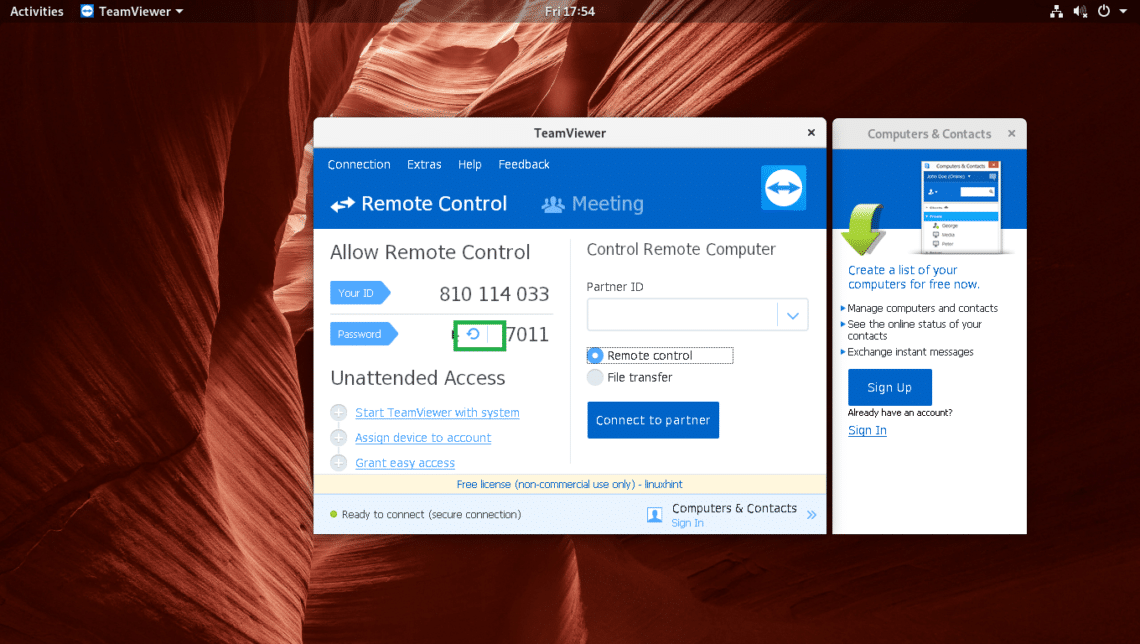
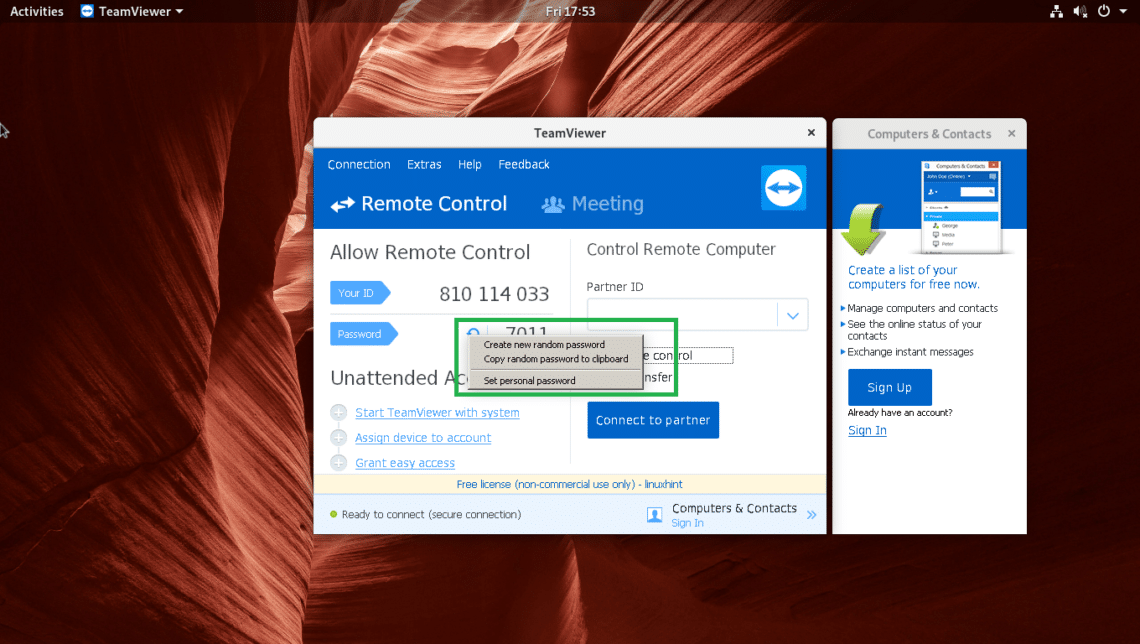
You can also hover over to the Password section and click on the refresh button as marked on the screenshot below.
And select any one of the option as marked in the screenshot below to change your password.
So that’s how you install and use Team Viewer on Arch Linux. Thanks for reading this article.


