When you install packages on Arch Linux with Pacman package manager, some other packages are also installed with it. These packages are called the dependencies of the package that you tried to install. It’s all good that Pacman resolves all the dependencies and installs them for you. It saves you from manually installing them one by one, which obviously is boring and time consuming.But the problem comes in when you try to remove the package from your Arch Linux system. By default, Pacman package manager will only remove the package that you tell it to, leaving the dependencies of that package installed. The problem with that is the unnecessary packages takes extra space on the hard drive. Of course that doesn’t matter when you have a big hard drive on your local computer, but if it’s a server that you rented online, you will have limited disk space. So saving a few megabytes to a few hundreds of megabytes is still worth it.
In this article I will show you how to remove packages on Arch Linux along with their dependencies using Pacman package manager. Let’s get started.
Finding Out the Dependencies of a Certain Package
You can use pactree utility to find out the packages the package xyz depends on.
NOTE: You don’t need pactree to remove all the dependencies along with the package. But I find it interesting as it helps you understand how packages on your Arch Linux system are dependent on each other.
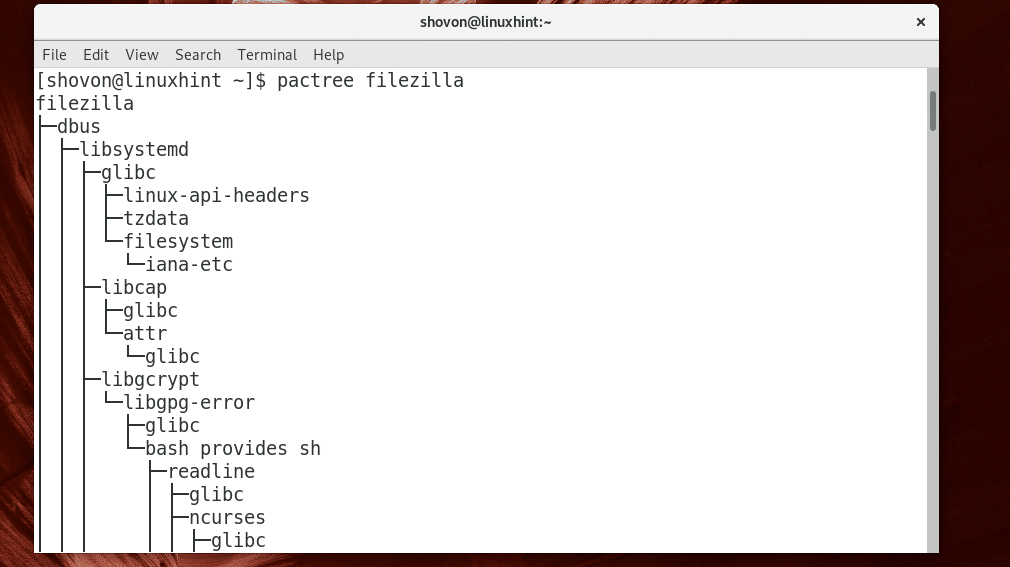
For example, you can check the dependency of the package filezilla with pactree as follows:

As you can see, pactree shows you a nicely formatted tree of dependencies of filezilla package.
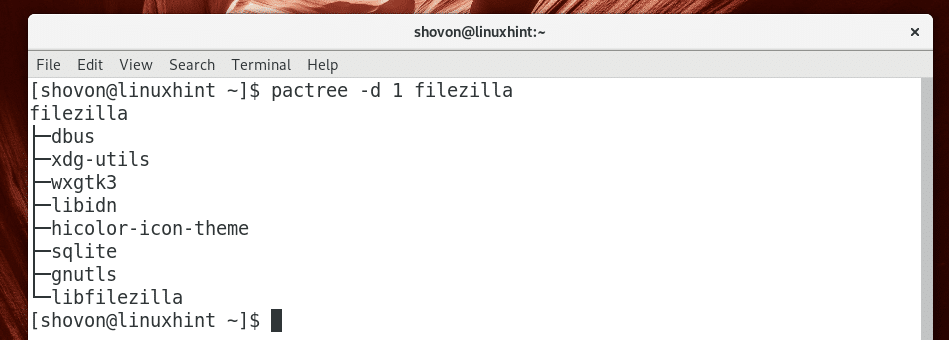
You can pass -d N parameter to pactree to only print a certain depth of the tree. Here N = 1, 2, 3, …
When N=1, the direct dependency tree is printed.
You can run the following command to find out the direct dependencies of filezilla with pactree:

As you can see, the direct dependencies of filezilla is listed.
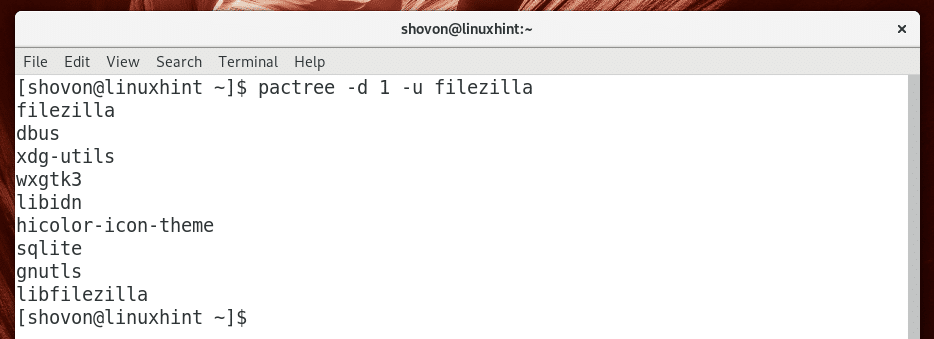
You can print the list in plain format (not the tree format) with the following command:
If you want, you can export the list to a file, let’s say filezilla.txt with the following command:

Removing a Package and All the Dependencies with Pacman
You can remove only a specific package, let’s say filezilla using Pacman with the following command:
As you can see in the screenshot below, that command would remove the package, but it would leave all the dependencies of filezilla package installed. This is what I was taking about earlier.

You can remove all the dependencies of filezilla as well with the following Pacman command:

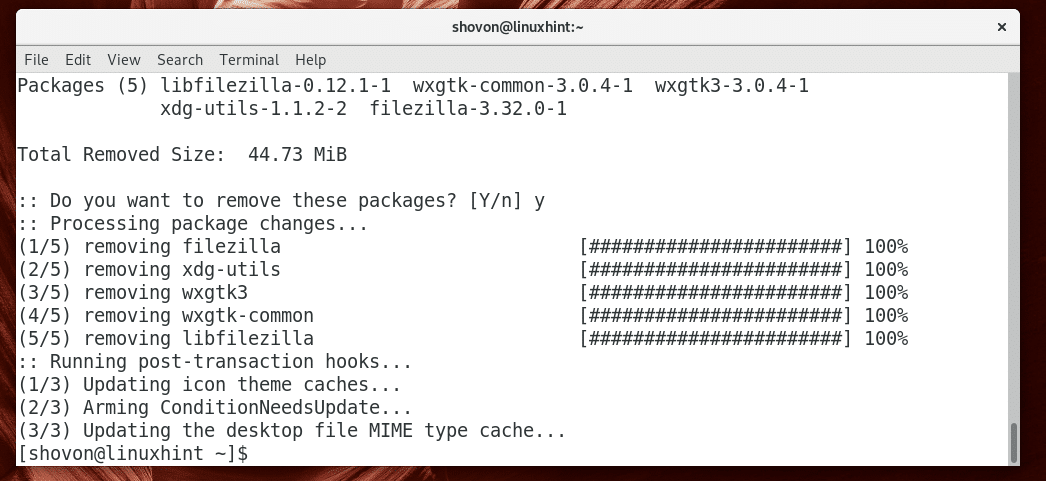
As you can see in the screenshot below, all the direct dependencies are going to be removed as well. Just press y and then press <Enter> to remove all of these packages.

As you can see, all the packages are removed.
Removing Packages that Don’t Depend on Other Packages
If you didn’t know what I showed you earlier, and removed packages with sudo pacman -R command, then your Arch Linux system may have a lot of unnecessary packages still installed. But don’t regret yet. There is a way to remove these unwanted packages and save disk spaces.
You can run the following command to find out all the unnecessary packages (packages that don’t depend on other packages):

As you can see, on my Arch Linux machine, four unnecessary packages are installed.

If your Arch Linux machine show a longer list, don’t be afraid as you don’t have to remove them one by one.
You can remove all of these unnecessary packages with the following command:

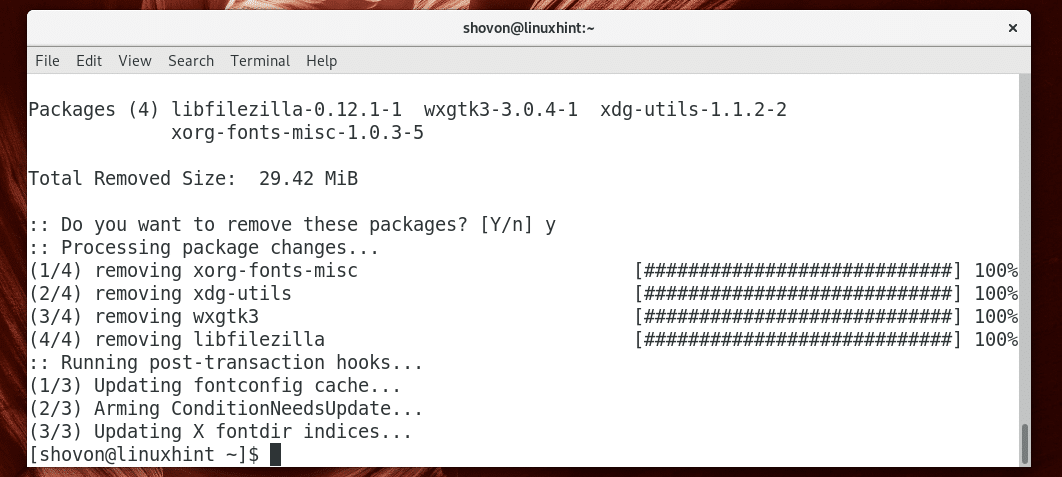
Press y and then press <Enter> to continue.

As you can see, all the unnecessary packages are removed.
That’s how you remove packages along with its dependencies and remove all the unnecessary packages with Pacman package manager on Arch Linux. Thanks for reading this article.


