In this article, I will show you how to setup PostgreSQL 11 replication. Let’s get started.
How Does Replication Works in PostgreSQL:
In a PostgreSQL replication setup, you have 2 types of servers. The Master server and the Slave server.
The database records of the Master server are duplicated to the Slave servers. You can read from the Slave servers using the IP addresses of the Slave servers. But you add new data only to the Master server. The servers are all synced up. So if any of the Master server fails, one of the Slave servers can take over and become a new Master. That’s how PostgreSQL can handle database request without any interruption even if some of the servers fail in a Master/Slave configuration.
Network Diagram:
This is the network diagram for the PostgreSQL Master/Slave replication setup. Here I have two servers, pg-master is the Master PostgreSQL server and pg-slave is the Slave PostgreSQL server. Of course, you can have more Slave server, but for the sake of simplicity I am going to have one Slave server.
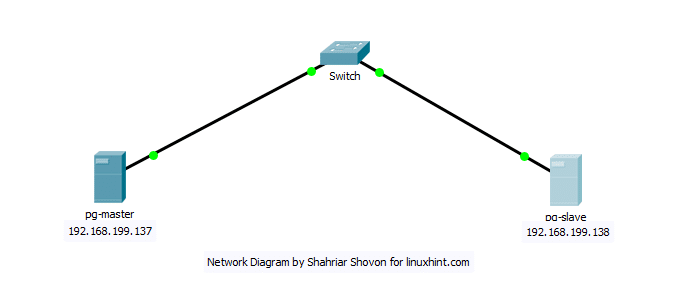
My pg-master PostgreSQL Master server has the IP address 192.168.199.137 and the pg-slave PostgreSQL Slave server has the IP address 192.168.199.138. Remember these and make changes where necessary for your setup.
Installing PostgreSQL:
For the demonstration, I am using Ubuntu 18.04 LTS server. You can use any Linux distribution you want. Just the commands are a little bit different. That’s all.
You have to install PostgreSQL on all the servers that will be a part of the replication setup. In my case, the two servers pg-master, and pg-slave.
I will show you how to install PostgreSQL on pg-master machine. The steps are the same for the pg-slave machines as well.
On the pg-master server:
First you have to add the PostgreSQL package repository on your Ubuntu machine. To do that, run the following command:
sudo tee /etc/apt/sources.list.d/pgsql.list

The PostgreSQL package repository should be added.

Now run the following command to add the GPG key of the PostgreSQL package repository:

The GPG key should be added.

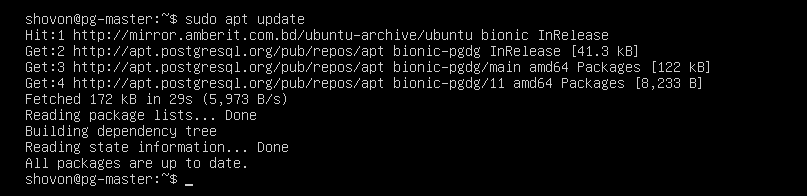
Now update the APT package repository cache with the following command:

The APT package repository cache should be updated.
Now install PostgreSQL database server with the following command:
For PostgreSQL 10 (Latest Stable):
For PostgreSQL 11 (Currently at Beta):

Now press y and then press <Enter> to continue.

PostgreSQL should be installed.

Set password for the postgres user with the following command:

Now enter the password. It should be set.

Now remember to do the same to the pg-slave server before you continue.
Setting Up the Master PostgreSQL Server:
Now login as the postgres user:

Now create a new user replication:
PASSWORD ‘YOUR_PASSWORD’;"

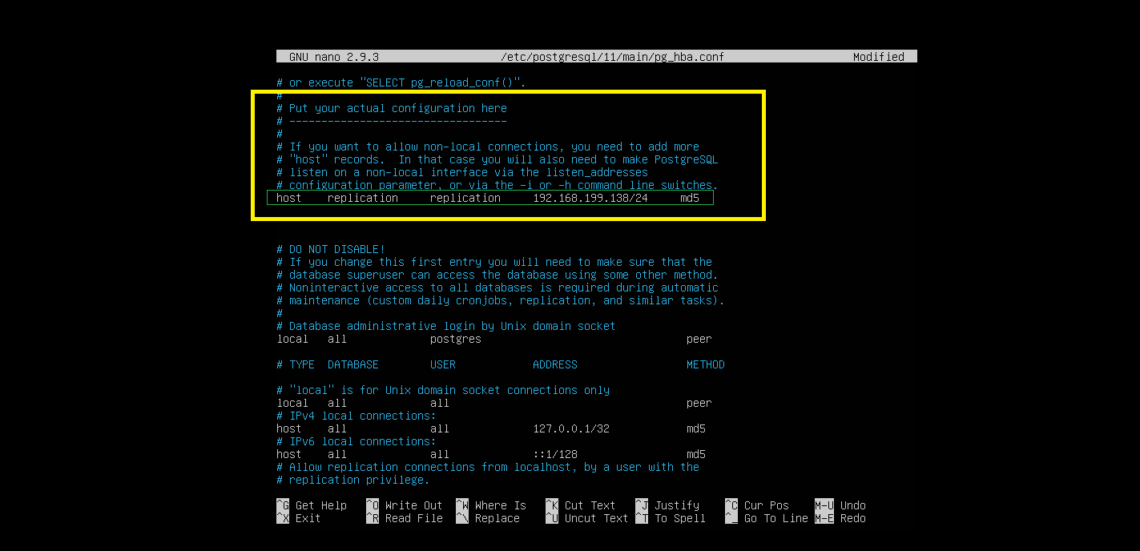
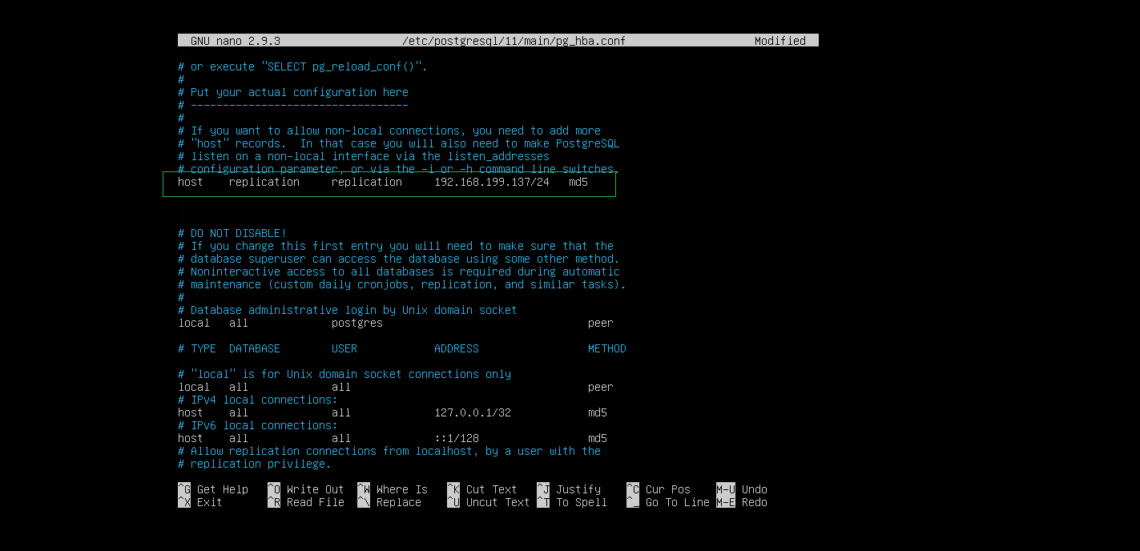
Now open /etc/postgresql/11/main/pg_hba.conf with nano:

Add the following line to the marked location:
Now open the main PostgreSQL configuration file with nano:

Now find and change the following settings. If any line is commented out, uncomment it (removing #) as necessary.
wal_level = replica
max_wal_senders = 10
wal_keep_segments = 64
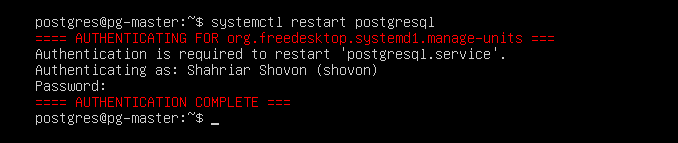
Now restart PostgreSQL server on your pg-master server:
Configuring the Slave Server:
On the pg-slave server login as postgres user:

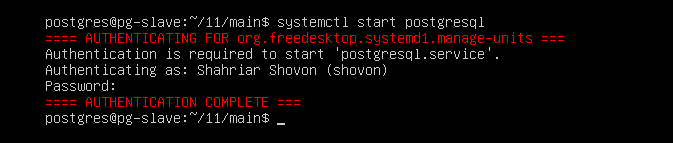
Stop the PostgreSQL service on the pg-slave server:

Now open /etc/postgresql/11/main/pg_hba.conf with nano:

Add the following line as you did on the pg-master server:
Now open the main PostgreSQL configuration file with nano:

Now find and change the following settings. If any line is commented out, uncomment it (removing #) as necessary.
wal_level = replica
max_wal_senders = 10
wal_keep_segments = 64
hot_standby = on
Now go to your data_directory:

Remove everything from that directory:


Now copy the data from the pg-master server to the pg-slave server’s data_directory:
replication –wal-method=fetch

Type in the password for the postgres user of the pg-master server and press <Enter>.

Now create a recovery.conf file in the data_directory with nano:

Now add the following line to it:
primary_conninfo = ‘host=192.168.199.137 port=5432 user=replication password=123’
trigger_file = ‘/tmp/MasterNow’

Start the PostgreSQL Slave server:
Testing Replication:
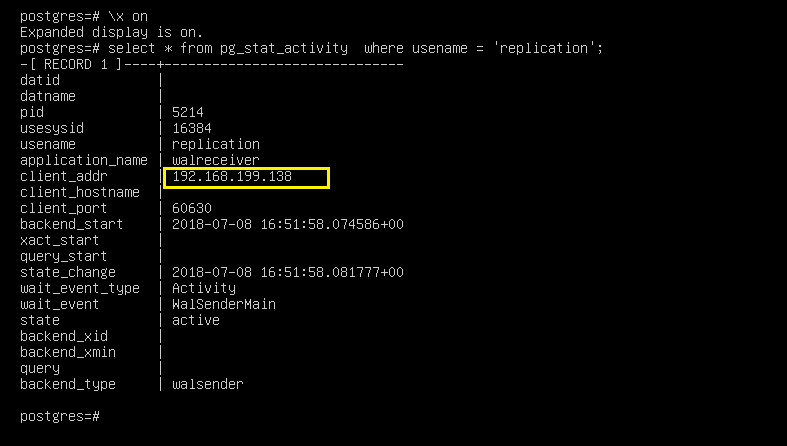
Now on the pg-master server, you can see that the Slave server is detected.
SQL command for creating users table:
name VARCHAR(30),
country VARCHAR(2)
);

SQL commands to insert dummy data into the users table:
INSERT INTO users VALUES(‘Shovon’, ‘BD’);
INSERT INTO users VALUES(‘Kelly’, ‘US’);
INSERT INTO users VALUES(‘Nina’, ‘IN’);
INSERT INTO users VALUES(‘Kesha’, ‘CA’);
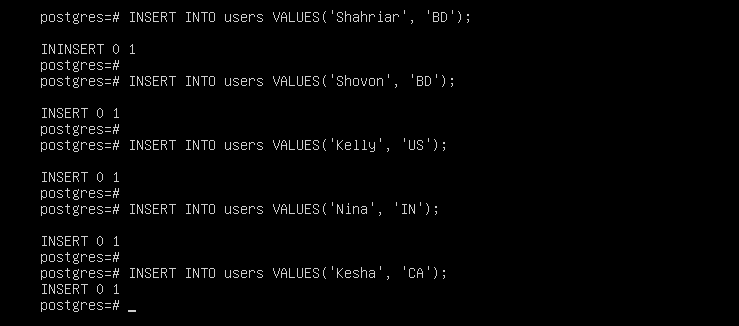
As you can see, the data is correctly added to the Master server pg-master:
# select * from users;

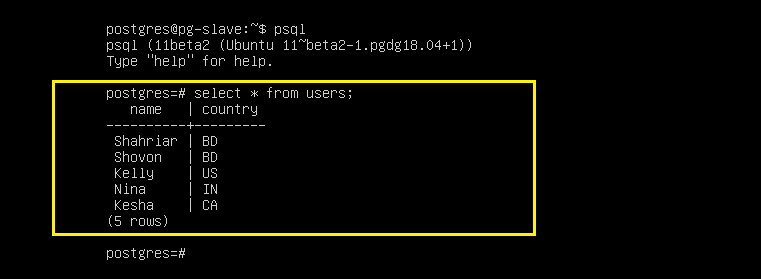
Now from the Slave server pg-slave, login to the PostgreSQL console:

Now try to select the data we just added:
As you can see the data is displayed in the Slave server. It means replication is working perfectly.
Generating SSH Keys:
You can login to the Master server from the Slave server and vice versa without password if you generate and copy SSH keys to opposite servers. This is useful for administration purposes.
I am only showing you how to do it on the Master server. The procedures are the same.
Generate SSH key on the Master and Slave servers while logged in as postgres user.

Keep pressing <Enter>. SSH key should be generated.

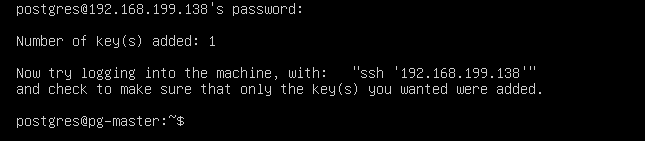
From the pg-master server, copy your SSH key to the pg-slave server:
From the pg-slave server, copy your SSH key to the pg-master server:
Type in yes and then press <Enter>.

Now type in the password for the server that you’re connecting to for the postgres user and press <Enter>.
That’s how you configure Master/Slave replication on PostgreSQL 11. Thanks for reading this article.