If you’ve been using computer for a while, then you may already have encountered some of the famous screen saver types like the Matrix.
Adding your own screensaver on your system shouldn’t be very bad, right? At least, you will know that your system is working properly and didn’t die of any errorJ.
Are you running Manjaro Linux? It’s a pretty cool Linux distro based on the well-known and reputed Arch Linux. Today, we’ll be enjoying some of the coolest screensavers on Manjaro Linux.
Getting screensaver
For enjoying screensaver, we have to get a tool – XscreenSaver. It’s a tool for setting screensavers with a HUGE collection within.
Install XScreenSaver –
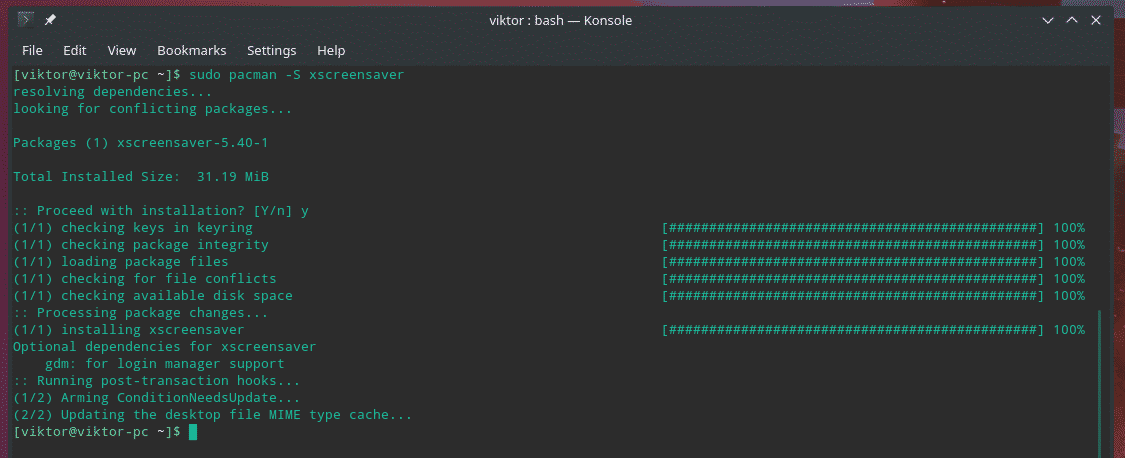
Once the installation is complete, load the tool by running the following command –
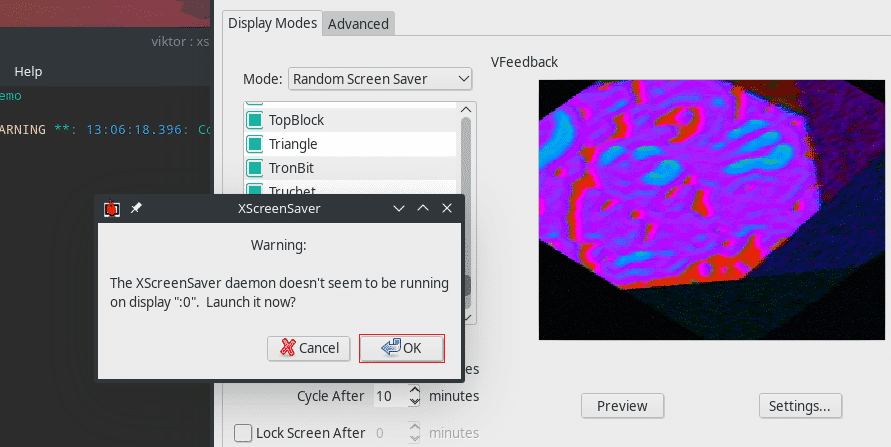
When the app launches, it will check that the XScreenSaver daemon is running or not. If not running, it’ll throw a prompt like this –
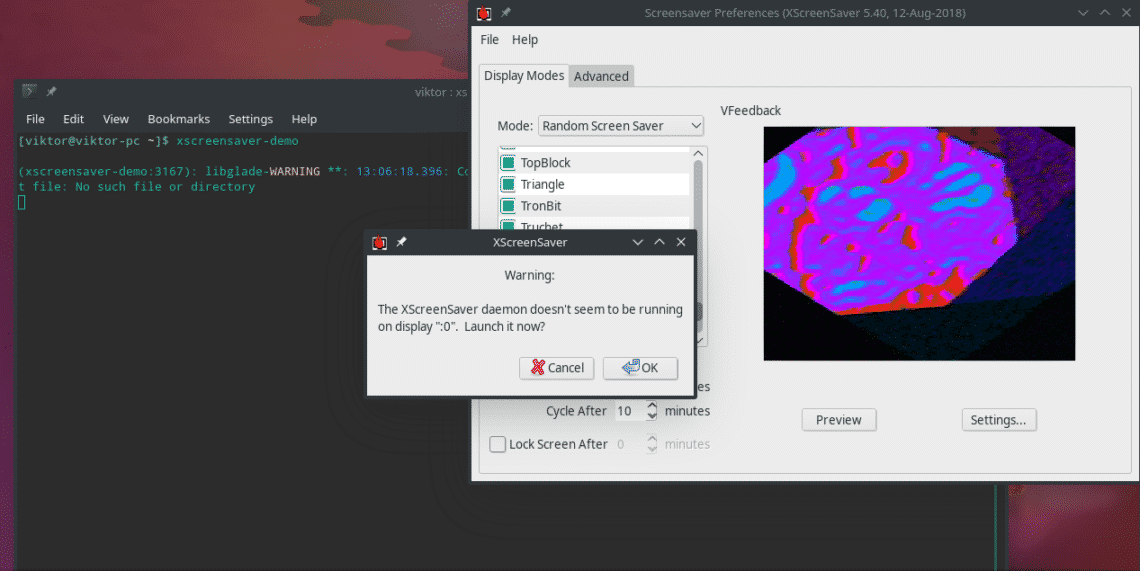
Hit “OK” for starting the daemon.
Now, it’s time to set the screensaver of your choice!
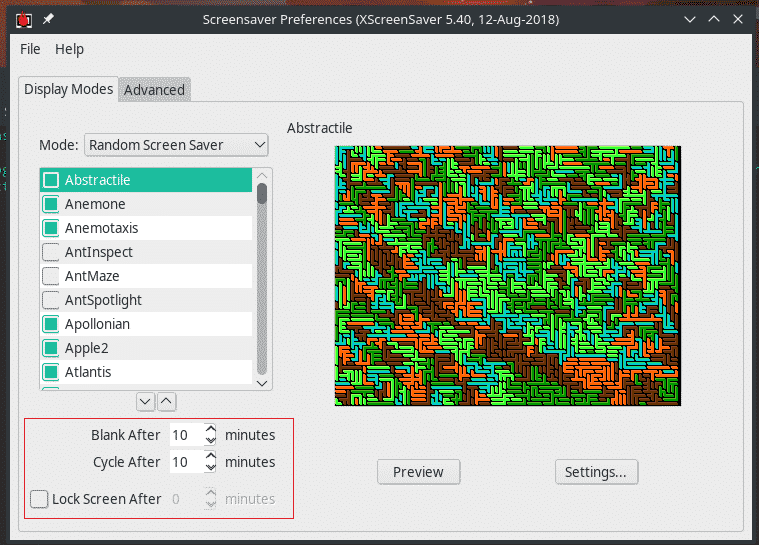
As you can see, the left panel holds almost a MILLION (pun intended) of available screensavers.
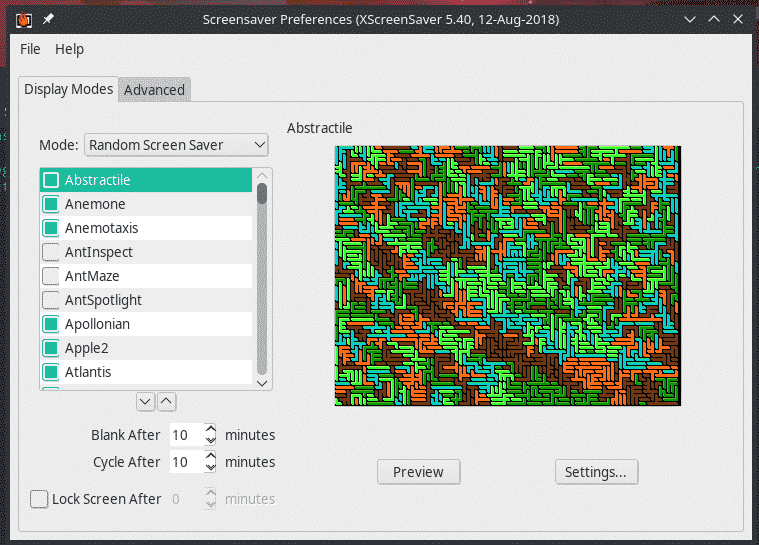
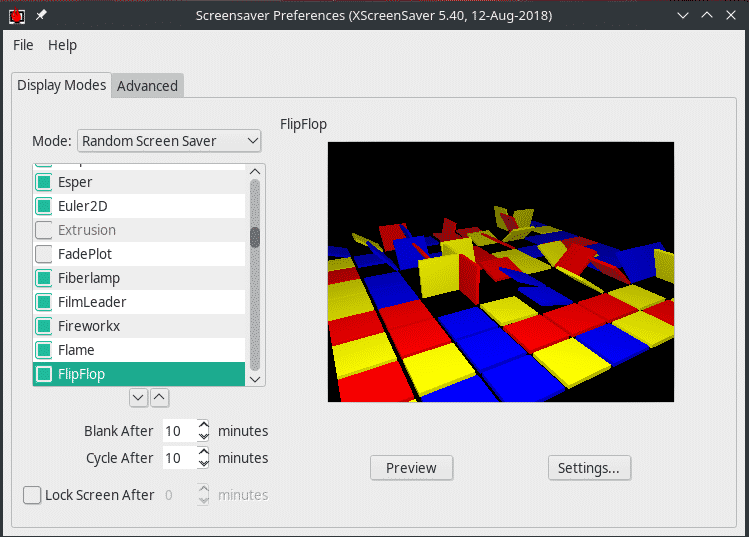
By hitting the “Preview” button, you can easily check out how the screensaver will look on your system.


There are also other options available like after how long, the screen will go blank and how often the screensavers will cycle one after another. You can also decide to lock the screen.
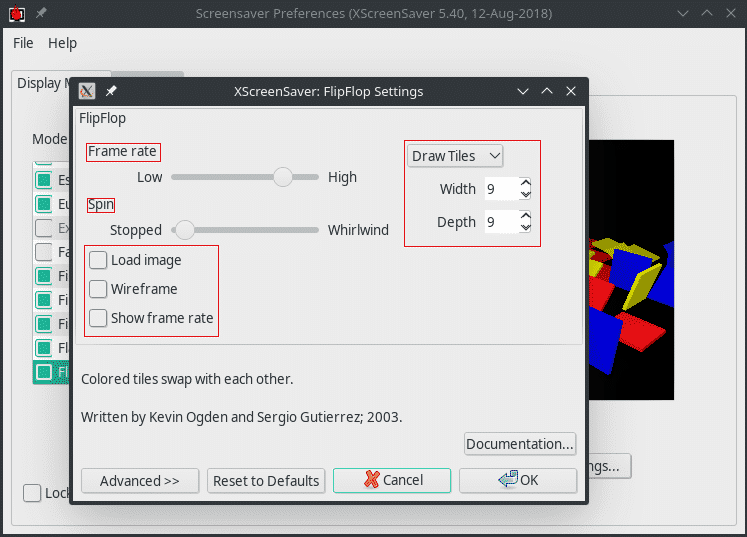
On the “Settings” page, you can calibrate various options like frame rate, spin, width, depth etc.
After everything is set, make sure that XScreenSaver starts at startup.
Create a directory for storing the systemd service file of individual users –

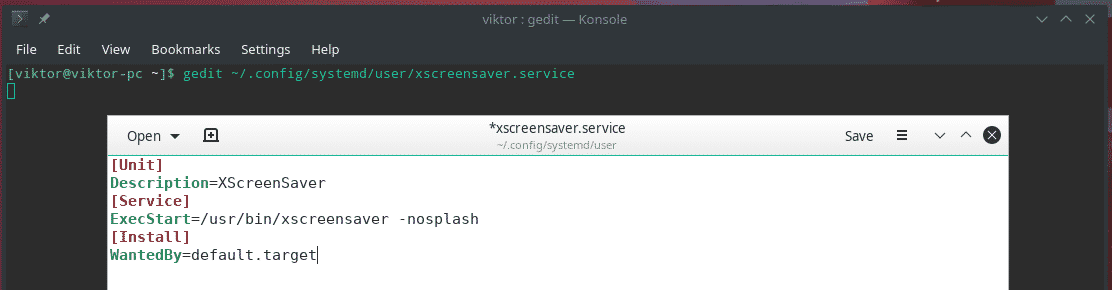
Then, create “xscreensaver.service” file in the directory –
Paste the following text into the file –
Description=XScreenSaver
[Service]
ExecStart=/usr/bin/xscreensaver -nosplash
[Install]
WantedBy=default.target
Then, enable the service –

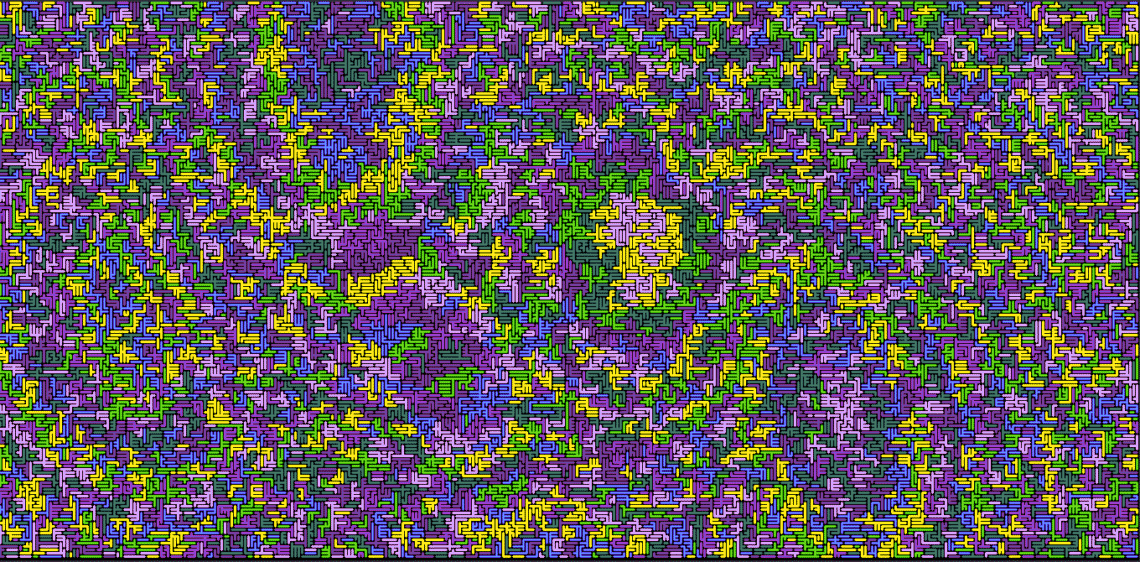
Voila! Enjoy your favorite screensavers on the go!