In Linux, the shutdown is pretty simple. You click the power button from your launcher and voila! However, did you know that this SHUTDOWN is also highly customizable? Yes, you can even decide when to shut down and how!
Let’s check out the amazing world of “SHUTDOWN” on Ubuntu 18.04. My machine is running Xubuntu 18.04 – the Xfce flavor of Ubuntu. That being said, all the other Ubuntu versions and Ubuntu-based distros will work just fine. In fact, almost all the commands should work just fine on any Linux distro!
The SHUTDOWN command
Let’s fire up the terminal and run the following commands –
shutdown -P now
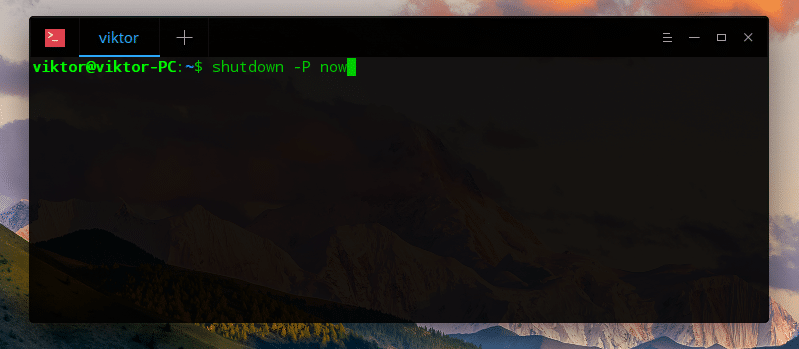
What does this command say? At first, we’re making sure that our command runs as the root user so that all the apps will have to close themselves during the shutting down process, no interruption. The second command tells “shutdown” tool to shut the system down right now. Literally, right now!
This screenshot was from my Deepin installation on VirtualBox.
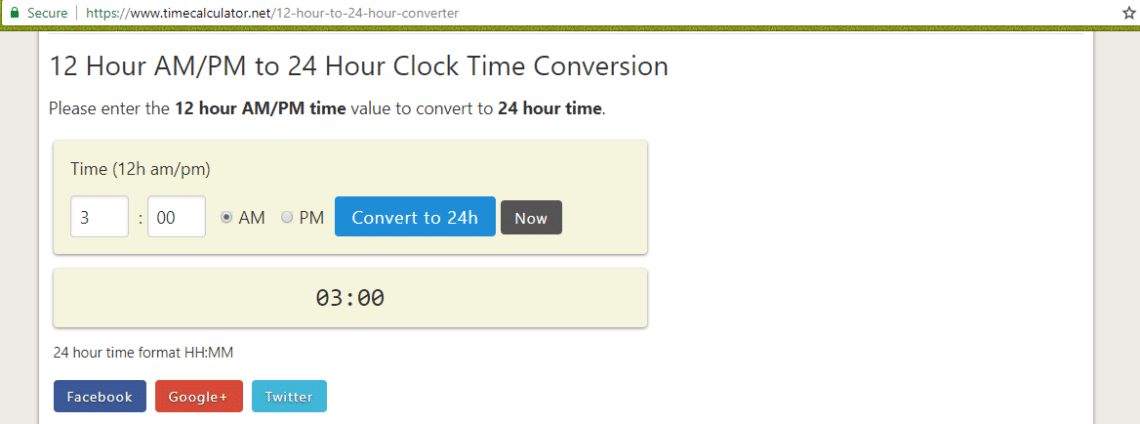
Think of yourself in a certain scenario where you’re listening to music and falling into sleep. You want to run your computer up to 3:00 AM. What to do now? Just run the following command –
shutdown -P 03:00

This thing will make sure to shut down your system exactly at 3:00 AM or, as we’ve used in the command, at 03:00 (24-hr format). If you’re in need of converting time from 12-hr to 24-hr, check out the awesome time calculator to do the job for you.
Well, you can also schedule rebooting your system with “shutdown”. It’s kind of funny to think that “shutdown” can re-“start”, right? For restarting at a certain time, run the following command –
shutdown -r 03:00

This will tell the “shutdown” tool to restart the system at 3:00 AM. Like before, you have to enter a 24-hr format of time to do so.
Need to cancel the shutdown? Run the following command in the terminal –
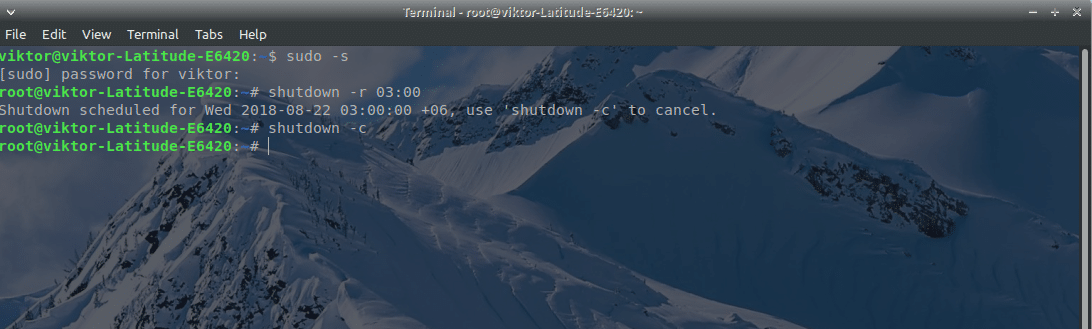
This will stop the shutdown from performing any task you asked to do before.
Suspending and waking up
Now, another awesome thing you can do is to suspend your system. Suspending temporarily stops the system from running and puts it in a “frozen” state. This way, it doesn’t use the hardware that much, ensuring less energy consumption.
Using another tool “rtcwake”, we can easily manage scheduling suspending the system and waking it up after a certain time.
There are 2 types of suspend options available – memory and disk. In the case of “disk” suspension, all the apps are paused and the state of the machine is stored in the storage device. When the system wakes up, it restores all the data from the “disk”. “Memory” suspension just pauses all the app activity. This one is relatively faster to start.
“rtcwake” follows the following structure –

If you want to suspend your system to disk, run the following command –
For suspending the system to memory, run this command –
Here are 2 parameters for “rtcwake” –
- m – Telling “rtcwake” the type of suspension.
- s – Fixing the time after which the system will wake up. Usually in seconds.
If you have problem working with seconds, don’t worry. Here’s another awesome tool to help you out.

A problem working with the “rtcwake” tool is that, your system will suspend immediately. Need to work with your computer for a few more minutes/hours? Then, change your “rtcwake” command as below –

This command will tell the tool to only WAKE the computer after 1000 seconds. Don’t forget to change the time with your preferable duration and remember to suspend your system before the time limit expires.
Enjoy!