To find out more about EPEL packages, go to the official website of EPEL at https://fedoraproject.org/wiki/EPEL
In this article, I will show you how to add and use EPEL package repository on CentOS 7. Let’s get started.
Availability of EPEL Repository:
At the time of this writing, EPEL packages are available for RHEL 6 or CentOS 6, and RHEL 7 or CentOS 7. The other versions are obsolete and are no longer available for download.
EPEL Package repository for RHEL 7 and CentOS 7 is called EPEL 7. EPEL 7 has packages built for Intel or AMD 64-bit (x86_64), Power PC 64-Bit (PPC64), Power PC 64-bit Little Endian (PPC64LE), and Adirondack Architectural Heritage 64-bit (AARCH64) CPU architectures.
Sadly, no support for 32-bit systems.
If you want 32-bit support on the EPEL repository, then you will have to use EPEL 6 on RHEL 6 or CentOS 6, as RHEL 7 and CentOS 7 don’t have any 32-bit version available.
Enabling EPEL Package Repository on CentOS 7:
On CentOS 7, EPEL 7 package repository can be enabled easily.
If you have CentOS 7 extras repository enabled, then all you have to do is install the epel-release package to enable EPEL 7 repository on CentOS 7.
You can also install EPEL 7 package from the official website of EPEL to enable EPEL 7 repository on CentOS 7.
I am going to show you both ways to enable EPEL 7 package repository on CentOS 7.
Installing epel-release from CentOS 7 Extras:
You can check whether CentOS 7 extras repository is enabled with the following command:
As you can see, I have extras repository enabled.
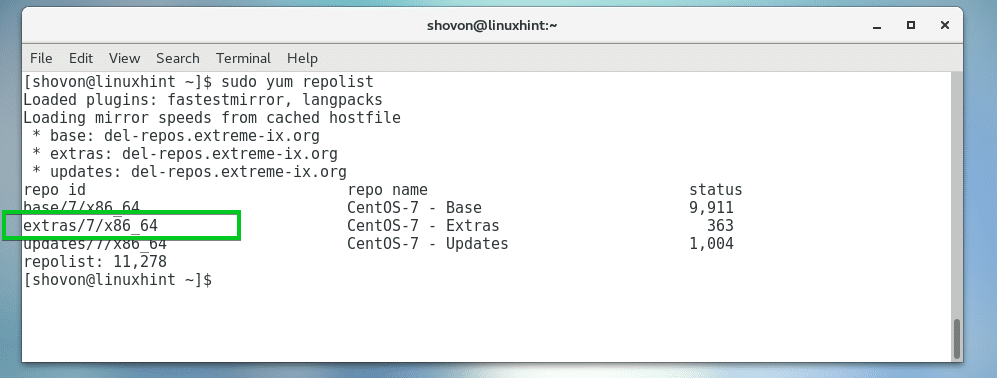
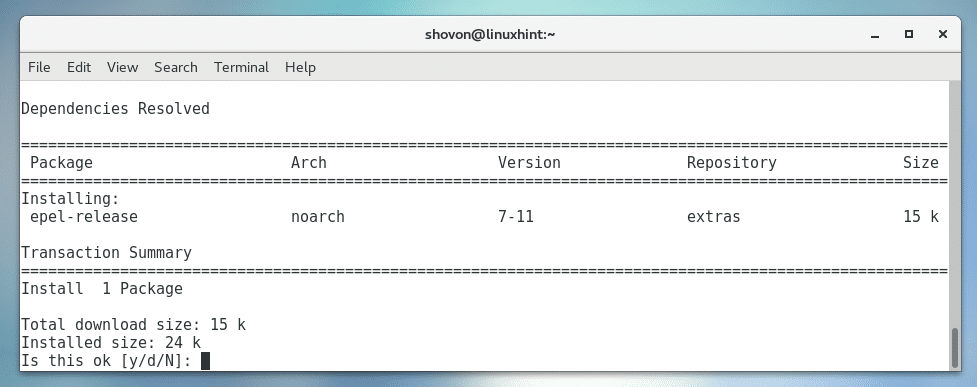
Now run the following command to install epel-release package on CentOS 7:

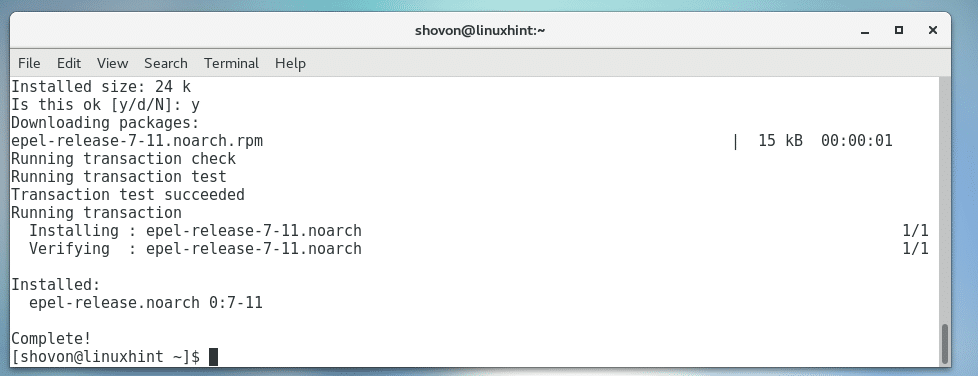
Now press y and then press <Enter>.
The required package should be installed and EPEL repository should be enabled.
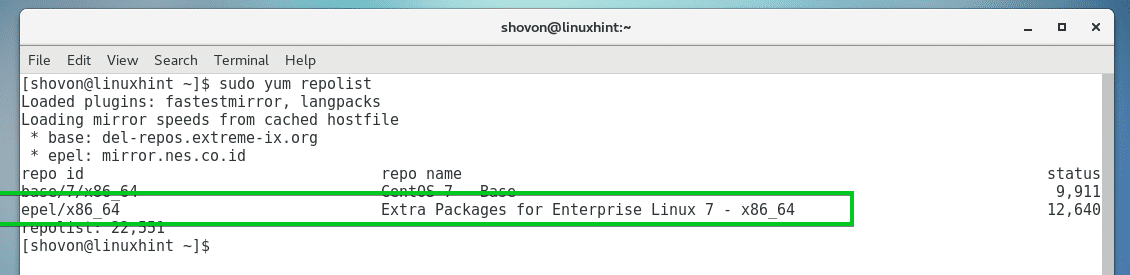
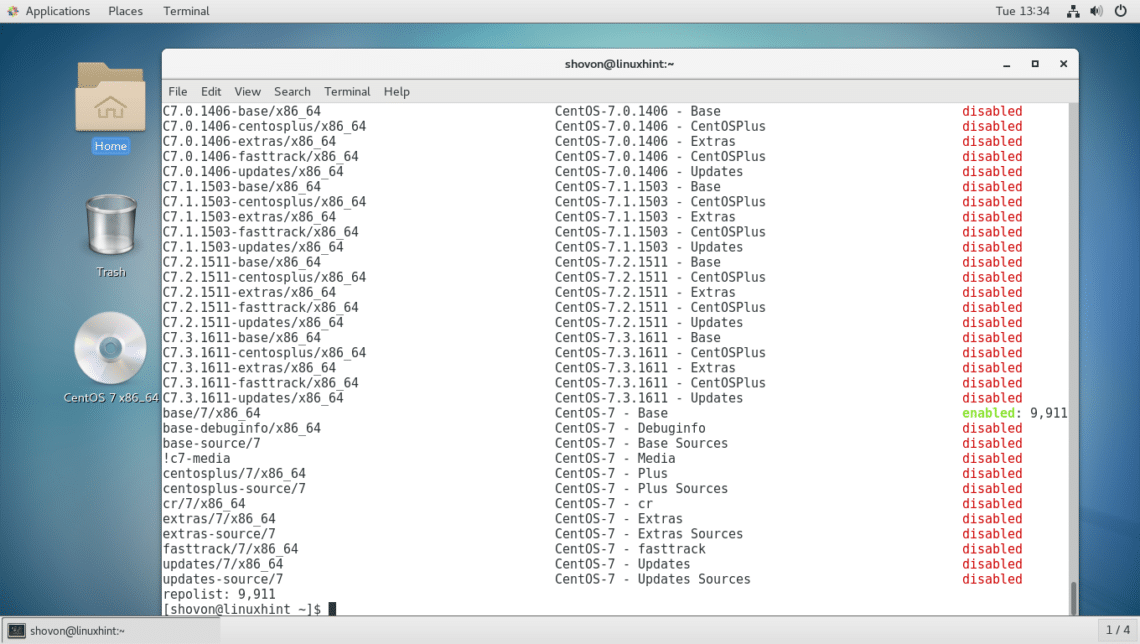
Now check whether EPEL repository is enabled with the following command:
As you can see from the marked section of the screenshot below, EPEL repository is enabled.

If you don’t have extras repository enabled or you don’t want to enable extras repository for installing only one package, then you can just temporarily enable extras repository and install epel-release with the following command:

Installing EPEL 7 from the Official Website of EPEL:
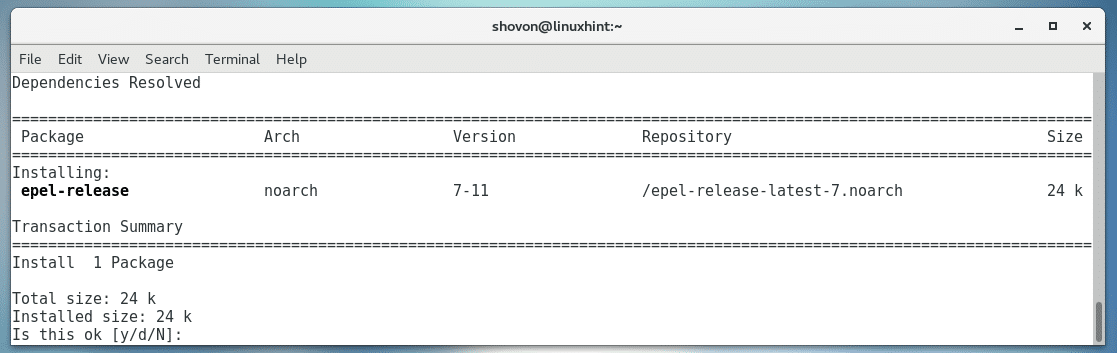
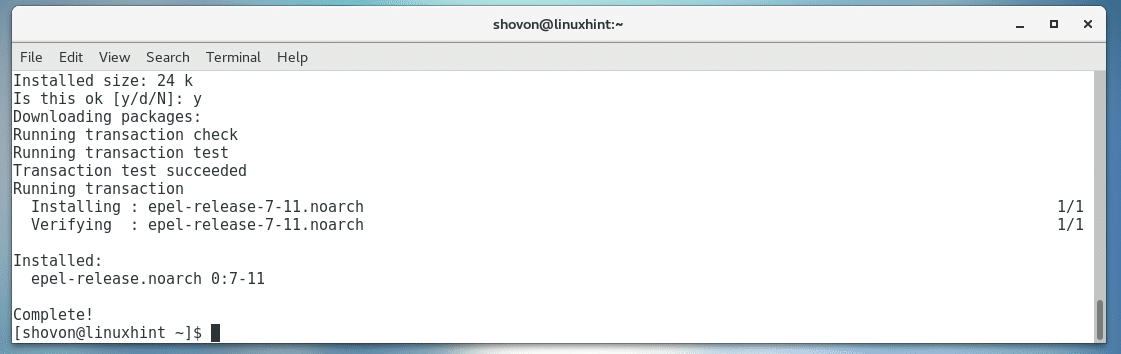
If you would rather install EPEL repository on CentOS 7 from the official website of EPEL, then run the following command:

Now press y and then press <Enter>.
EPEL repository should be installed.
You can run the following command to verify whether it’s enabled:
As you can see, it’s enabled.
Searching for Packages in the EPEL Repository:
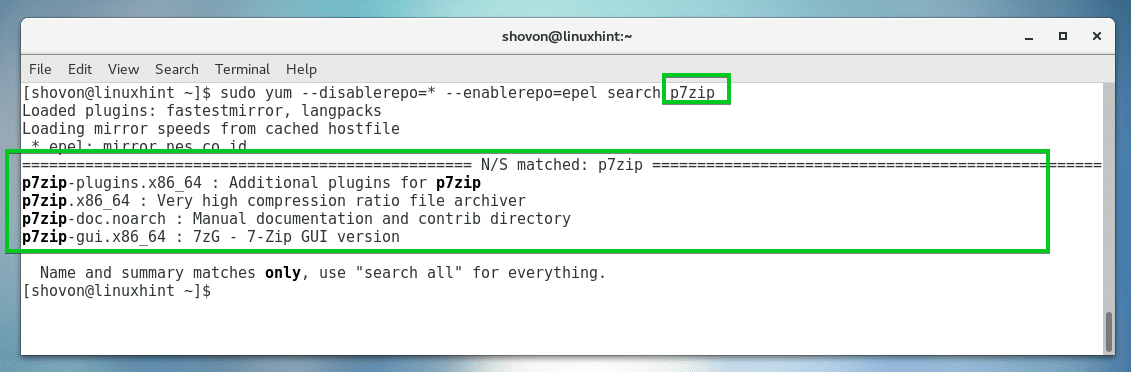
You can search for packages in the EPEL repository with the following command:
NOTE: Here, QUERY is the package that you want to search for. I searched for p7zip on EPEL repository.
As you can see, the packages on the EPEL repository that matched the search QUERY is listed.
Installing Packages from the EPEL Repository:
If you have EPEL repository enabled, you can just install any package in the EPEL repository with the following command:
NOTE: Here, PACKAGE_NAME is the name of the package that you want to install.
If you have disabled the EPEL repository and you want to install a package from the EPEL repository, you can temporarily enable EPEL repository and install the package you want with the following command:
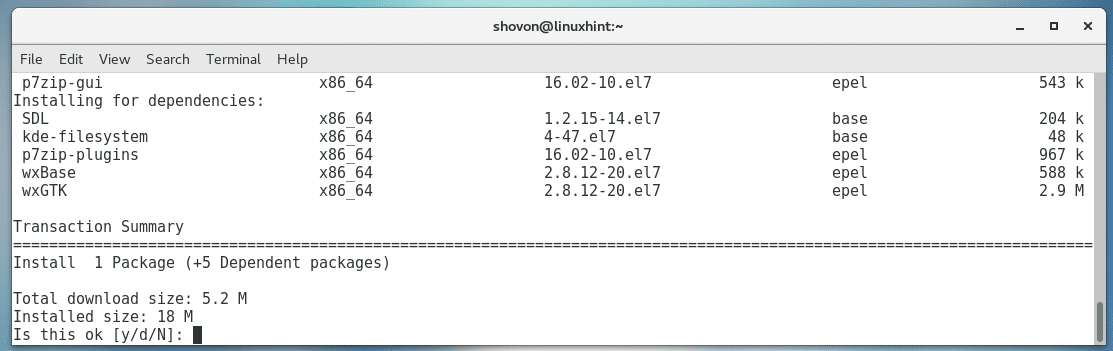
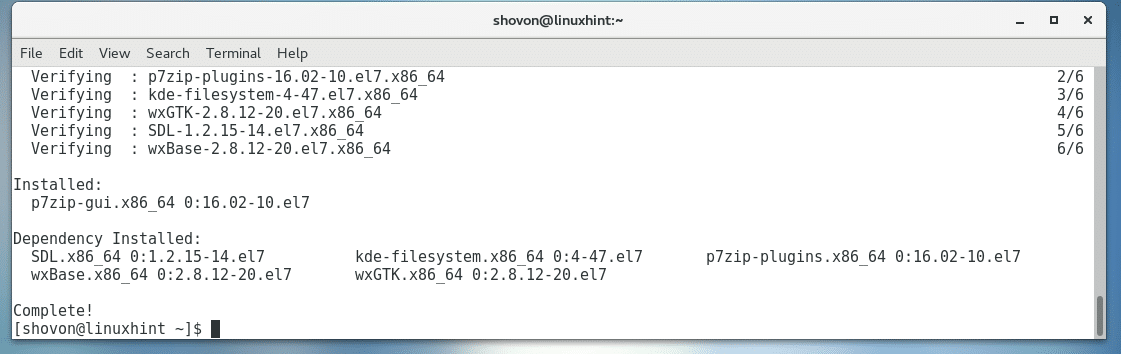
Let’s say, you want to install p7zip-gui from EPEL repository, you would run the following command:

Now press y and then press <Enter>.
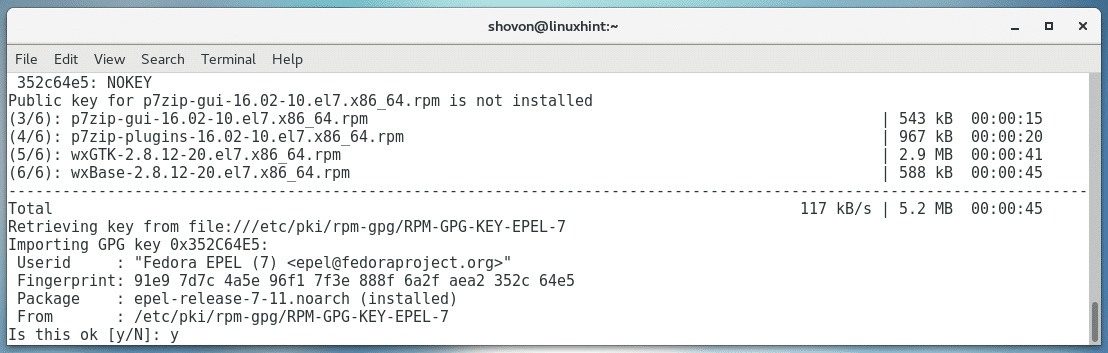
If you see this, press y and then press <Enter> to accept the GPG key.
The package should be installed.
Removing EPEL Repository from CentOS 7:
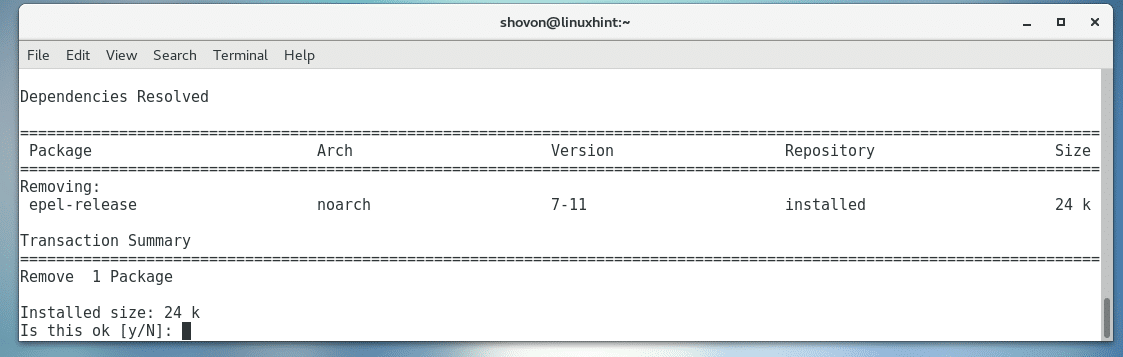
You can easily remove EPEL repository from your CentOS 7 machine with the following command:

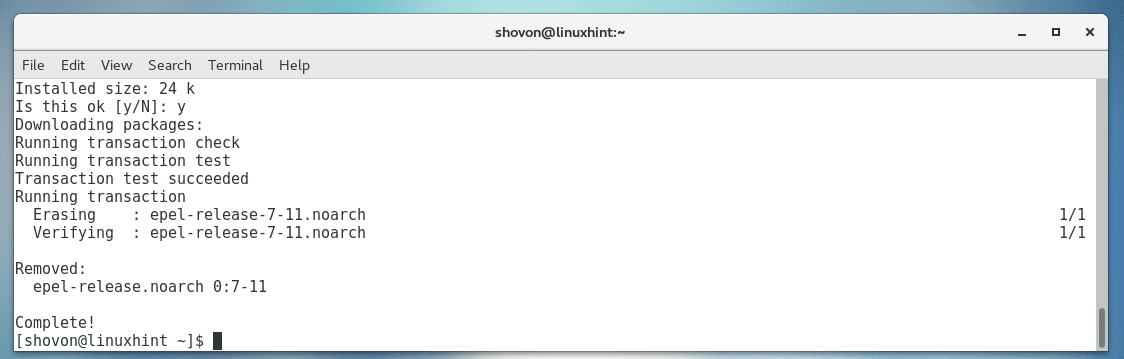
Now press y and then press <Enter>.
EPEL repository should be completely removed from your CentOS 7 machine.
You can verify whether EPEL is removed with the following command:
As you can see, epel repository is no longer available.
So that’s how you install and use EPEL repository on CentOS 7. Thanks for reading this article.