Downloading Hyper Terminal:
Hyper terminal is not available in the official package repository of CentOS 8. But you can easily download it from the official website of Hyper terminal and install it on CentOS 8 very easily.
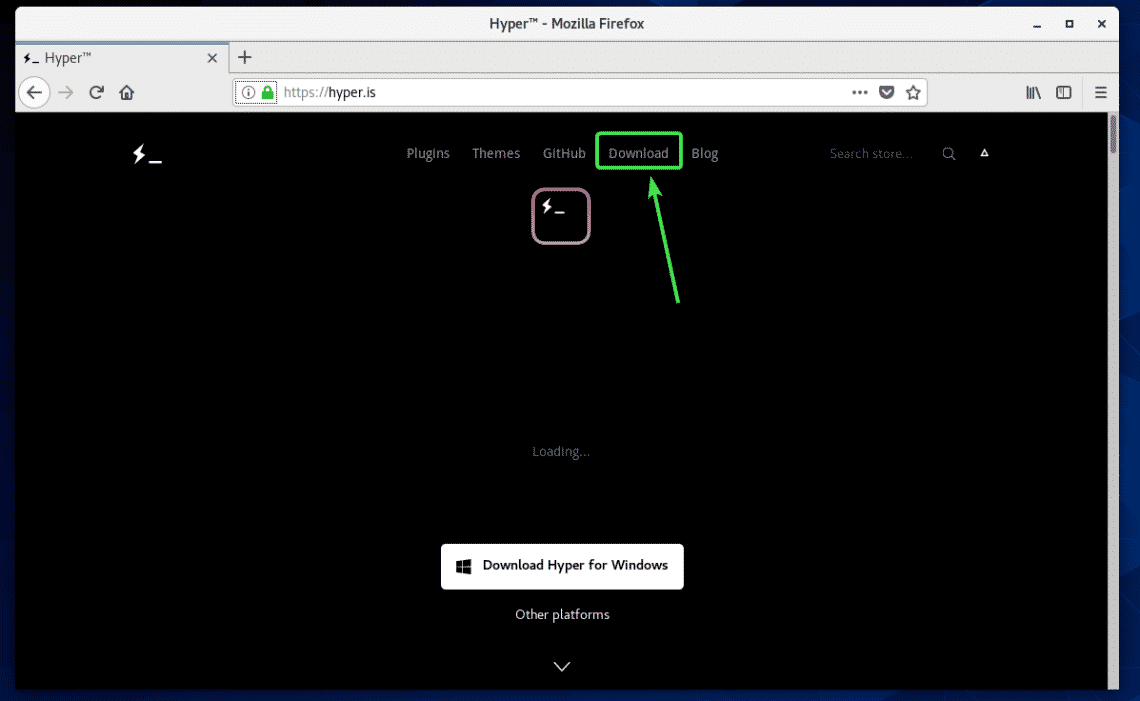
First, visit the official website of Hyper terminal from your favorite browser and click on Download.
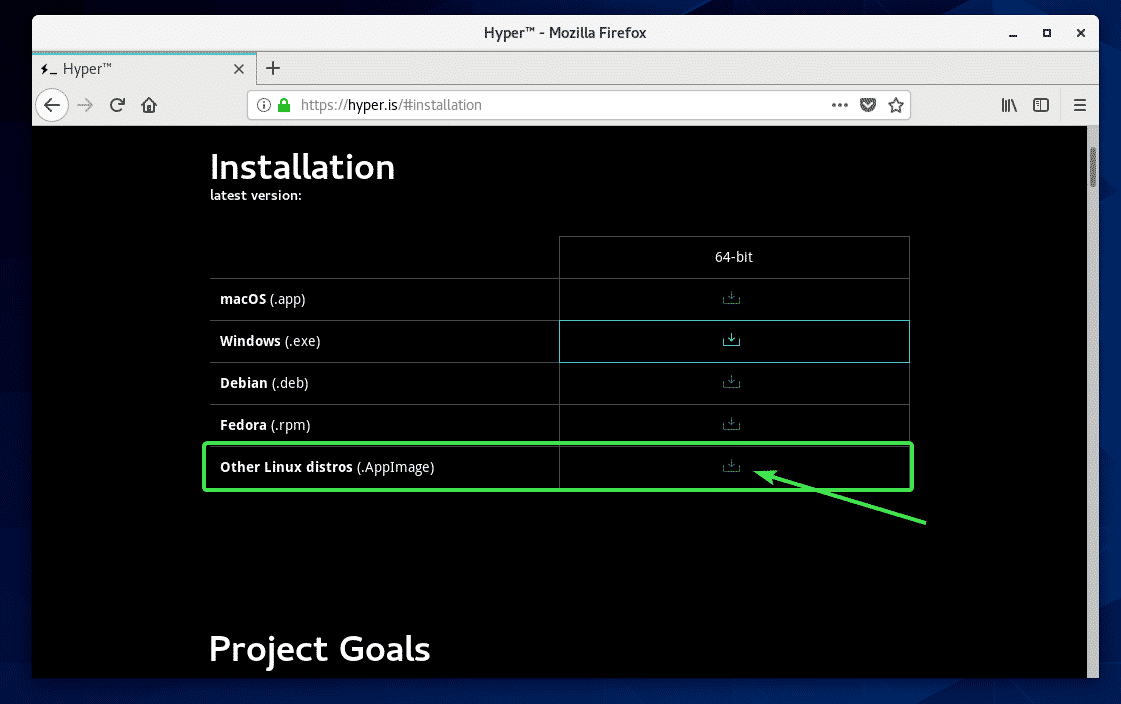
Now, click on the AppImage download link as marked in the screenshot below.
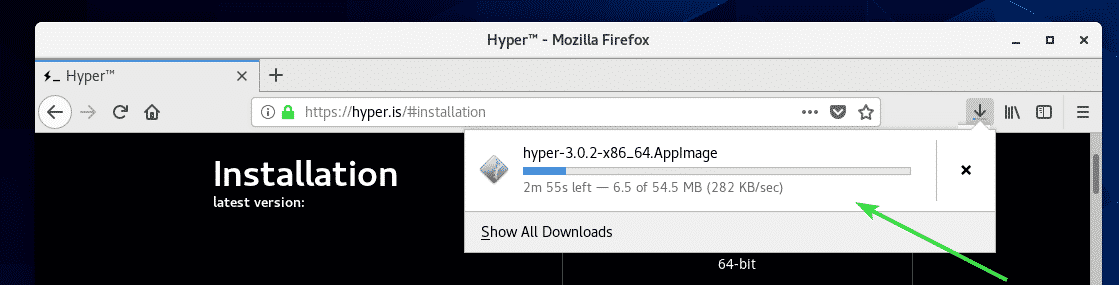
Your browser should prompt you to save the Hyper AppImage file. Click on Save File.

Your browser should start downloading Hyper AppImage file. It may take a while to complete.
Installing Hyper Terminal Dependencies:
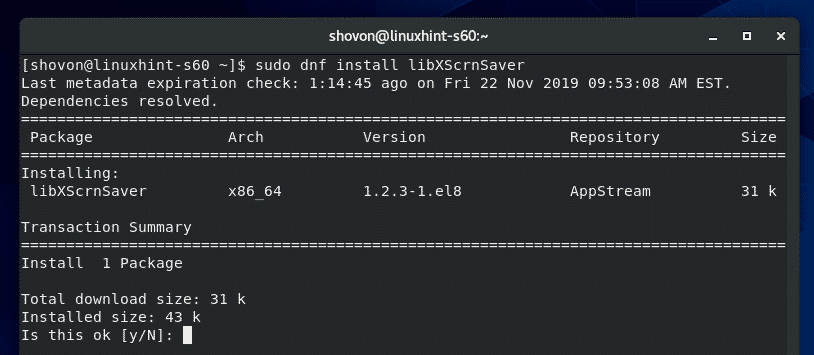
Hyper AppImage depends on libXss.so.1. It may not be available on your CentOS 8 machine. libXss.so.1 is available in the libXScrnSaver package. So, make sure you have libXScrnSaver package installed on your CentOS 8 machine.
You can install libXScrnSaver package using DNF package manager as follows:

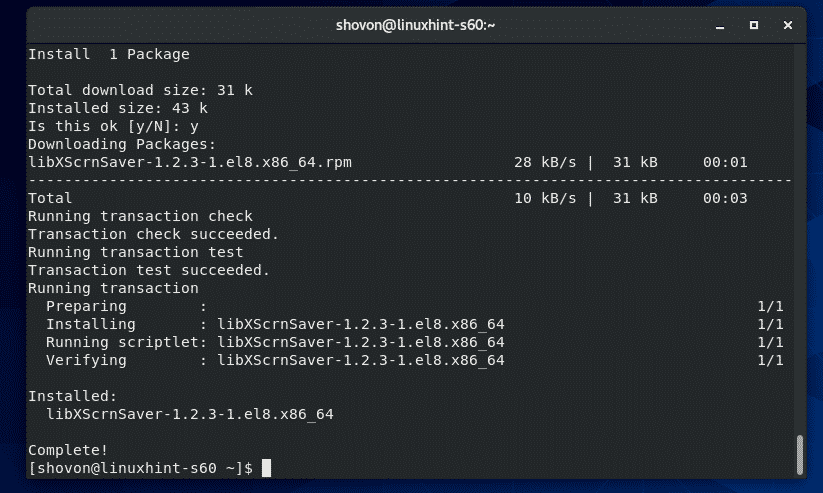
To confirm the installation, press Y and then press <Enter>.
libXScrnSaver should be installed.
Installing Hyper Terminal:
Once Hyper AppImage is downloaded and libXScrnSaver is installed, navigate to the ~/Downloads directory as follows:

As you can see, the Hyper AppImage file hyper-3.0.2-x86_64.AppImage is there.

Now, add execute permission to the Hyper AppImage file hyper-3.0.2-x86_64.AppImage as follows:

Now, hyper-3.0.2-x86_64.AppImage file should have execute permission.

Now, you have to move the Hyper AppImage file to somewhere safe. So, you won’t accidentally delete it.
I’ve decided to put the Hyper AppImage file in ~/.local/apps/ directory in this article. It should be a safe enough directory.
First, create the directory ~/.local/apps/ with the following command:

Now, move the Hyper AppImage to the newly create directory ~/.local/apps/ with the following command:

The Hyper AppImage file should be moved to the newly created directory.

Now, run Hyper AppImage app as follows:

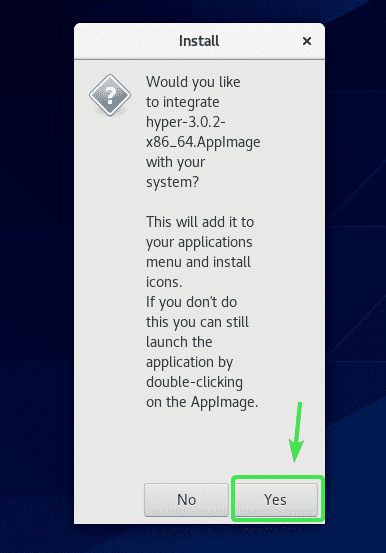
On first run, it will ask you whether you want to create a desktop shortcut for easily accessing Hyper terminal later. Click on Yes.
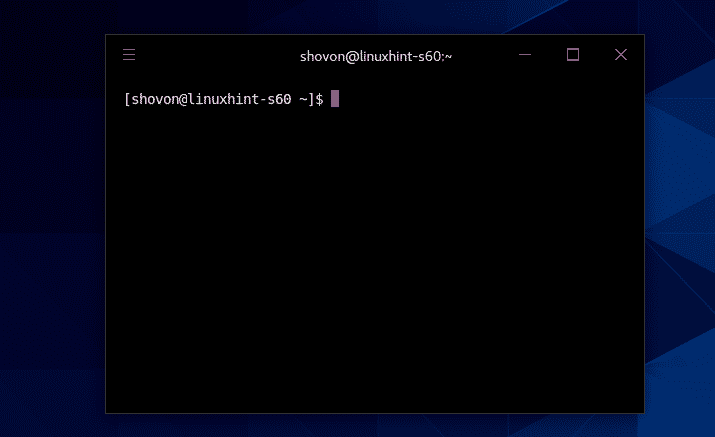
Hyper terminal should start.
Starting Hyper Terminal:
Once Hyper terminal is installed, you can start Hyper terminal from the Application Menu of CentOS 8.

Hyper terminal should start.
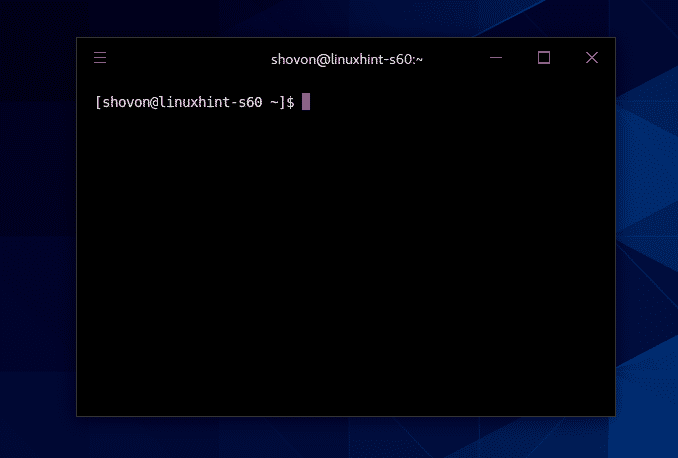
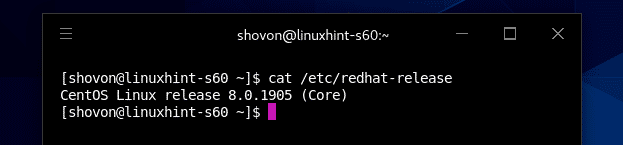
You can run any command you like on Hyper terminal as you usually do in other terminal apps. No difference there.
Hyper Terminal Configuration File:
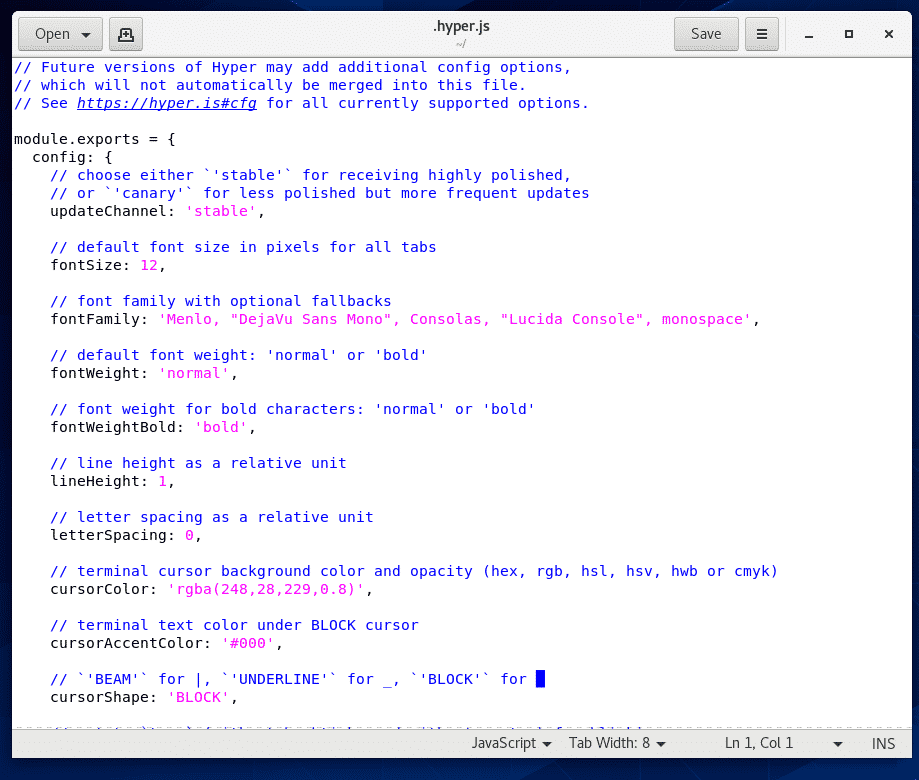
The configuration file of Hyper terminal is in the path ~/.hyper.js
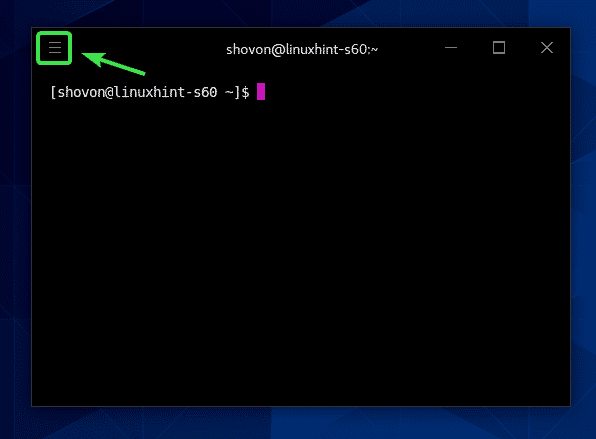
To configure Hyper terminal, open Hyper terminal and click on the hamburger menu.
Then, go to Edit > Preferences…
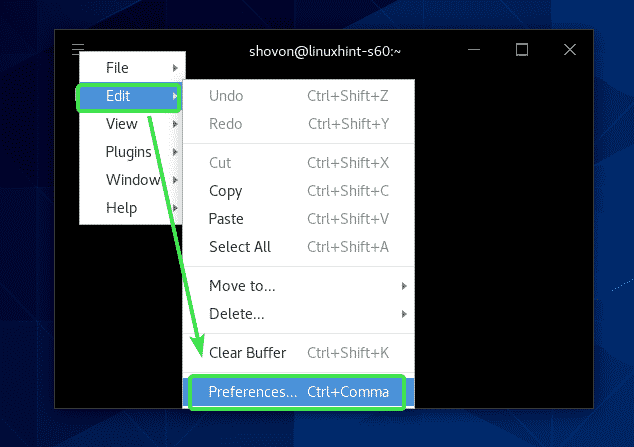
Hyper configuration file ~/.hyper.js should be opened with your default text editor. It is a nicely formatted JSON file. It is very self-explanatory. You should be able to configure it very easily.
But if you need any assistance configuring Hyper terminal, please check the article How to Install and Use Hyper Terminal on Ubuntu 18.04 LTS at LinuxHint.com.
Installing Rainglow Themes on Hyper Terminal:
Rainglow has a rich set of color schemes. Rainglow officially supports Hyper terminal. You can easily install Rainglow plugin on Hyper terminal.
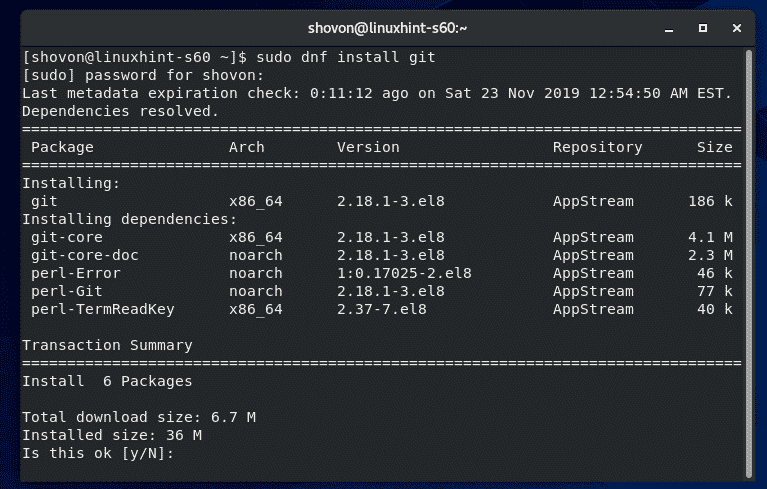
First, install Git with the following command:

To confirm the installation, press Y and then press <Enter>.
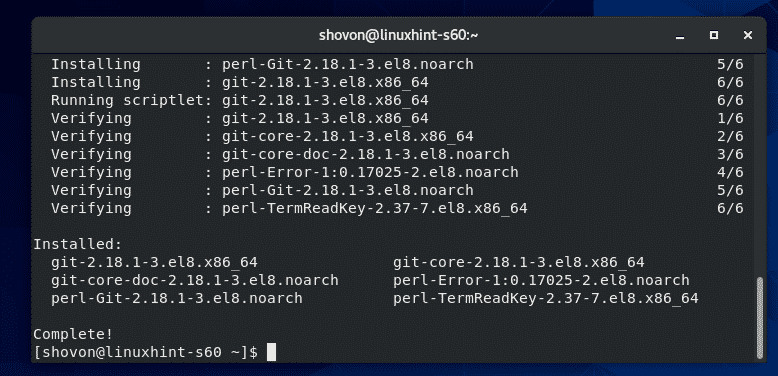
Git should be installed.
Now, navigate to the local plugins directory of Hyper terminal as follows:

Now, clone the Rainglow Hyper git repository with the following command:

The Rainglow Git repository should be cloned.
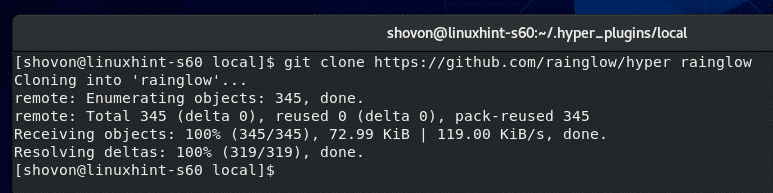
A new directory rainglow/ should be created.

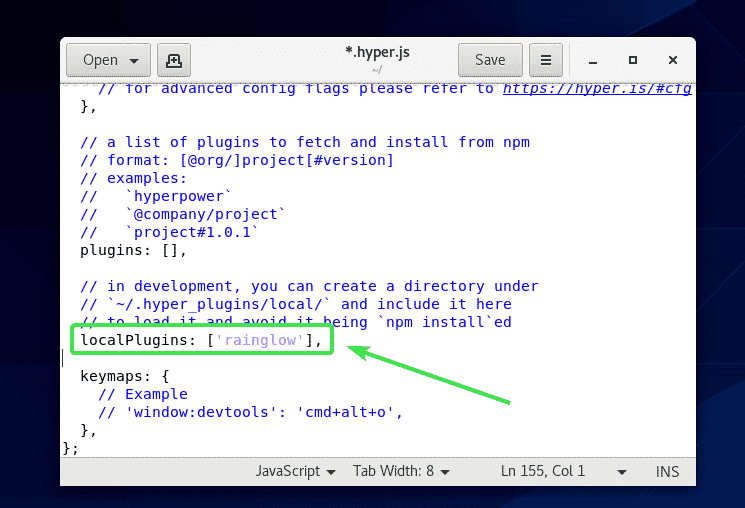
Now, open the Hyper configuration file ~/.hyper.js and scroll to the end of the configuration file. Find the localPlugins parameter and add rainglow there as marked in the screenshot below.
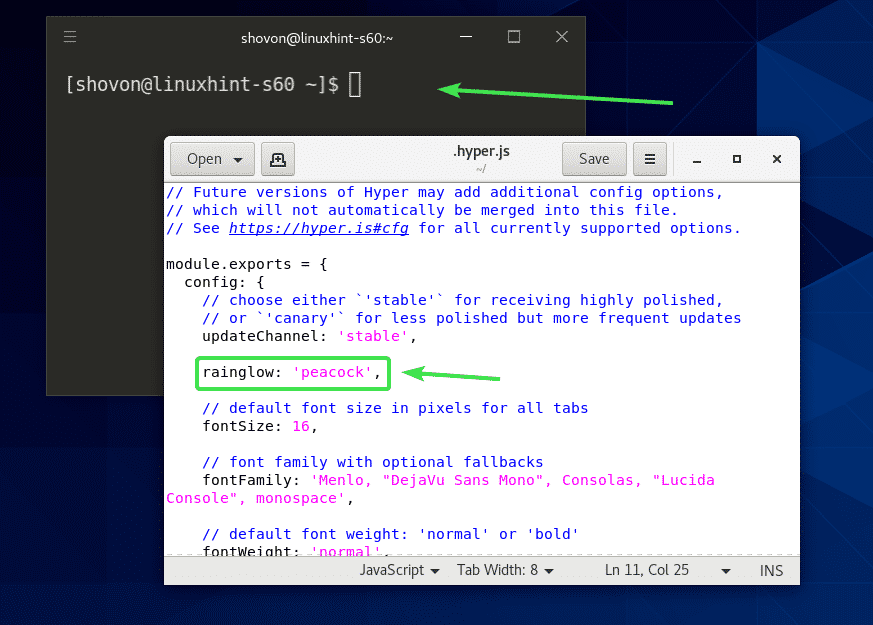
Now, go to the top of the configuration file and after the updateChannel property, add a new property rainglow.
The format of the rainglow property:
Here I’ve set the peacock theme.
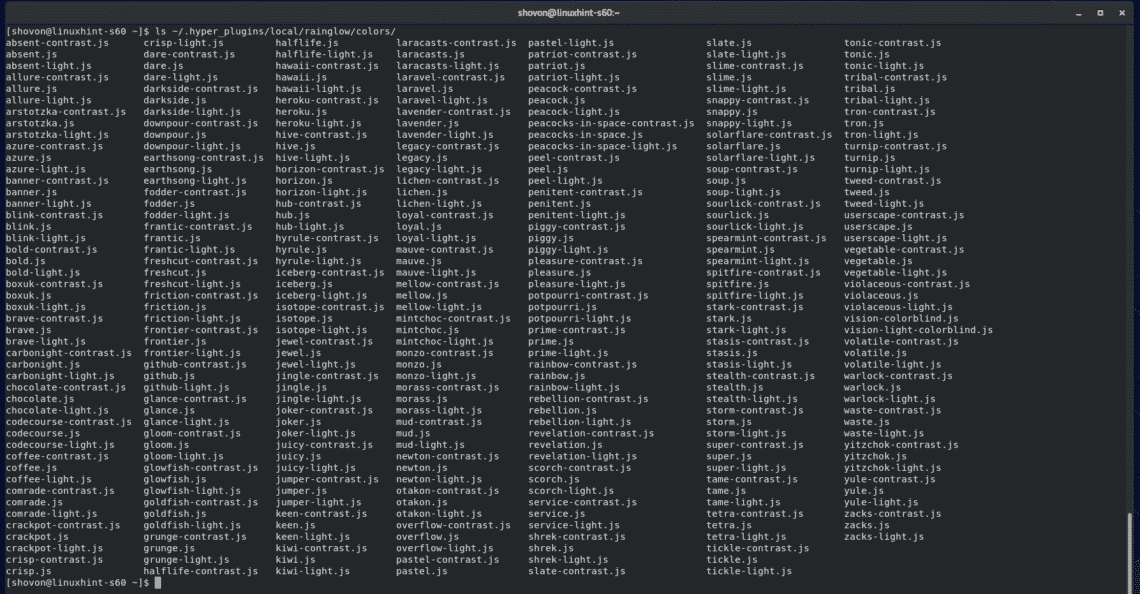
All the themes are saved in the ~/.hyper_plugins/local/rainglow/colors directory as you can see in the screenshot below.

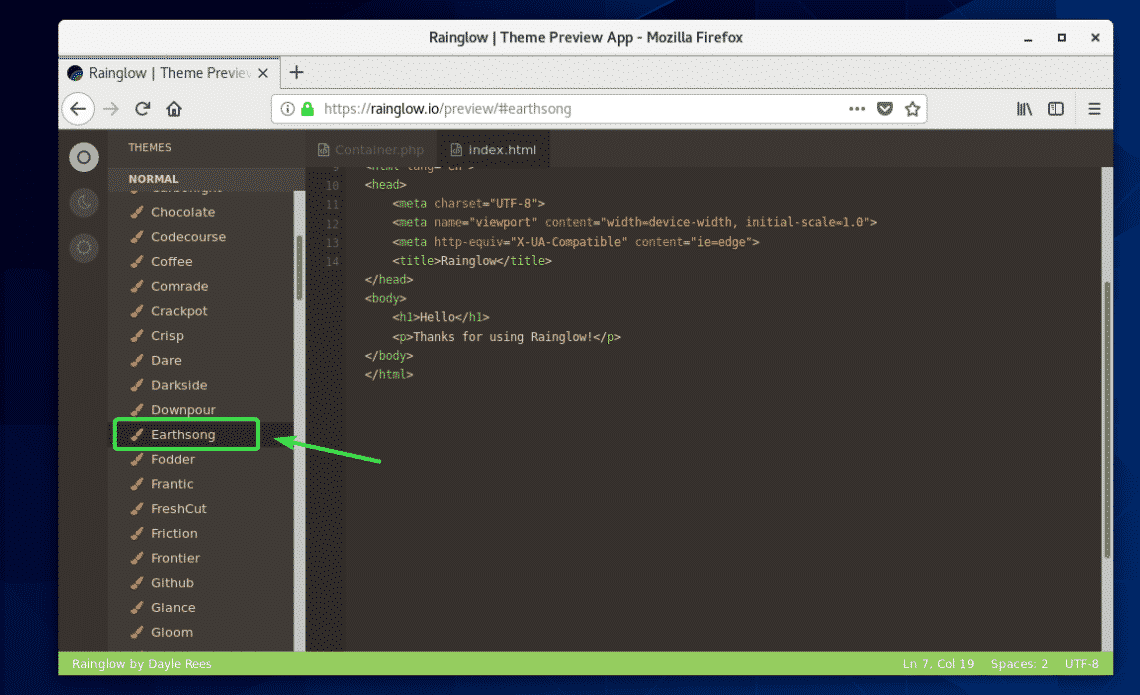
You can go to the official Rainglow Preview website to find out how each theme looks like. Every Rainglow theme has 3 variants,
- Normal (Dark)
- Light
- Contrast
I went to the Rainglow Preview website and I really liked the Earthsong theme. Let’s set this theme on Hyper terminal.
You can find the theme file name (in my case Earthsong) using grep as follows:
As you can see, the theme I picked has 3 files earthsong-contrast.js (Contrast variant), earthsong.js (Normal variant) and earthsong-light.js (Light variant).

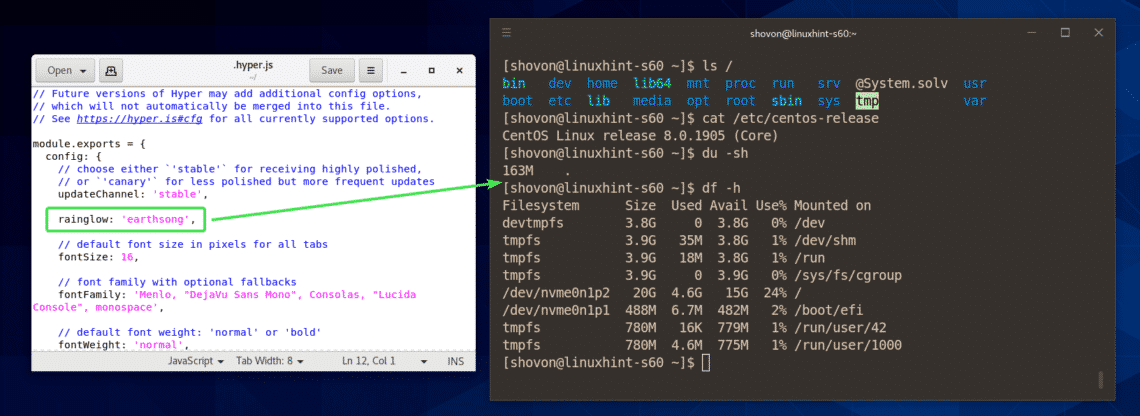
To set the earthsong.js theme file on Hyper terminal, set the rainglow parameter to earthsong (without the .js extension) as you can see in the screenshot below.
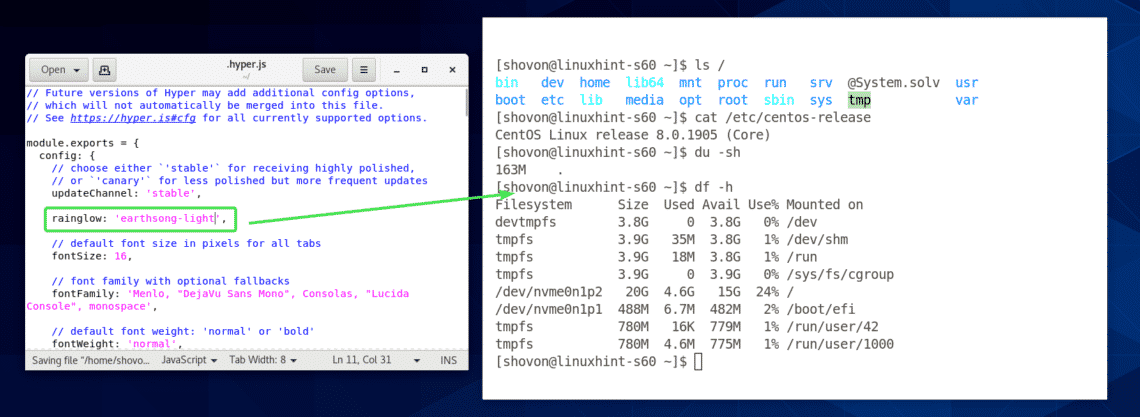
The same way, to set the earthsong-light.js theme, set rainglow parameter to earthsong-light as you can see in the screenshot below.
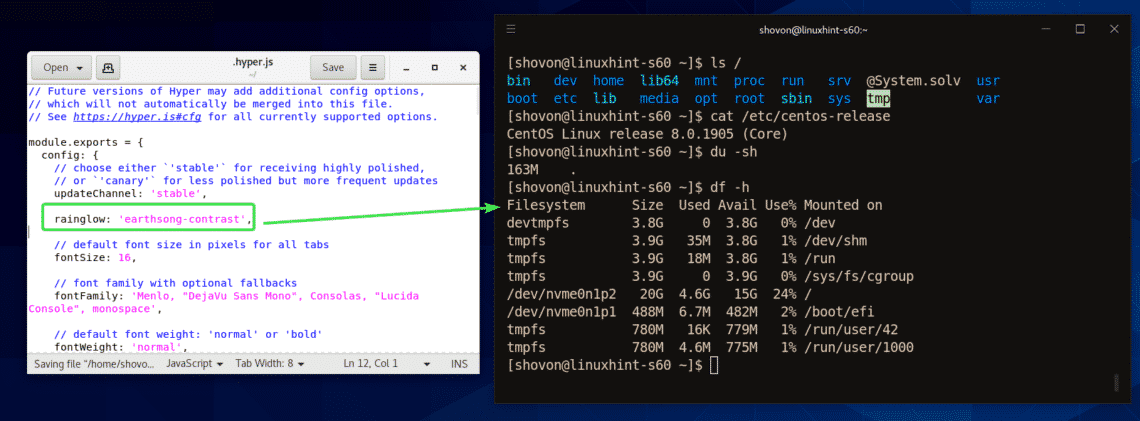
To set the earthsong-contrast.js theme, set rainglow parameter to earthsong-contrast as you can see in the screenshot below.
So, that’s how you install Hyper terminal on CentOS 8. Thanks for reading this article.