Starting GNOME Disk Utility:
On GNOME based desktop environments, go to the Application Menu and search for disks. Then, click on the Disks icon as marked in the screenshot below.
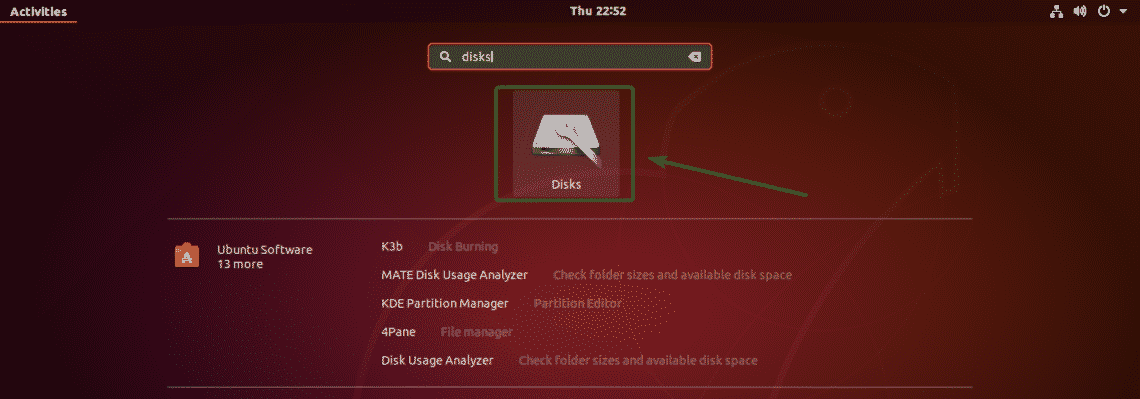
GNOME Disk Utility should be opened.
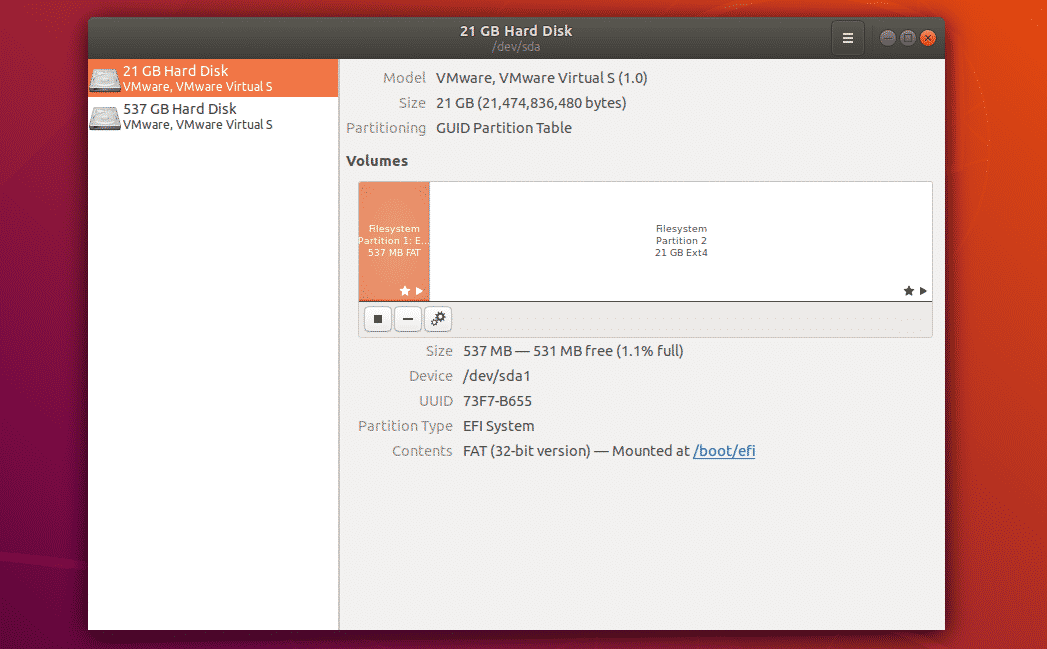
As you can see, I have 2 hard drives installed on my computer.
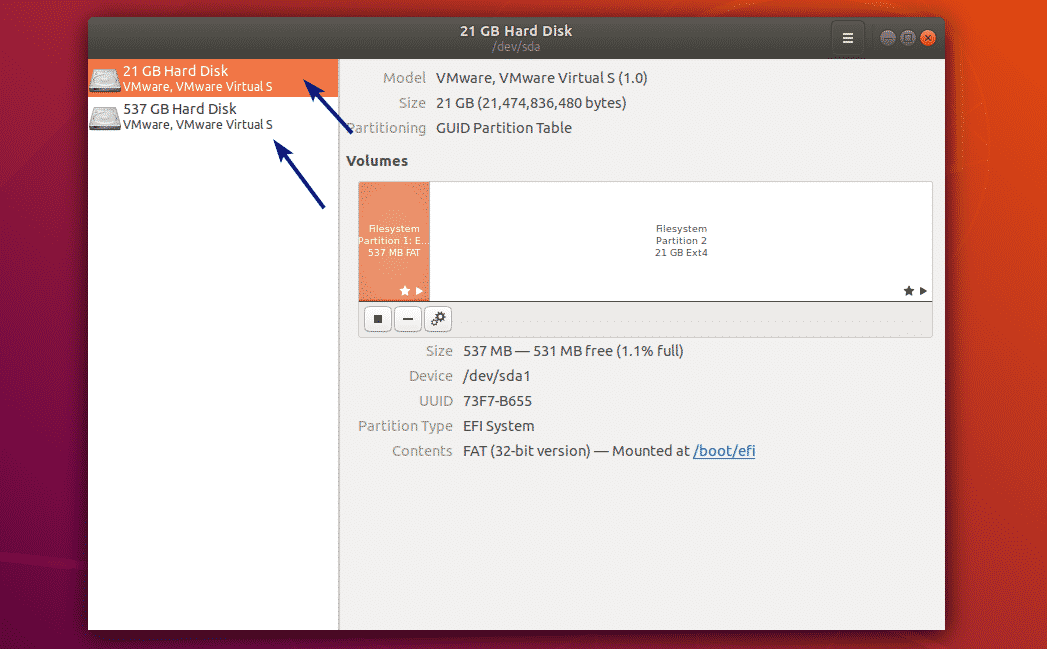
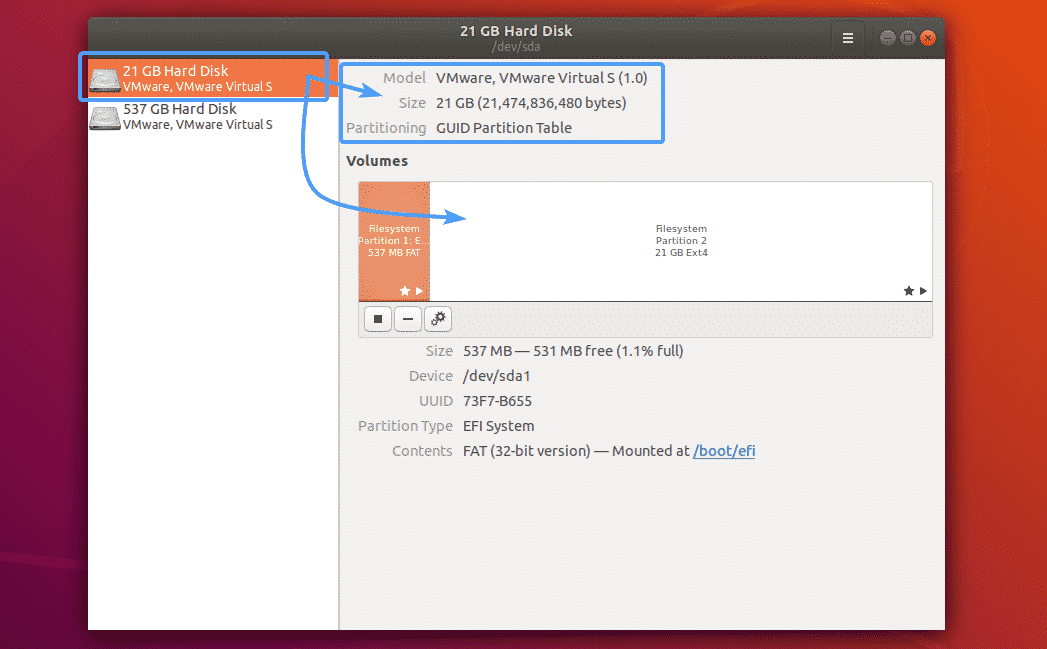
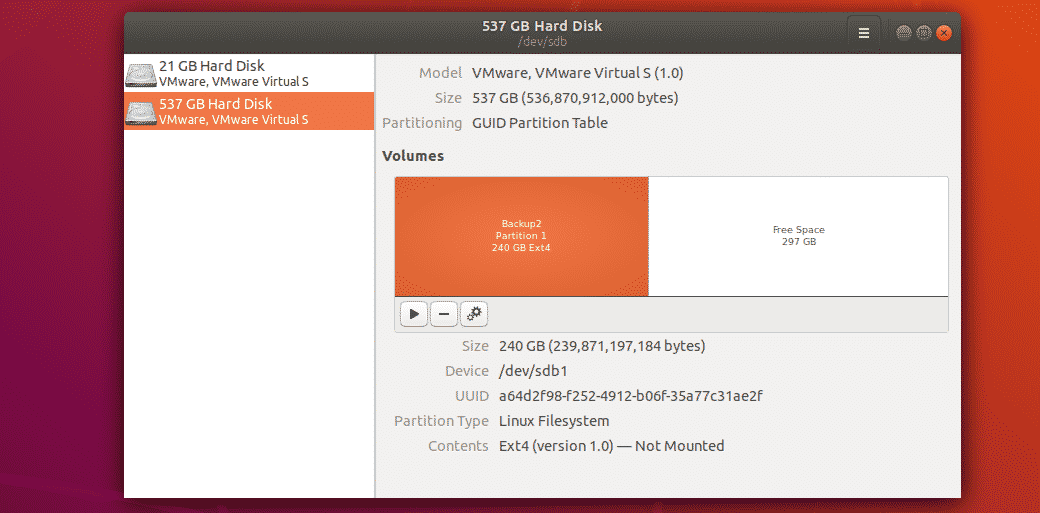
If you click on any of the devices from the list, the existing partitions and other information will be displayed as you can see in the screenshot below.
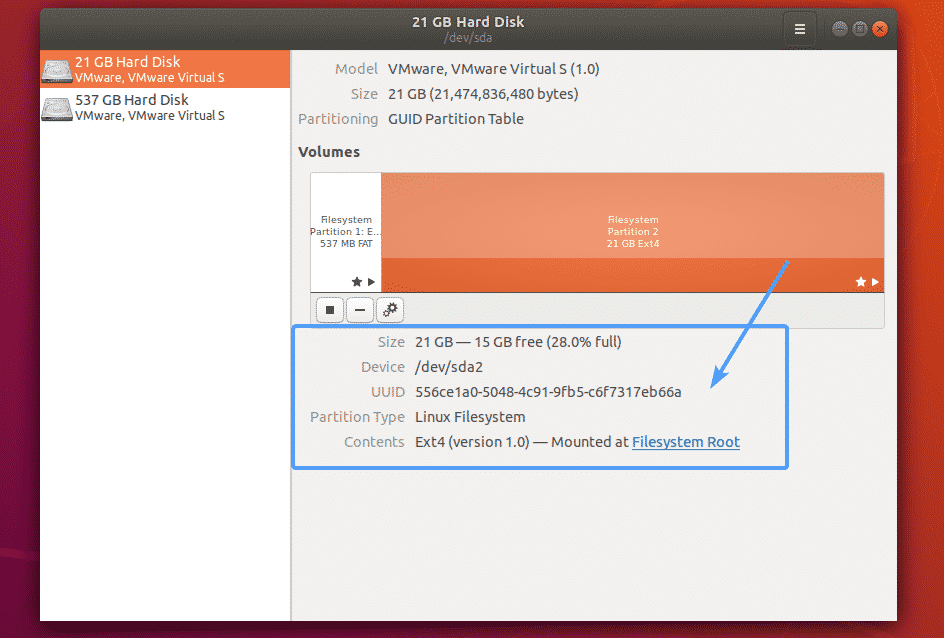
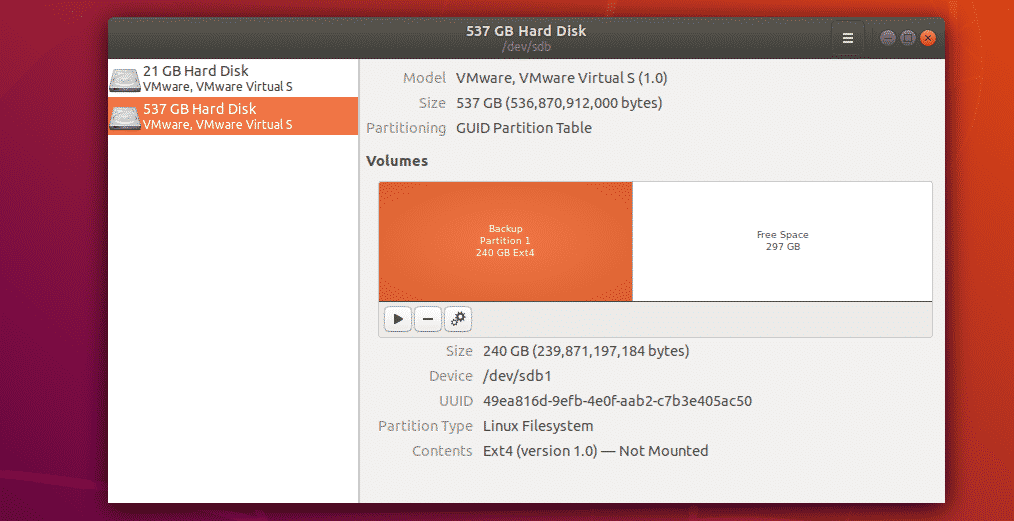
You can also click on an existing partition to see more information about it. For example, the size of the partition, the device name, UUID, partition type, mounted directory etc.
Creating a New Partition Table:
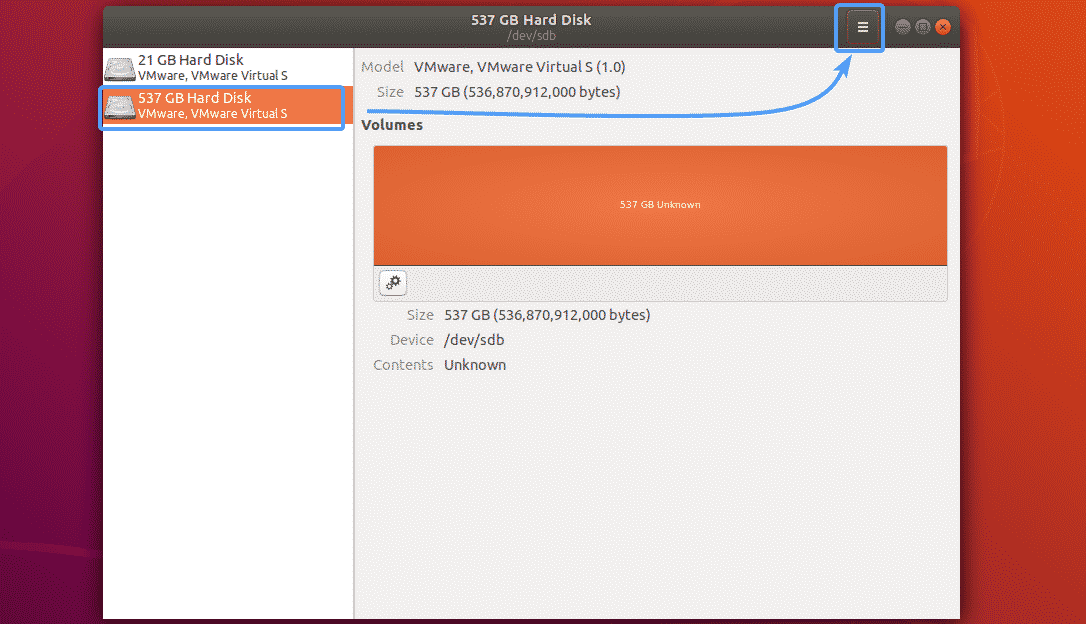
If you’ve added a new hard disk drive (HDD) or solid state drive (SSD) on your computer, then you have to create a partition table first before you can add any new partitions.
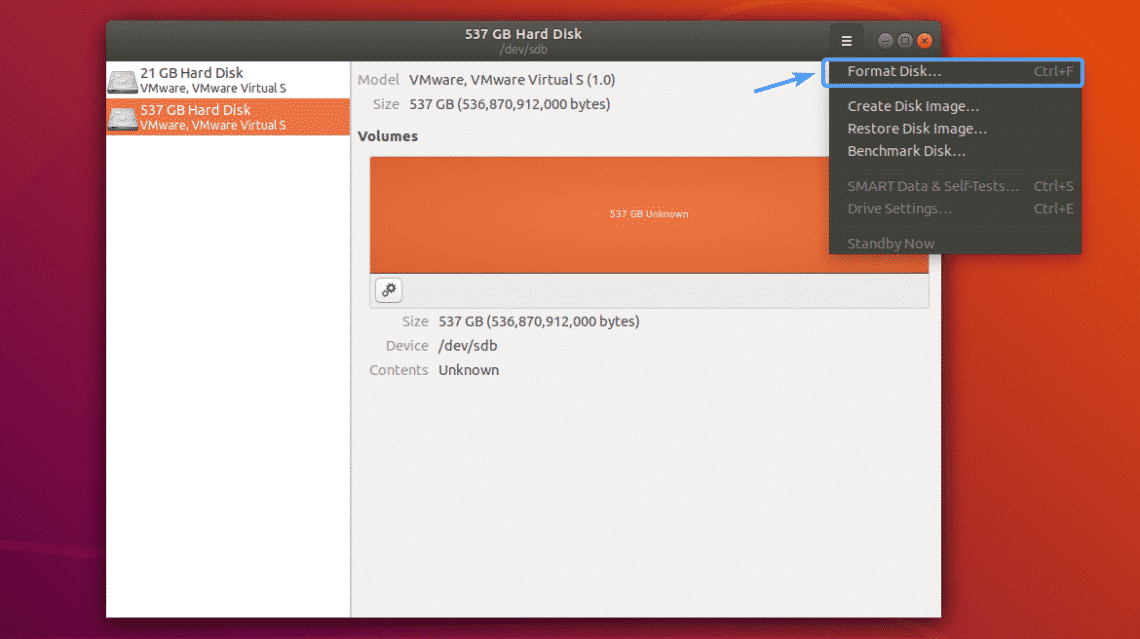
To do that, first select your storage device from the list and click on the Hamburger menu.
Then, click on Format Disk… as marked in the screenshot below.
The Format Disk window should be displayed. By default, GPT partitioning method is selected. You can also select MBR or DOS partitioning scheme from the drop down menu.
There are some limitations on the MBR/DOS partitioning scheme. With MBR/DOS partitioning scheme, you won’t be able to create partitions larger than 2 TB, and you are limited to 4 primary partitions.
GPT partitioning scheme overcomes the problems of MBR/DOS. You can create 128 primary partitions and a single partition can be larger than 2 TB.
The problem with GPT partitioning scheme is that it is not supported on older hardware. So, if you’ve a really old hardware, then you should pick MBR/DOS. Otherwise, pick GPT.
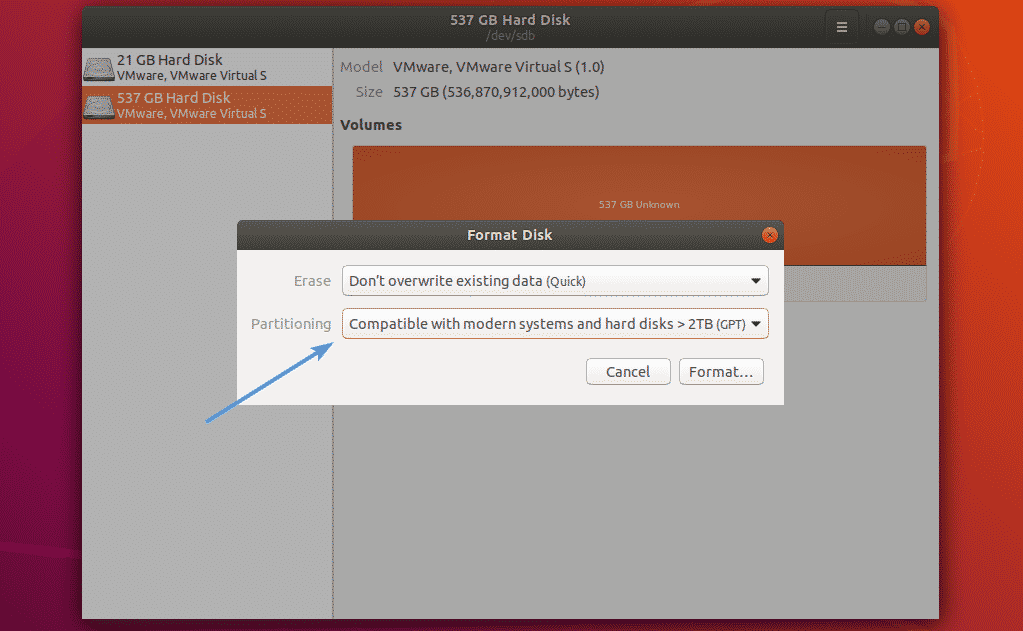
I am going to pick GPT in this article. Once you’ve decided what partitioning scheme you want to use, click on Format….
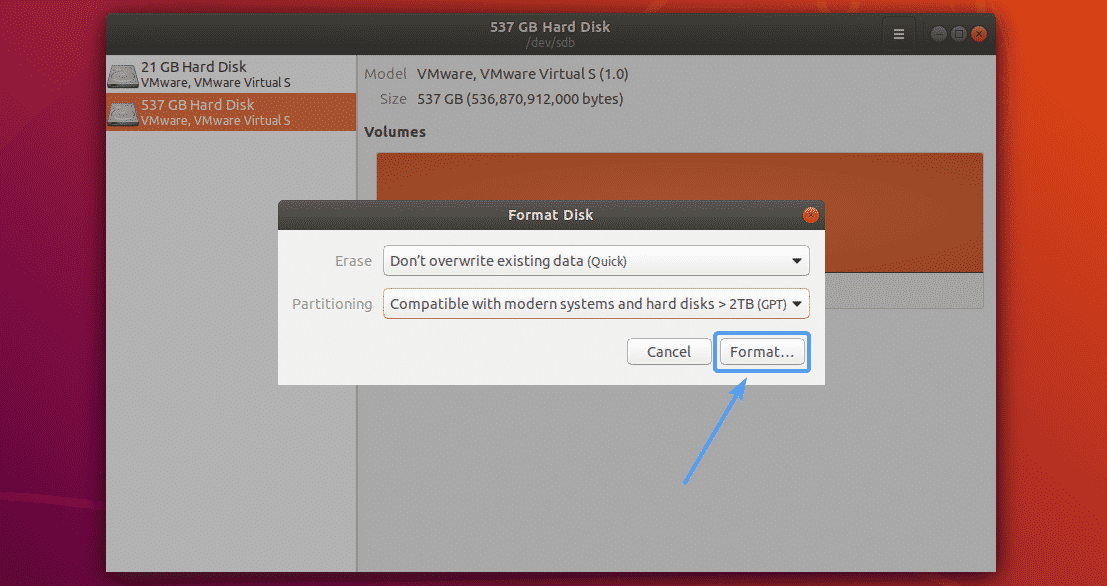
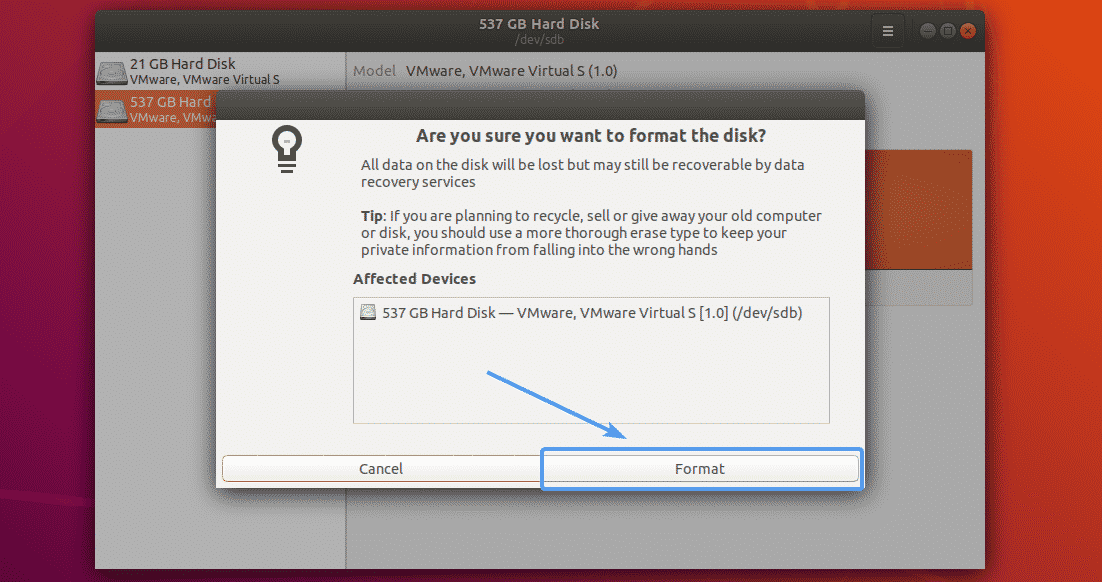
Then, click on Format.
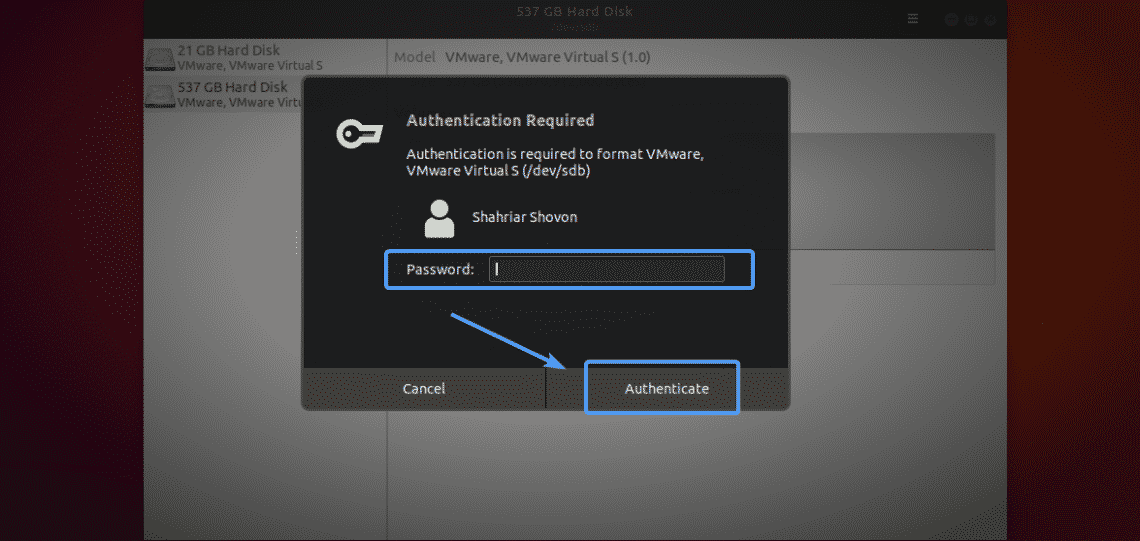
Now, type in the password of your login user and click on Authenticate.
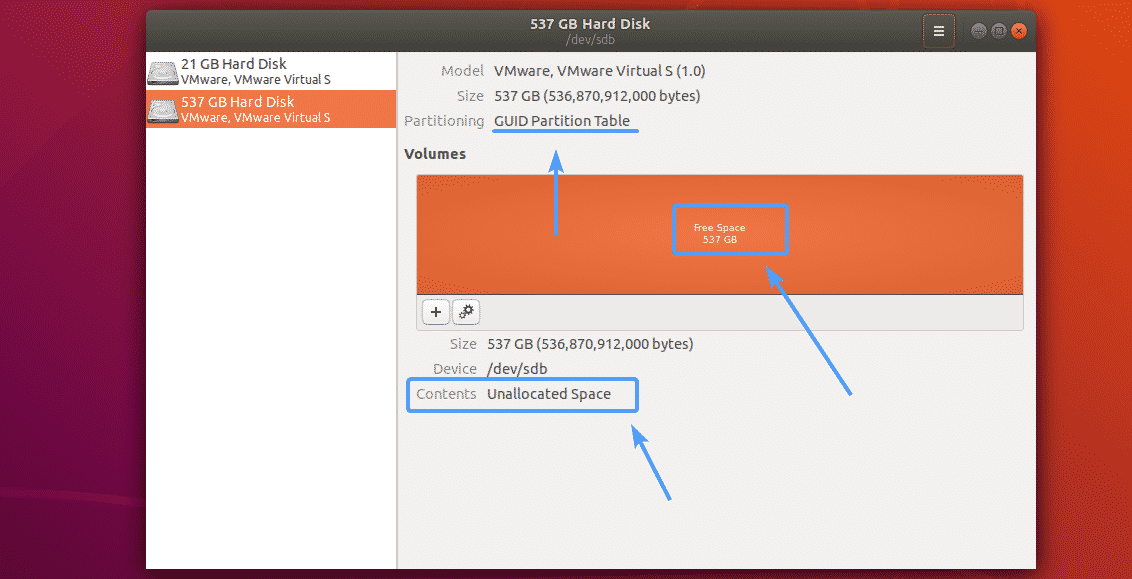
As you can see, a GPT partition table is created. Now, you can create as many partitions as you like.
Creating a New Partition:
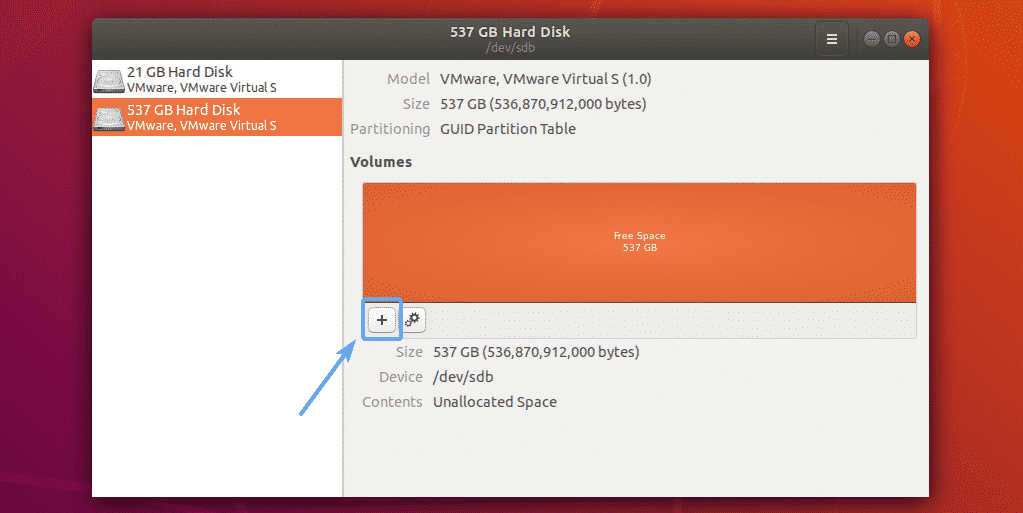
Now, to create a new partition, click on the + button as marked in the screenshot below.
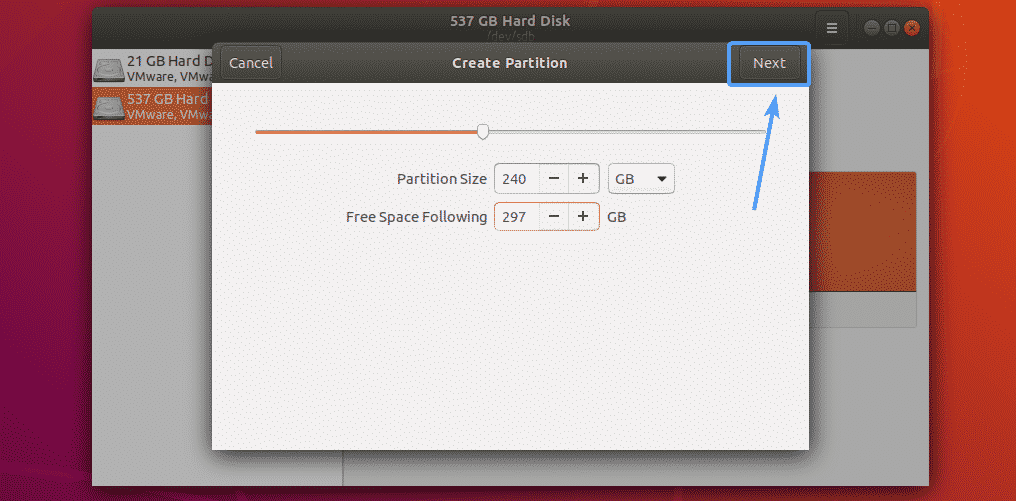
Now, you have to set the partition size. You can either move the slider to the left/right, or type in the partition size and select the unit using the dropdown menu manually. The default unit is GB (Giga Byte).
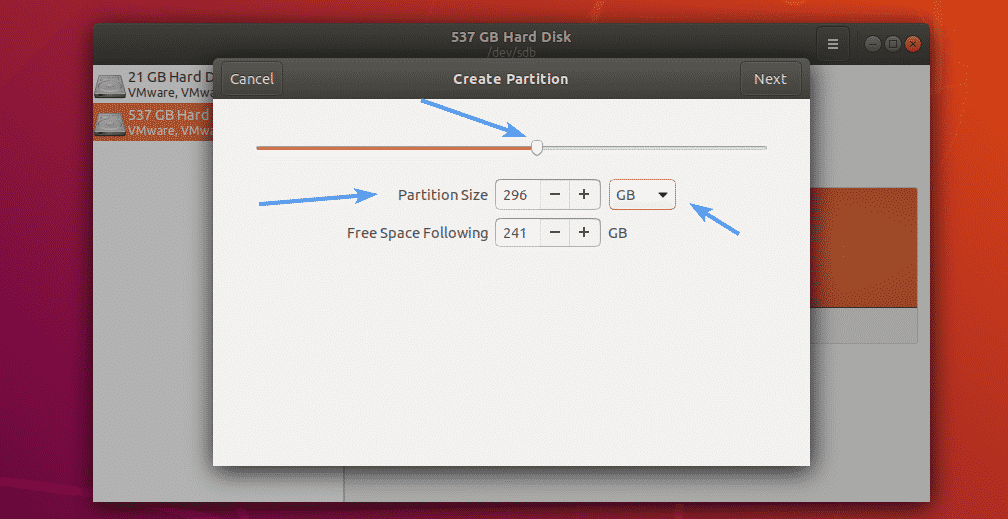
Once you’re done, click on Next.
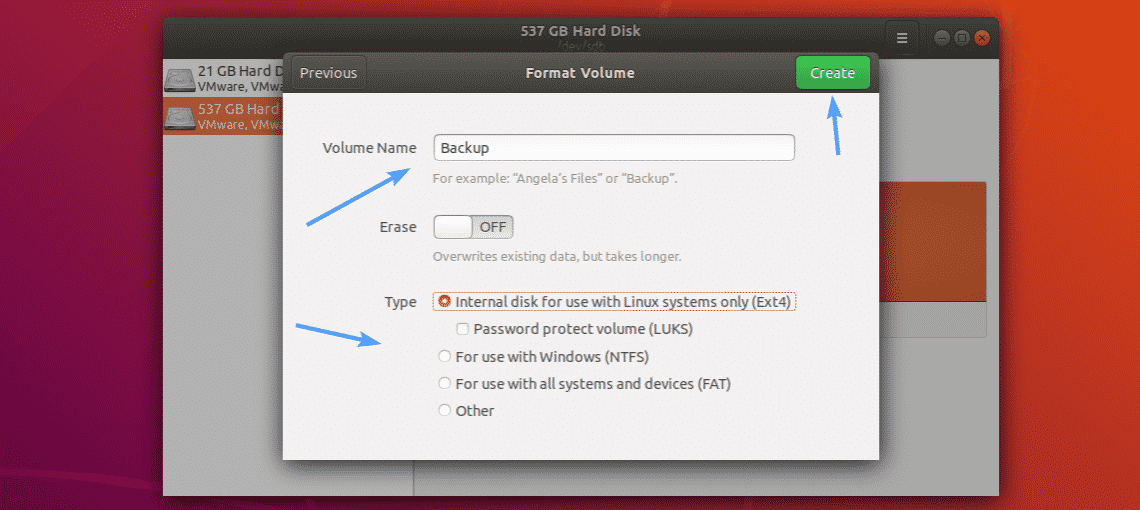
Then, type in a name (let’s call it Backup) for your partition and select the filesystem type. Once you’re done, click on Create.
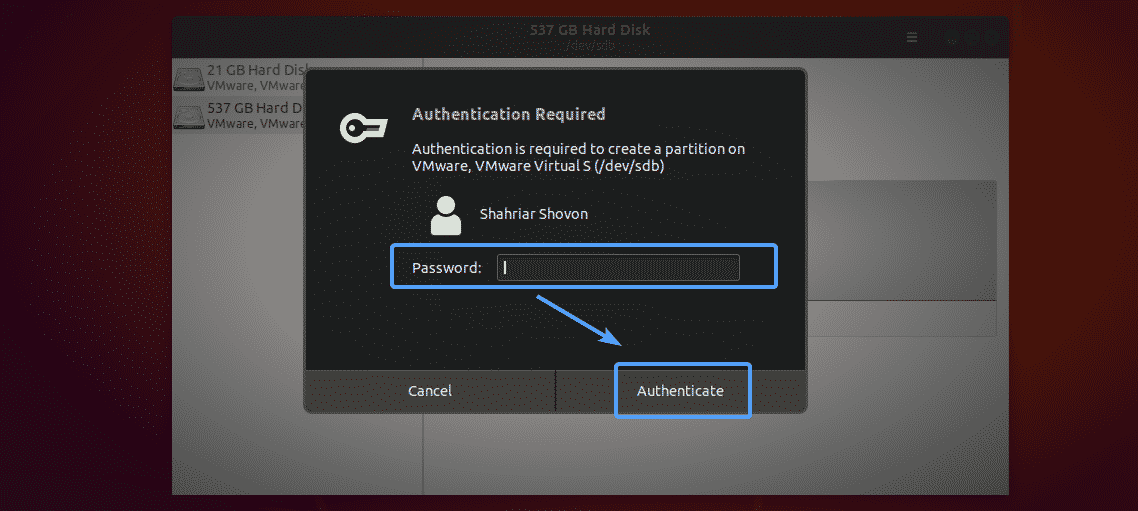
Now, type in the password of your login user and click on Authenticate.
The partition should be created.
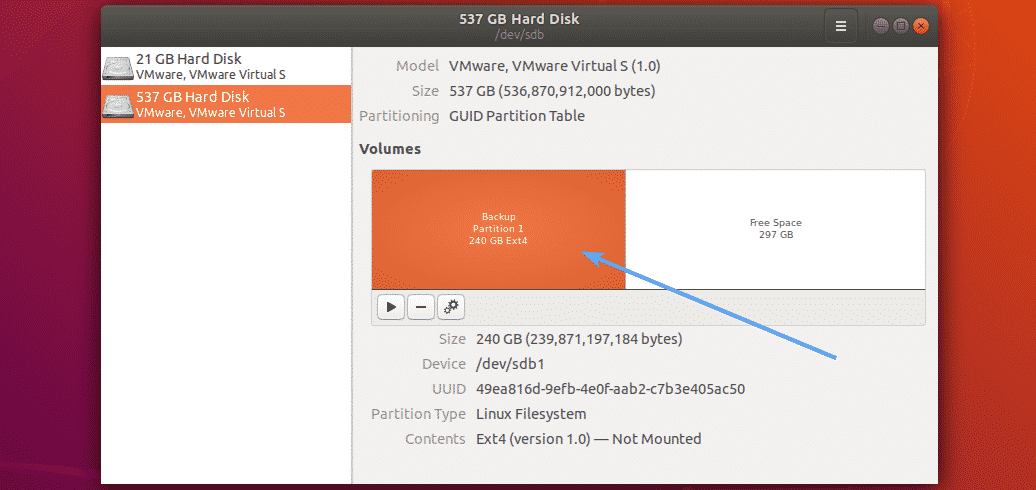
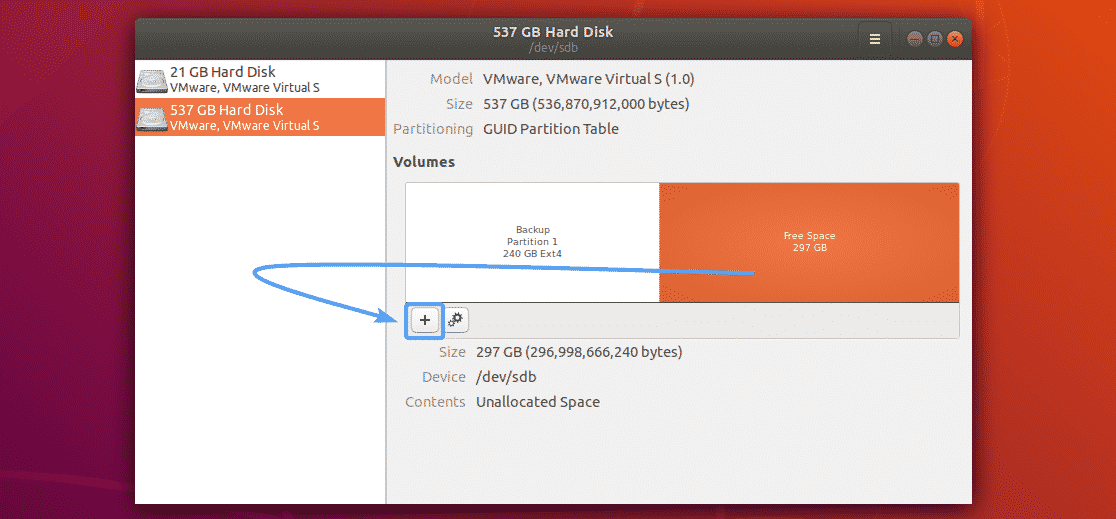
If you want, you can add more partitions provided that you have free disk space. To create another partition, just select the Free Space and click on the + button as marked in the screenshot below.
Mounting and Unmounting Partitions:
Now that you have created a partition, it’s time to mount the partition somewhere on the system. Otherwise, you can’t use it.
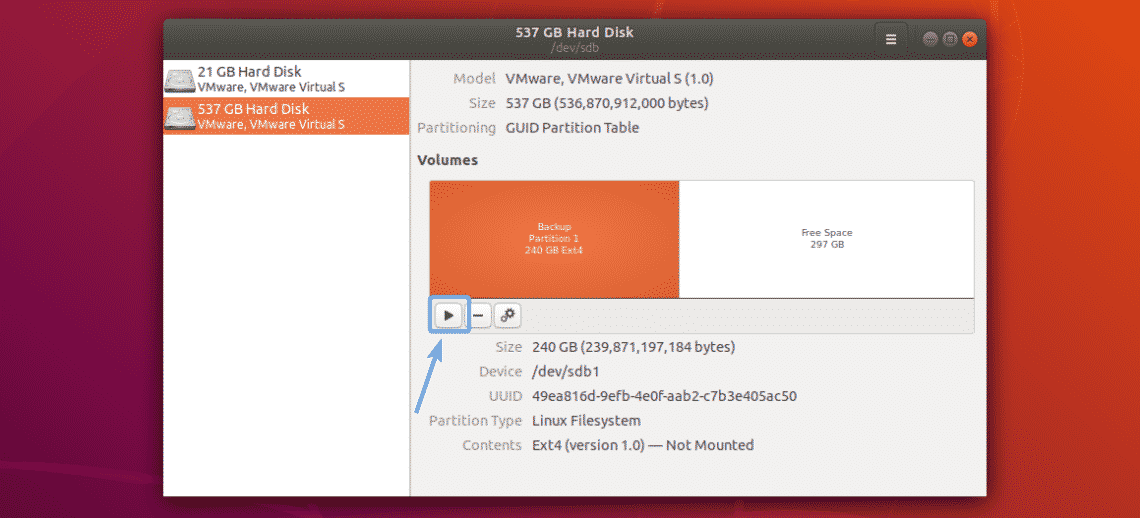
To mount the partition, just select the partition that you want to mount and click on the play button as marked in the screenshot below.
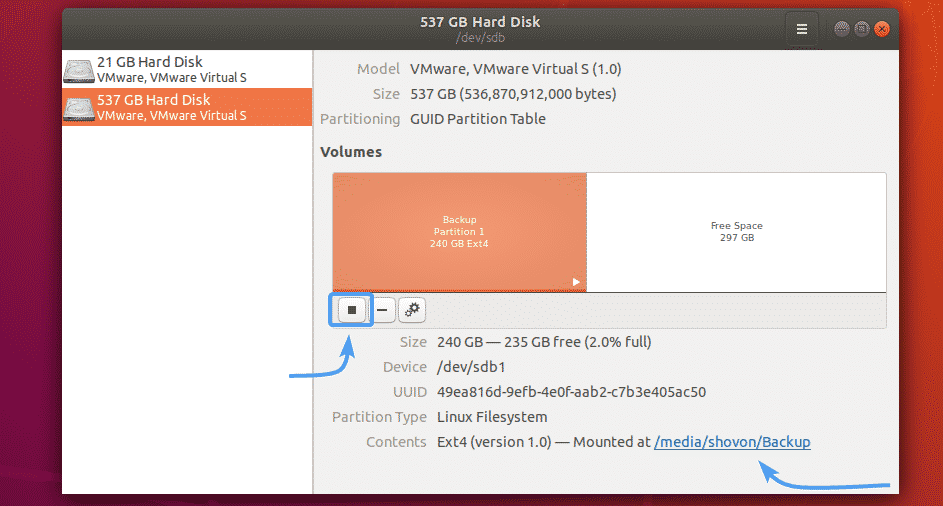
The partition should be mounted. The location where it is mounted should be displayed here in GNOME Disk Utility. In my case, it is /home/shovon/Backup. Yours will be different.
Now, If you want to unmount the partition, just click on the stop icon as marked in the screenshot below.
Deleting Partitions:
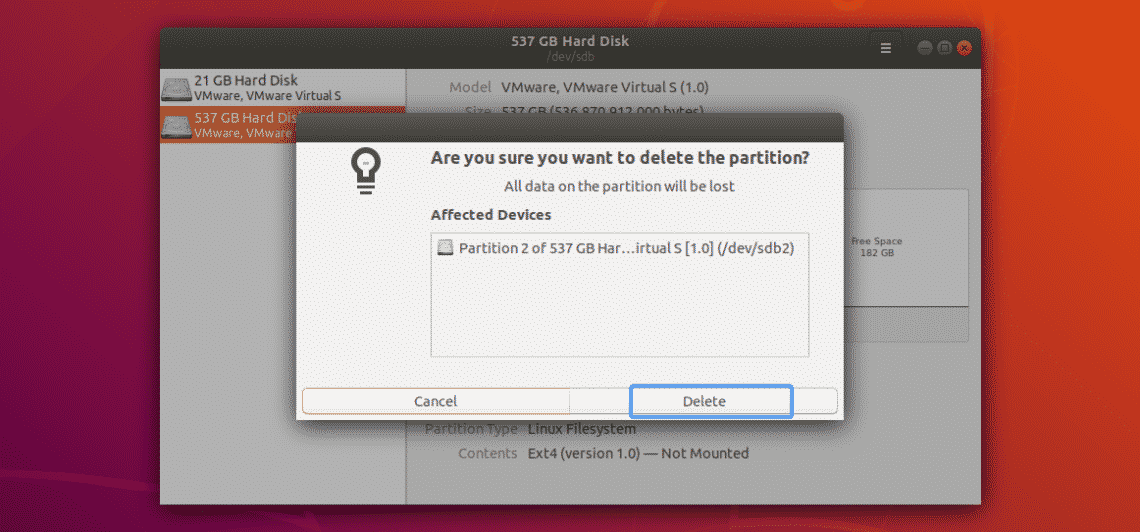
If you want to delete a partition, then just select the partition that you want to delete and click on the – button as marked in the screenshot below.

Now, to confirm your action, click on the Delete button.
The partition should be deleted.
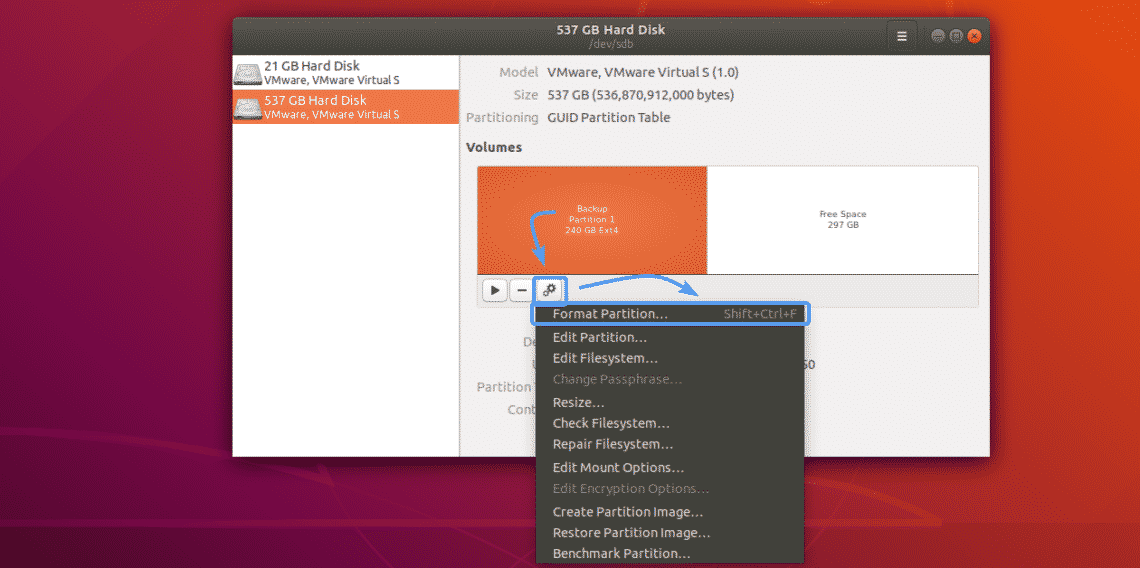
Formatting a Partition:
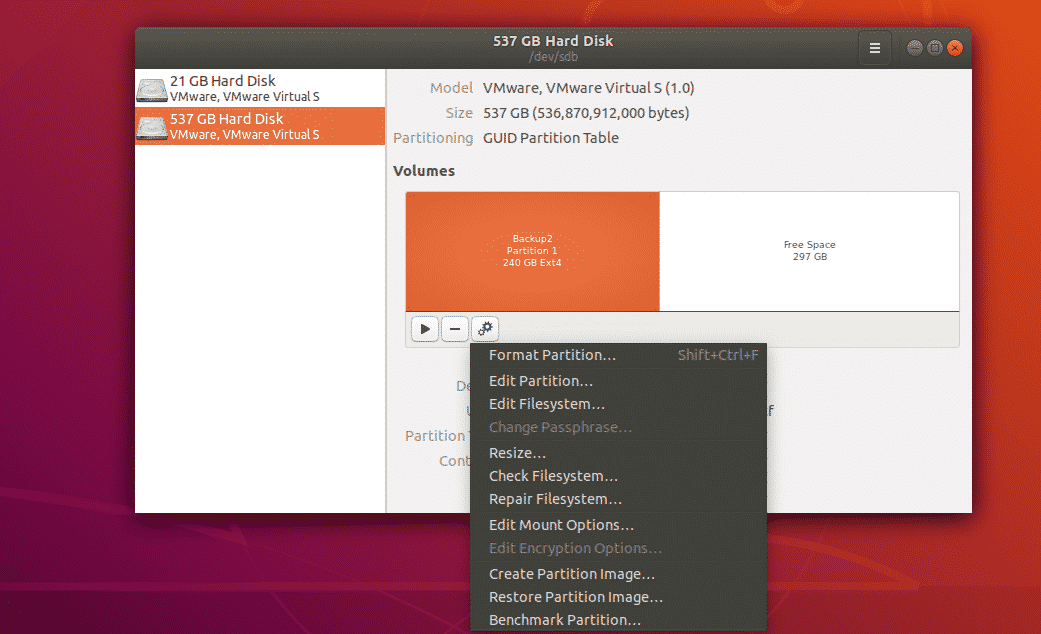
Now, if you want to format a partition, just select the partition that you want to format, then click on the gears icon and then click on Format Partition… as marked in the screenshot below.
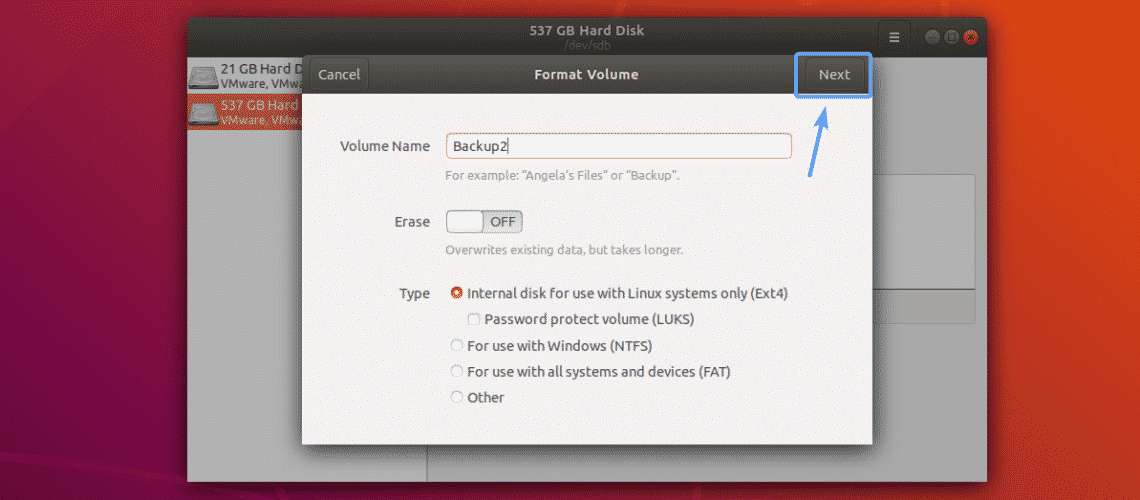
Then, type in a new partition name and select a filesystem type and click on Next.
Now, to confirm your action, click on the Format button as marked in the screenshot below.
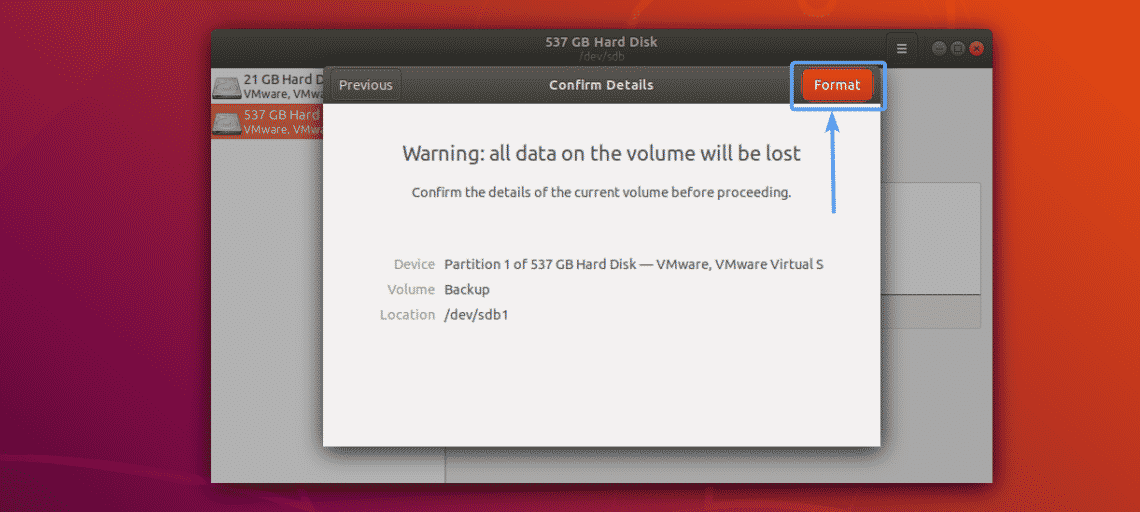
The partition should be formatted.
What More GNOME Disk Utility Offers:
GNOME Disk Utility has a lot of other options that may come in handy at times. For example, you can resize a partition, check the filesystem for errors, repair a filesystem if it does have errors, change mount options of the partitions, make partition images for backup purpose, also restore a partition from an existing partition image etc. You can also do a benchmark on a partition to find out the read/write speed and access time of a partition.
So, that’s how you use GNOME Disk Utility on Linux. Thanks for reading this article.