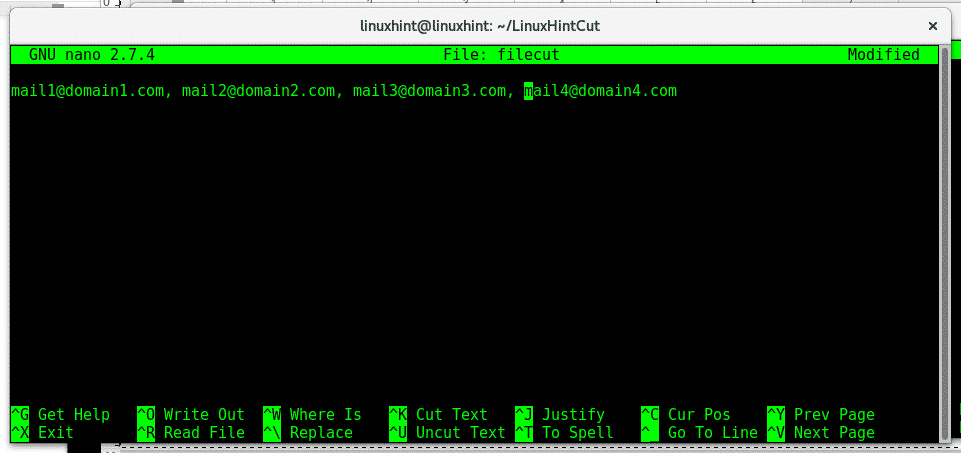
If we get a list of e-mails or items separated by commas or spaces we can use the command cut to read the content easily.
To start let’s create a file
With content:
Press ctrl+x to save.
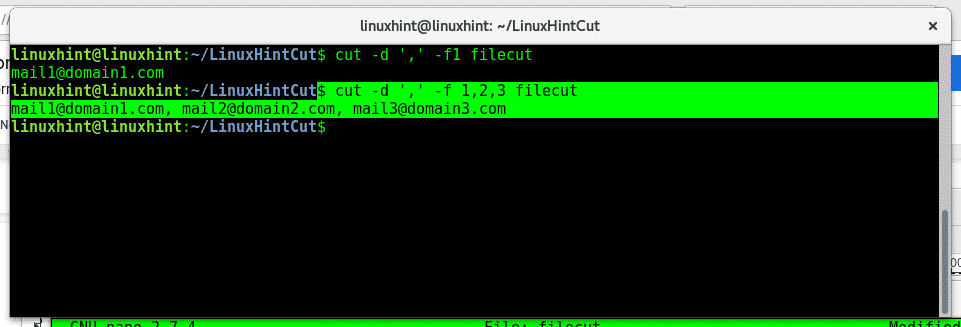
The fake e-mail addresses are separated by comma and space, to list the content between comma you need to use the parameter -d (delimiter), type:
mail1@domain1.com

We can also show more fields you can also use the parameter ‘f, type:
mail1@domain1.com, mail2@domain2.com, mail3@domain3.com
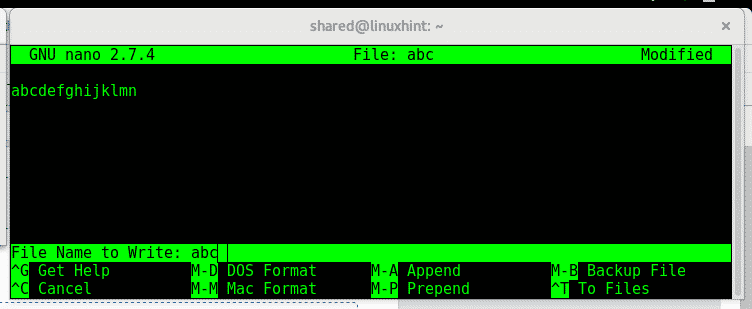
With content;
abcdefghijklmn
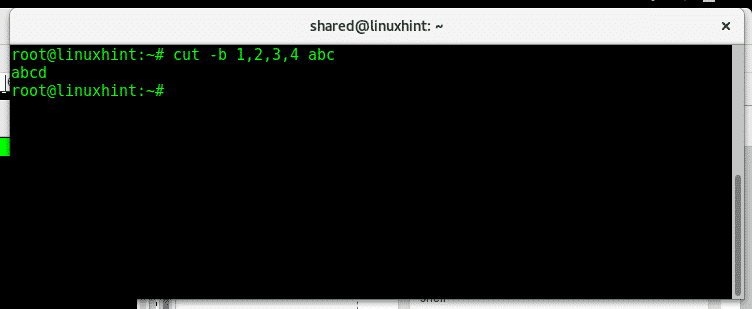
Now let’s use the command to show the first 4 characters by bytes, 1 char = 1 byte:
# cut -b 1,2,3,4 abc
abcd
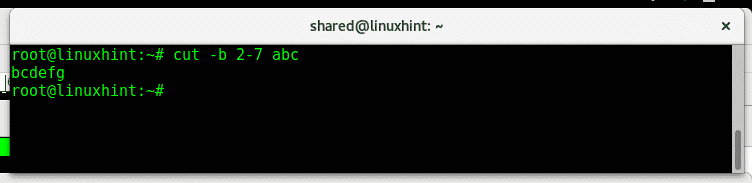
The command cut allows us to display ranges of bytes, to display between the byte 2 and 7 type:
bcdefg
Now let’s create a document with words:
And include words:
word1
word2
word3
word4
word6
word7
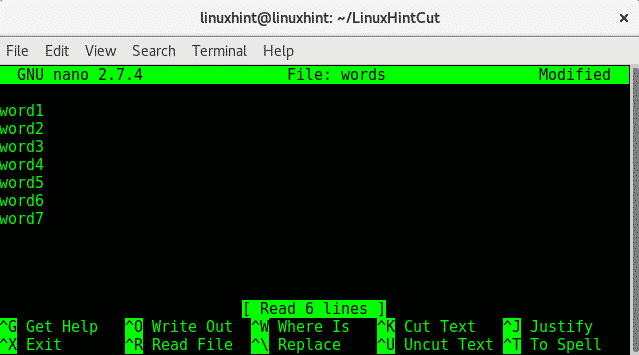
Press ctrl+x to save and close, to list
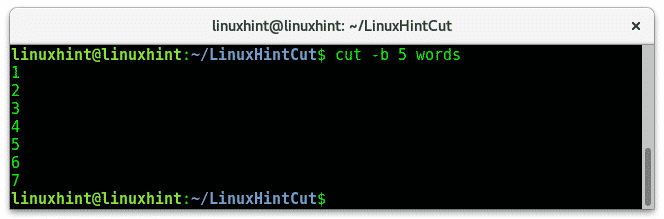
Let’s use the command cut to list the fifth character of each line:
1
2
3
4
5
6
7
Create a file called columns:
With content (separated with TAB,not space):
column1line1 column2line1 column3line1 column4line1
column1line2 column2line2 column3line2 column4line2
column1line3 column2line3 column3line3 column4line3
column1line4 colmun2line4 column3line4 column4line4

Now use cut to show the third field by typing:
column3line1
column3line2
column3line3
column3line4
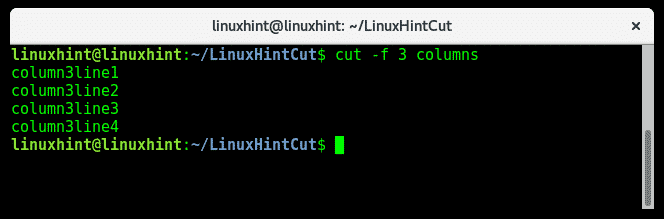
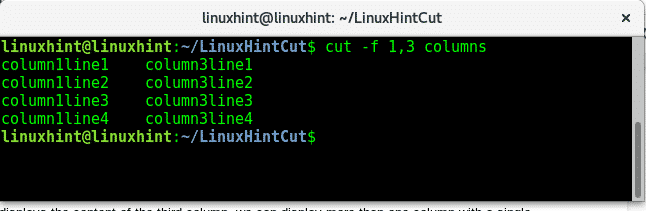
As you see cut displays the content of the third column, we can display more than one column with a single order:
column1line1 column3line1
column1line2 column3line2
column1line3 column3line3
column1line4 column3line4
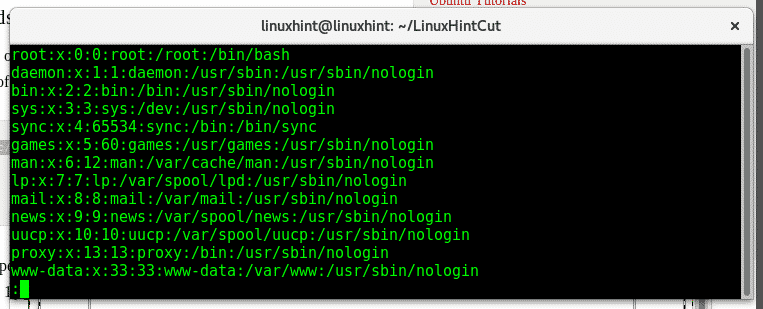
Let’s take a look at the /etc/passwd file and display it’s segments with cut.
root:x:0:0:root:/root:/bin/bash
daemon:x:1:1:daemon:/usr/sbin:/usr/sbin/nologin
bin:x:2:2:bin:/bin:/usr/sbin/nologin
sys:x:3:3:sys:/dev:/usr/sbin/nologin
sync:x:4:65534:sync:/bin:/bin/sync
games:x:5:60:games:/usr/games:/usr/sbin/nologin
man:x:6:12:man:/var/cache/man:/usr/sbin/nologin
lp:x:7:7:lp:/var/spool/lpd:/usr/sbin/nologin
mail:x:8:8:mail:/var/mail:/usr/sbin/nologin
news:x:9:9:news:/var/spool/news:/usr/sbin/nologin
uucp:x:10:10:uucp:/var/spool/uucp:/usr/sbin/nologin
proxy:x:13:13:proxy:/bin:/usr/sbin/nologin
www-data:x:33:33:www-data:/var/www:/usr/sbin/nologin
:
# cut -f 1 -d ‘:’ /etc/passwd
root
daemon
bin
sys
sync
games
man
lp
news
uucp
proxy
www-data
backup
list
irc
gnats
nobody
systemd-timesync
systemd-network
systemd-resolve
systemd-bus-proxy

We can display more than one column by adding more fields after the parameter ‘f:
root:/root
daemon:/usr/sbin
bin:/bin
sys:/dev
sync:/bin
games:/usr/games
man:/var/cache/man
lp:/var/spool/lpd
mail:/var/mail
news:/var/spool/news
uucp:/var/spool/uucp
proxy:/bin
www-data:/var/www
backup:/var/backups
list:/var/list
irc:/var/run/ircd
gnats:/var/lib/gnats
nobody:/nonexistent
systemd-timesync:/run/systemd
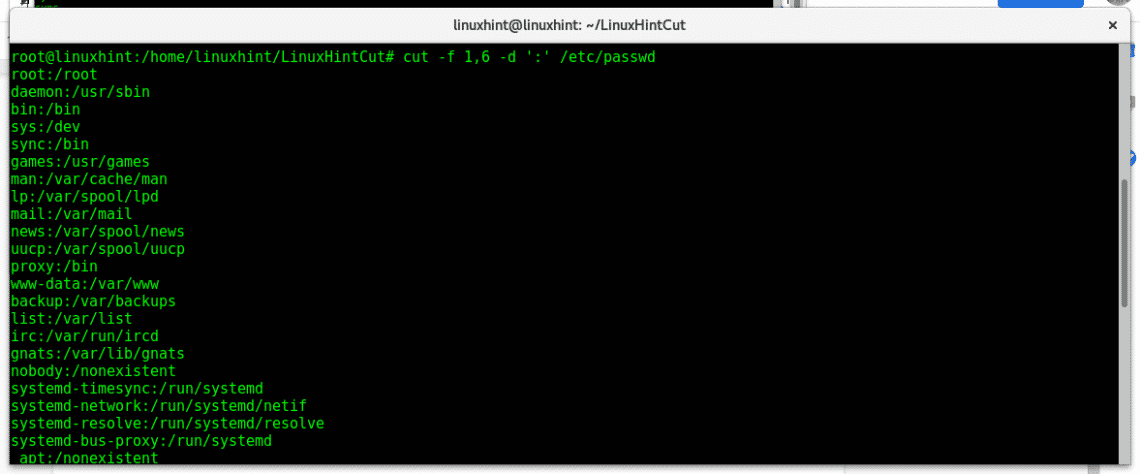
The command above lists first and sixth columns separated by “:”, we see the user username and home directory.
I hope this tutorial was useful as an introduction to the command cut, for more information on this command type “man cut”, should you have any inquiry contact us opening a ticket support at LinuxHint Support. Keep following LinuxHint for more tips and updates on Linux.