For easier management of root access, there’s the “sudo” (superuser do) program. It’s not actually root itself. Instead, it elevates the associated command to the root level. That being said, managing “root” access actually means managing the users that can access the “sudo”. Sudo itself can be used in multiple ways.
Let’s learn more on root and sudo on Arch Linux.
Caution: As the root is all-powerful, playing with it can result in unexpected damages. By design, Unix-like systems assume that the system admin knows exactly what he/she is doing. So, the system will allow even the most unsafe operations without any further asking.
That’s why system admins have to be the most cautious of all when working with “root” access. As long as you’re using the “root” access to perform a certain task, be careful and responsible for the outcome.
Sudo on Arch Linux
Sudo is not just a program. Rather, it’s the framework that governs the “root” access. When sudo is present on the system, there’re also certain user groups that have access to “root”. Grouping allows easier control over the users’ permissions.
Let’s get started with sudo!
Installing sudo
When you installed Arch Linux, it should come with sudo installed by default. However, run the following command to make sure that sudo is actually present in the system.
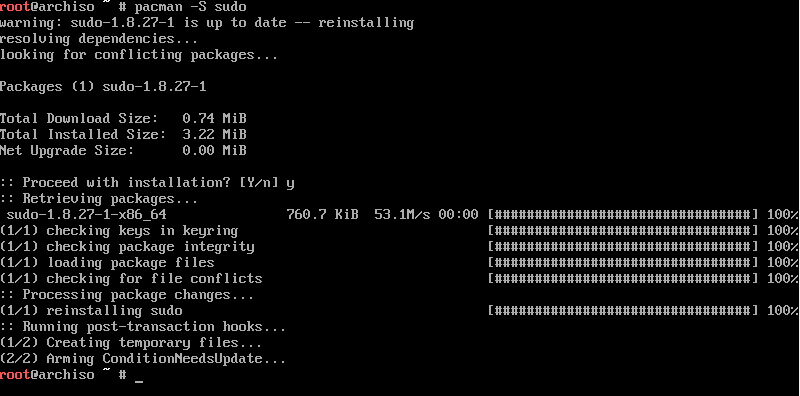
Running a command with root privilege
Sudo follows the following command structure.

For example, use sudo to tell pacman to upgrade the entire system.
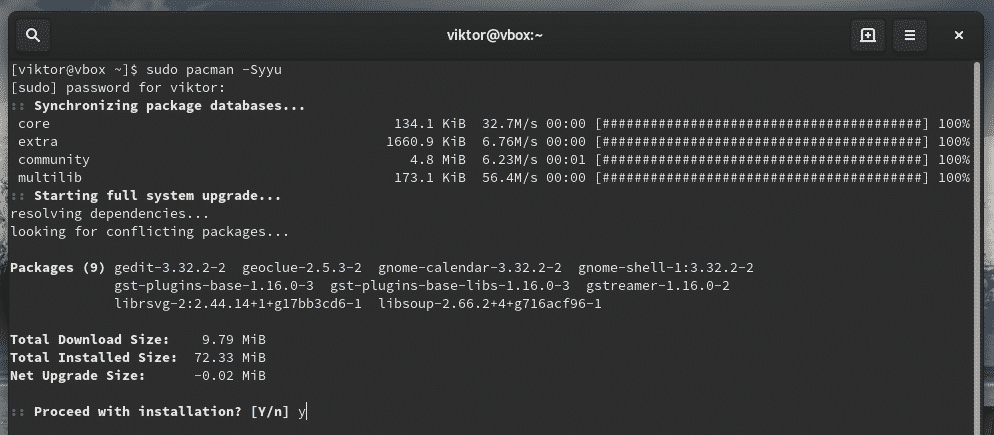
Current sudo settings
Sudo can be custom configured to satisfy the need of the situation. To check out the current settings, use the following commands.

If you’re interested in checking the configuration for a certain user, use the following command.

Managing sudoers
When you install sudo, it also creates a configuration file named “sudoers”. It holds the configuration for different user groups like wheel, sudo, and other settings. Sudoers should ALWAYS be accessed through “visudo” command. This is a more secure way than directly editing the file. It locks the sudoers file, saves the edited one to a temporary file and checks the grammar before it’s permanently written to “/etc/sudoers”.
Let’s check out the sudoers.

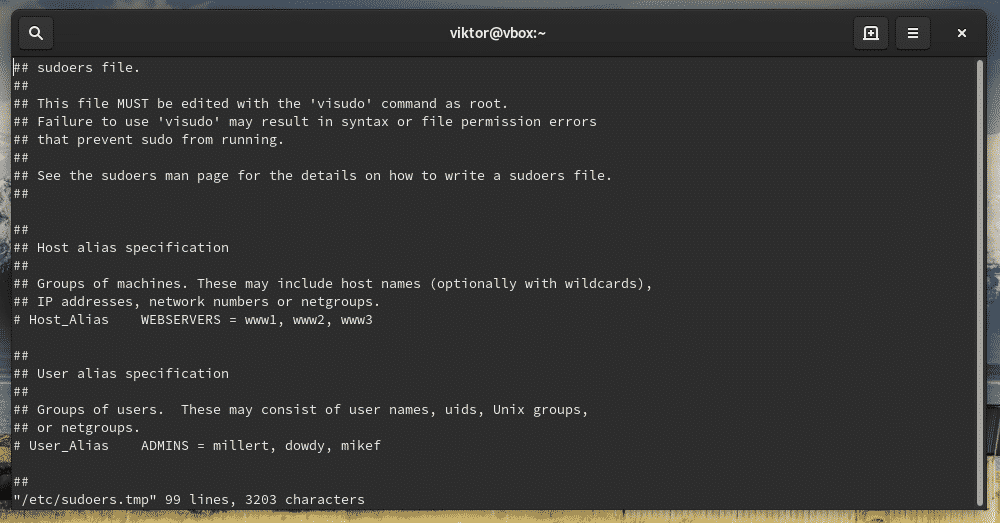
This command will start the editing mode of the sudoers file. By default, the editor will be vim. If you’re interested in using something else as the editor, use the following command structure.

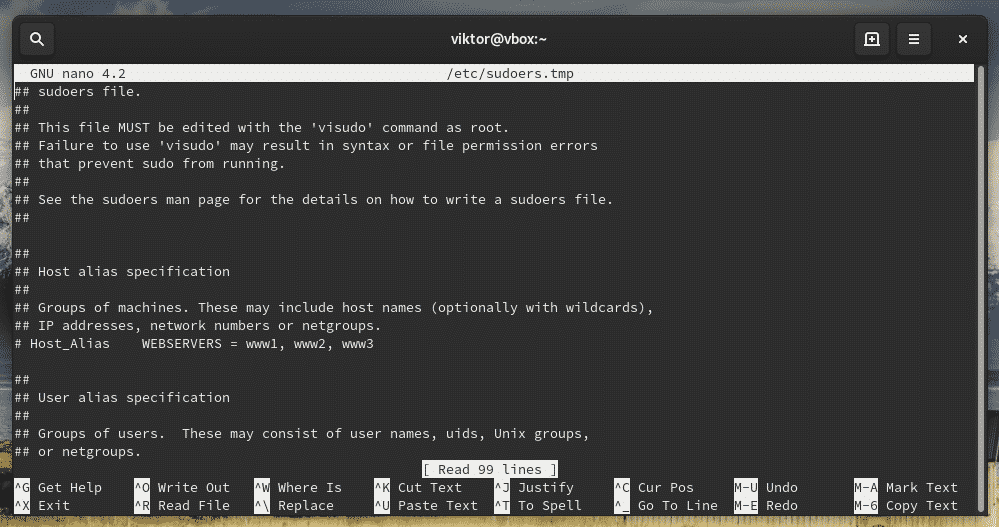
You can permanently change the visudo editor by adding the following line at the end of the file.
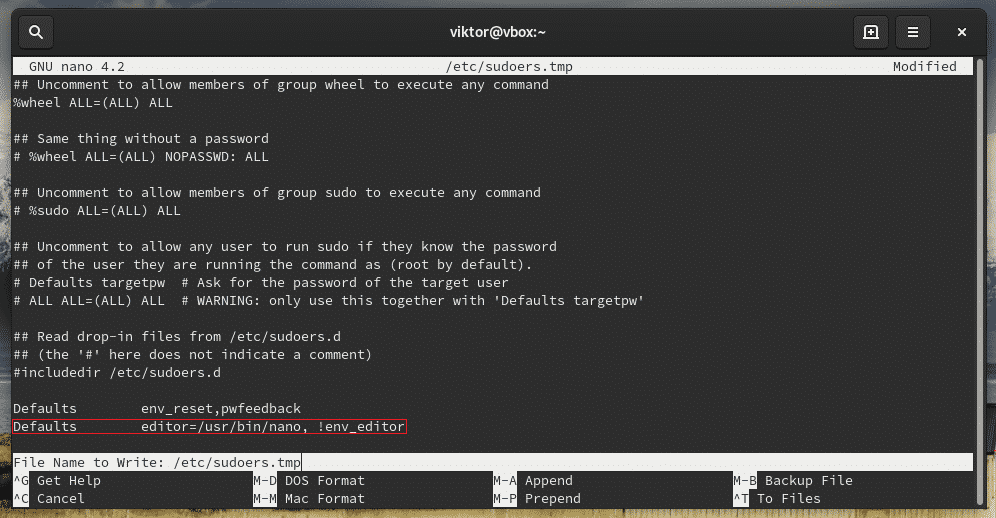
Don’t forget to verify the result.


Groups
“sudoers” dictates the “sudo” permission to users and groups at the same time. For example, the wheel group, by default, has the ability to run commands with root privilege. There’s also another group sudo for the same purpose.
Check out what user groups are currently present on the system.

Check out sudoers on which groups have access to root privilege.
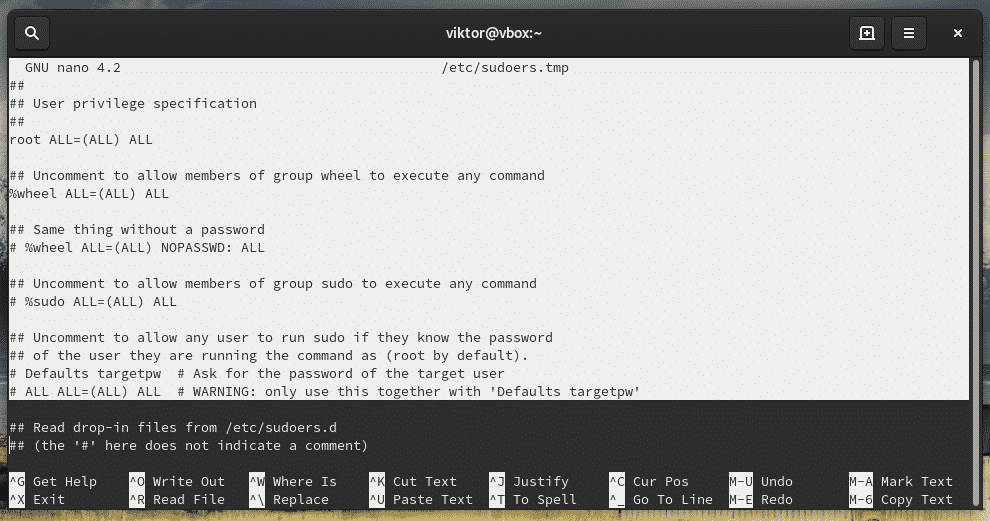

As you can see, the “root” account has access to full root privilege.
- First “ALL” indicates that the rule is for all hosts
- The second “ALL” tells that the user in the first column is capable of running any command with the privilege of any user
- The third “ALL” signifies that any command is accessible
Same goes for the wheel group.

If you’re interested in adding any other user group, you have to use the following structure
For a normal user, the structure would be
Allowing a user with sudo access
This can be performed in 2 ways – adding the user to wheel group or, mentioning the user in the sudoers.
Adding to wheel group
Use usermod to add an existing user to the wheel group.

Adding in the sudoers
Launch sudoers.
Now, add the user with associated root permission.
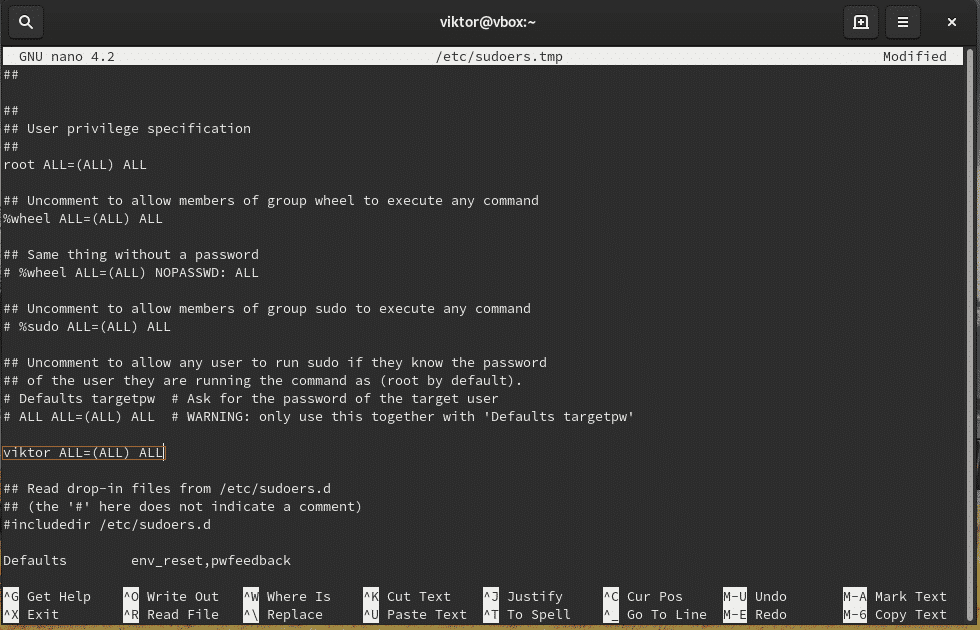
If you want to remove the user from sudo access, remove the user entry from sudoers or, use the following command.

File permissions
The owner and group for “sudoers” MUST be 0 with the file permission 0440. These are the default values. However, if you tried changing, then reset them to the default values.
chmod -c 0440 /etc/sudoers

Passing environment variables
Whenever you’re running a command as root, the current environment variables don’t get passed to the root user. It’s quite painful if your workflow is highly dependent on the environment variables or, you’re passing the proxy settings through “export http_proxy=”…””, you have to add the “-E” flag with sudo.

Editing a file
When you install sudo, there’s also an additional tool called “sudoedit”. It will allow editing a certain file as a root user.
This is a better and more secure way of allowing a certain user or group to edit a certain file that requires root privilege. With sudoedit, the user doesn’t have to have access to sudo.
It could also be performed by adding a new group entry in the sudoers file.
However, in the above scenario, the user is only fixed with the specific editor. Sudoedit allows the flexibility of using any editor of the user’s choice to do the job.
Try out editing a file that requires sudo access.

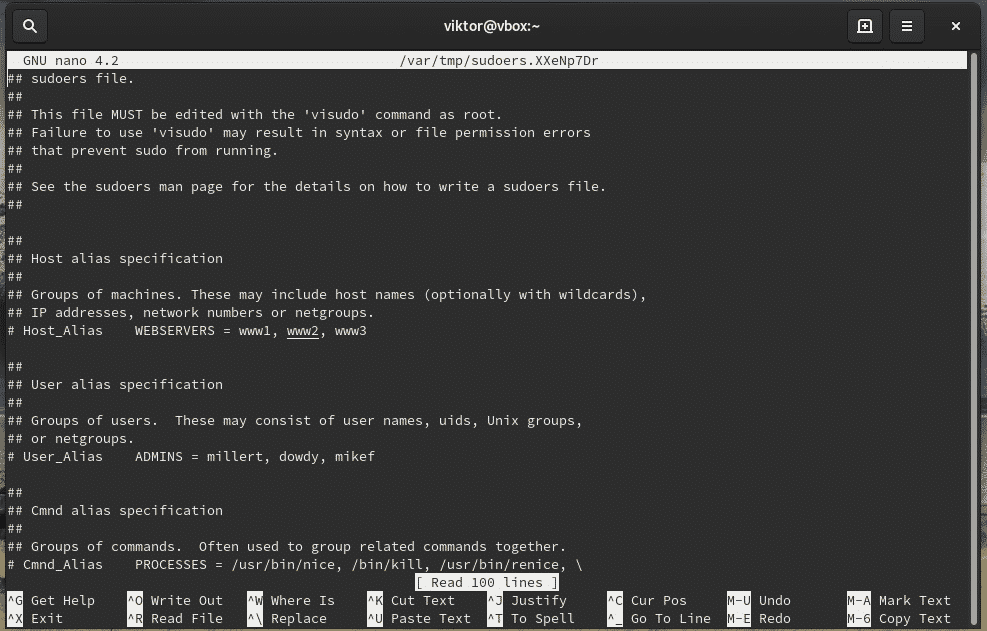
Note: Sudoedit is equivalent to “sudo -e” command. However, it’s a better path as it doesn’t require having access to sudo.
Final thoughts
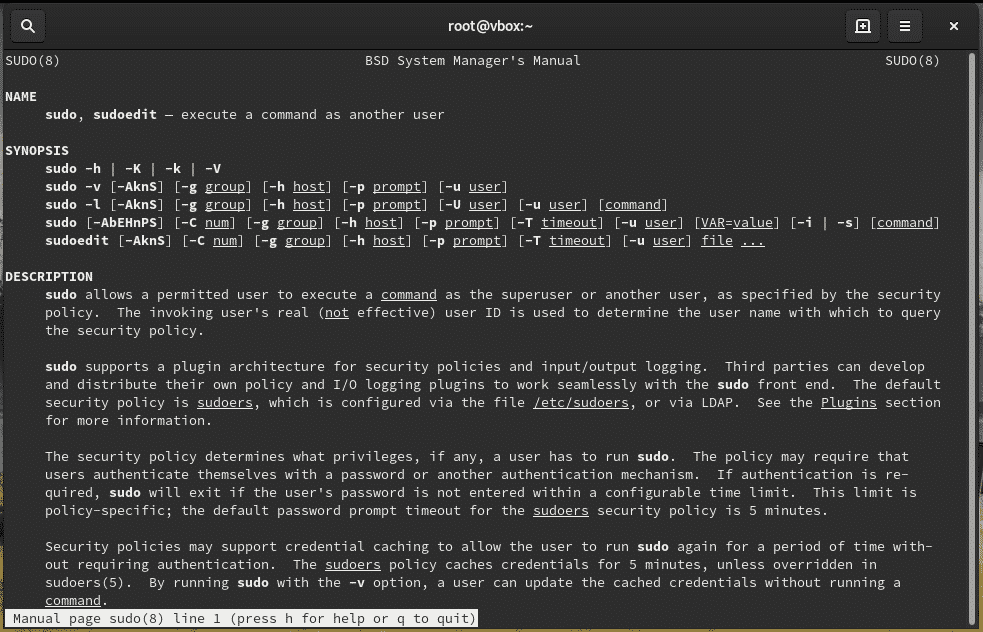
his short guide just showcases only a little portion of what you can do with sudo. I highly recommend checking out the man page of sudo.
Cheers!


