In this article, I will show you how to backup and restore Linux Mint 19 systems using USB Storage device with Timeshift. Let’s get started.
BTRFS for Timeshift on Linux Mint 19:
Timeshift works best on BTRFS filesystem. BTRFS has good support for Copy on Write (CoW) snapshots. BTRFS creates snapshots very fast and without any need additional disk space. That’s why I recommend you install Linux Mint 19 on BTRFS filesystem if you want to use Timeshift without hassle.
Timeshift on other Filesystems:
Let’s say, you had no idea about Timeshift or you didn’t know that Timeshift works best on BTRFS filesystem while installing Linux Mint 19. So you ended up installing Linux Mint 19 on filesystems such as EXT4. Now you know about Timeshift and you regret doing so.
Don’t worry about it if that’s the case. Timeshift also supports RSYNC. RSYNC works just as well.
The advantages of creating backups or snapshots with Timeshift using RSYNC is that it doesn’t depend on specific filesystem. RSYNC backups or snapshots can be stored on an external USB Hard Drive as well as a USB Thumb Drive. So when anything goes wrong, you just have to insert your USB storage device and restore your operating system from there. This is all this article is about.
Taking Snapshots and Storing it on USB Storage Device using Timeshift:
For taking Timeshift snapshots or backups, I recommend you use USB 3.0 32 GB USB thumb drive. Use the USB thumb drive for only taking Timeshift backups. That way you won’t accidentally remove any system file from the USB thumb drive. This is very important.
By the way, you can also use USB 3.0 external hard drive or SSD if you want. The procedures are the same.
Before I set up Timeshift, I am going to show you how to get your USB thumb drive ready for Timeshift.
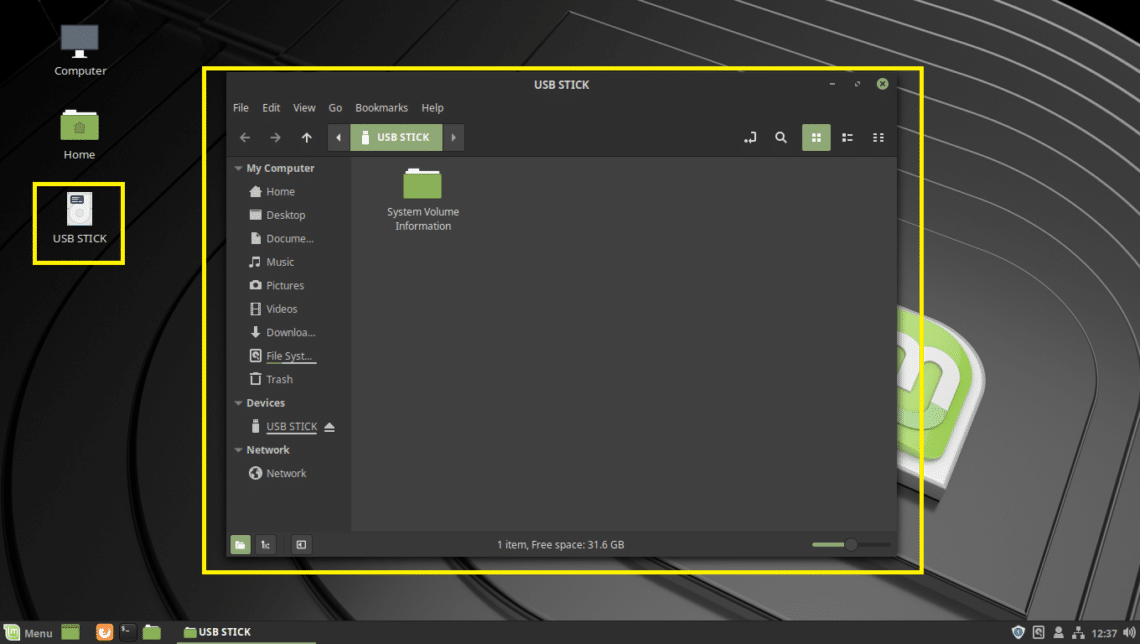
First insert your USB Storage device and Linux Mint should detect it.
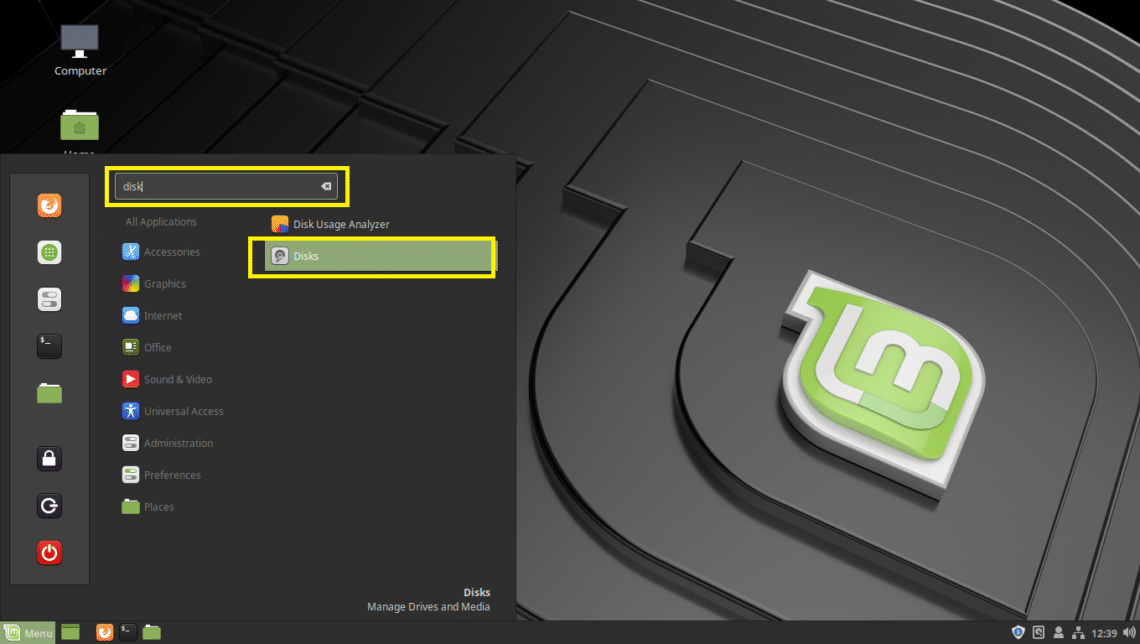
Now open the Disks app from the Mint Menu.
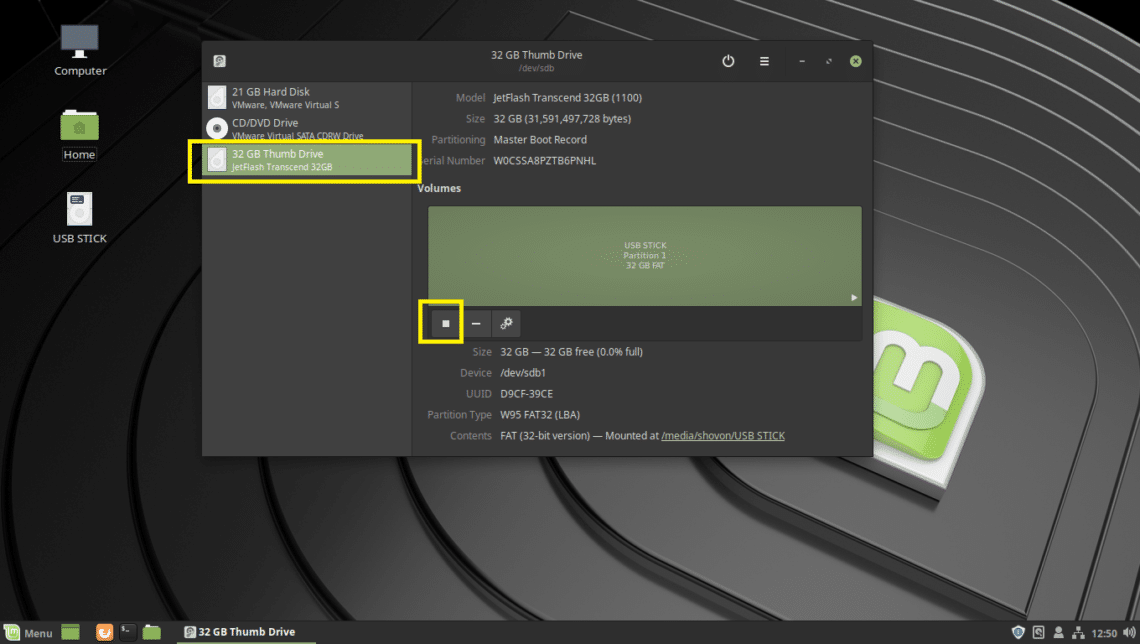
Then select your USB Storage device from the Disks app and click on the stop button as marked in the screenshot below.
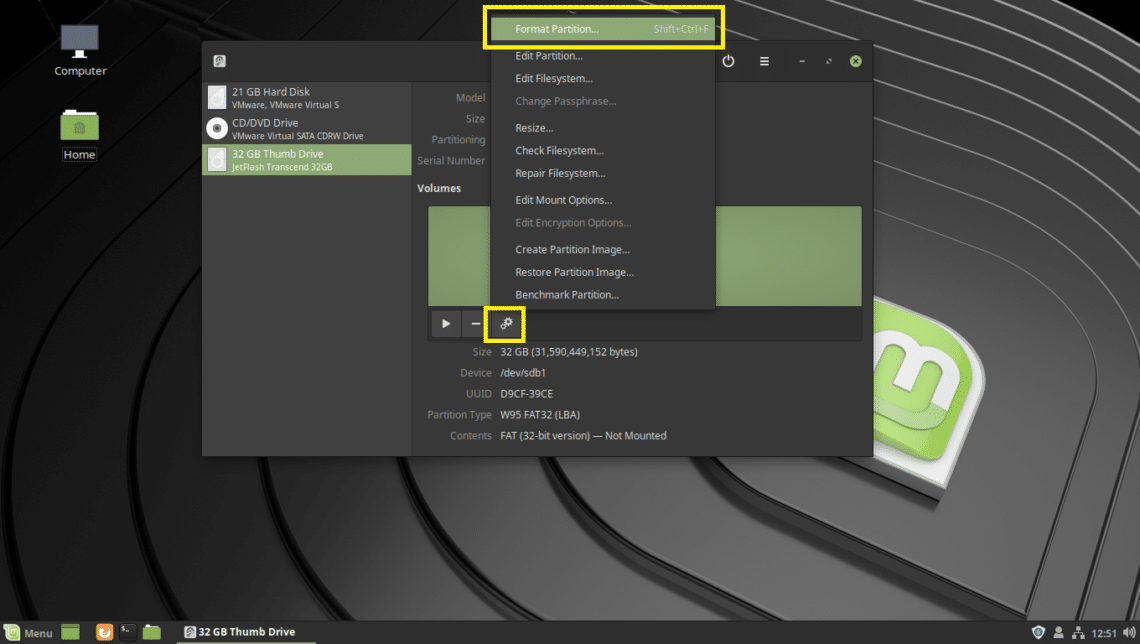
The USB Storage device should be unmounted. Now click on the Settings icon and then click on Format Partition… as marked in the screenshot below. You can also press Shift + <Ctrl> + f
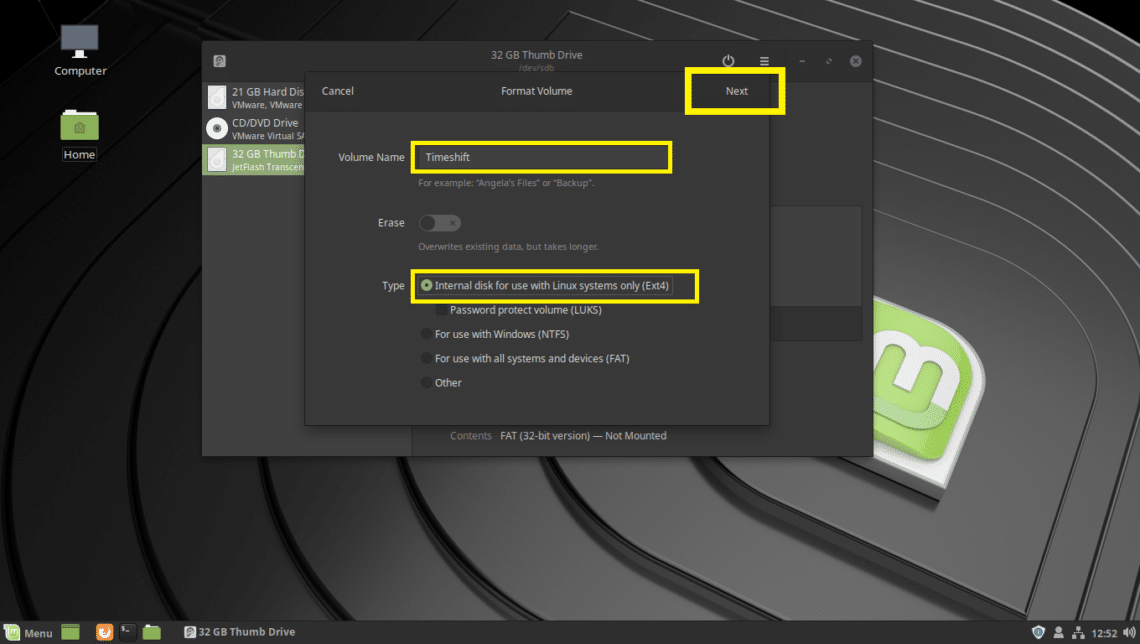
You should be the Format Volume window. Type in Timeshift on the Volume Name field, and set type to Ext4 as marked in the screenshot below. Once you’re done click on Next.
Note: I used Ext4 filesystem format because I don’t want it to be detected by Windows operating systems and corrupt my files in case it has viruses. Just playing on the safe side.
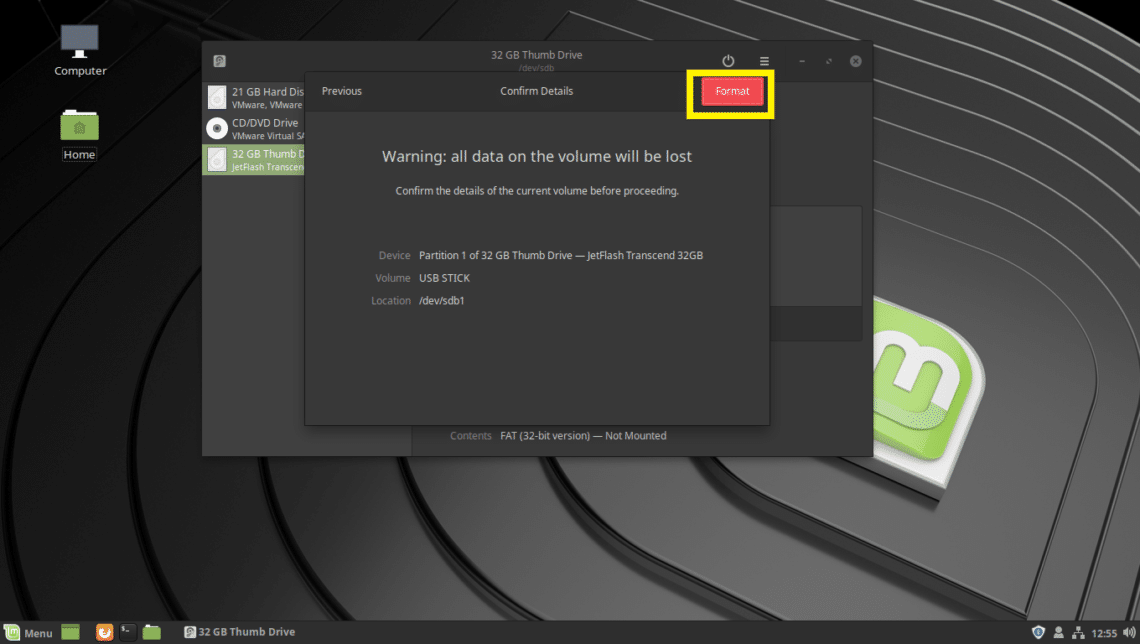
Now click on Format.
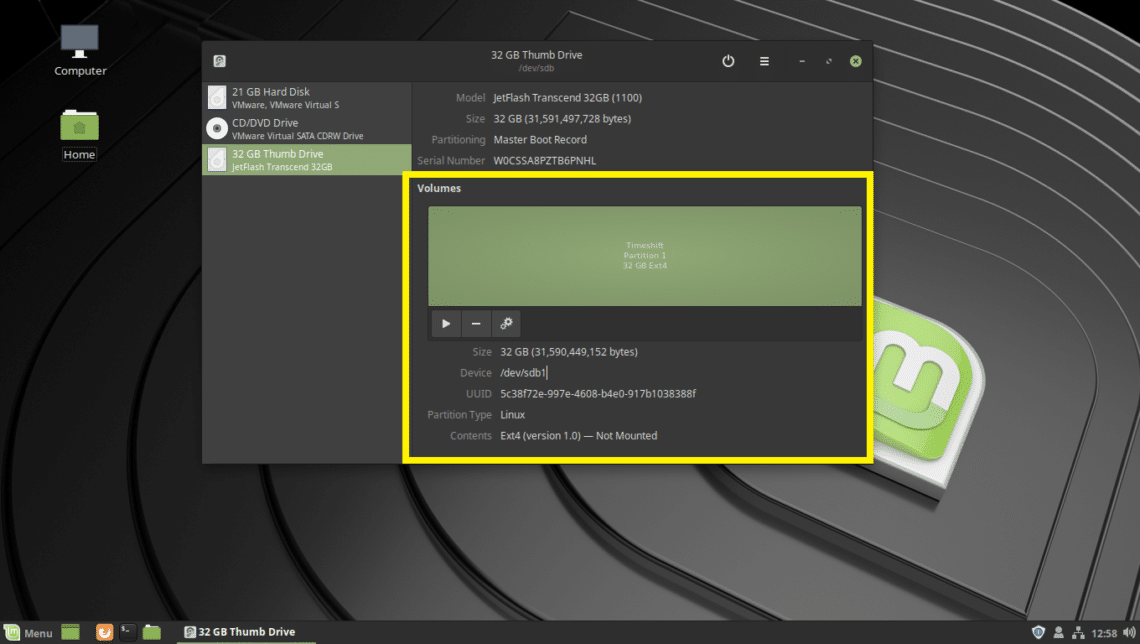
The USB thumb drive should be formatted.
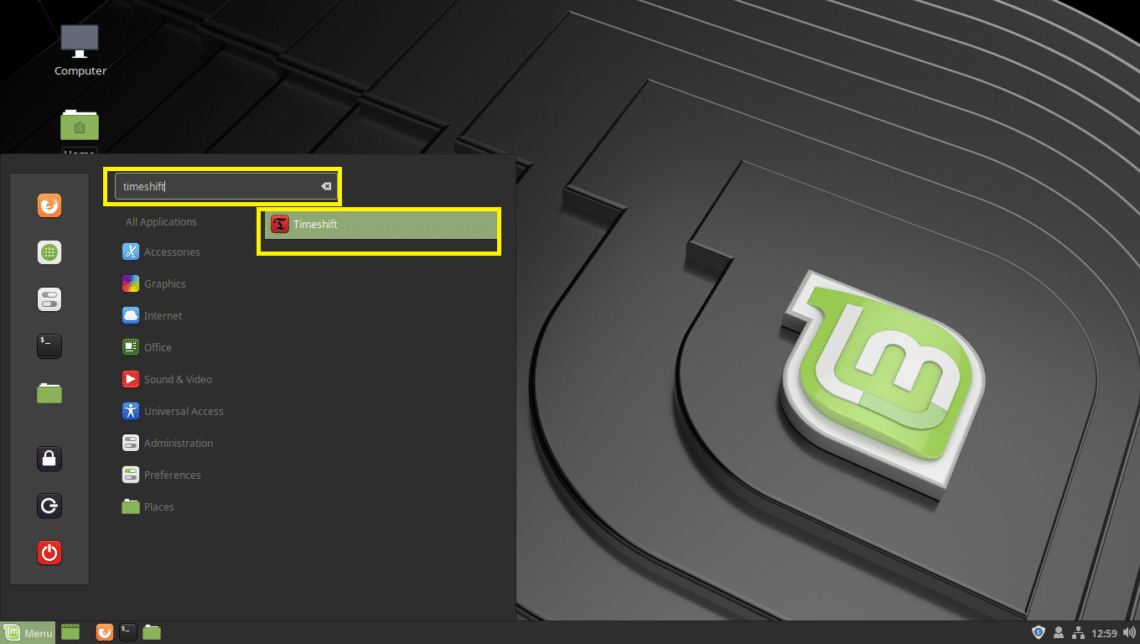
Now search for timeshift on the Mint Menu and click on Timeshift as marked in the screenshot below.
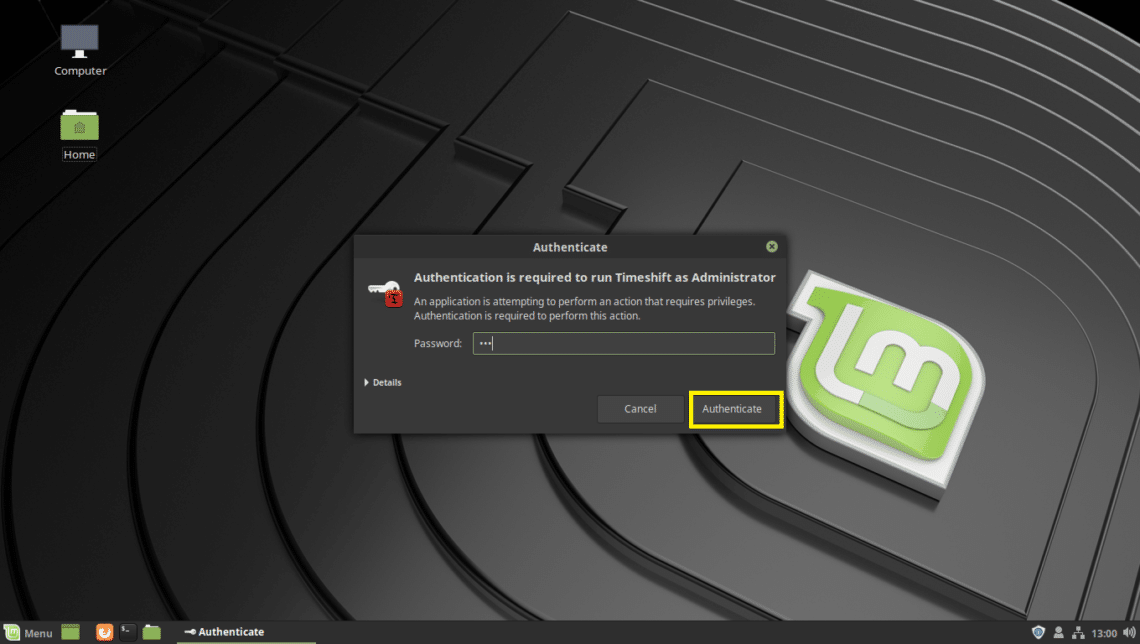
Type in your login user’s password and click on Authenticate.
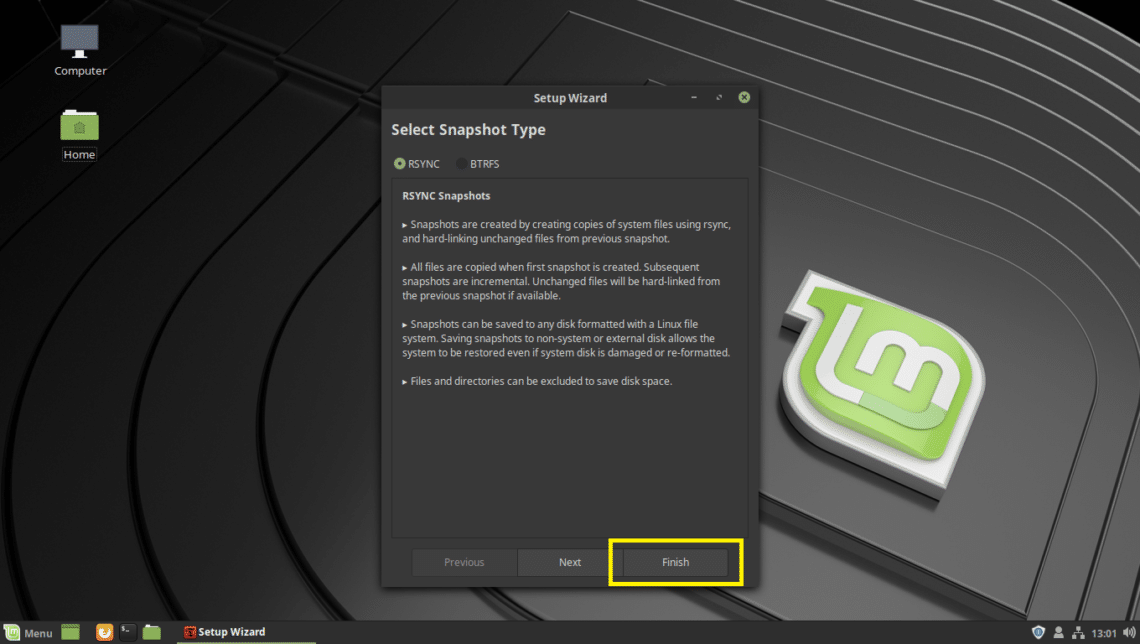
If you’re running Timeshift for the first time, you should see the following Window. You can configure Timeshift from here, but I am going to show you how to do that from the Timeshift app, as that way you can learn how to change configuration when you want to. So just click on Finish.
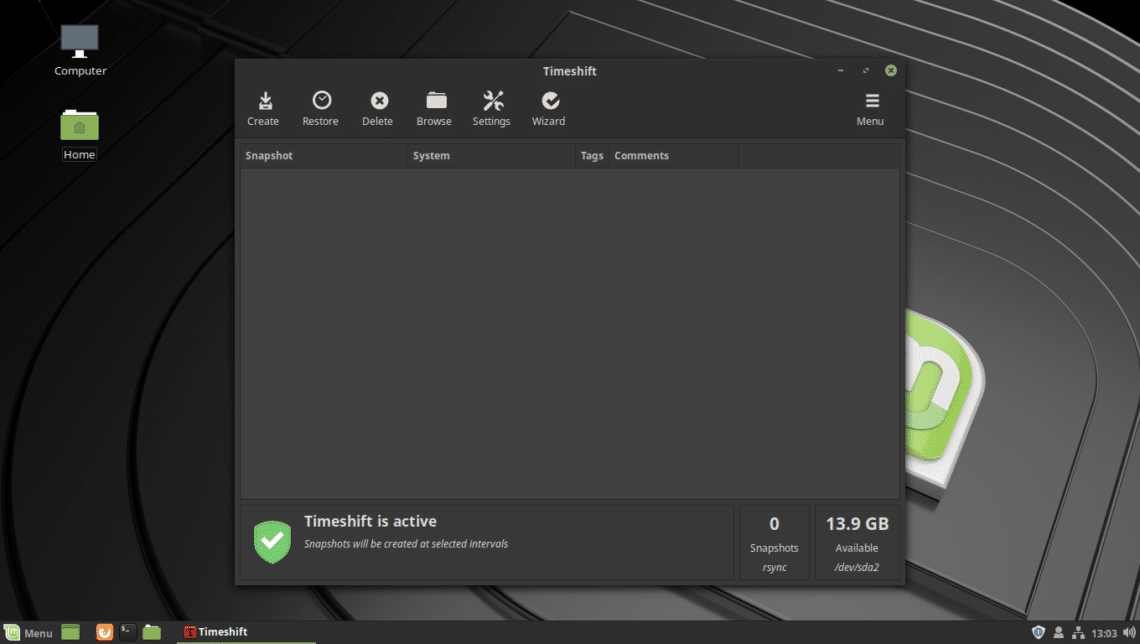
This is the main window of Timeshift.
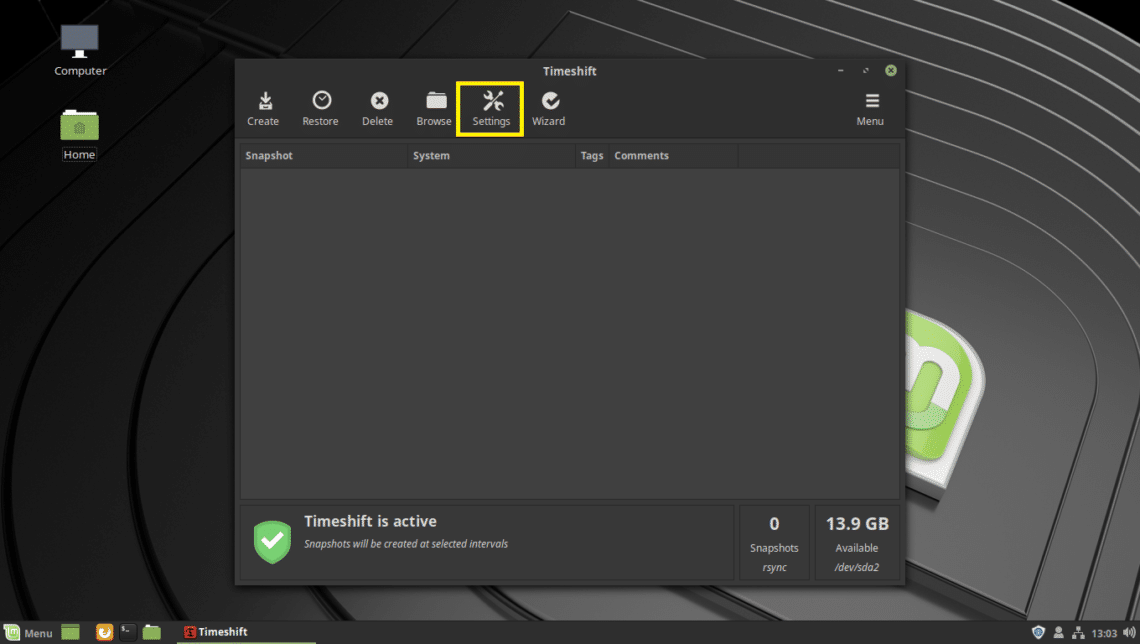
To configure Timeshift, click on the Settings icon.
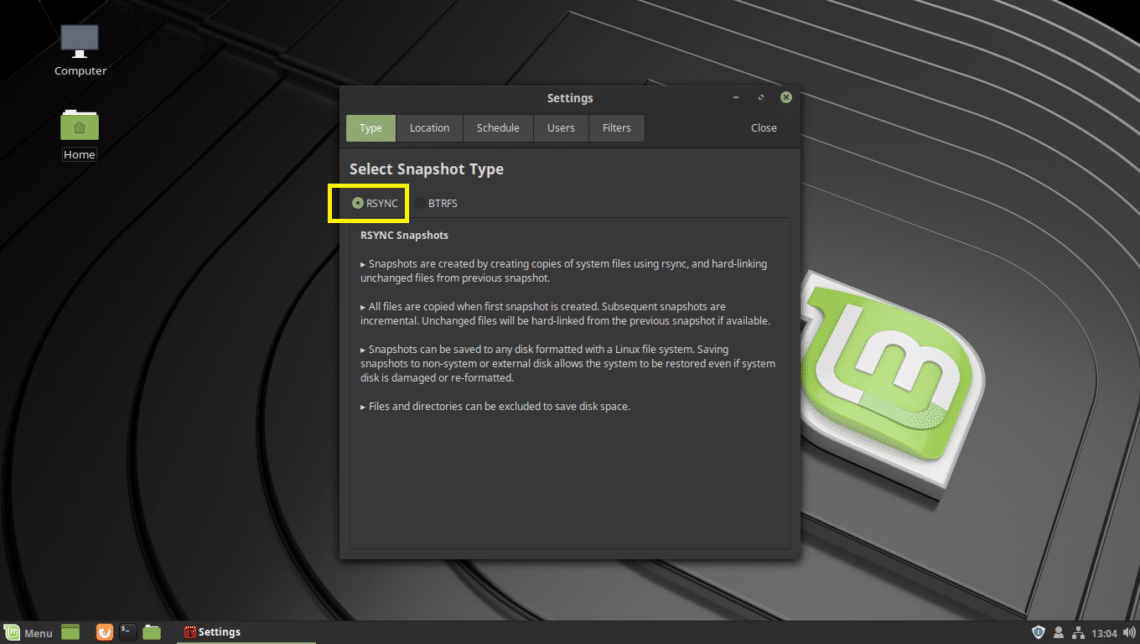
On the Type tab, select RSYNC. Now click on the Location tab.
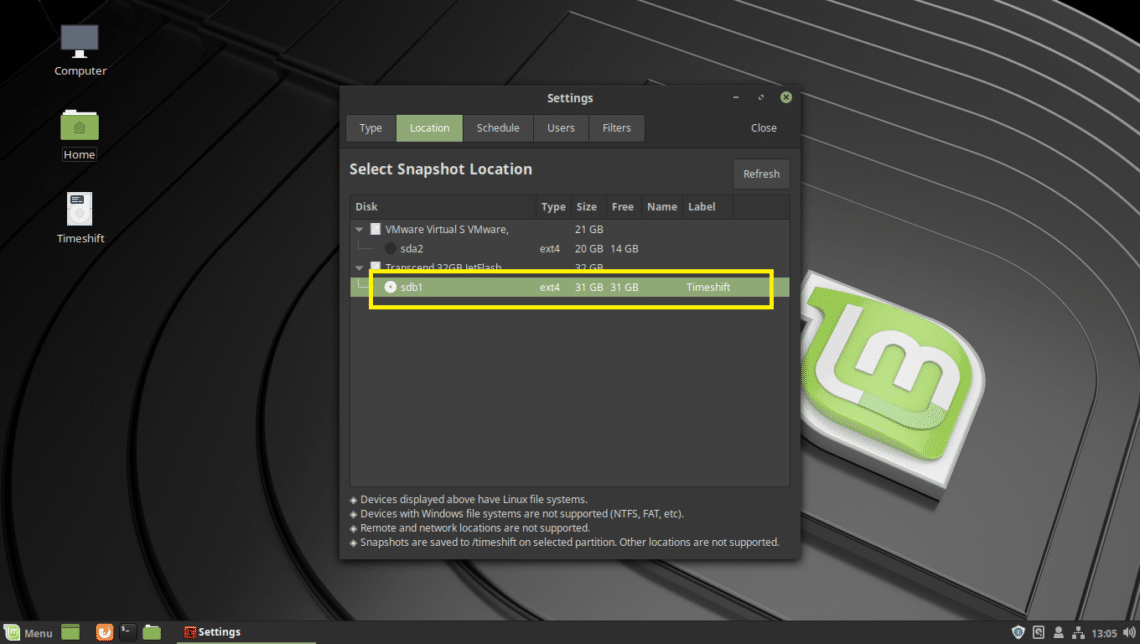
From your Location tab, click on your USB thumb drive.
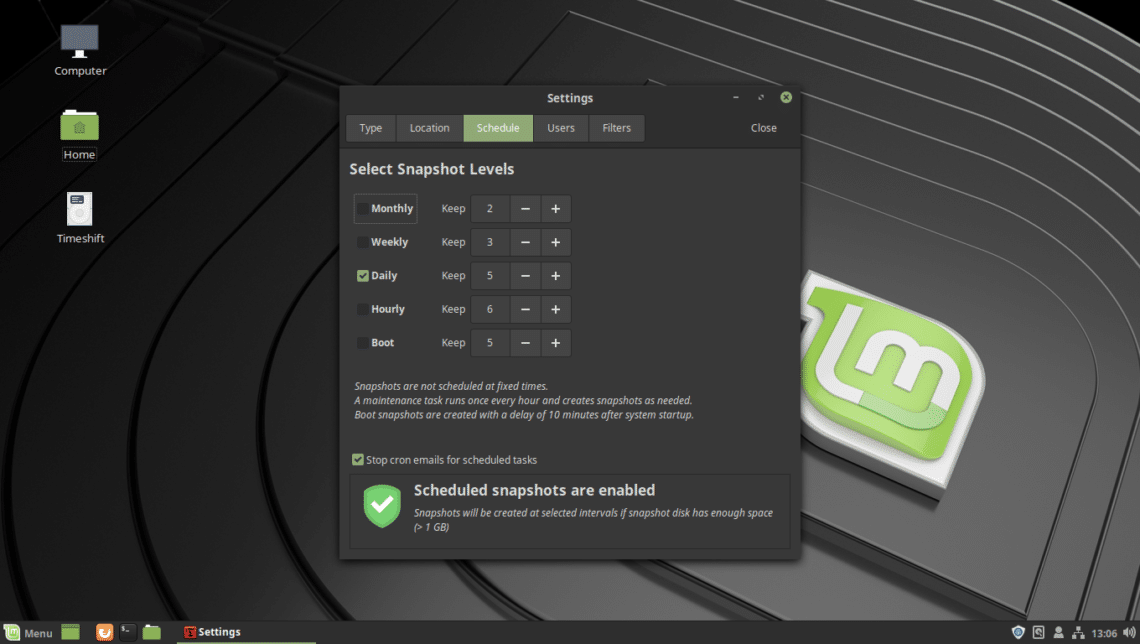
From the Schedule tab, you can configure how often a snapshot is to be taken. You can uncheck all of the Snapshot Levels to disable auto snapshots. That way you can take snapshots only when you want.
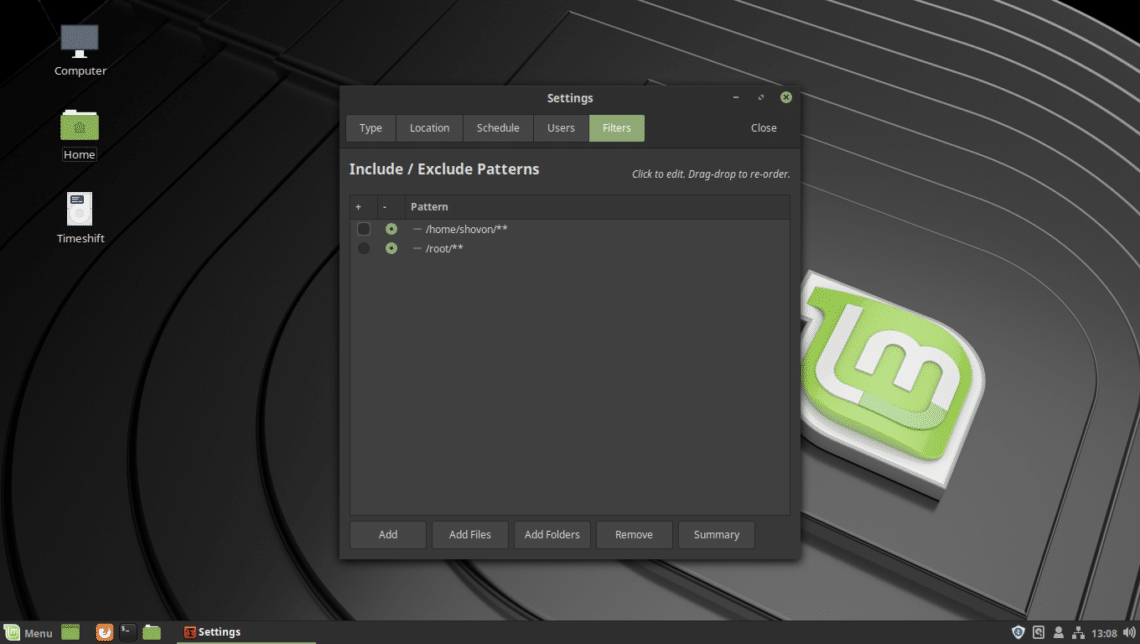
From the Filters tab, you can add directories. You can then include or exclude those directories from the Users tab. The excluded directories won’t be backed up when a snapshot is taken. So lost files can’t be restored. By default, the user’s HOME directories are excluded from the snapshot.
Once you’re done, click on Close.
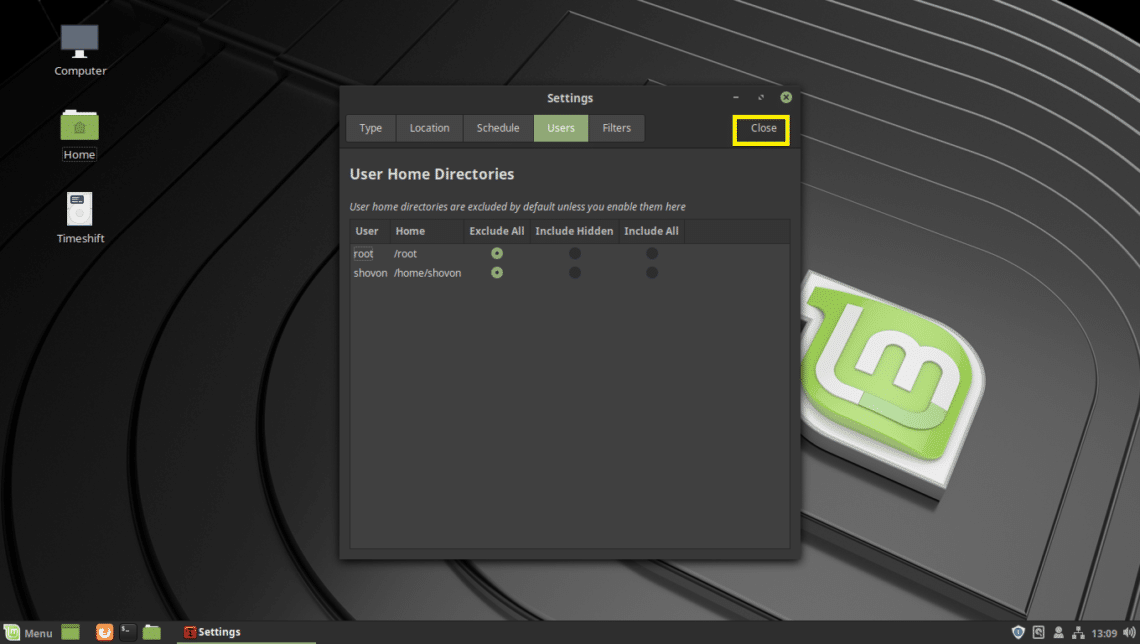
As you can see, your USB thumb drive is now selected.
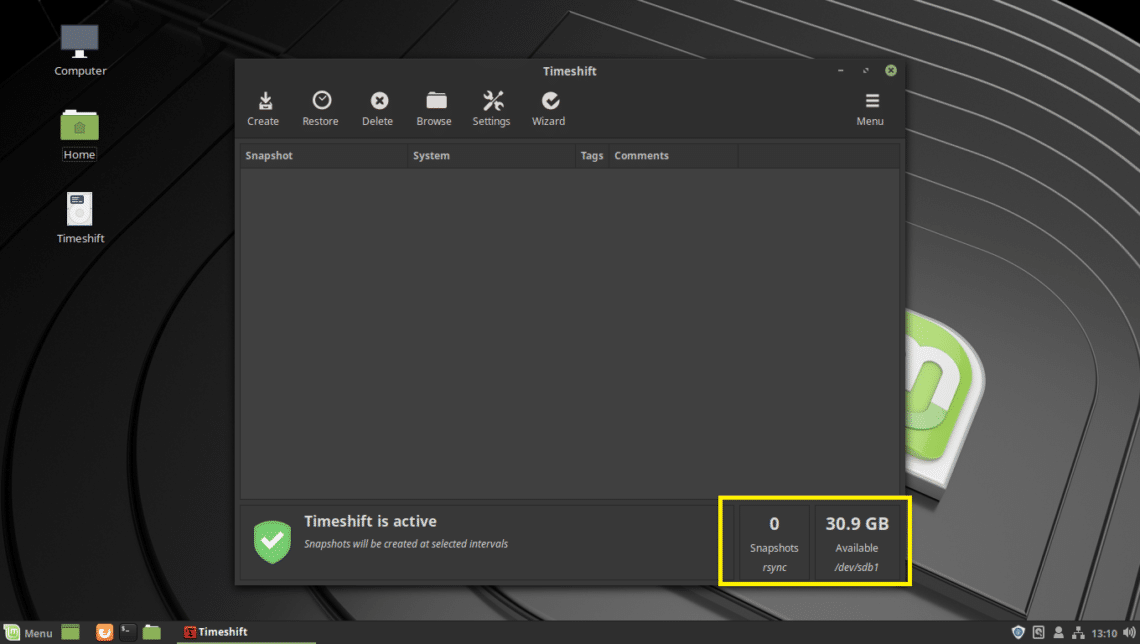
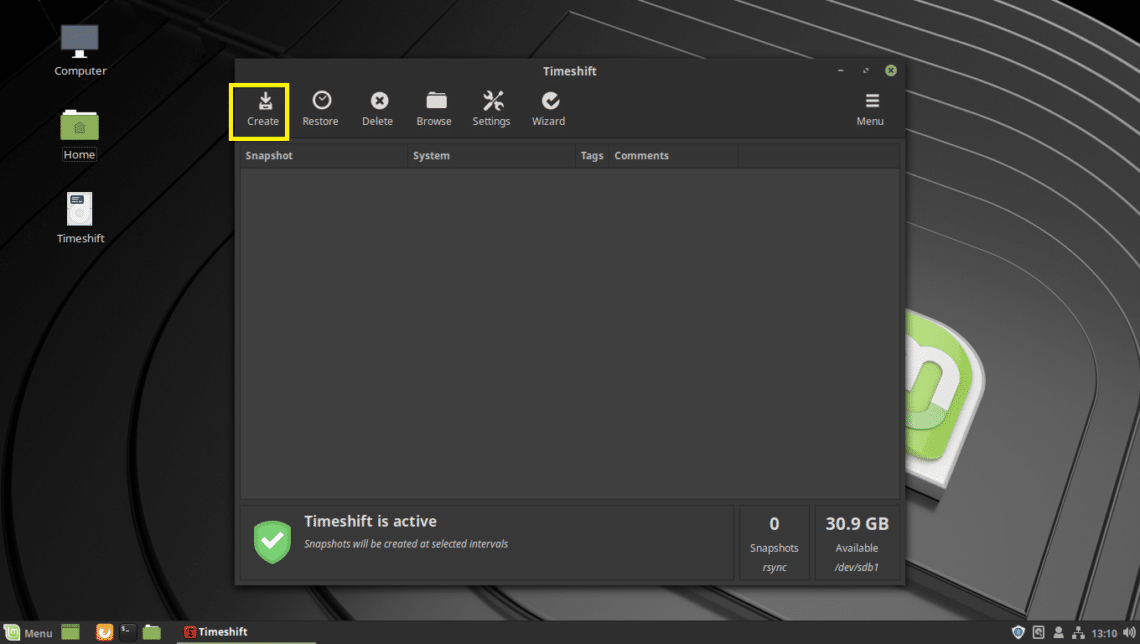
Now to create a snapshot of your Linux Mint 19 at this point, click on Create.
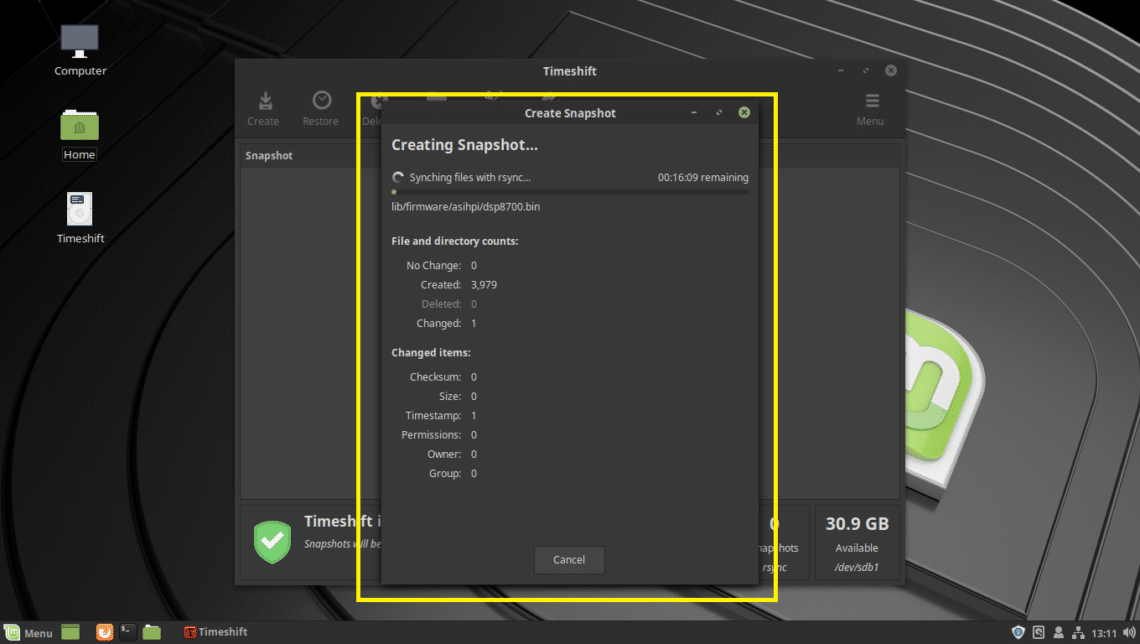
Timeshift should start creating snapshot. It takes quite a bit of time if it is the first Timeshift snapshot.
A snapshot should be taken.
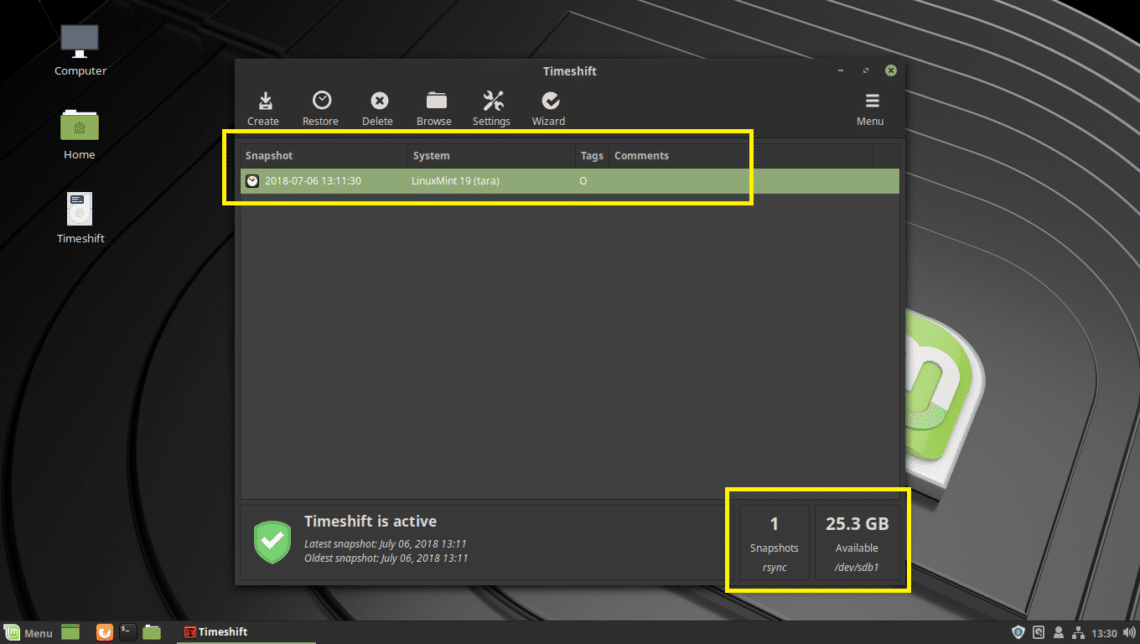
You can even add comments to your snapshot, so that you will be able to remember what it is later. Just click on the comments column of your snapshot and start typing. Once you’re done, press <Enter>.
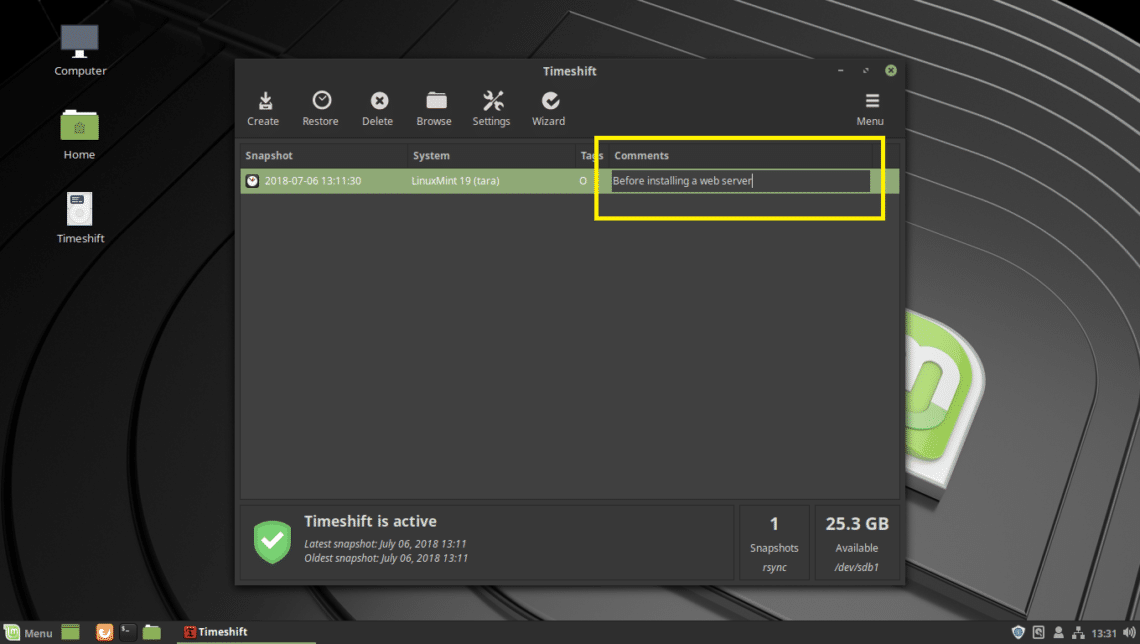
The comment should be saved.
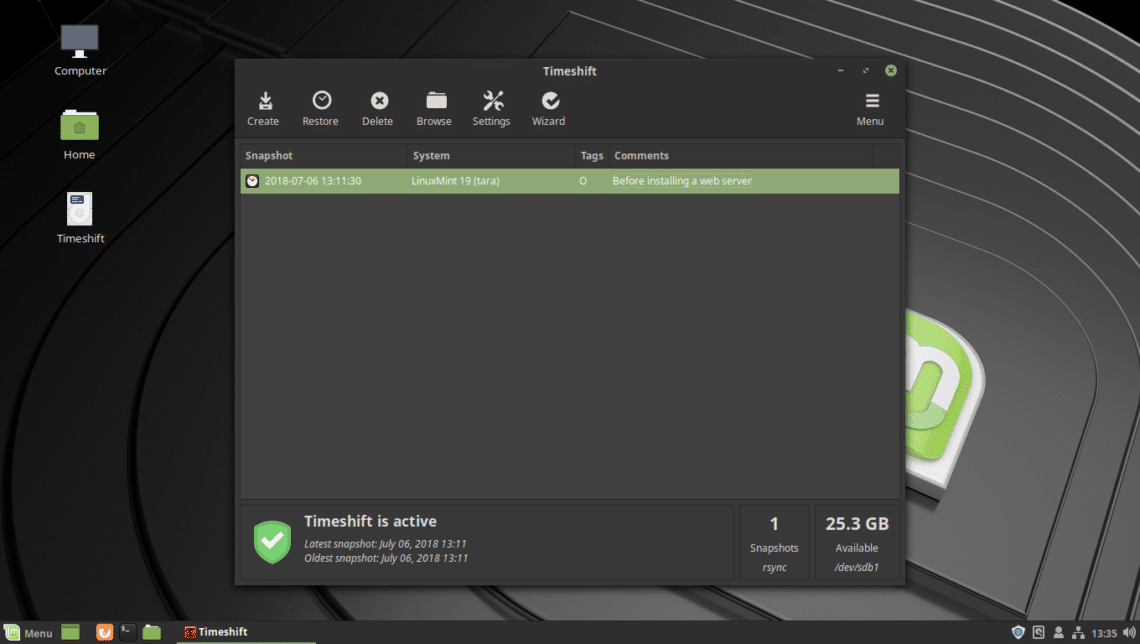
You can create as many snapshots as you want if you have enough space on your USB storage device.
Restoring from Snapshot using Timeshift:
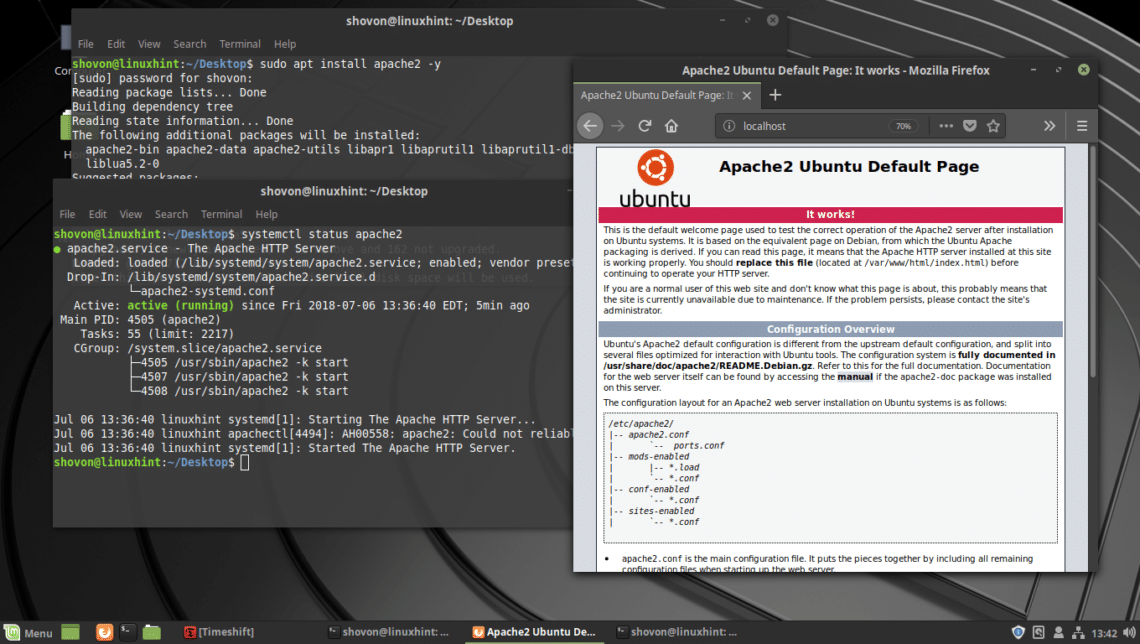
Now I am going to make some changes and then restore to this snapshot I created just now. I installed Apache 2 web server, with sudo apt install apache2 -y
As you can see, everything works. Now let’s just assume, it’s not working as you expected. Now you want to go back to the state before installing this web server.
Just insert your USB storage device and open Timeshift app. Now select the snapshot you want to go back to and click on Restore.
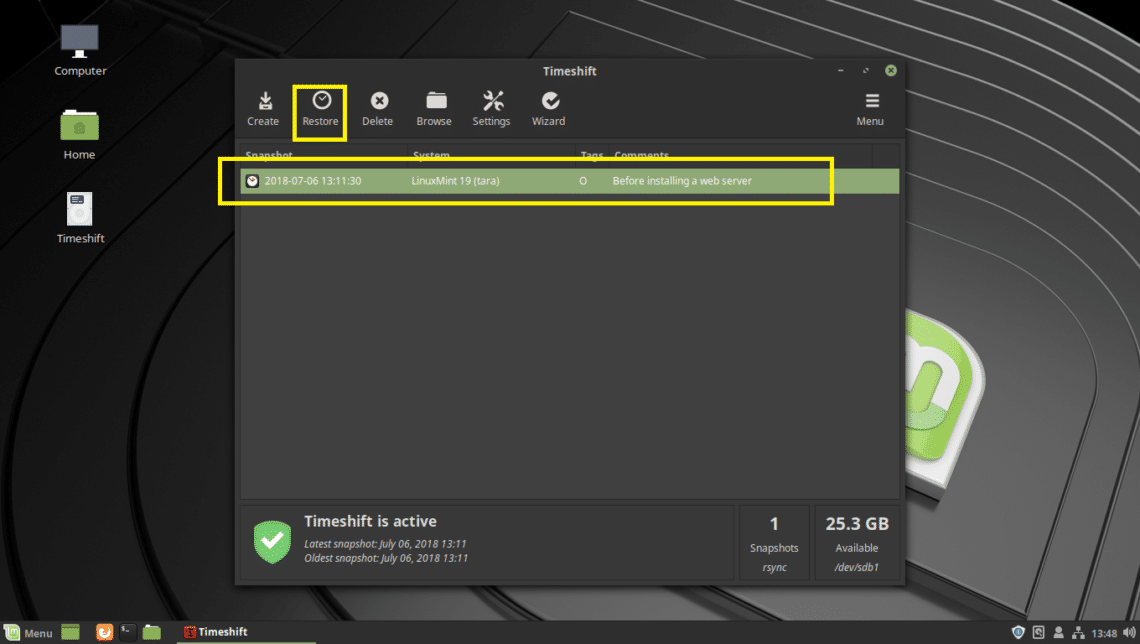
Click on Next.
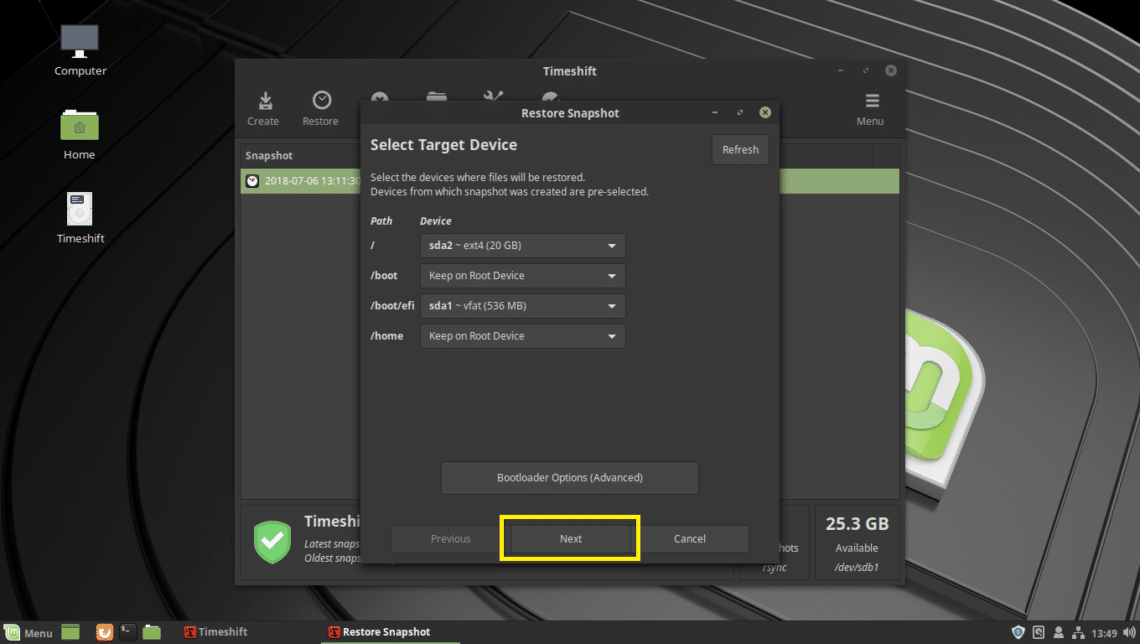
The restore process should start.
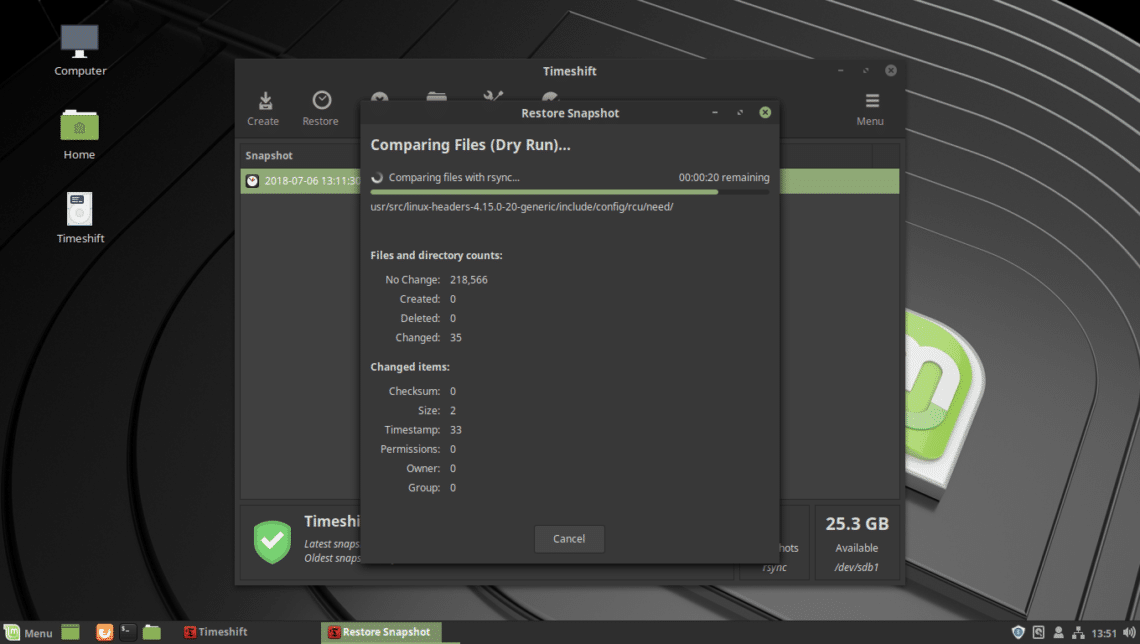
You should be asked to confirm it. Just click on Next.
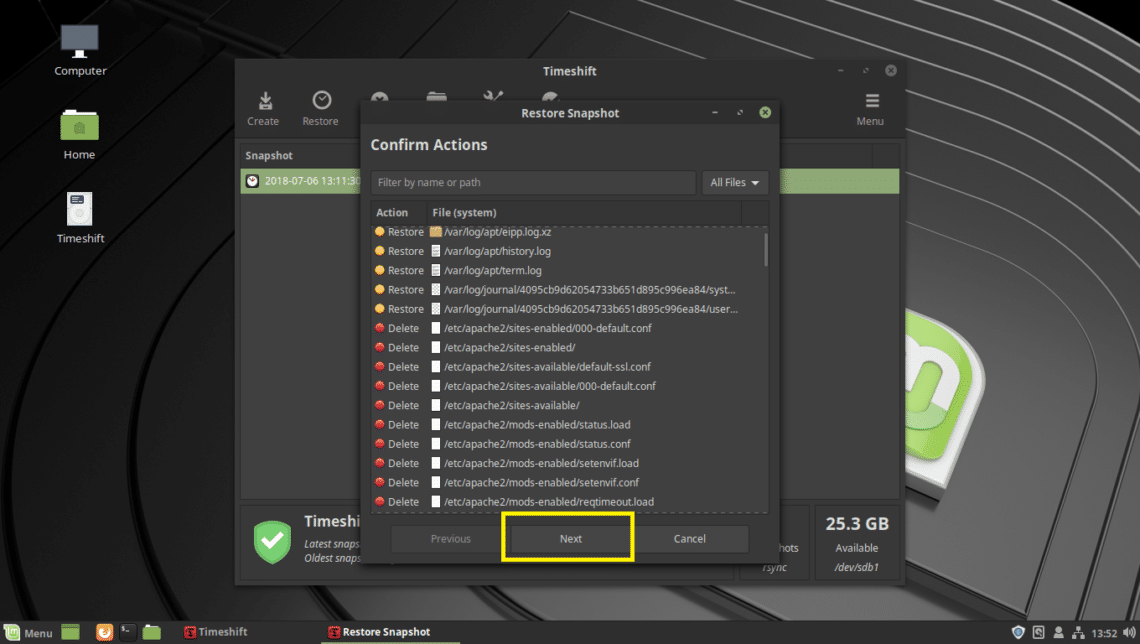
Click on Next.
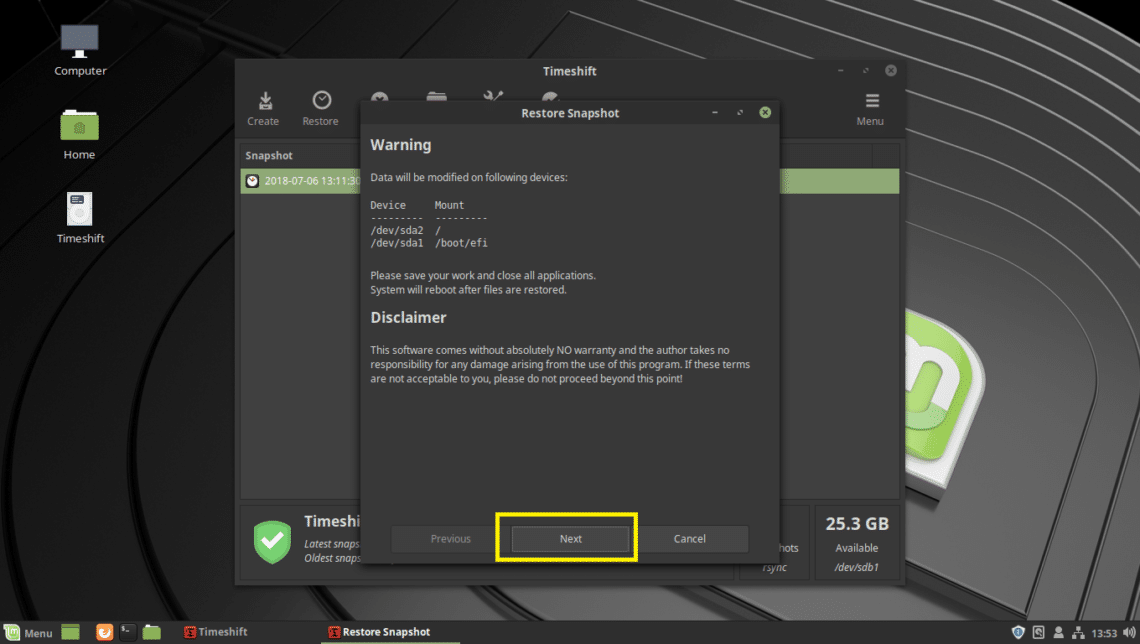
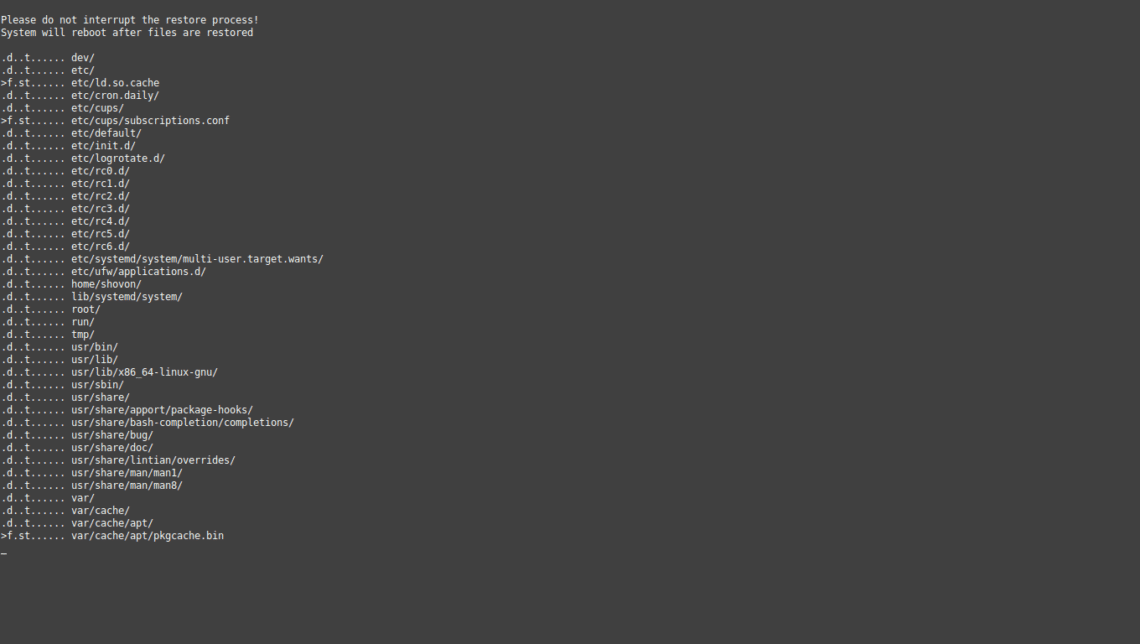
Timeshift should restore the files and reboot your computer.
Once your computer boots, you should not find any trace of Apache 2 web server as you can see from the screenshot below.

That’s how you use Timeshift to take backups and restore Linux Mint 19 systems from USB drive. Thanks for reading this article.


