Enable 32-bit Support:
In order to run Wine, you need to enable 32-bit support on Ubuntu 18.04 LTS.
To enable 32-bit support on Ubuntu 18.04 LTS, run the following command:

Adding Required Packages Repositories for Wine:
The latest version of Wine (Wine 5) is not available in the official package repository of Ubuntu 18.04 LTS. But you can easily add the official package repository of Wine on Ubuntu 18.04 LTS and install Wine 5 from there.
First, download the GPG key of the official Wine package repository with the following command:

The GPG key should be downloaded.

Now, add the Wine GPG key to Ubuntu 18.04 LTS with the following command:

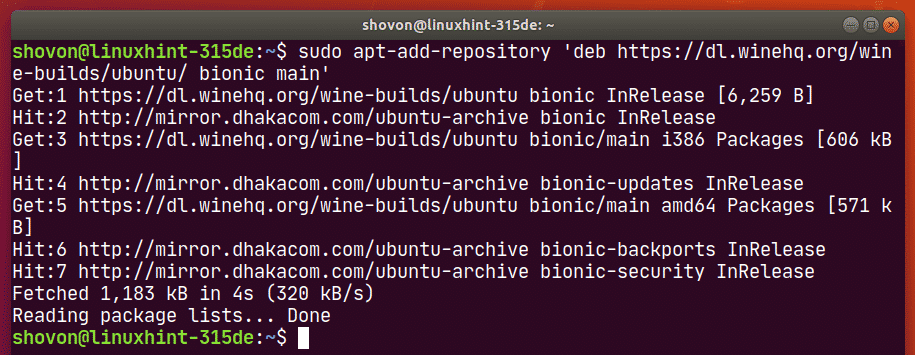
Now, add the official Wine package repository with the following command:

The official Wine package repository should be added.
Wine depends on some libraries that are not available in the official package repository of Ubuntu 18.04 LTS. So, we will have to download and install it from the OpenSUSE’s Wine repository.
Now, download the OpenSUSE Wine repository’s GPG key with the following command:
xUbuntu_18.04/Release.key

The GPG key should be downloaded.

Now, add the GPG key to Ubuntu 18.04 LTS with the following command:

Now, add the OpenSUSE Wine repository to Ubuntu 18.04 LTS with the following command:
/Debian/xUbuntu_18.04 ./" | sudo tee /etc/apt/sources.list.d/wine-obs.list

Now, update the APT package repository cache with the following command:

The APT package repository cache should be updated.

Installing Wine 5 on Ubuntu 18.04 LTS:
Now, you’re ready to install Wine 5 on your Ubuntu 18.04 LTS machine.
To install Wine 5, run the following command:

To confirm the installation, press Y and then press <Enter>.

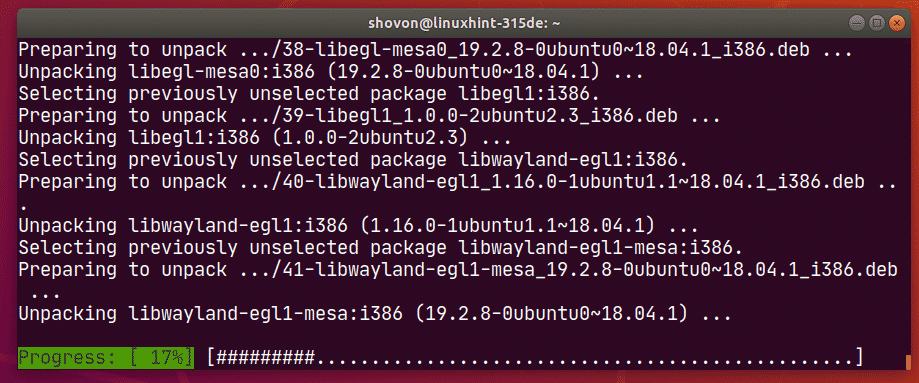
APT should start downloading all the required packages from the internet.

Once all the packages are downloaded, APT should start installing them.
At this point, Wine 5 should be installed.

Configuring Wine 5:
Now that Wine 5 is installed, you can configure it.
To configure Wine 5, run the winecfg command as follows:

Wine will do some initial configuration. It may take a while.

Wine will ask you to install the wine-mono package. Click on Install.

wine-mono package is being installed.

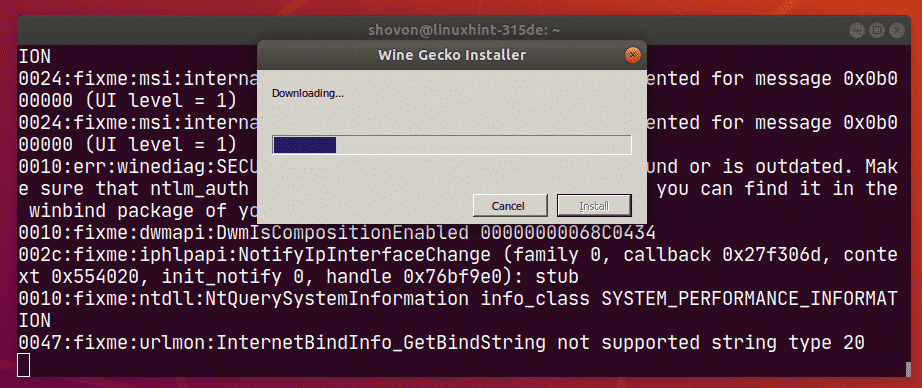
After wine-mono is installed, you will be asked to install Gecko. Click on Install.

Gecko package is being installed.

After Gecko is installed, you will be asked to install Gecko. Click on Install.

Gecko package is being installed.
Once everything is installed, you should see the Wine configuration window.
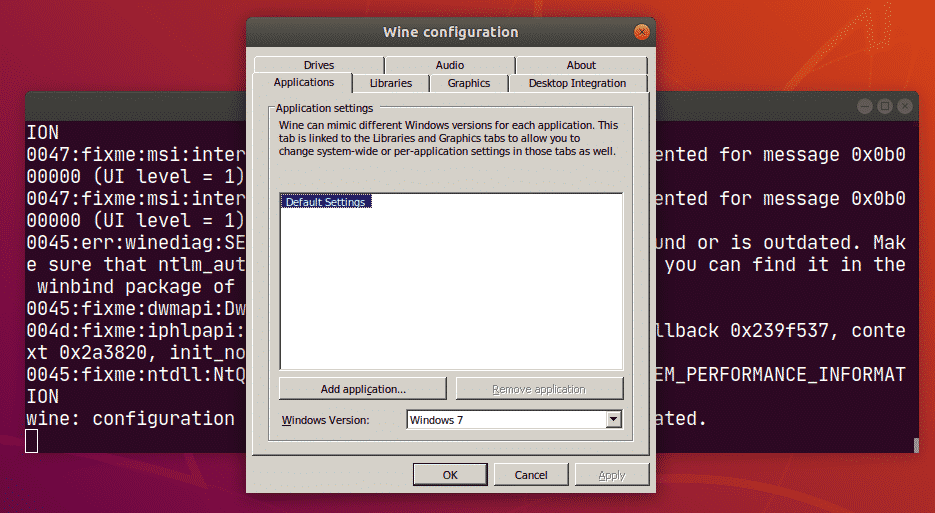
Click on the About tab. You should be running Wine 5.0.

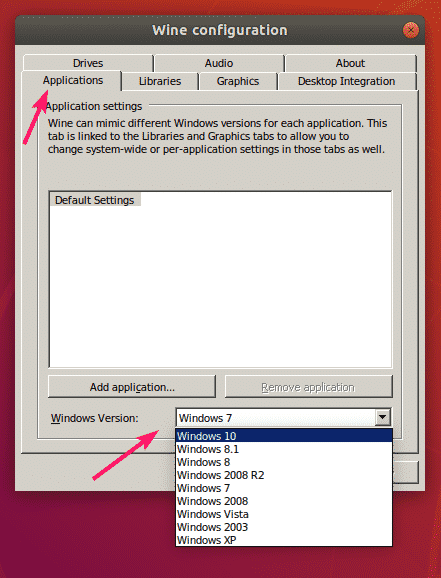
From the Applications tab, you can select your Windows version.
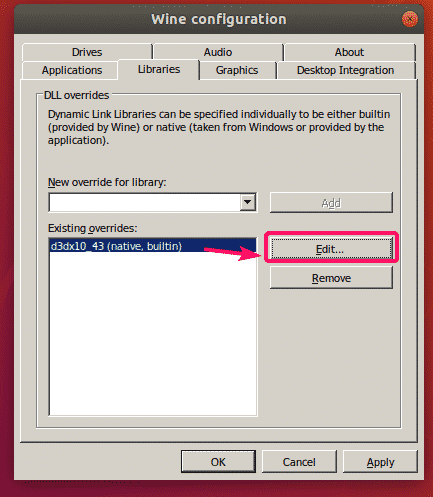
From the Libraries tab, you can manage Windows libraries used by the installed Windows applications.
You can add override for libraries using the dropdown menu. Select your desired library and click on Add to add it as an override library.

You can also select an override library and click on Edit… to change override settings for the library.
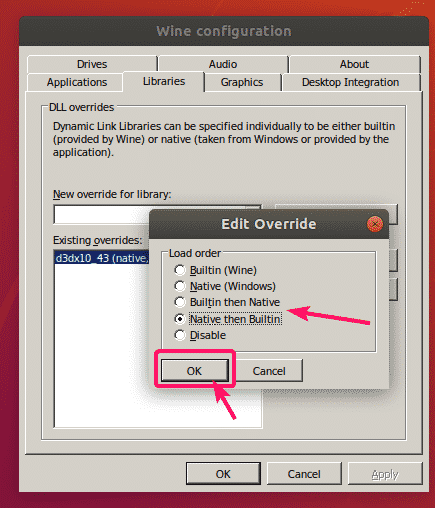
Select your desired override setting and click on OK.
You can also remove override libraries. Just select the one you want to remove and click on Remove.

Finally, click on Apply for the changes to take effect.

From the Graphics tab, you can configure graphics settings for the Windows apps.

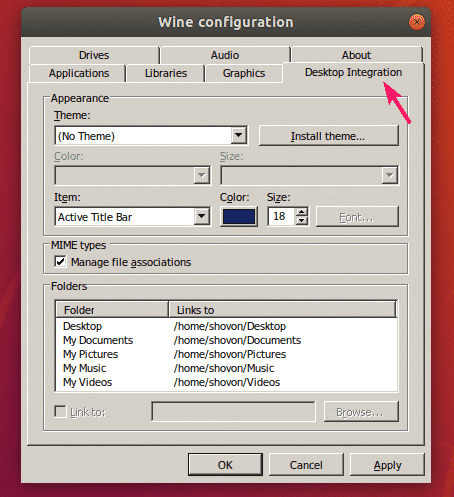
From the Desktop Integration tab, you can install themes, change themes, change theme settings, font size, colors etc. for the Windows apps.
From the Audio tab, you can configure audio for the Windows apps.

From the Drives tab, you can map a Linux path to certain Windows drive letter and access them from your Windows apps.

Installing Windows Apps Using Wine:
Once Wine 5 is installed and configured, you can easily install Windows apps on your Ubuntu 18.04 LTS machine.
In the ~/Downloads directory, I have Notepad++ windows installer file npp.7.8.4.Installer.exe as you can see in the screenshot below.

Now, run npp.7.8.4.Installer.exe installer with Wine 5, run the following command:

As you can see, the Notepad++ installer is running. Now, you can install Notepad++ as usual.

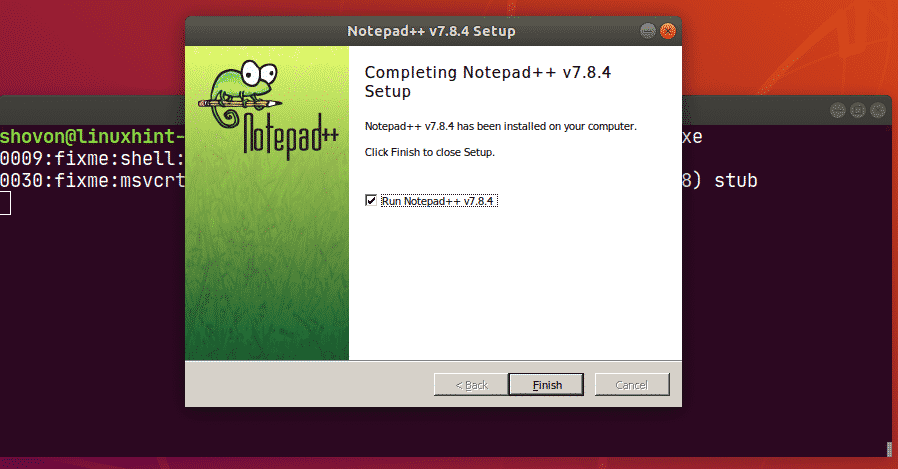
Notepad++ setup window.

Notepad++ is being installed.

Notepad++ is installed.
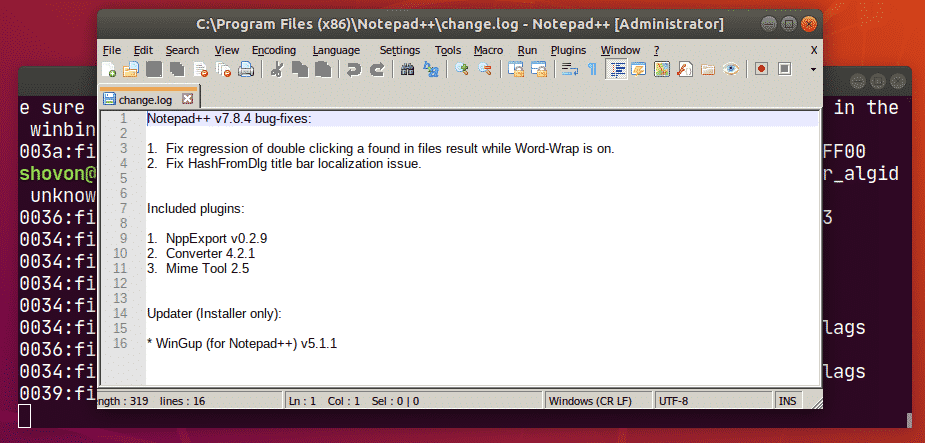
Notepad++ is running on Ubuntu 18.04 LTS using Wine 5.
Once Notepad++ is installed, you should be able to access it from the Application Menu of Ubuntu 18.04 LTS as you can see in the screenshot below.
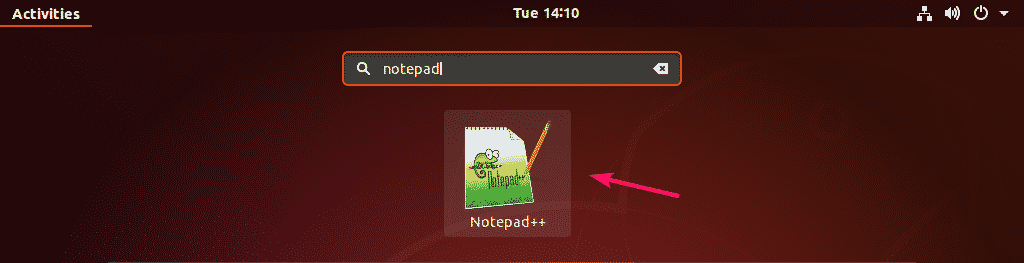
Notepad++ started from the Application Menu of Ubuntu 18.04 LTS. It’s fully functional.

Not all Windows application will function properly under Wine. Some applications work without any problem, some work with limited features, some work after a few tweaks, some doesn’t work at all.
Before you try to install any Windows software using Wine on Ubuntu 18.04 LTS, check whether Wine can run it in the official application database website of Wine.
So, that’s how you install and configure Wine 5 on Ubuntu 18.04 LTS. Thanks for reading this article.