It’s a very powerful command line tool. System administrators can perform different administrative tasks on the local computer, or on a remote computer using PowerShell.
PowerShell is also a very powerful scripting language for system administration. You can write very complex scripts with PowerShell to help you automate your everyday system administration tasks.
In this article, I am going to show you how to install PowerShell on CentOS 7 and also how to get started with PowerShell. So, let’s dig in.
Installing PowerShell on CentOS 7:
PowerShell is not available in the official package repository of CentOS 7. But, you can easily add the Microsoft package repository on CentOS 7 and install PowerShell from there using the YUM package manager.
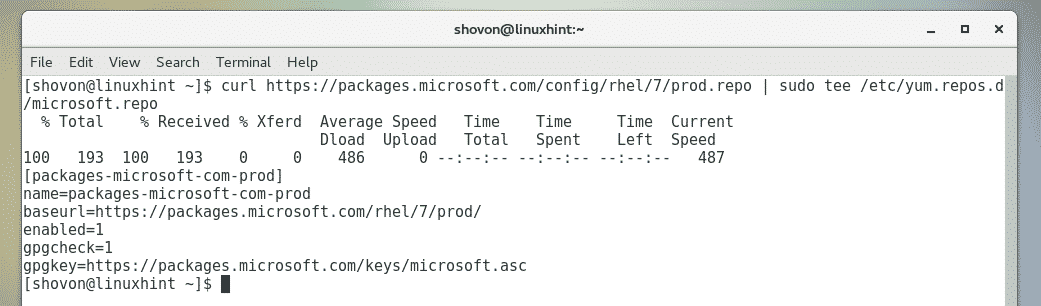
First, add the Microsoft package repository on CentOS 7 with the following command:
sudo tee /etc/yum.repos.d/microsoft.repo
PowerShell package repository should be added.
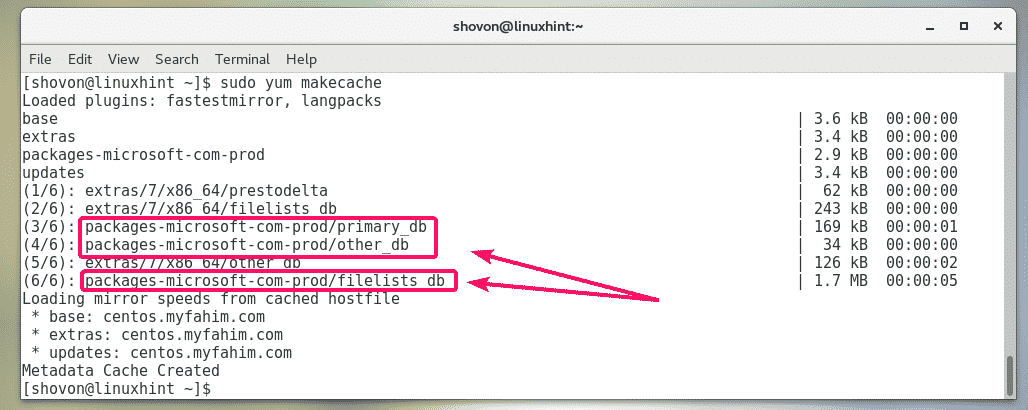
Now, update the YUM package repository cache with the following command:
As you can see, Microsoft package repository is listed here. So, the Microsoft package repository is working.
Now, you can install PoweShell on your CentOS 7 machine.
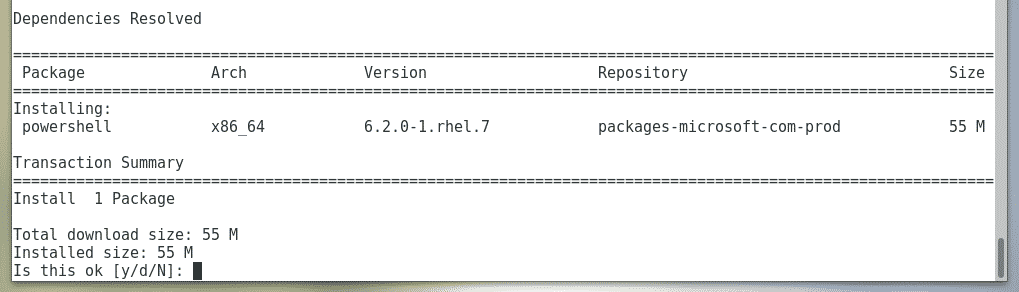
To install PowerShell on your CentOS 7 machine, run the following command:

To confirm the installation, press y and then press <Enter>.
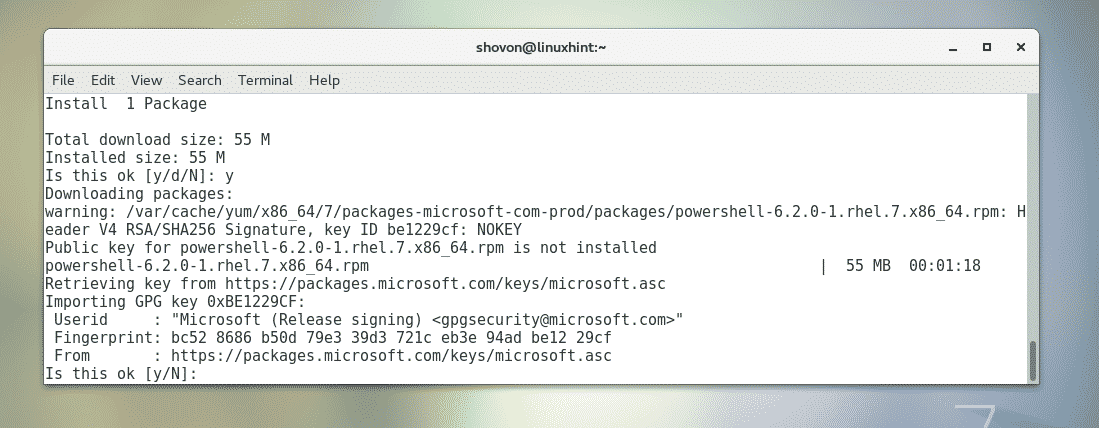
You may be asked to accept the GPG key of the Microsoft package repository. To do that, press y and then press <Enter>.
PowerShell should be installed.

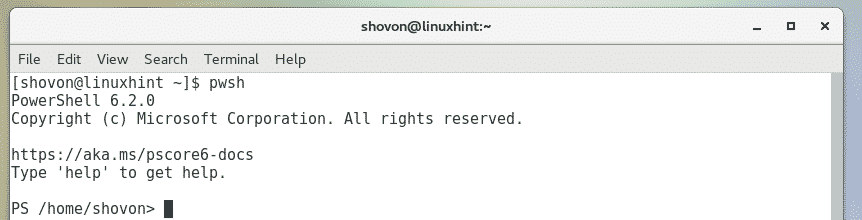
Now, to check whether PoweShell is working or not, run the following command:
The PowerShell version information should be printed on the console. As you can see, I am running PowerShell 6.2.0. It may be different by the time you read this article.

Starting PowerShell:
Now that PowerShell is installed, you can start it from the terminal with the following command:

PowerShell should start. Now, you can start running PowerShell commands, write PowerShell scripts, run PowerShell scripts and many more.
Getting Started with PowerShell on CentOS 7:
In this section, I am going to show you how to get started with PowerShell.
Once you start PoweShell with the pwsh command, you can start running PowerShell commands. You can run any Linux commands as well.
Let’s try installing something with the YUM package manager from PowerShell.

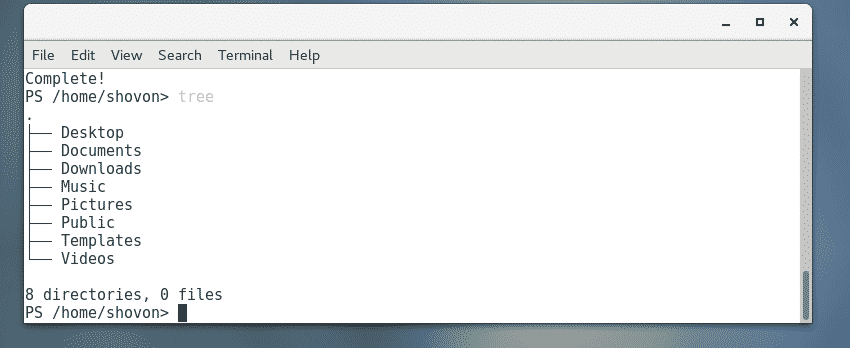
As you can see, the tree package is installed just as it would on standard bash or sh shell on Linux.

You can also run the tree command as usual.
Although you can use all the standard Linux commands in PowerShell, let’s see how to do some of the common tasks the PowerShell way.
You can navigate to any directories on your computer with the Set-Location PowerShell command.
For example, to navigate to the ~/Downloads directory, run the Set-Location command as follows:

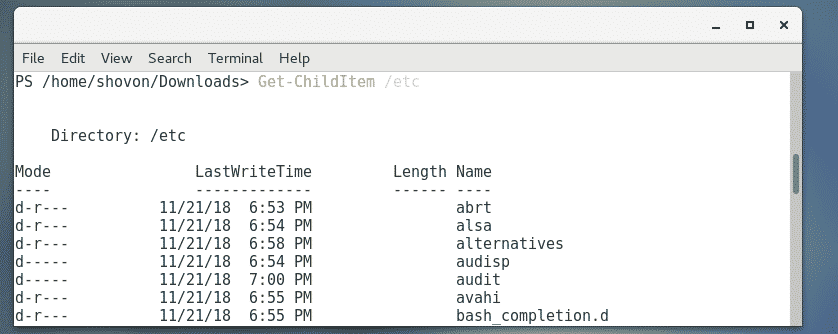
You can list the contents of the any directories on your computer with the Get-ChildItem PowerShell command.
For example, to list the contents of the /etc directory (let’s say), run the Get-ChildItem command as follows:
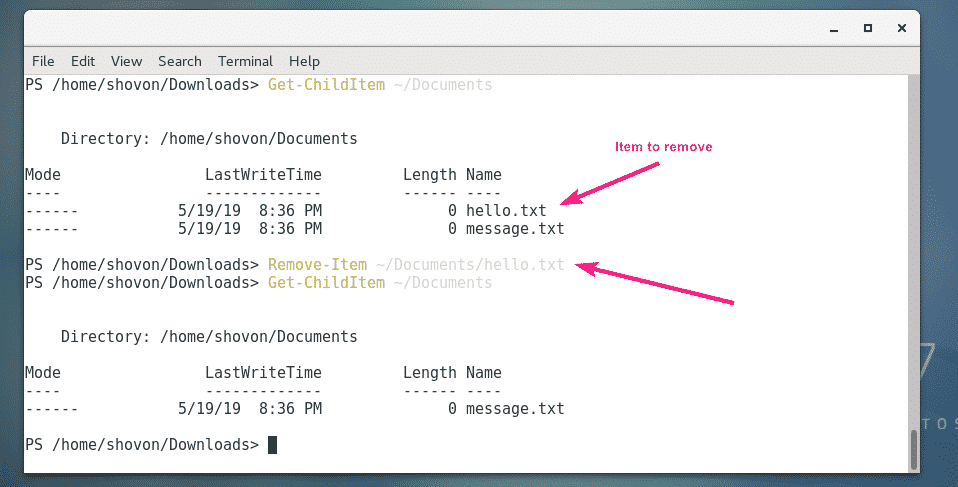
You can remove a file or directory with the Remove-Item PowerShell command.
For example, to remove a file ~/Documents/hello.txt, run the Remove-Item command as follows:

As you can see, the file is removed.
If you try to remove a directory with the Remove-Item PowerShell command, PowerShell will prompt you for confirmation if the directory is not empty as you can see in the screenshot below. Just press one the suggested keys depending on your requirement and press <Enter> to execute the command.
You can press Y and remove the files one by one, or press A to remove all the files and directories inside recursively. You also have the option to stop the command with the S key. If you want to skip any file or directory, press N. If you want to skip every files and directories, press L.

Just like Linux man page, PowerShell also have help pages. By default, the full version of the help pages is not available. To download all the help pages, run the following command:

Once the help pages are installed, you can read the help pages of any command you want as follows:
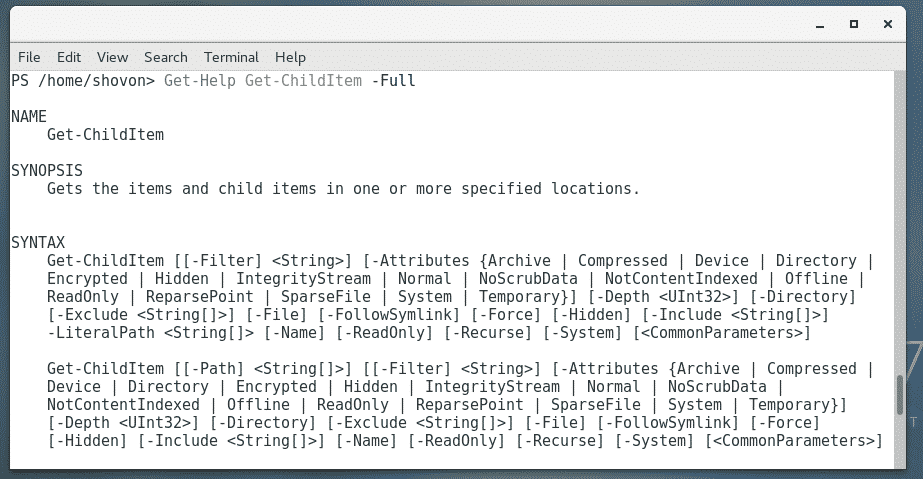
For example, to read the help page of Get-ChildItem, run Get-Help as follows:

The help page will be displayed.
If the output is very long, you can use a pager as follows:

The help page should be opened with a pager. Now, you can press the <Space Bar> to navigate below.

You can also use the less pager of Linux as follows:

Now you know the basics of PowerShell. You can move forward from here on your own. Good luck!
Setting PowerShell as the Login Shell:
PowerShell can be used as a replacement for sh and bash shell on Linux. It can also be set as a login shell or default shell of Linux users.
If you like PowerShell and want to set it as the login shell or your default shell, this section is for you.
First, find the path of pwsh shell program with the following command:
As you can see, the path of the pwsh command is /usr/bin/pwsh. Remember it.

To set it as the login shell or default shell of your login user, run the following command:

Now, reboot your computer for the changes to take effect.
The next time you log in, PowerShell will be used as your default shell.
As you can see, when I login to my CentOS 7 machine, PowerShell is used as the default shell.

When I open the Terminal from the graphical user interface, PowerShell is also set as the default shell.

So, that’s how you install and use PowerShell on CentOS 7. Thanks for reading this article.