In this article, I will show you how to install and configure Asterisk to act as a VoIP server and makes call to and from Android phone using your own Asterisk VoIP server. I will be using Lubuntu 18.04 LTS for the demonstration. Note that, Lubuntu 18.04 LTS is the same as Ubuntu 18.04 LTS but with LXDE desktop instead of GNOME 3 desktop. Let’s get started.
Installing Asterisk:
Installing Asterisk on Ubuntu 18.04 LTS is really simple. All the software packages are available in the official package repository of Ubuntu 18.04 LTS.
First, update the APT package repository cache with the following command:

The APT package repository cache should be updated.

Now install Asterisk VoIP server with the following command:

Now press y and then press <Enter> to continue.

Asterisk should be installed.

Starting and Stopping Asterisk Service:
Now you can check whether the asterisk service is running with the following command:
As you can see, the asterisk service is running.

If in any case, the asterisk service is not running, you can start the asterisk service with the following command:
If you want to stop the asterisk service for some reason, then run the following command:
If you have changed the asterisk configuration files, then you can restart asterisk for the changes to take effect with the following command:
Configuration Files of Asterisk VoIP Server:
On Ubuntu 18.04 LTS, the Asterisk configuration files are in /etc/asterisk directory as you can see in the screenshot below.
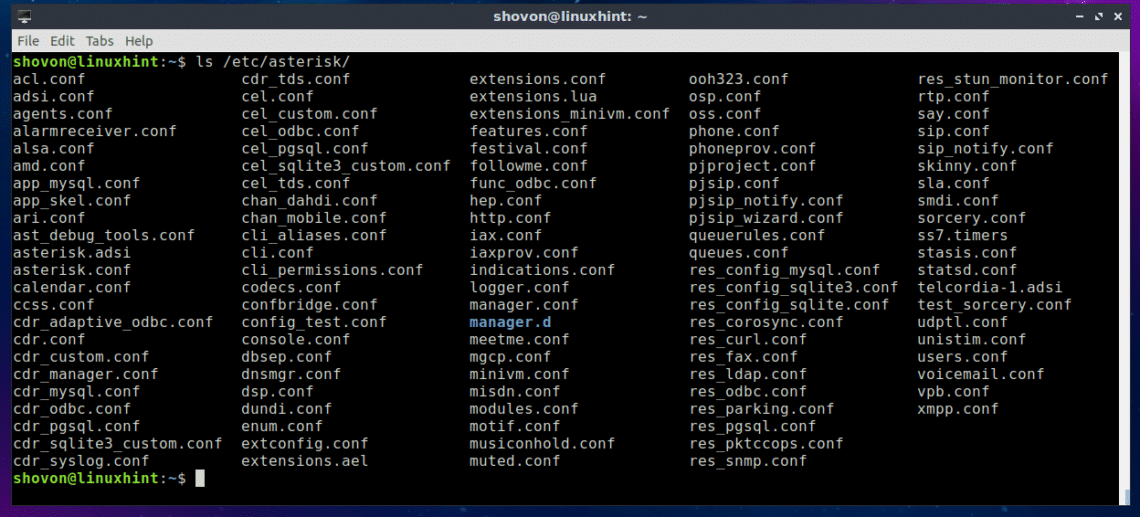
There’s a whole bunch of ways you can configure Asterisk. In this article, I am focusing on only configuring Asterisk as a VoIP server and make calls using a SIP client on Android phones. For this to work, I will only modify the sip.conf and extensions.conf configuration files in the /etc/asterisk directory.
Configuring Asterisk as a VoIP Server:
First, navigate to the /etc/asterisk directory with the following command:

Now you should make a backup copy of the sip.conf and extensions.conf file. Because, if you’ve made any major mistakes and you want to revert back to the default sip.conf and extensions.conf file, you will be able to do it if you have a backup copy of these configuration files. You won’t have to re-install Asterisk.
To make a backup copy of sip.conf file, run the following command:

To make a backup copy of extensions.conf file, run the following command:

Now run the following command to remove all the existing lines from the sip.conf file:
Now run the following command to open sip.conf file with nano text editor:

And add the following lines to sip.conf file and save the file.

Here, I created 2 users 9001 and 9002. Their password is set using secret. The password for the user 9001 is 9001, and for the user 9002 is 9002.
Now run the following command to remove all the existing lines from the extensions.conf file:

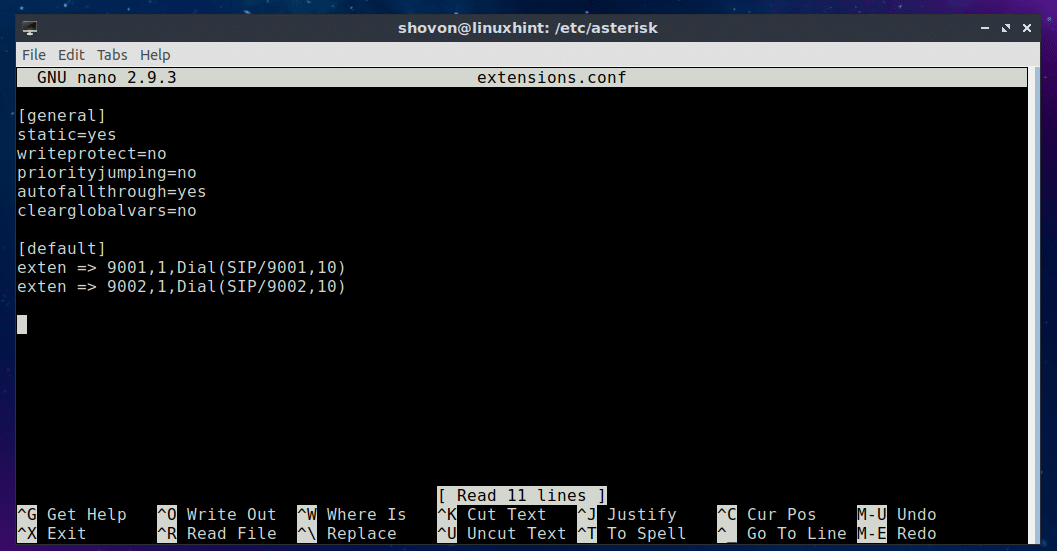
Then, run the following command to open extensions.conf file with nano text editor:

Now add the following lines to extensions.conf file and save the file.
Once you’re done with all the steps above, restart asterisk with the following command:

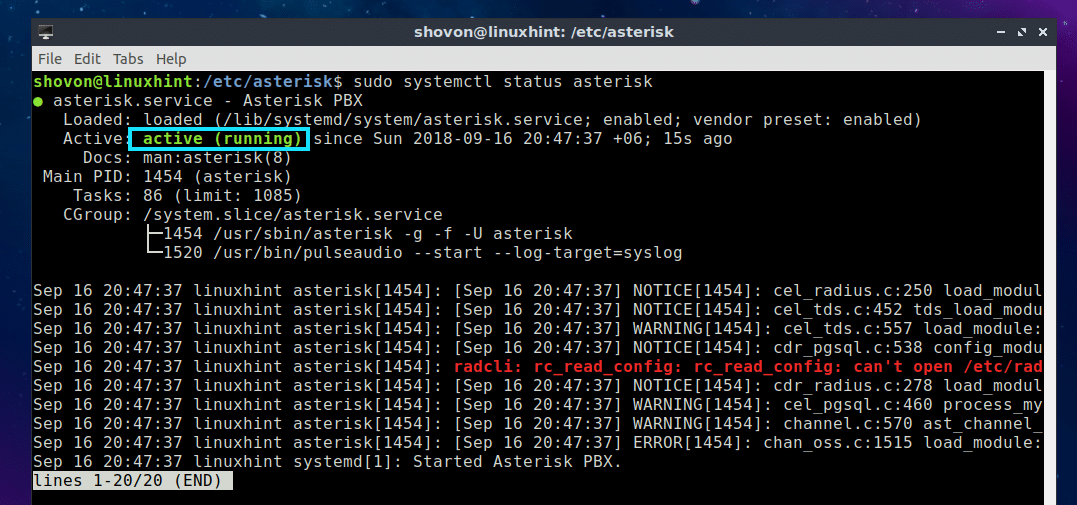
Now check whether the asterisk service is running with the following command:
As you can see, it is running. So our configuration is working.
Now run the following command to check the IP address of your Asterisk VoIP server:
As you can see, the IP address of my Asterisk server is 192.168.2.166. Yours should be different. Take a note of this IP address as you will need it when you will connect to your Asterisk server from your Android phone.

Connecting to Asterisk VoIP Server from Android:
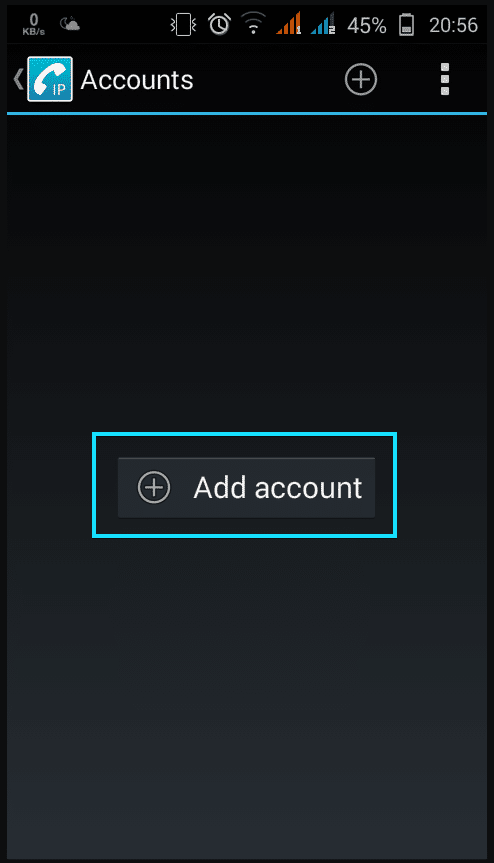
On Android, there are many free SIP clients available in the Google Play Store that you can download and connect to your own Asterisk VoIP server. The one I like is called CSIPSimple. It is a very simple and easy to use SIP client on Android. You can make calls and send text messages using CSIPSimple.
To connect to your own Asterisk server, open CSIPSimple and tap on Add account.
Now select Basic from the list.

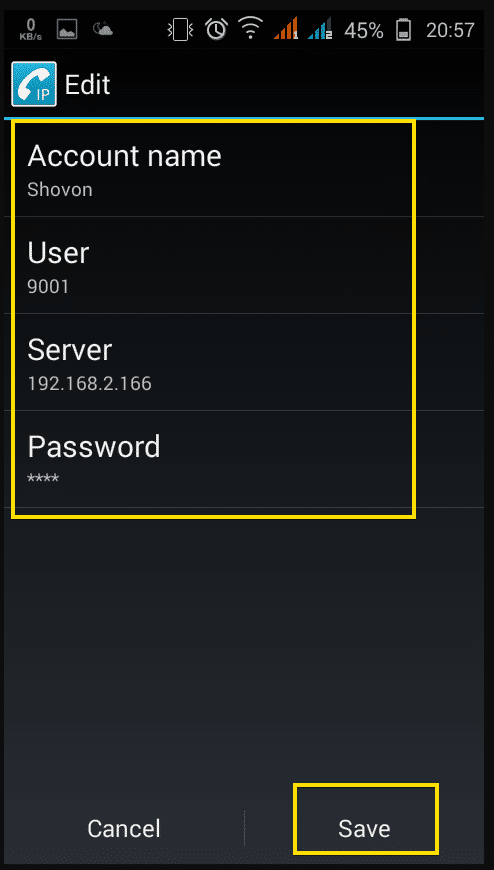
Now type in all the details and click on Save.
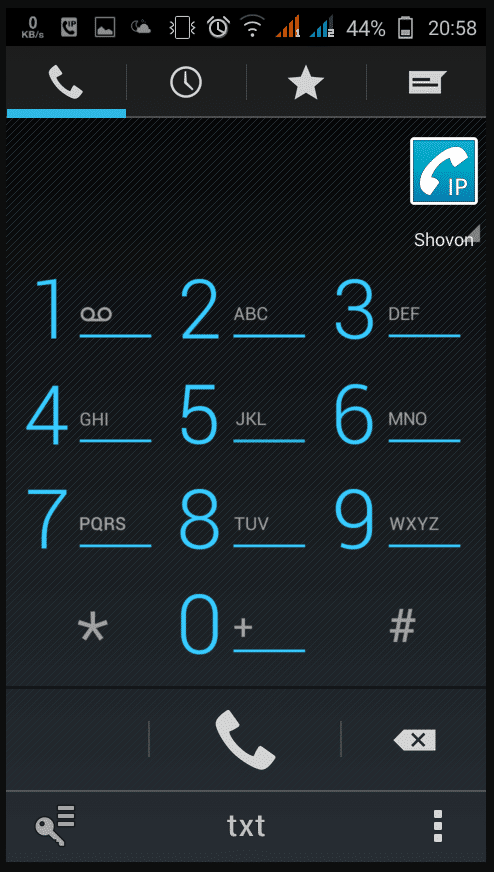
You should be connected to your Asterisk VoIP server.

Now just tap the back button of your phone and you should see the dialer.
I called 9002 and as you can see, the call is functionality is working.
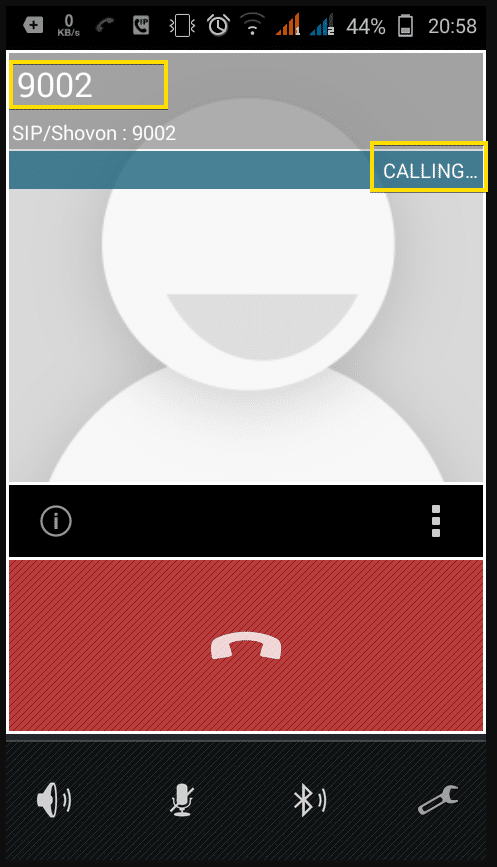
I received the call from my other SIP client which is logged in as the user 9002 to the same Asterisk VoIP server.

So, our Asterisk VoIP server is working correctly.
Connecting to Asterisk VoIP Server from Linux:
On Linux, you can use Ekiga SIP to connect to your Asterisk VoIP Server. It is available in the official package repository of Ubuntu 18.04 LTS.
You can install Ekiga SIP, run the following command:
Once Ekiga is installed, you should be able to figure it out on your own.
So, that’s basically how you create your own Asterisk VoIP server to make calls locally with Android phones. Thanks for reading this article.


