Google Earth is available on Windows, Mac OS, Linux, Android, iPhone and many more devices. It also has a web based version which do not require any sort of installation.
In this article, I will show you how to install and use Google Earth on Ubuntu 17.10 Artful Aardvark. Let’s get started.
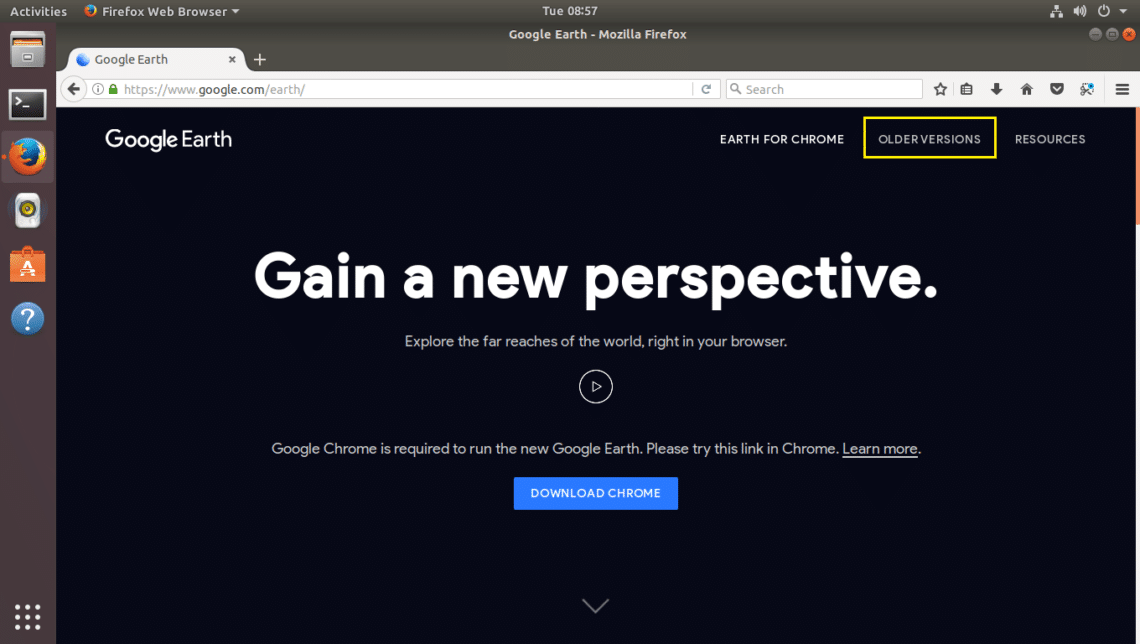
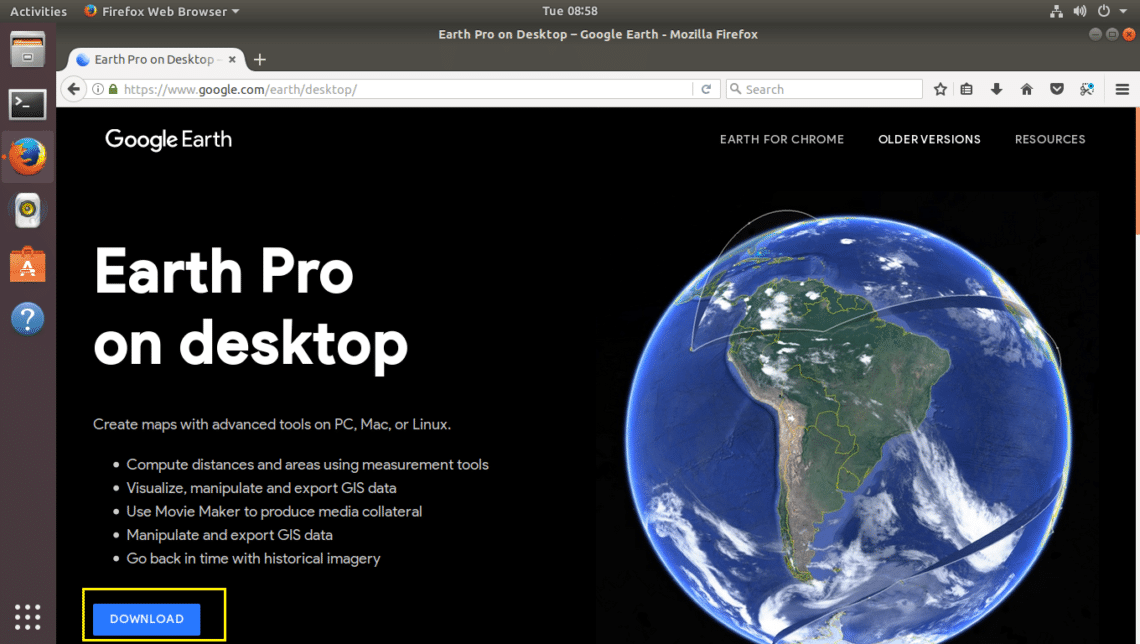
First go to the official website of Google Earth and you should see the following page.

If you have Google Chrome web browser installed, you can run Google Earth directly inside of Google Chrome. But if you want a more desktop app like user experience, you can also install Google Earth as a desktop application.
To download the Desktop version of Google Earth, click on the “OLDER VERSIONS” link as marked yellow in the screenshot below.
You should see the following page. From here you can download Google Earth for your computer.
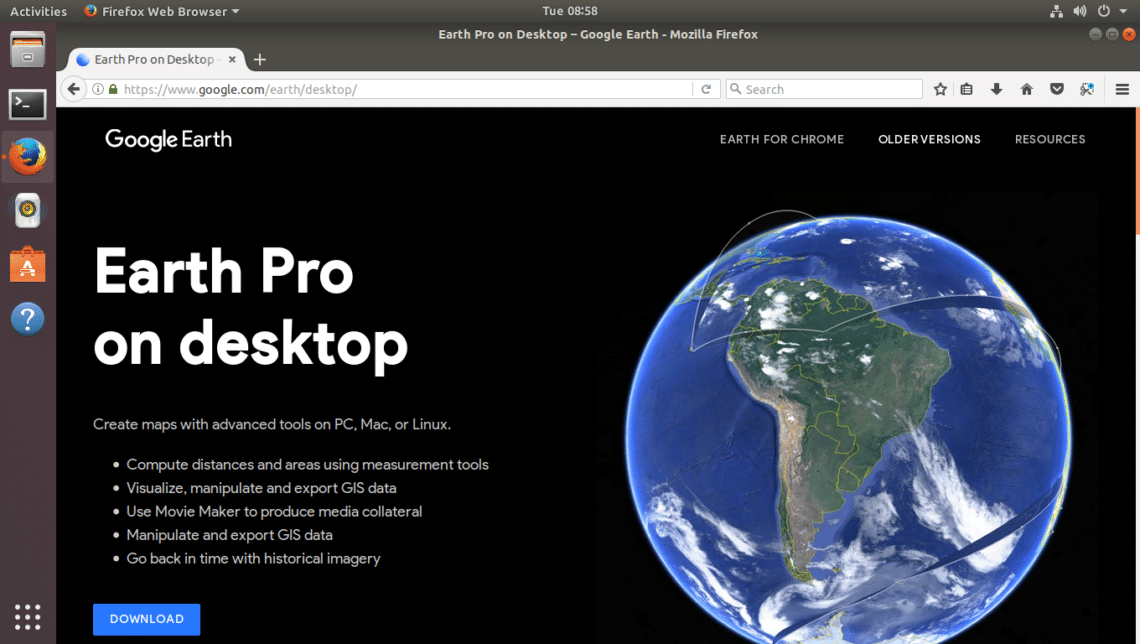
Now click on the download link as marked yellow in the screenshot below.
You should see the following page. As you can see from the screenshot below, Google Earth is available for Fedora, OpenSUSE, Ubuntu and Debian. You can install Google Earth on 32bit and 64bit operating systems.
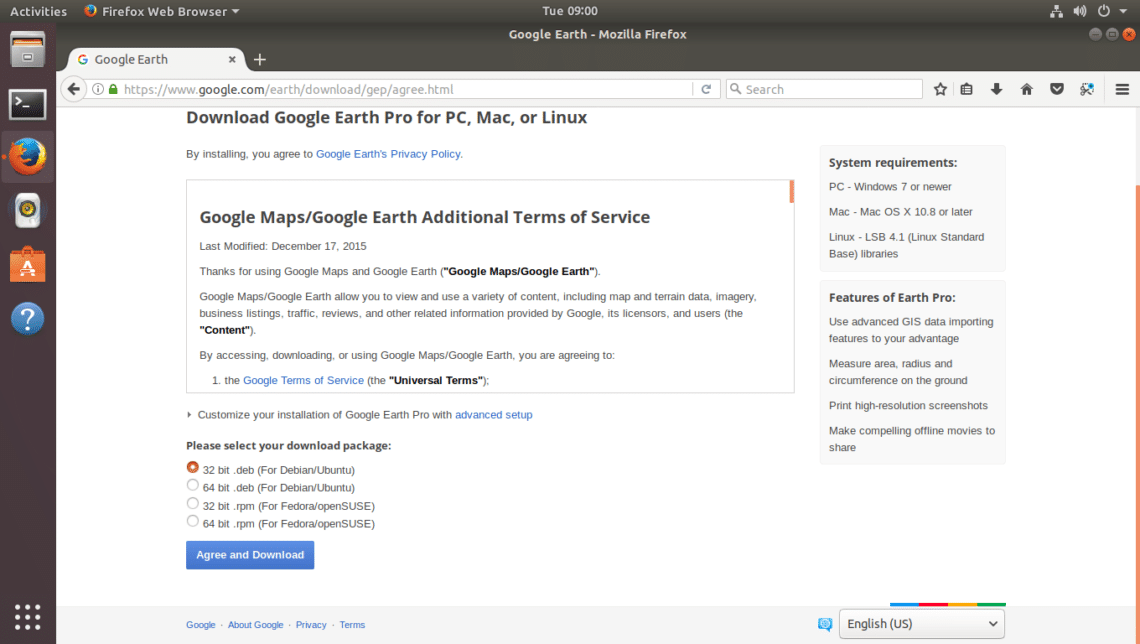
In this article, I am using 64bit version of Ubuntu 17.10 Artful Aardvark. So I am selecting 64bit .deb for Debian/Ubuntu as shown in the screenshot below. Once you’re done selecting one of these downloads, click on “Agree and Download” button as marked green on the screenshot below.

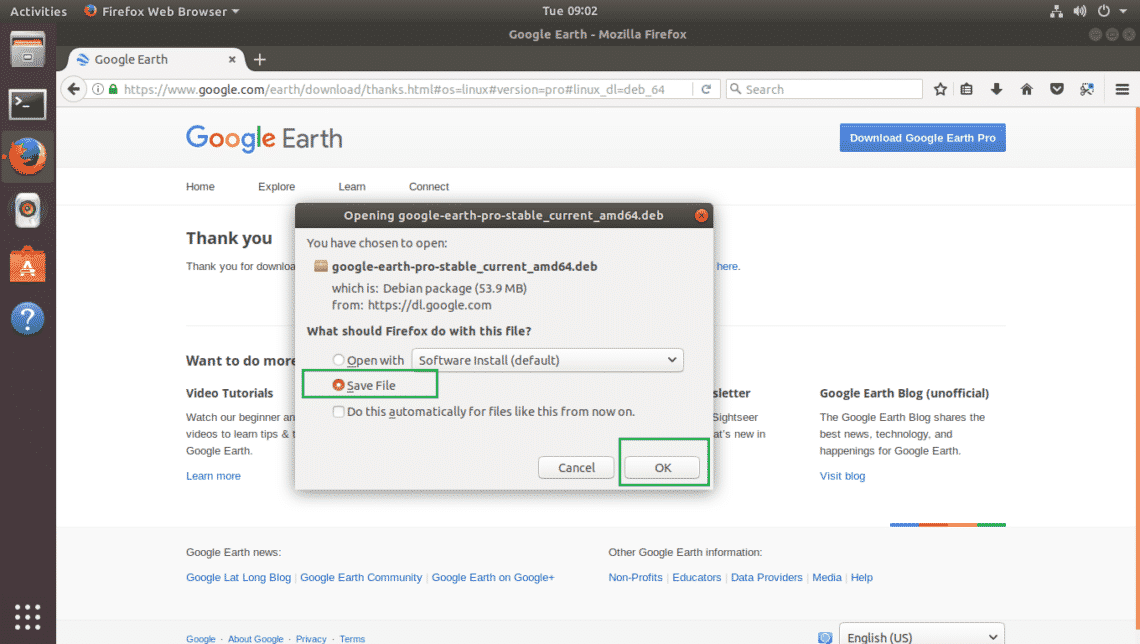
Your browser should prompt you to save the file. Click on “Save File” and click on “OK” to continue.
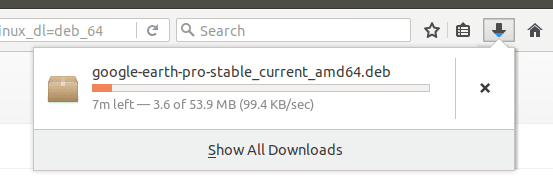
Your download should start.
Once the download is complete, navigate to the directory where you downloaded Google Earth. In my case it is the Downloads/ directory on my users HOME directory.
If I list the contents of the Downloads/ directory, you can see that google earth .deb file is there as shown in the screenshot below.

Now you can install Google Earth with the following command:
Remember to change the filename according to your need.

Google Earth should be installed.

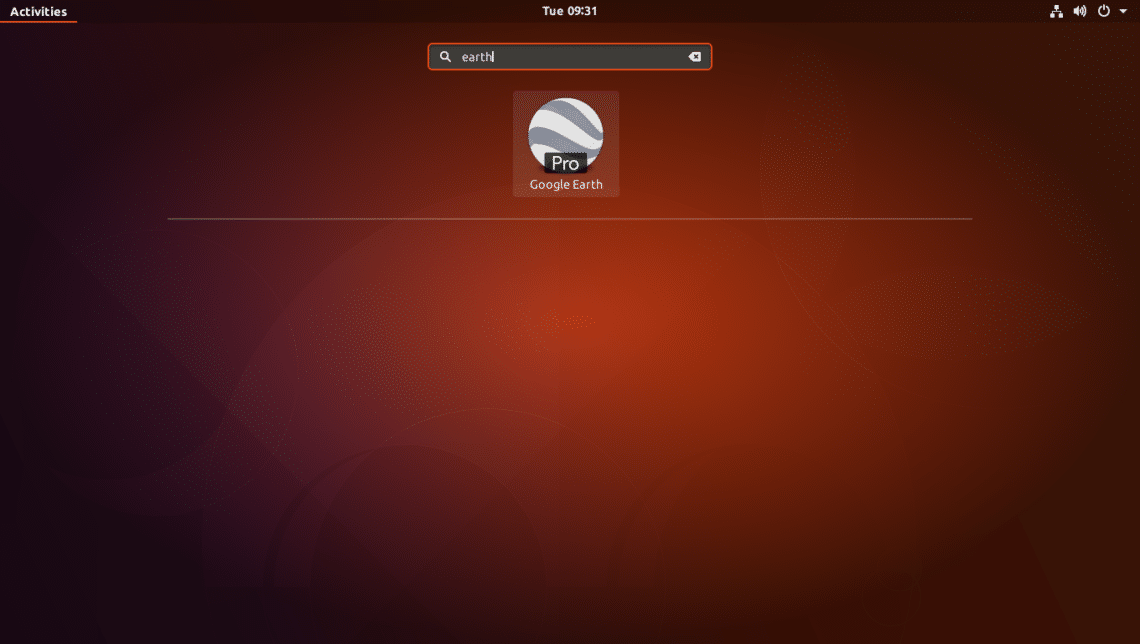
Now go to the Activities and search for Google Earth. You should be able to find it. Now click on the Google Earth icon.
Google Earth’s splash screen should show up.

Google Earth should be started.
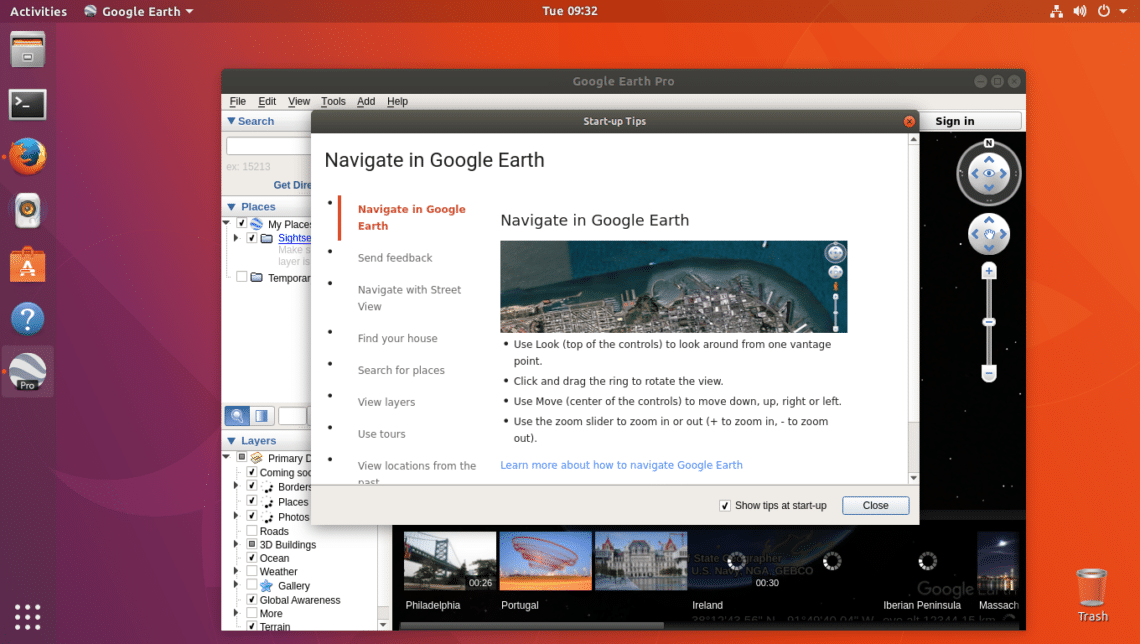
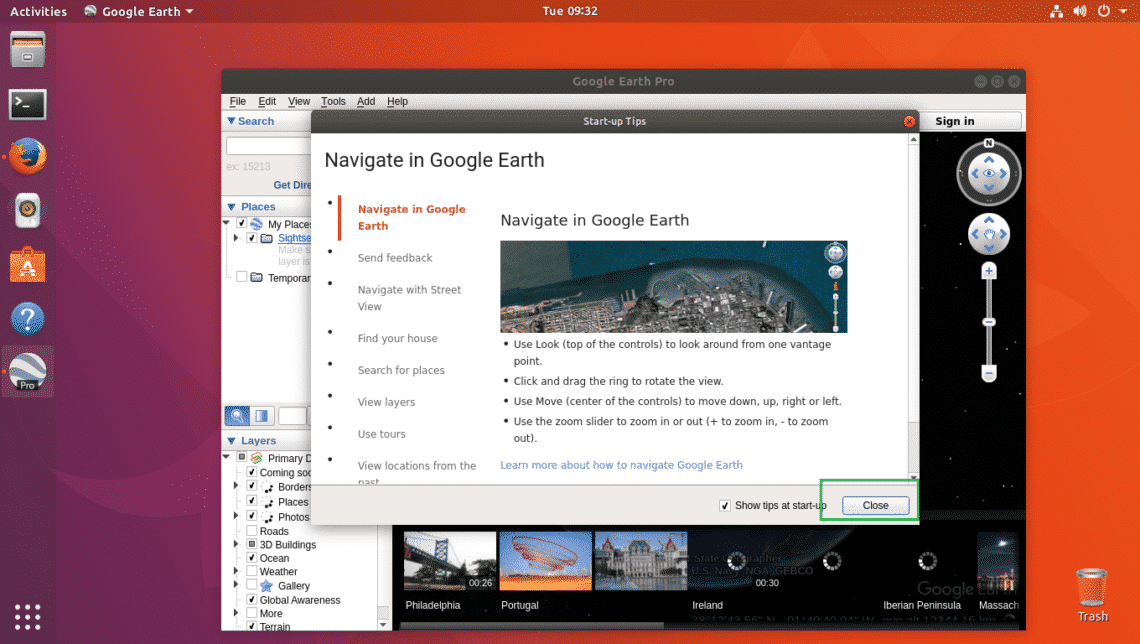
You should be presented with a tips popup window. You can read through it to have a clear idea of how to use Google Earth if you want. To get rid of this tips popup window, click on the “Close” button as marked green in the screenshot below.
If you don’t want it to appear every time you start Google Earth, uncheck the mark from the checkbox “Show tips at startup” and click on “Close” button as marked green in the screenshot below.
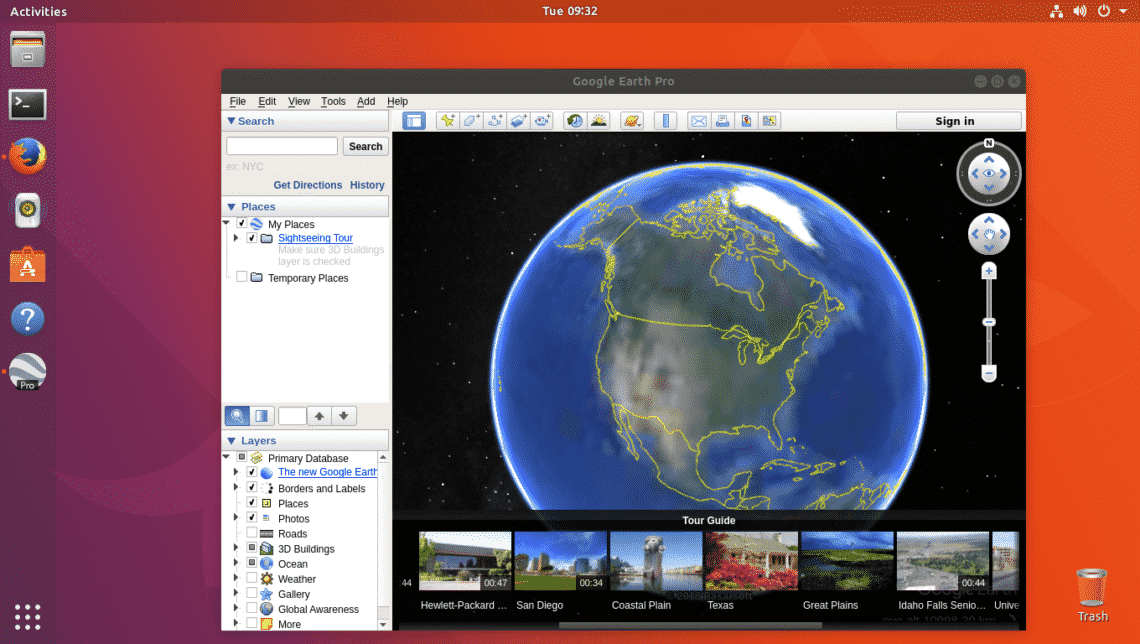
Now you should see the following window. This is the homepage of Google Earth.
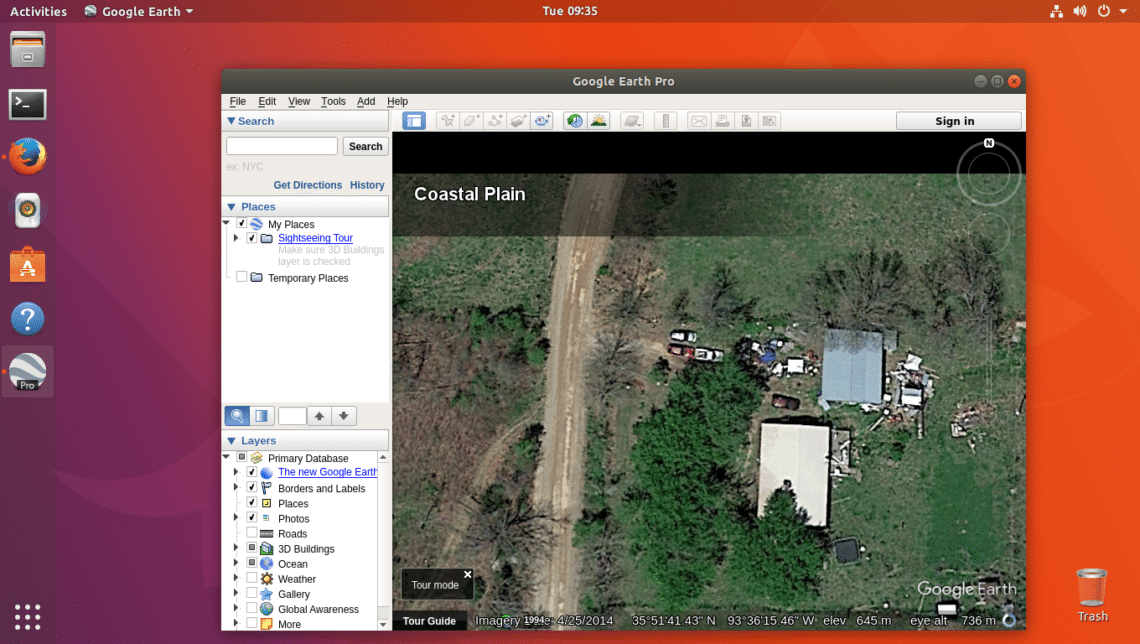
This is how it looks like if you zoom into any place. You can search for places using the search box in the top left corner of the Google Earth window. You can also include or exclude layers from the layers section in the bottom left corner of the window. Including and excluding layers will result in certain types of objects to be shown or hidden. You can also rotate the viewport to view the places in a different angle as you see fit.
That’s how you install Google Earth on Ubuntu 17.10 Artful Aardvark. Thanks for reading this article.