Programmers use Java Development Kit or JDK to compile and run Java programs. JDK is a collection of tools required to develop, debug, package Java applications.
In this article, I will show you how to install OpenJDK, a free and open source version, on Ubuntu 17.10 Artful Aardvark. Let’s get started.
Installing OpenJDK 9:
OpenJDK 9 is in the ‘universe’ repository of official Ubuntu package repository. Before you can install OpenJDK 9, you must enable Ubuntu ‘universe’ package repository.
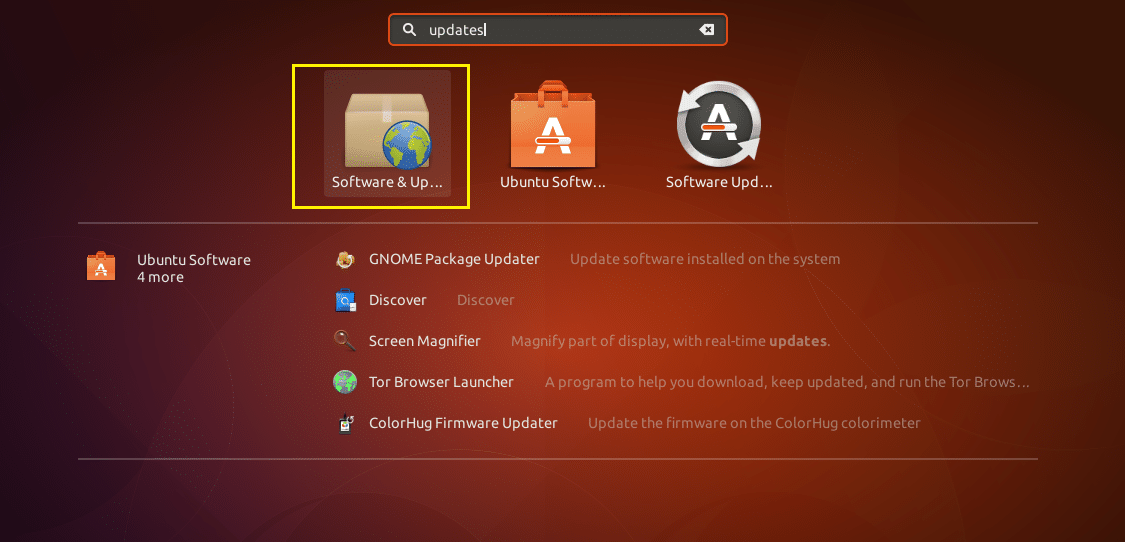
To do that, first open “Software & Updates” from the Application Menu.
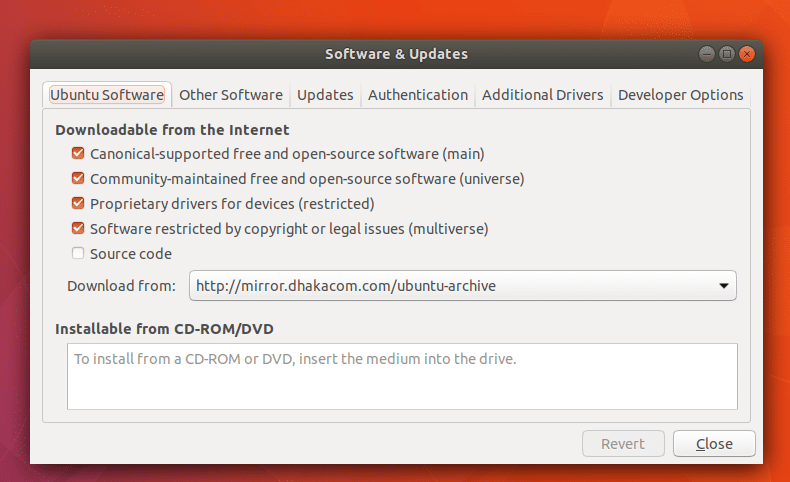
It should look like this.
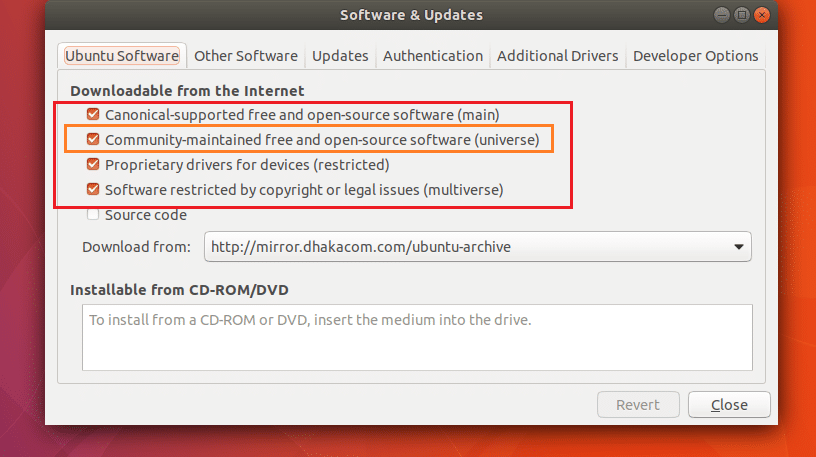
Make sure you have all of these repositories, ‘main’, ‘universe’, ‘restricted’, ‘multiverse’ enabled.
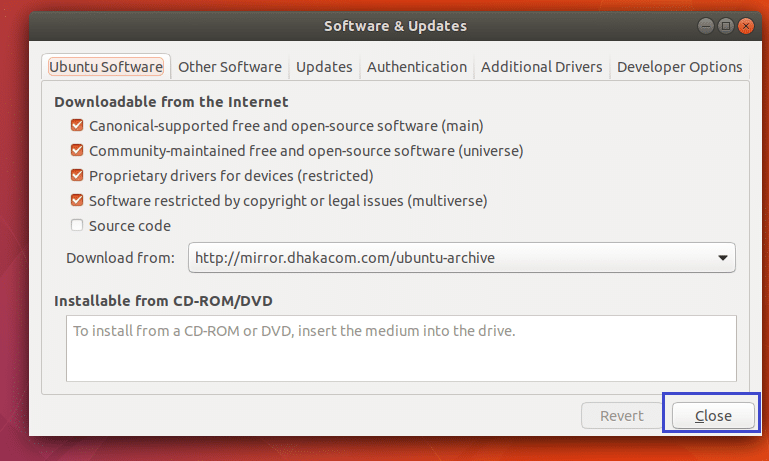
Once you’re done enabling them, click on “Close”.
Now open a Terminal (Ctrl+Alt+T on Ubuntu) and run the following command to update the package repository cache of your Ubuntu operating system.
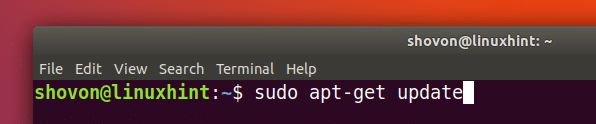
The package repository cache should be updated.

There are two versions of OpenJDK 9 in the official package repository of Ubuntu. OpenJDK 9 headless and OpenJDK 9.
The difference between OpenJDK 9 headless and OpenJDK 9 is that, OpenJDK 9 headless does not come with any Java libraries for working with graphical Java applications. It is best for server environment where graphical user interface (GUI) is not required. It also requires less memory to run.
OpenJDK 9 comes with Java libraries for working with graphical user interface (GUI). It requires more memory to run.
I will install OpenJDK 9 in this article. But I will also show you how to install OpenJDK 9 headless as well.
To install OpenJDK 9 headless, run the following command:

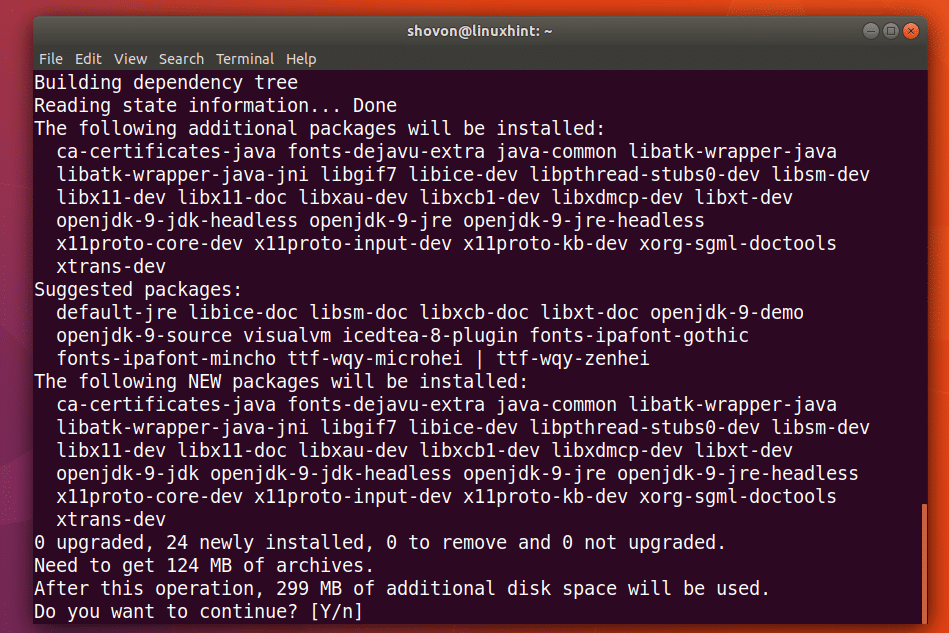
To install OpenJDK 9, run the following command:

Now press ‘y’ and press <Enter> to continue.
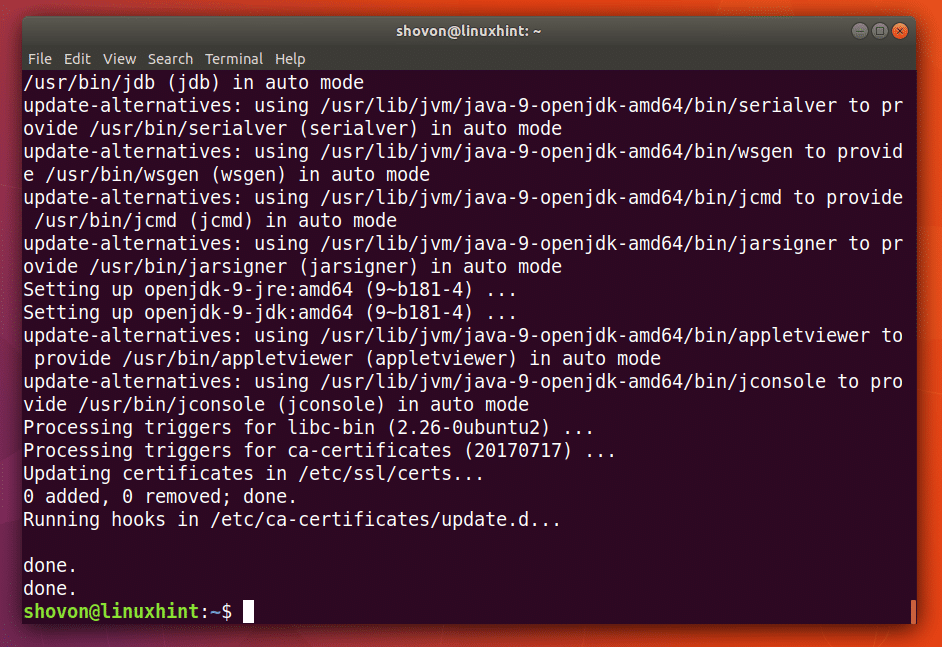
OpenJDK 9 should be installed.
Verifying OpenJDK 9 Installation
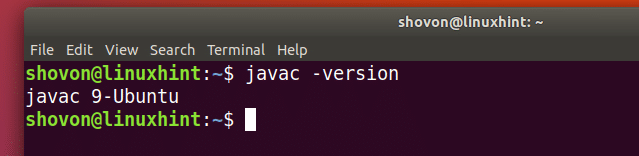
Now that OpenJDK 9 is installed. You can run the following command to check whether the Java compiler provided by the OpenJDK 9 package is working or not.
You can see from the following screenshot that the version of Java compiler I am using is 9.
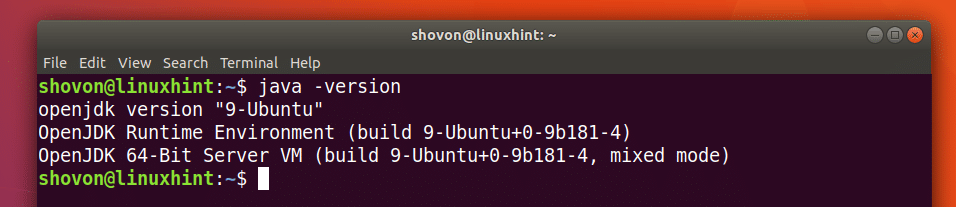
Now run the following command to check whether the Java Virtual Machine (JVM) provided by the OpenJDK 9 package is working or not.
You can see from the screenshot below that the version of JVM is 9. So everything is working correctly.
Now I am going to write a simple Java program to test whether I can compile and run Java programs with OpenJDK 9.
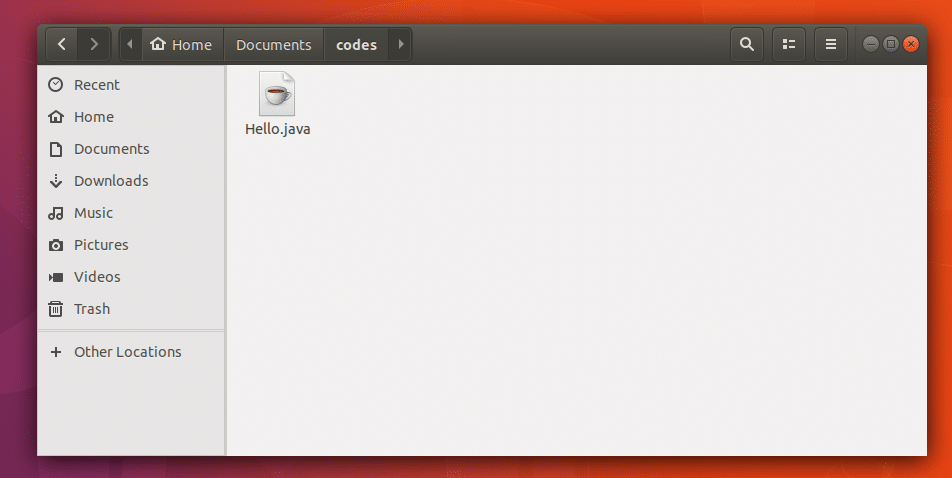
I created a Hello.java Java source file as you can see in the screenshot below.
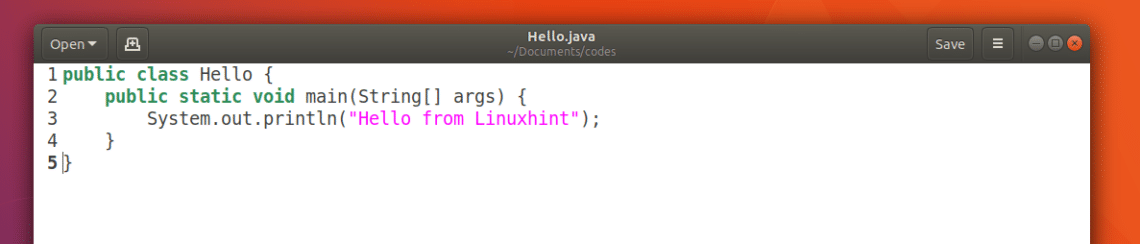
Here is the source code for my super simple Java program.
I put the Hello.java file in the ~/Documents/codes directory as you can see from the screenshot below.

To compile Hello.java file, from the directory where the Java source file is, run the following command.

The ‘Hello.java’ Java source file should be compiled and it should create a ‘Hello.class’ Java byte code file as you can see from the screenshot below.

Now to run the Java byte code, all you have to do is run the following command.
NOTE: Do not include .java extension when running a Java program with ‘java’ command.
You should see the output of the ‘Hello.java’ program.

So everything is working well. This is how you install OpenJDK 9 on Ubuntu 17.10 Artful Aardvark. Thanks for reading this article.