In this tutorial, we will explain how to install and use Portainer DockerUI tool on Ubuntu 18.04 server.
Requirements
- A fresh Ubuntu 18.04 server installed on your system.
- A static IP address 192.168.0.101 is set up on your server.
Update your System
First, it is recommended to update your system to the latest stable version. You can do it by running the following command:
apt-get upgrade -y
Once your system is up-to-date, restart the system to apply the changes.
Install Docker
Next, you will need to install Docker CE on your server. By default, the latest version of Docker is not available in the Ubuntu 18.04 server default repository. So, you will need to add the repository for that.
First, download and add Docker CE GPG key with the following command:
apt-key add gpg
Next, add the Docker CE repository to APT with the following command:
Add the following line:
Save and close the file, when you are finished. Then, update the repository with the following command:
Once the repository is updated, install Docker CE with the following command:
After installing Docker CE, check the Docker service with the following command:
You should see the following output:
Loaded: loaded (/lib/systemd/system/docker.service; enabled; vendor preset: enabled)
Active: active (running) since Thu 2019-05-30 12:15:47 UTC; 25min ago
Docs: https://docs.docker.com
Main PID: 820 (dockerd)
Tasks: 16
CGroup: /system.slice/docker.service
├─ 820 /usr/bin/dockerd -H fd:// –containerd=/run/containerd/containerd.sock
└─2344 /usr/bin/docker-proxy -proto tcp -host-ip 0.0.0.0 -host-port 9000
-container-ip 172.17.0.2 -container-port 9000
May 30 12:23:15 ubuntu1804 dockerd[820]: time="2019-05-30T12:23:15.217067700Z"
level=info msg="Ignoring extra error returned from registry: una
May 30 12:24:11 ubuntu1804 dockerd[820]: time="
2019-05-30T12:24:11.660929678Z"level=error msg="Not continuing with pull after error: errors:n
May 30 12:24:11 ubuntu1804 dockerd[820]: time="2019-05-30T12:24:11.666671477Z"
level=info msg="Ignoring extra error returned from registry: una
May 30 12:26:41 ubuntu1804 dockerd[820]: time="2019-05-30T12:26:41.457037977Z"
level=error msg="Not continuing with pull after error: errors:n
May 30 12:26:41 ubuntu1804 dockerd[820]: time="2019-05-30T12:26:41.462672465Z"
level=info msg="Ignoring extra error returned from registry: una
May 30 12:35:24 ubuntu1804 dockerd[820]: time="2019-05-30T12:35:24.765526033Z"
level=error msg="Download failed, retrying: read tcp 192.168.0.1
May 30 12:36:18 ubuntu1804 dockerd[820]: time="2019-05-30T12:36:18.822036108Z"
level=error msg="Download failed, retrying: read tcp 192.168.0.1
May 30 12:37:04 ubuntu1804 dockerd[820]: time="2019-05-30T12:37:04.355741084Z"
level=error msg="Download failed, retrying: read tcp 192.168.0.1
May 30 12:37:05 ubuntu1804 dockerd[820]: time="2019-05-30T12:37:05.122595602Z"
level=error msg="Download failed, retrying: read tcp 192.168.0.1
May 30 12:37:25 ubuntu1804 dockerd[820]: time="2019-05-30T12:37:25.112175798Z"
level=error msg="Download failed, retrying: read tcp 192.168.0.1
Install Portainer
Docker is now installed and running, it’s time to install Portainer. First, download the Portainer image from Docker Hub with the following command:
Once the Portainer image downloaded, you should see the following output:
latest: Pulling from portainer/portainer
d1e017099d17: Pull complete
0b1e707a06d2: Pull complete
Digest: sha256:d6cc2c20c0af38d8d557ab994c419c799a10fe825e4aa57fea2e2e507a13747d
Status: Downloaded newer image for portainer/portainer:latest
Once the download has been completed, create Portainer data directory with the following command:
Next, run the Portainer container with the following command:
-v /opt/portainer:/data portainer/portainer
You can see the Portainer image with the following command:
You should see the following output:
portainer/portainer latest 19d07168491a 2 months ago 74.1MB
You can check the running container with the following command:
You should see the following output:
8d0c002fda93 portainer/portainer "/portainer" 5 seconds ago Up 3 seconds
0.0.0.0:9000–>9000/tcp confident_leavitt
Access Portainer Web Interface
Portainer container is now installed and running on port 9000. It’s time to access Portainer web interface.
Now, open your web browser and type the URL http://192.168.0.101:9000. You will be redirected to the Portainer web interface as show below:
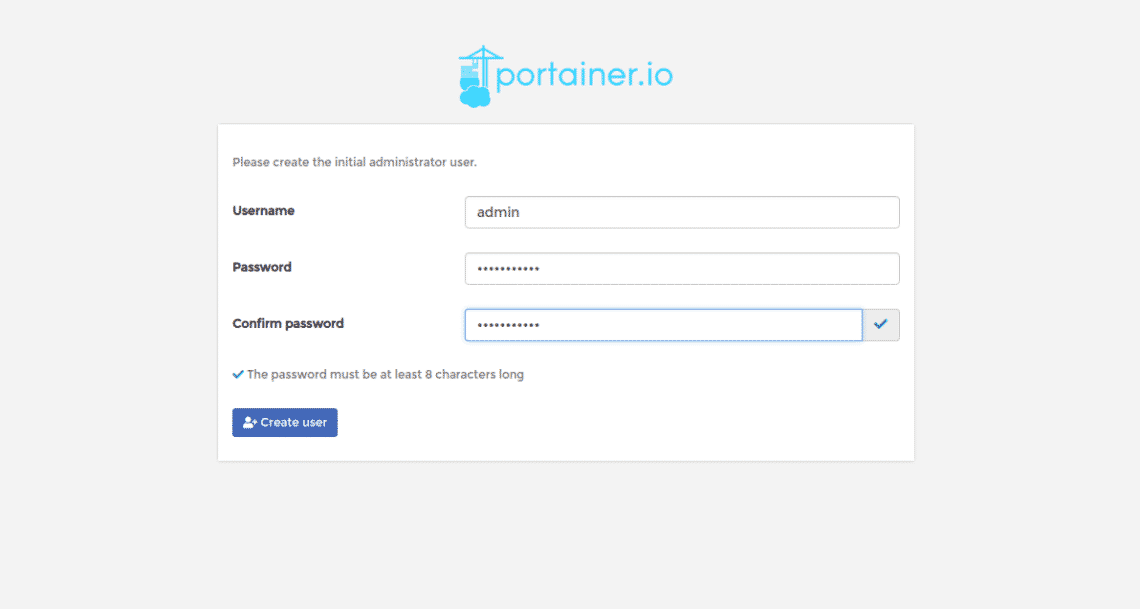
Now, provide your admin username and password. Then, click on the Create user button to create password for admin user. You should see the following page:
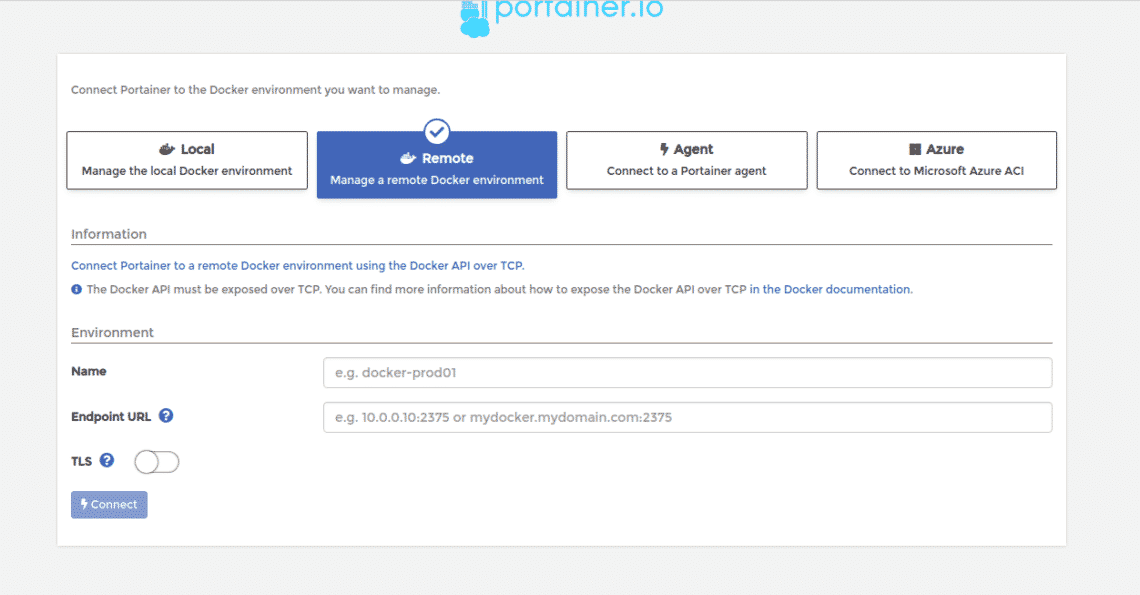
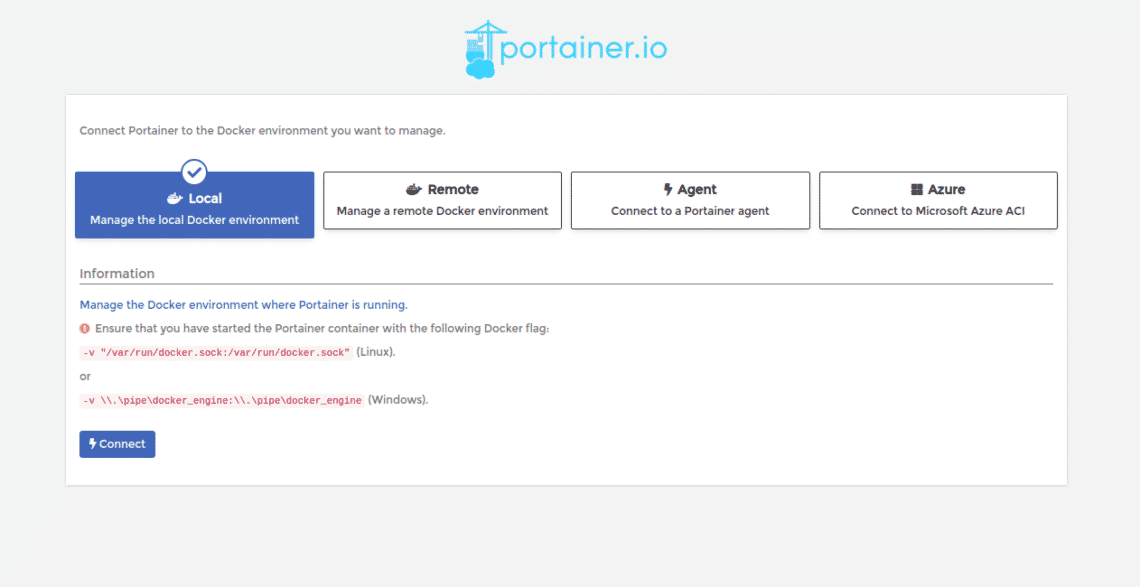
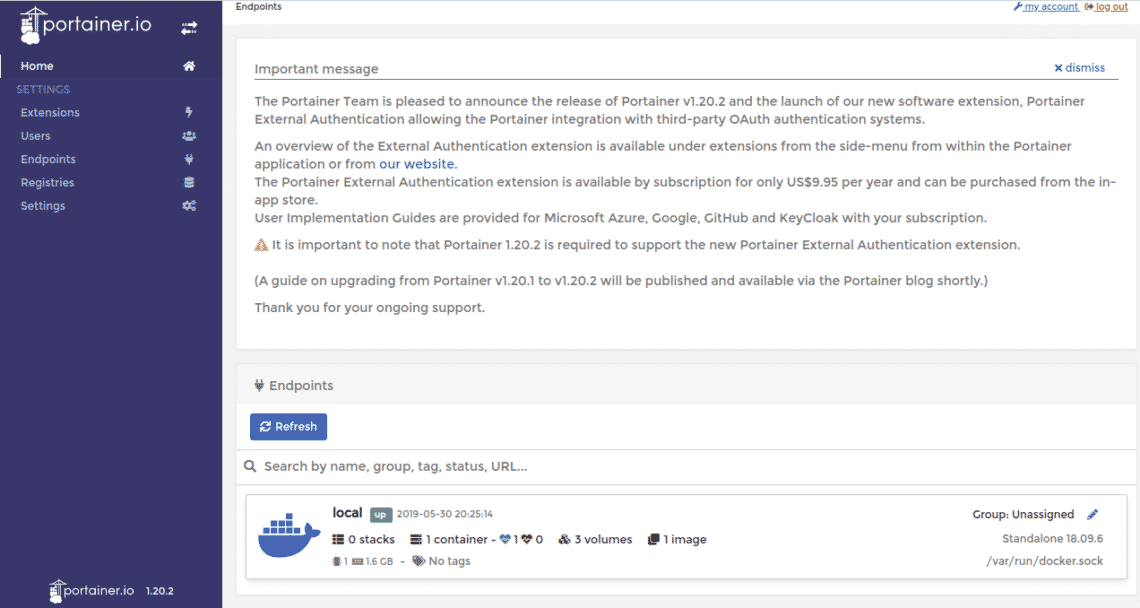
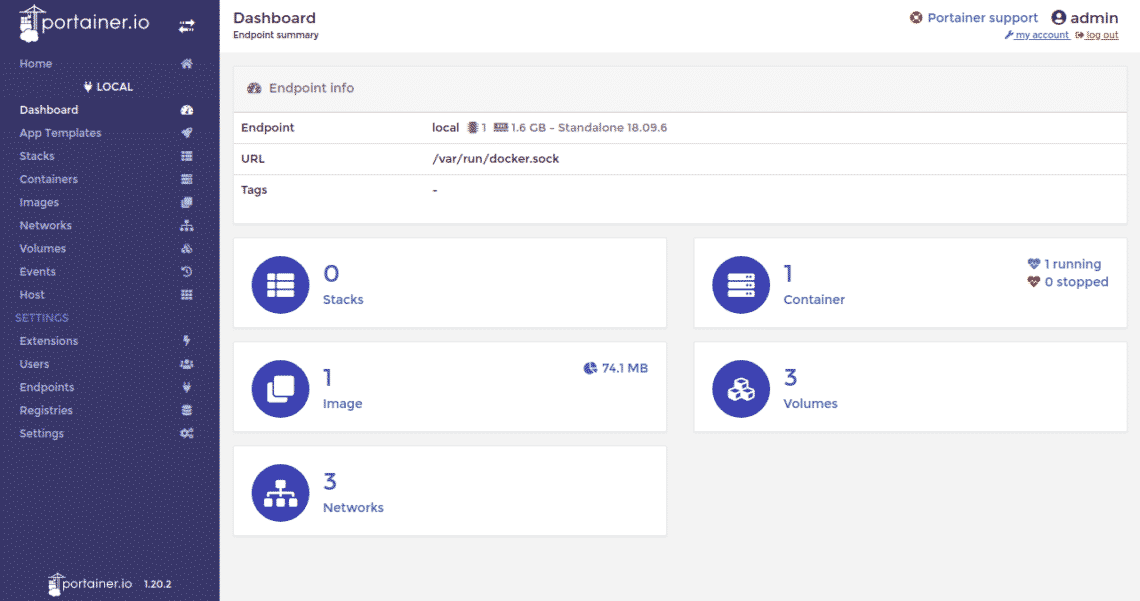
Now, select Local Docker environment and click on the Connect button. You will be redirected to the Portainer dashboard where you can manage Docker environment from web interface.
Next, click on the Container button. You should see your running container in the following page. Here, you can start, stop, pause, delete, restart, resume and add the container.
By default, Portainer comes with a lot of ready to use Application templates. You can use this templates to deploy container within no time. Click on the App Templates on the left side pane. You should see the following image:
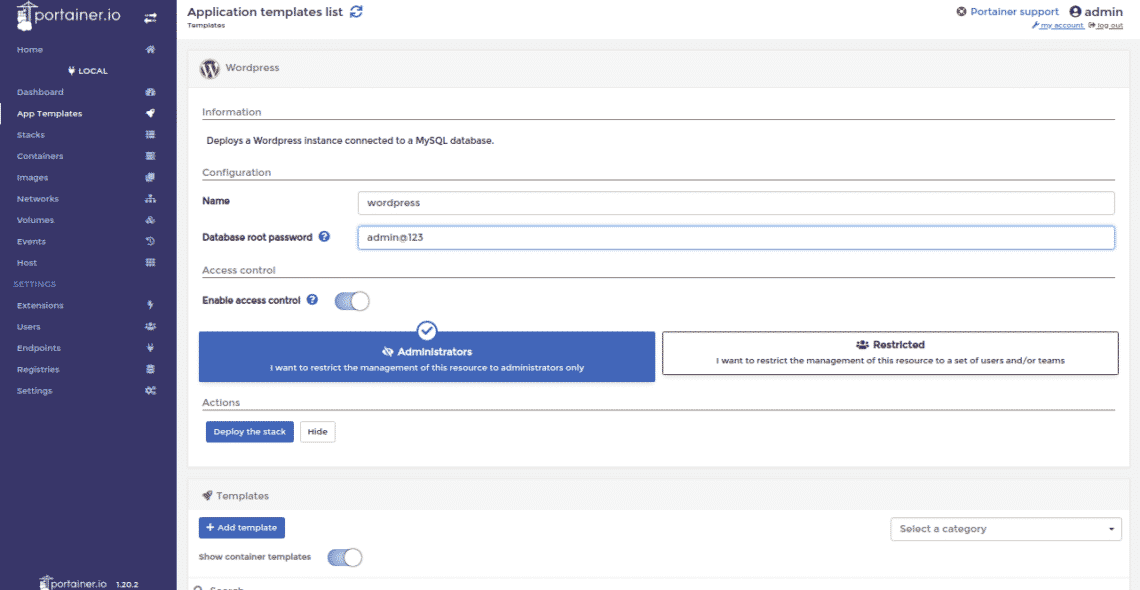
Here, provide wordpress container name and database root password. Then, click on the Deploy the stack button. This will download the wordpress image from Docker Hub and start the container as shown in the following page:
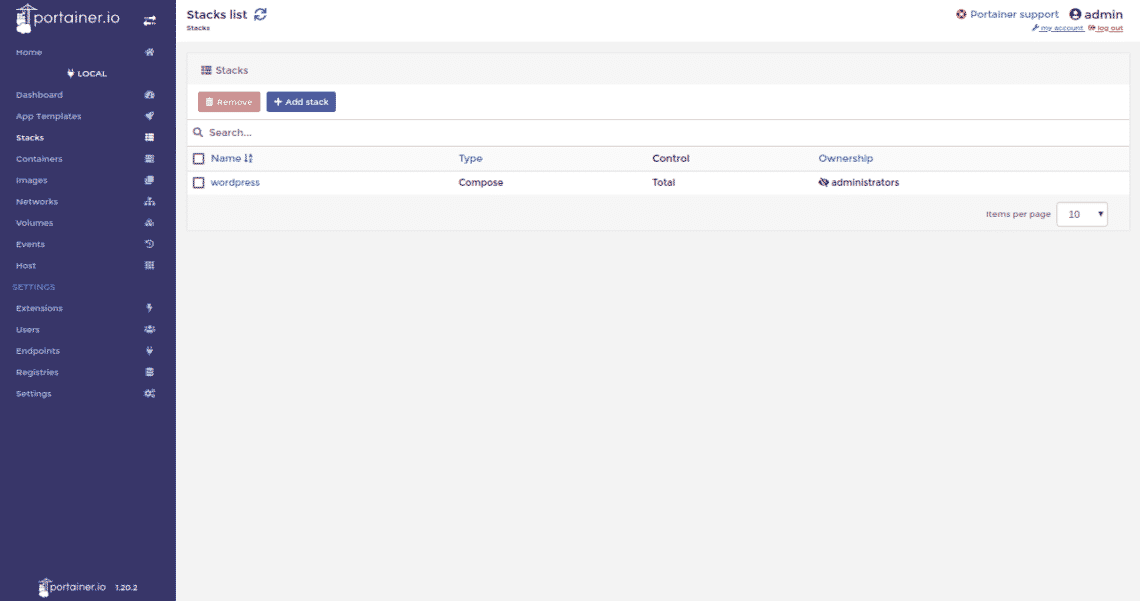
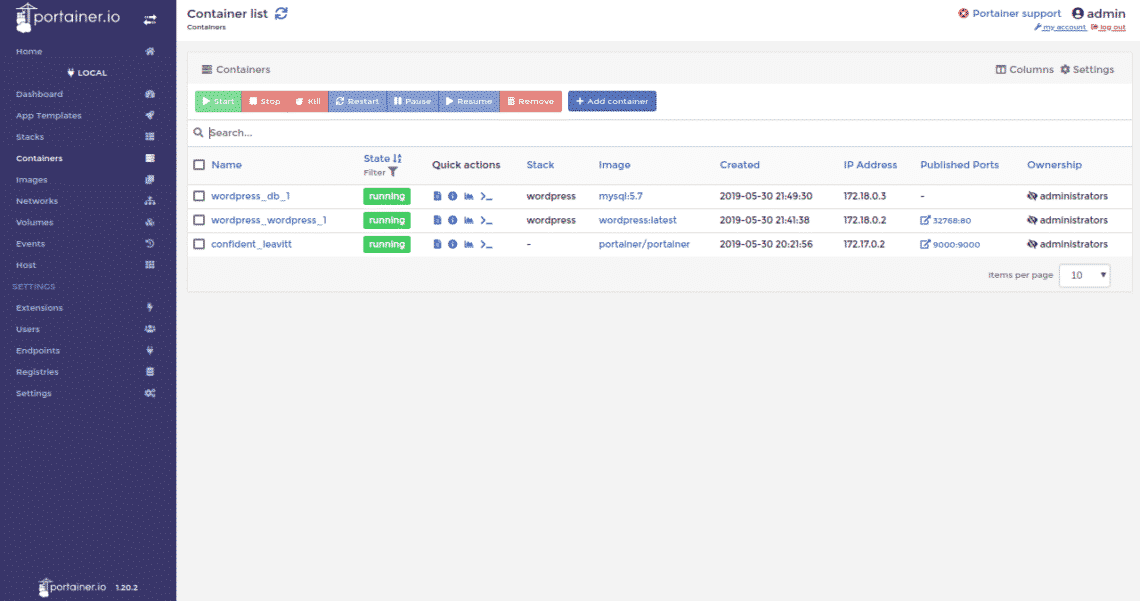
Now, click on the Containers on the left pane. You should see all the wordpress container in the following page:
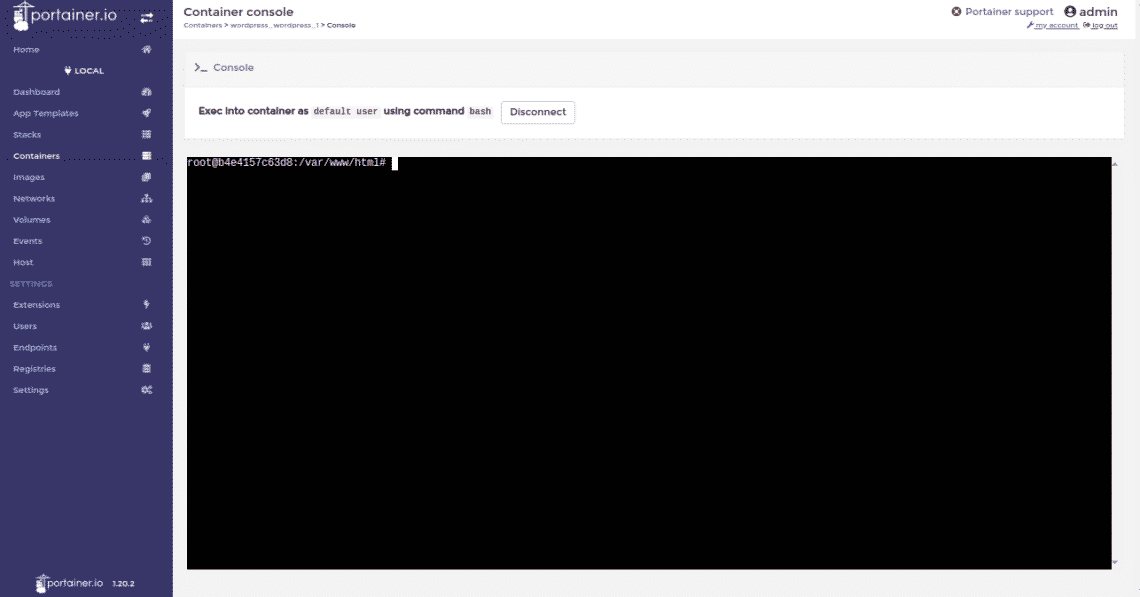
Now, click on the Shell of the wordpress container. You should see the wordpress container shell in the following page:
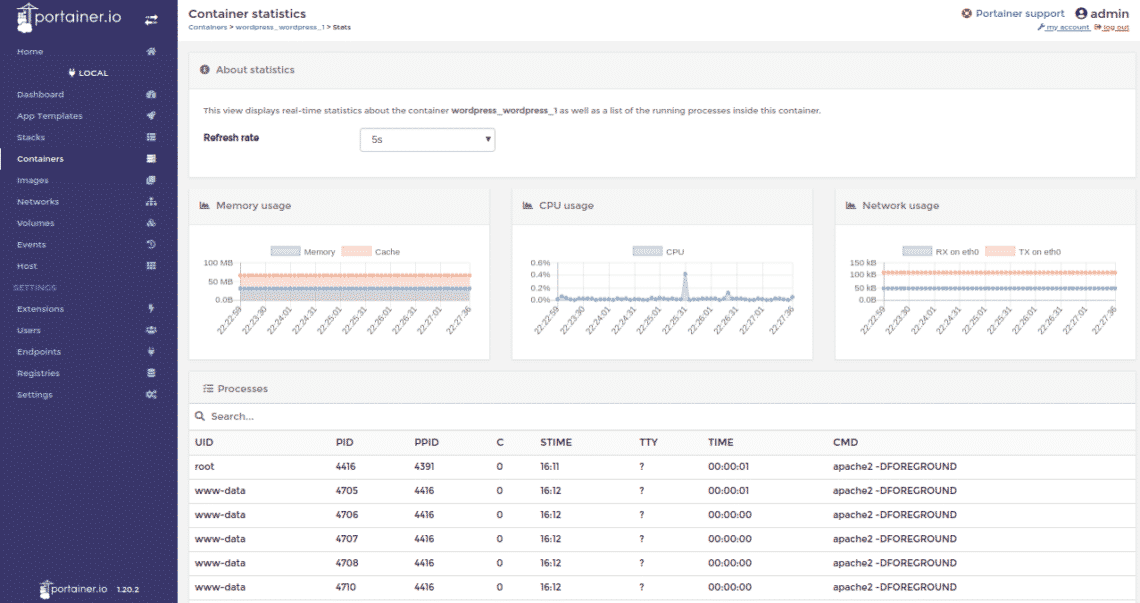
Now, click on the stats of the wordpress container. You should see the wordpress container stats in the following page:
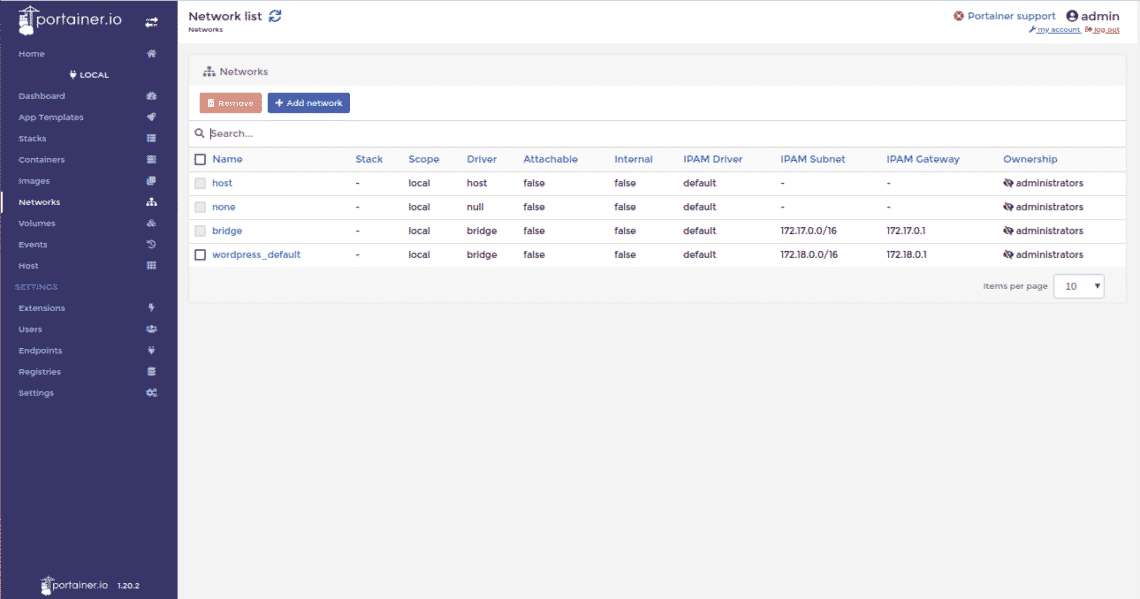
You can manage your networks using the Networks menu on the left pane as shown below:
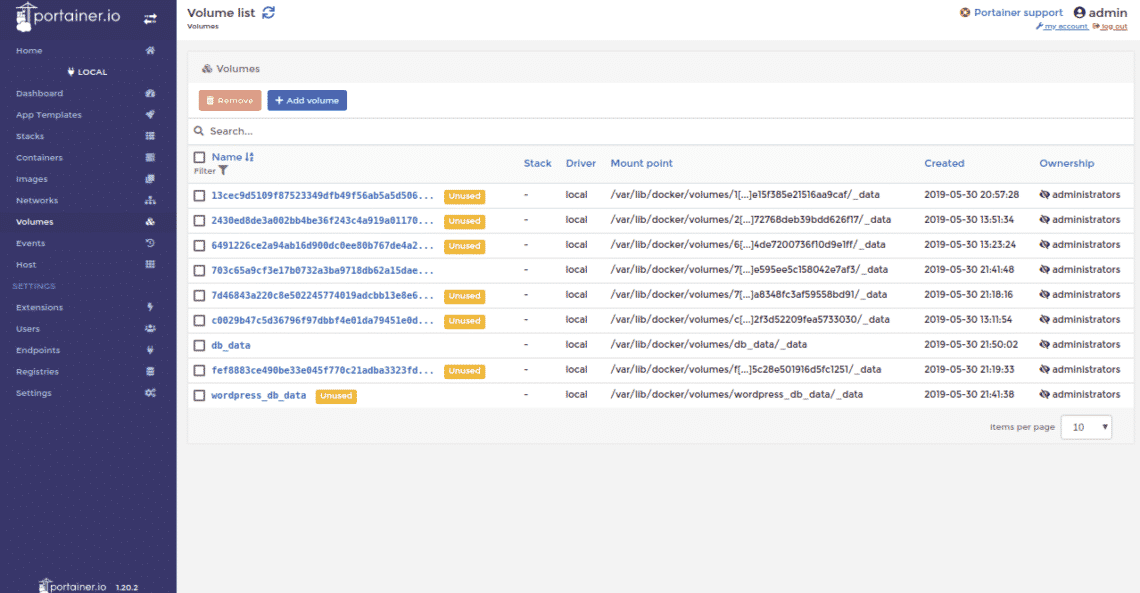
From Volumes menu on the left side pane, you can create new custom volumes for your container as shown below:
Congratulations! you have successfully installed and configured Portainer on Ubuntu 18.04 server. You can now manage your Docker environment easily using the Portainer web interface. For more information, you can refer the Portainer documentation at https://portainer.readthedocs.io/en/latest.