- Keep the images you download from Docker Hub to your private Docker image repository for future use.
- Keep the Docker custom images that you’ve built on your private Docker image repository.
- Access the private Docker image repository from any Docker server.
In this article, I am going to show you how to setup and use your own private Docker image repository. So, let’s get started.
Prerequisites:
You must have Docker installed in order to follow this article. I’ve written many articles on installing Docker in many different Linux distributions. If you’re having trouble installing Docker on your desired Linux distribution, then please read these articles at https://linuxhint.com.
If you need any further assistance in installing Docker on your desired Linux distribution, then, ask for help at https://support.linuxhint.com.
Network Topology:
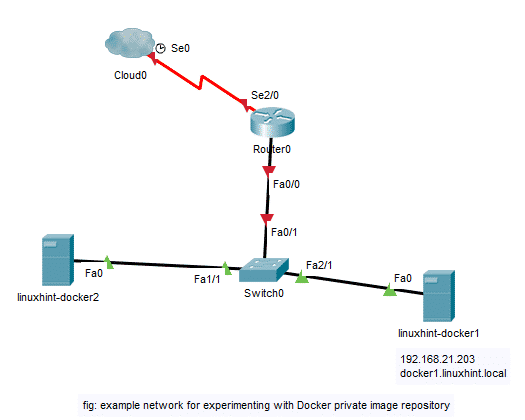
This is the network topology for experimenting with Docker private image repository in this article. Here, I have 2 virtual machines (VMs) linuxhint-docker1 and linuxhint-docker2 with Docker installed. Both of these VMs are on the same network. Here, linuxhint-docker1 VM has the IP address 192.168.21.203 and DNS name docker1.linuxhint.local. I will install and configure a Docker container on the linuxhint-docker1 VM on port 5000 to be a Docker private image repository. Then, I will test the private Docker image repository by pushing and pulling Docker images from the linuxhint-docker2 VM. I will also pull Docker images uploaded to the private Docker image repository from linuxhint-docker1 VM just to verify that any Docker server on the network can use images from the configured private Docker image repository. So, let’s continue.
Setting Up a Private Docker Image Repository:
In this section, I am going to show you how to set up your own private Docker image repository. I am going to use the linuxhint-docker1 VM in this section.
First, create a directory on your computer where you want to save all the Docker images of your private Docker image repository.

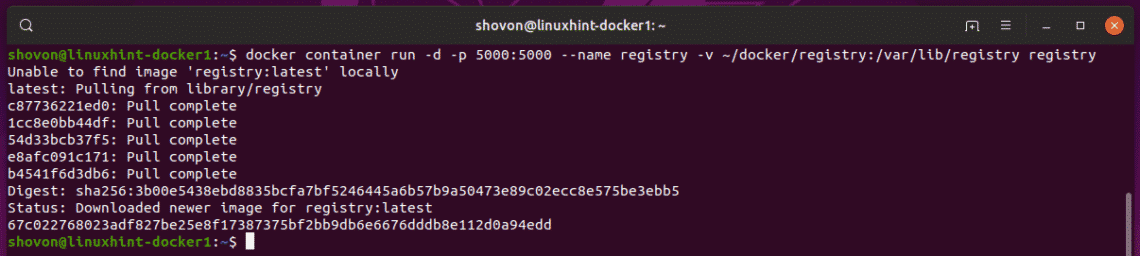
Now, create a container of the registry image from the Docker Hub with the following command:
~/docker/registry:/var/lib/registry registry

The registry container should be created. The Docker images you push to this private Docker image repository will be saved to the ~/docker/registry directory on linuxhint-docker1 VM.
Enabling insecure-registry:
You have to enable insecure registry on the Docker servers from which you want to access the Docker private image repository that you’ve created.
In this article, I want to access the Docker private image repository configured on the VM linuxhint-docker1 from the linuxhint-docker2 VM. So, on the linuxhint-docker2 VM, I have to tell Docker which insecure Docker repositories I want to use.
To do that, create a new Docker configuration file /etc/docker/daemon.json on linuxhint-docker2 VM with the following command:

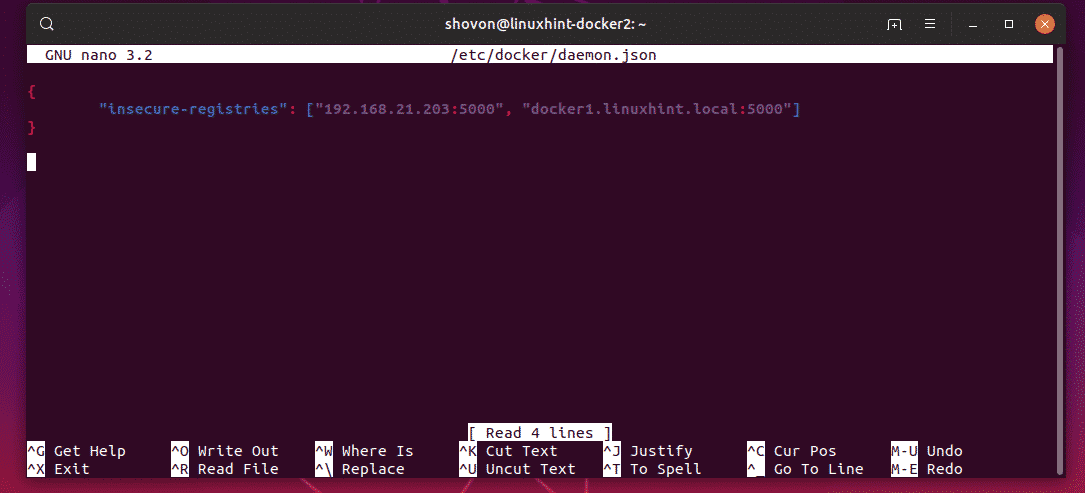
Now, type in the following lines as marked in the screenshot below.
"insecure-registries": ["192.168.21.203:5000"]
}

Here, I’ve added the IP address and port of the linuxhint-docker1 VM. If you have DNS configured on your network, then you can also use a DNS name here.
I have configured DNS for linuxhint-docker1 as follows via /etc/hosts file on linuxhint-docker2 VM.

As you can see, the DNS name for linuxhint-docker1 VM is docker1.linuxhint.local

So, you can add it as an insecure registry to the /etc/docker/daemon.json file as follows:
"insecure-registries": ["docker1.linuxhint.local:5000"]
}
I’ve added both the IP address and DNS name as the insecure registry. So, the final /etc/docker/daemon.json file looks as follows:
Finally, restart the docker service on the linuxhint-docker2 VM with the following command:

Now, you can use your own private Docker image repository hosted on linuxhint-docker1 VM from linuxhint-docker2 VM.
Pushing Images to and Pulling Images from the Private Docker Image Repository:
Now, pull any Docker image from Docker Hub on linuxhint-docker2 VM. I will go for the ubuntu image in this article.
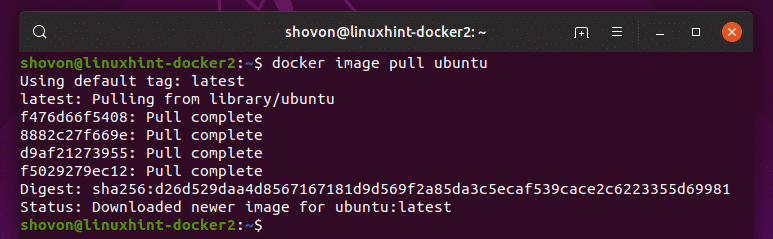
As you can see, the ubuntu image is pulled from Docker Hub.

Now, in order to push the ubuntu image to your own private Docker image repository, you have to tag the ubuntu image in a specific format.
The format is,
Here, IP is the IP address or DNS name of the VM where the private Docker image repository container is running.
PORT is the port at which the private Docker image repository container is running.
IMAGE_NAME and TAG_NAME is the name and tag of the image respectively that you want to use to identify the image. TAG_NAME is optional.
You can tag the ubuntu image using IP address as follows:

You can also tag the ubuntu image using DNS name as follows:
Now, push the tagged image to the private Docker image repository as follows:

As you can see, the image is uploaded to the private Docker image repository.

Now, I am going to remove all the cached Docker images from my linuxhint-docker2 VM.
$ docker image rm 192.168.21.203:5000/ubuntu
As you can see, I have no cached image in the local Docker repository.

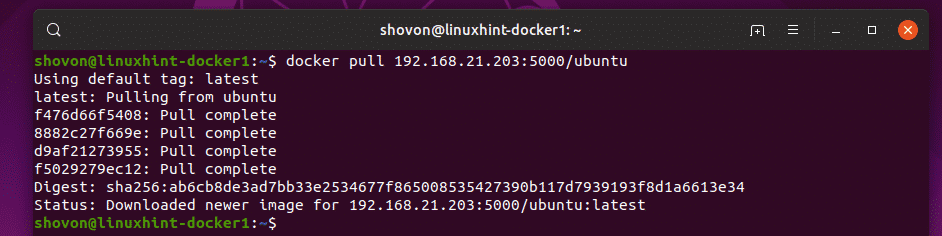
Now, let’s try pulling the ubuntu image from the private docker image repository.

As you can see, the ubuntu image is pulled from the private Docker image repository.
The image is also cached in the local Docker image repository.

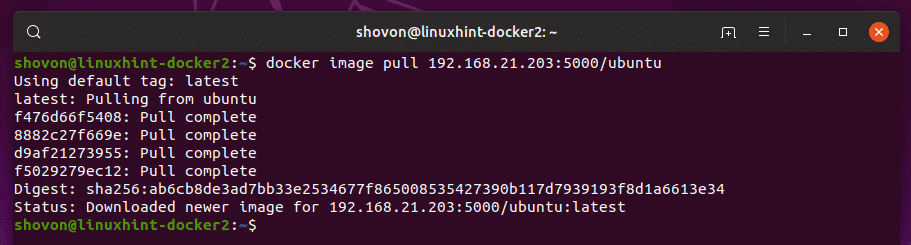
As you can see, I can also pull the images on the linuxhint-docker1 VM uploaded from the linuxhint-docker2 VM.
So, we can push and pull Docker images from our private Docker image repository.
Starting registry Container:
If you restart your Docker server where the registry container is running, then it will not automatically start on the next boot. So, the private Docker image repository will not work. But, you can easily start the registry container and get it up and running with the following command:

That’s how you set up and use your own Docker image repository. Thanks for reading this article.