Install PyCharm 2017.3 on Ubuntu 17.10
PyCharm is a very popular IDE (Integrated Development Environment) for Python programming. It is used for almost every type of Python development. I also use PyCharm for all my Python related tasks. PyCharm is at version 2017.3 at the time of this writing. But the procedures shown here apply for other versions as well. In this article, I will show you how to install PyCharm 2017.3 on Ubuntu 17.10 Artful Aardvark. Let’s get started.
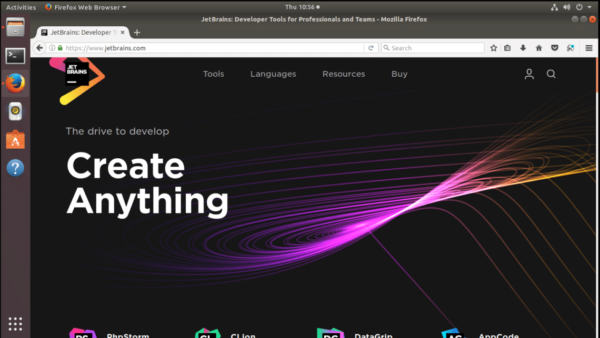
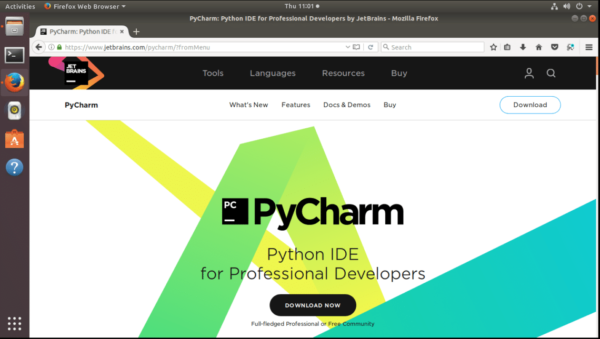
First, go to the official website of JetBrains at https://www.jetbrains.com from your favorite web browser. I am using Firefox. You should see the following window:
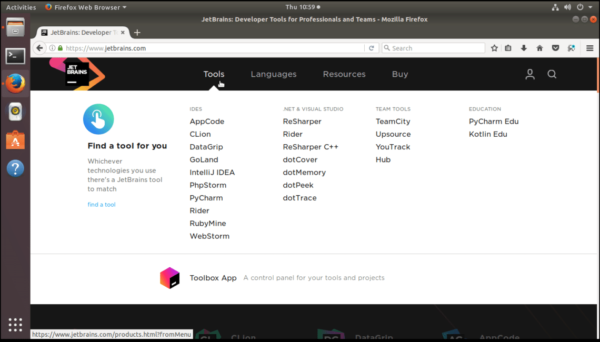
Now hover over “Tools” and you should see a list of all the products of JetBrains.
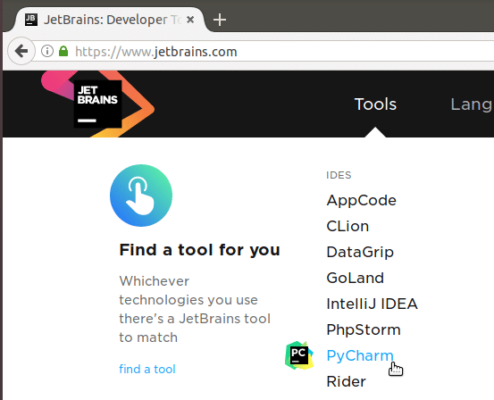
Now click on “PyCharm” from the “IDES” section.
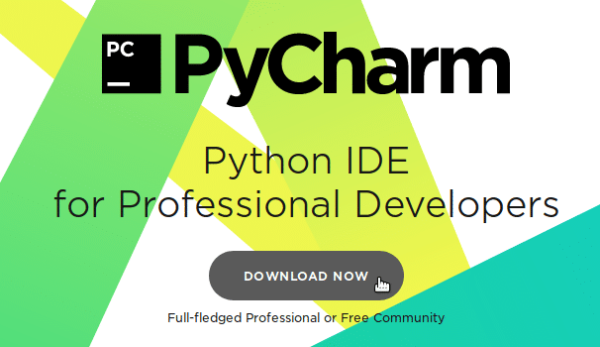
It should take you to the homepage of PyCharm. From here you can download PyCharm.
Note that, PyCharm has two versions. One is called the PyCharm Community, which is completely free and you can use the free license for lifetime. The other one is called PyCharm Professional, which is not free. You must buy a license from JetBrains to use PyCharm Professional. But if you would really like to try out the PyCharm Professional version, you can still download PyCharm Professional and use it for 30 days free of charge and without any limitations.
In this article, I will show you how to install PyCharm Community. But the same procedures apply for PyCharm Professional version. You just have to download the PyCharm Professional version instead of PyCharm Community, that’s all.
Now click on “DOWNLOAD NOW”.
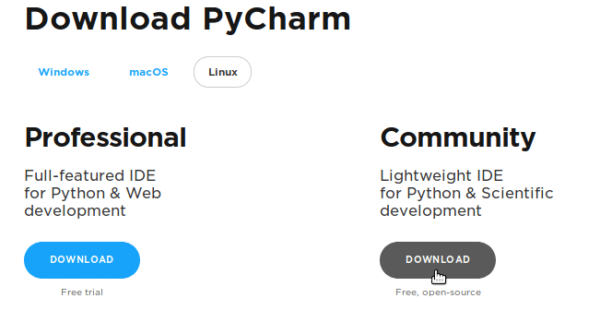
It should take you to the download page of PyCharm as shown in the screenshot:
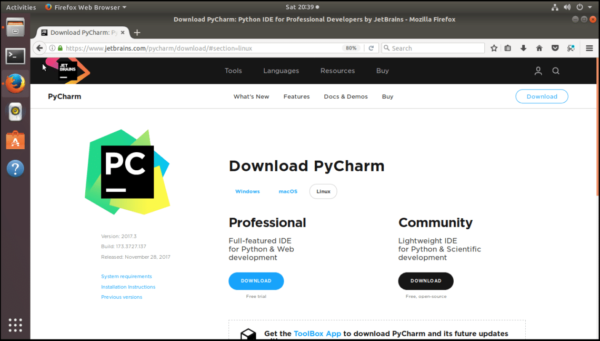
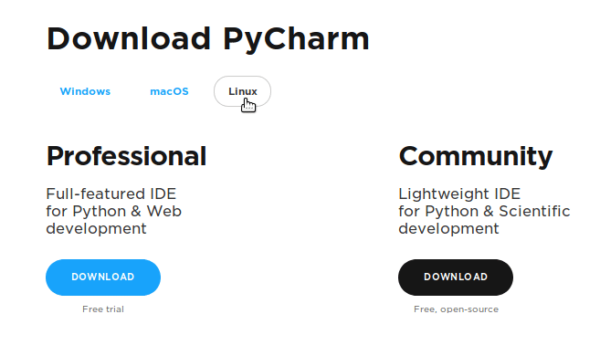
You can see that PyCharm Community and PyCharm Professional versions are available. Make sure “Linux” is selected, not Windows or MacOS as shown in the screenshot:
Now, to download PyCharm Community, click on the black “DOWNLOAD” button.
Your download should start in a while. If it doesn’t, click on the “direct link” link as shown in the screenshot.
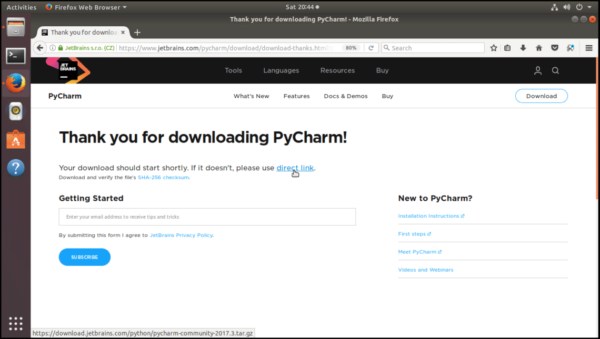
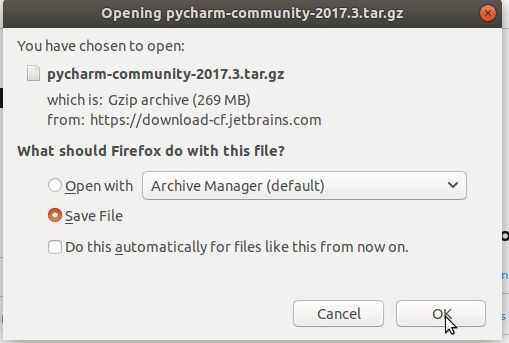
Once the download starts, save the file.
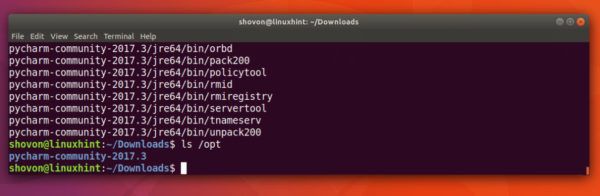
Once the download is complete, open a terminal (Ctrl+Alt+T), and go to the directory where you downloaded the file. Usually it is the Downloads/ directory in your HOME directory.
Run the following command to change the current directory:
$ cd ~/Downloads

If I list the Downloads/ directory, you can see that the downloaded file pycharm-community-2017.3.tar.gz is there:
$ ls

I am going to install PyCharm in /opt directory. You can change it to any directory you want.
To install PyCharm Community in /opt directory, run the following command:
$ sudo tar xvzf pycharm-community-2017.3.tar.gz -C /opt

Once the installation is complete, you can run the following command to see that pycharm is installed in the /opt directory.
$ ls /opt
Now you can run PyCharm from the command line with the following command:
$ /opt/pycharm-community-2017.3/bin/pycharm.sh

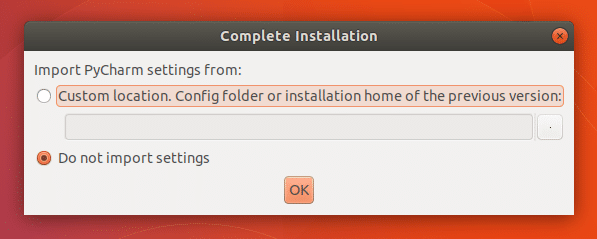
It’s the first time we are running PyCharm, so we don’t have any settings. I will choose “Do not import settings”. Now click on “OK”.
Click on “Accept” to accept the privacy policy.

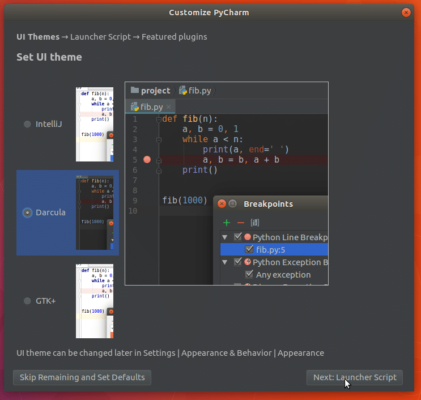
Now choose an UI theme from the following window. I will select Dracula.
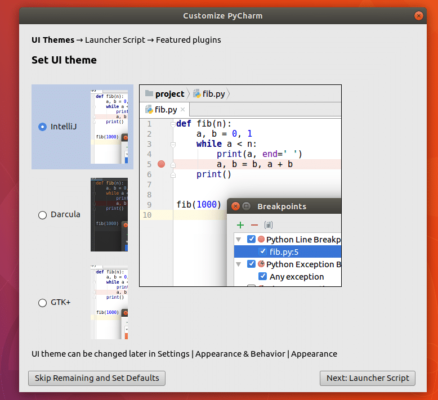
Once you select the UI theme, click on “Next: Launcher Script” button as shown in the screenshot.
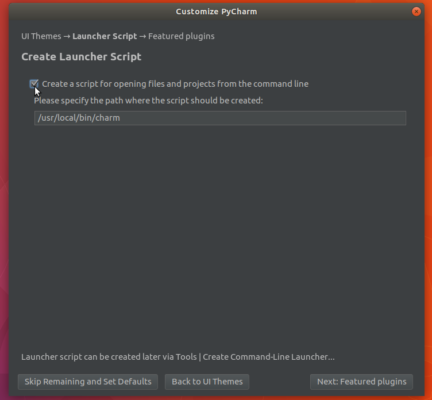
Now mark “Create a script for opening files and projects from the command line” and press “Next: Featured plugins” button.
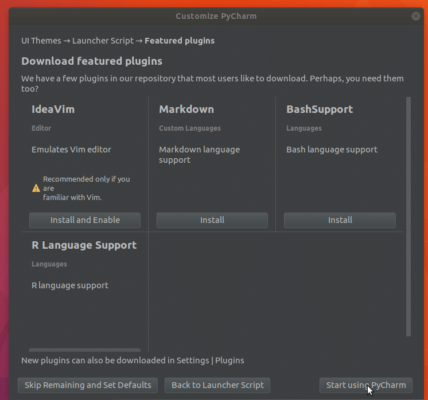
From this window, you can install Markdown, Bash, R etc plugins for PyCharm. Install the ones you like. I will leave the defaults. Once you’re done, click on “Start using PyCharm”.
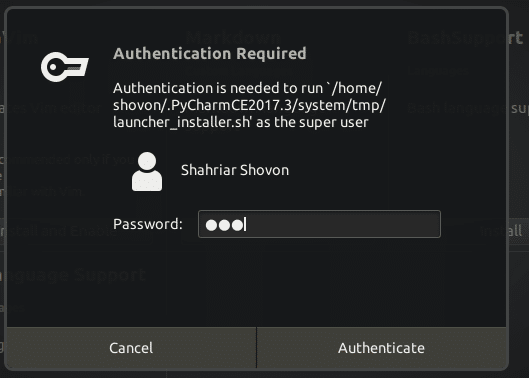
It should ask you for the administrator password. Enter the password and press “Authenticate”.
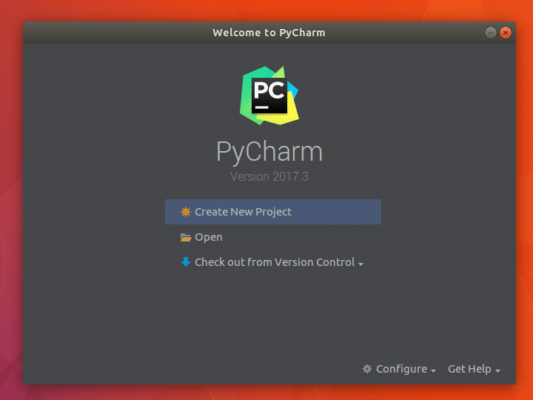
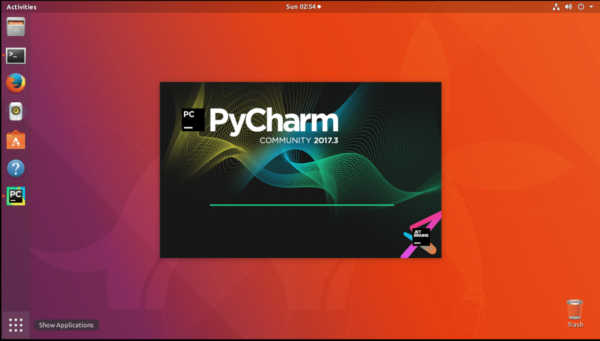
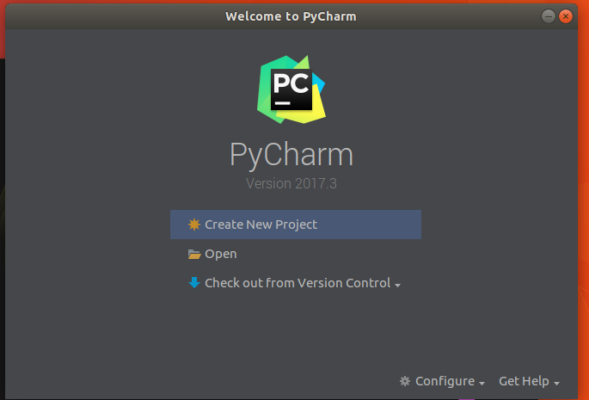
You should see PyCharm loading screen and PyCharm should start:

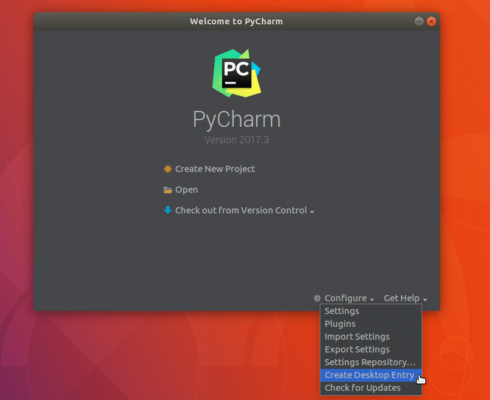
Now we have to create a Desktop icon for PyCharm. That way, we can start PyCharm from the Application Launcher. To create a Desktop icon for PyCharm, click on “Configure” and then click on “Create Desktop Entry” as shown in the screenshot.
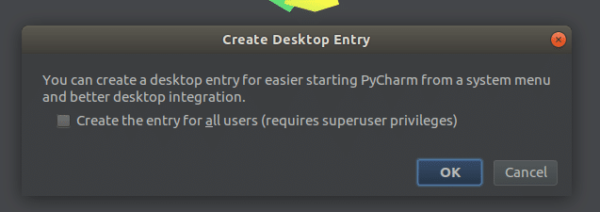
You should see the following prompt. You can create Desktop entry for the current user, or every other user on the system. If you want to create a Desktop entry for the current user only, then just click on “OK”. If you want to create a Desktop entry for all users of the system, click on the checkbox, and press “OK”. I will do the latter.
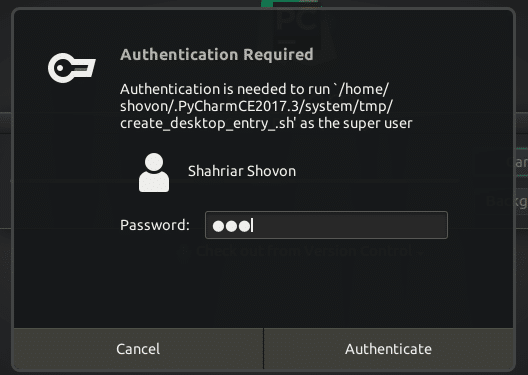
Creating Desktop entry for all users of the system requires administrative privileges. Enter your password and click on “Authenticate”. That’s it.
Now close PyCharm, and click on Show Applications icon. Then you can search for PyCharm there.
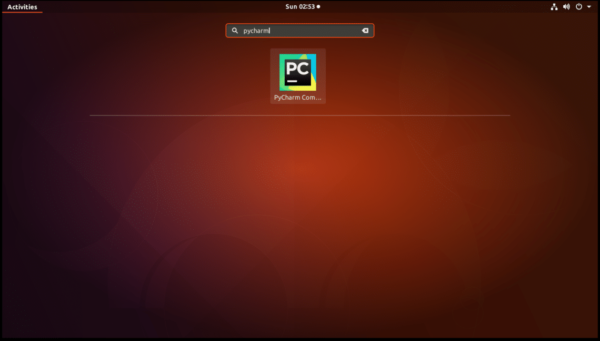
Click on the PyCharm icon, and PyCharm should start.
So that’s how you install PyCharm 2017.3 on Ubuntu 17.10 Artful Aardvark. Thanks for reading this article.