The current version of XFCE Desktop Environment as of this writing is version 4. In this article I will show you how to install XFCE 4 Desktop Environment on Arch Linux. Let’s get started.
Currently, I am using GNOME3 Desktop Environment on Arch 64bit 2017 operating system.
As you can see from the screenshot, I am using Arch Linux with kernel version 4.14.8
GNOME3 Desktop Environment is kind of cool. But it takes up too much memory as you can see from the screenshot below. 1.1 GB of RAM just for running the basic GNOME3 Desktop with no other program other than GNOME System Monitor opened. That’s a lot of RAM being used for no good reason. This is why some people prefer XFCE4 desktop and other lightweight desktop environments.
You can install XFCE4 Desktop Environment on Arch Linux very easily. Everything you need to get a fully functional XFCE4 Desktop Environment on Arch Linux is in the official package repository of Arch Linux. All you have to do is install the required packages with pacman package manager.
First run the following command to update the packages of your Arch Linux operating system to the latest version:
Press ‘y’ and then press <Enter> to continue.
All the packages are updated to their latest version as you can see from the screenshot below.
Now to install XFCE4 Desktop, run the following command:
Pacman should prompt you to choose what package you want to install. If you’re new to Linux or Arch, I recommend the default option, which is to install all of them. Most of the time, this is what you want.
Just press <Enter> to continue with the default option.
Now Pacman should ask you to choose some packages again. The default option is to install all of them. I would recommend you pick the default option unless you have some other requirements.
Press <Enter> to select the default option.
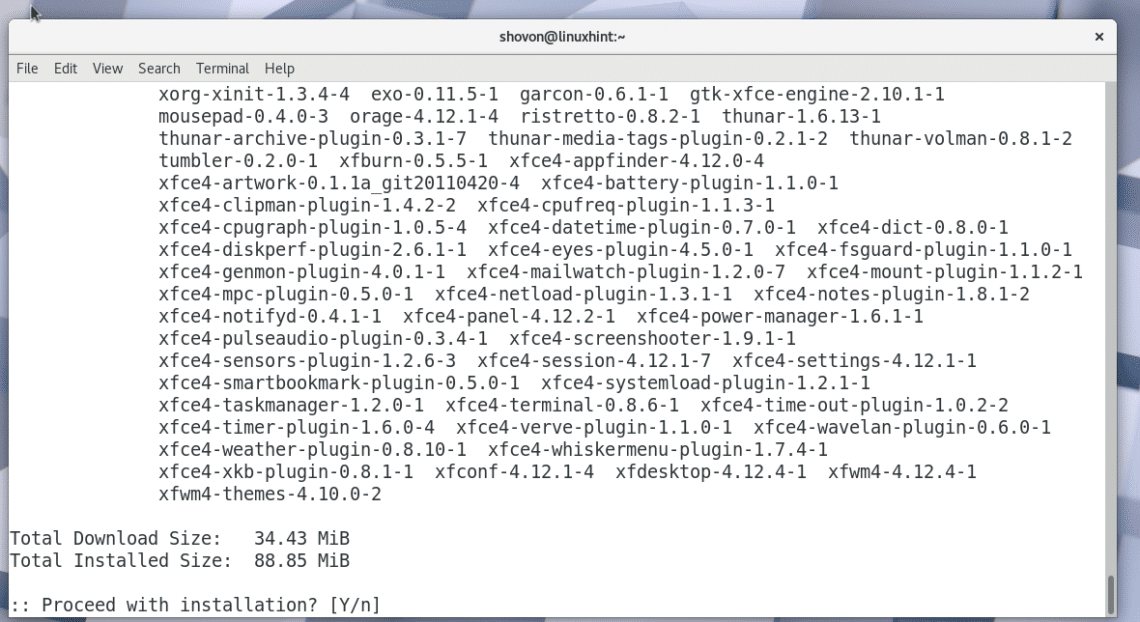
Now press ‘y’ and press <Enter> to confirm that you want to install these packages.
Once you confirm pacman to install these packages, your installation should begin. Pacman will download everything from the internet, which may take a while depending on your internet connection.
Once the installation is complete, you should see this.
Now you have to restart your computer. If you’re using GNOME3 like me, just click on the top right corner of your desktop and click on the power icon as shown in the screenshot below.
You should see the following window. Just click on “Restart”. Your computer should restart.
If you’re not using GNOME3 Desktop Environment, you can always use the command line interface to restart your computer.
Run the following command to restart your computer:
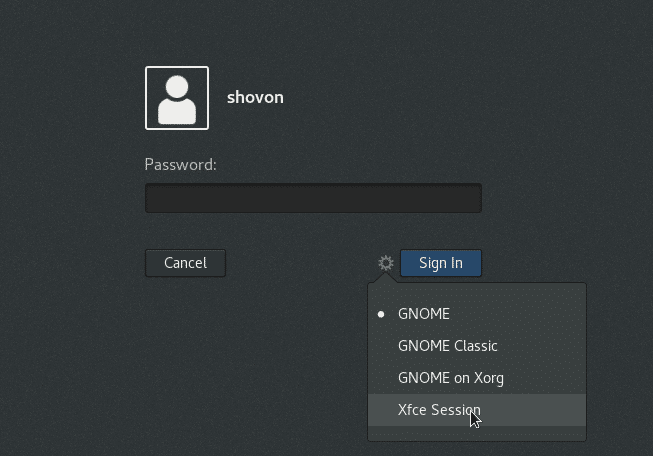
Once your computer boots, you should see something like this. I am using GDM. You should be able to select XFCE4 desktop environment from your DM (Desktop Manager).
Now type in the login password and click on “Sign In” or similar button depending on your DM.
As you’re running XFCE4 Desktop Environment for the first time, you should see the following window. It’s asking whether you want the default XFCE4 panel or an empty panel. If you’re new to XFCE4 desktop environment, just click on the “Use default config” button.
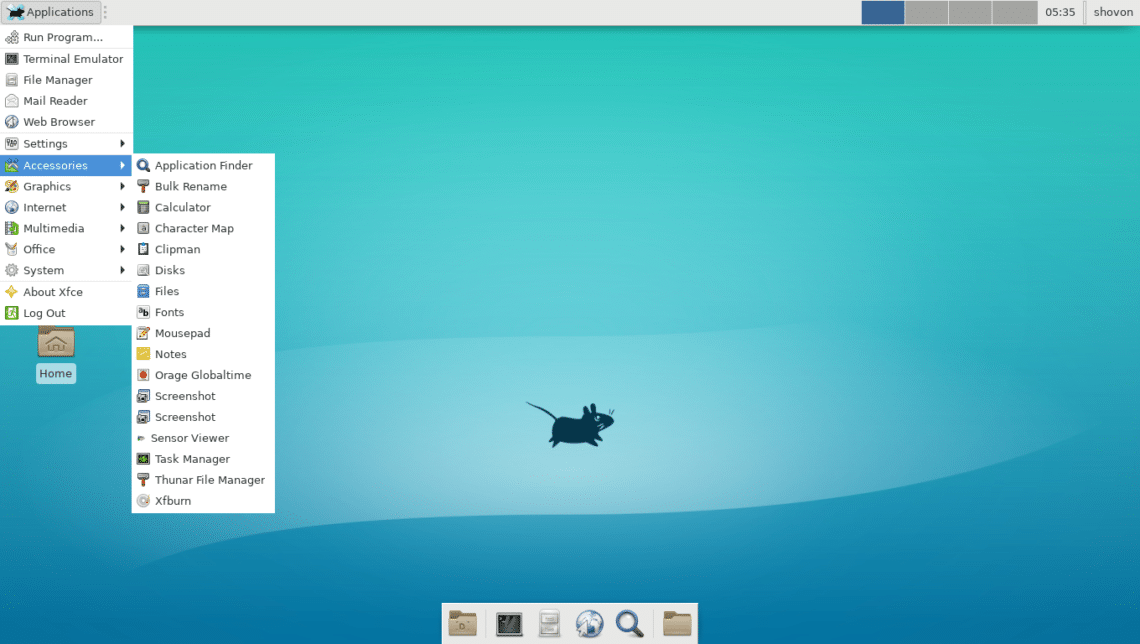
The panel of your XFCE4 desktop should load as shown in the screenshot below. This is how your XFCE4 desktop may look on Arch Linux by default.
If you open GNOME System Monitor, you should see that the memory usage is much lower than GNOME3 Desktop Environment. Only 687 MB of memory was needed for the operating system to run. Good news for your other important programs!
So that’s how you install XFCE4 Desktop Environment on Arch Linux. Thanks for reading this article.


