Adding Zabbix Package Repository:
Zabbix is not available in the official package repository of Ubuntu 18.04 LTS. But, you can easily add the official pakage repository of Zabbix on Ubuntu 18.04 LTS and install Zabbix from there.
First, navigate to the ~/Downloads directory with the following command:

Now, download the Zabbix package repository DEB file with the following command:
zabbix-release_4.0-2+bionic_all.deb

The DEB package file should be downloaded.
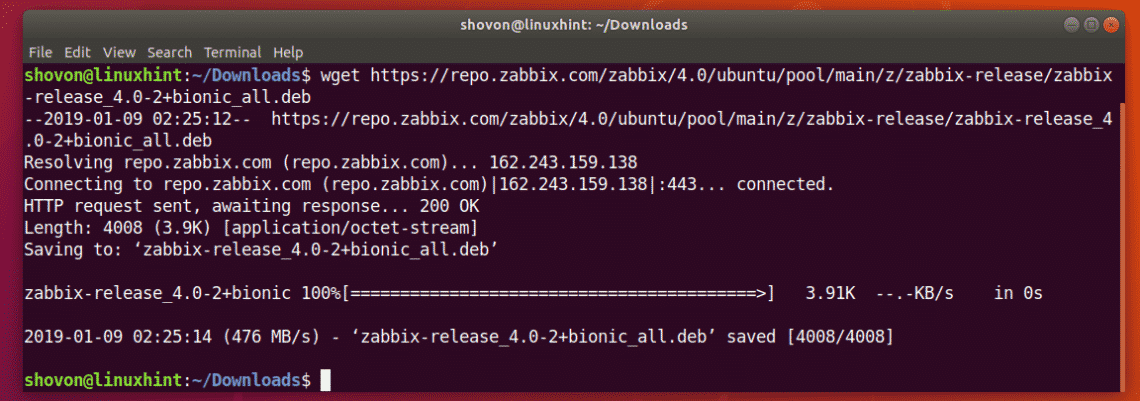
As you can see, a new DEB file is downloaded in the ~/Downloads directory.

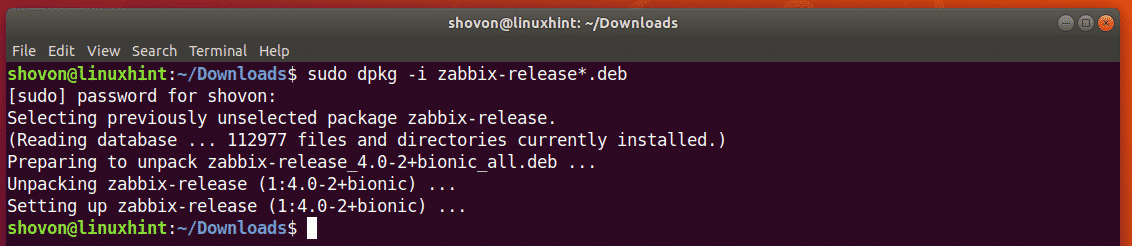
Now, install the DEB package file with the following command:

The Zabbix official package repository should be added.
Updating APT Package Repository Cache:
Now, you have to update the APT package repository cache.
To do that, run the following command:

The APT package repository cache should be updated.

Installing and Configuring Zabbix:
Now, you can install Zabbix with the following command:

Now, press y and then press <Enter>.
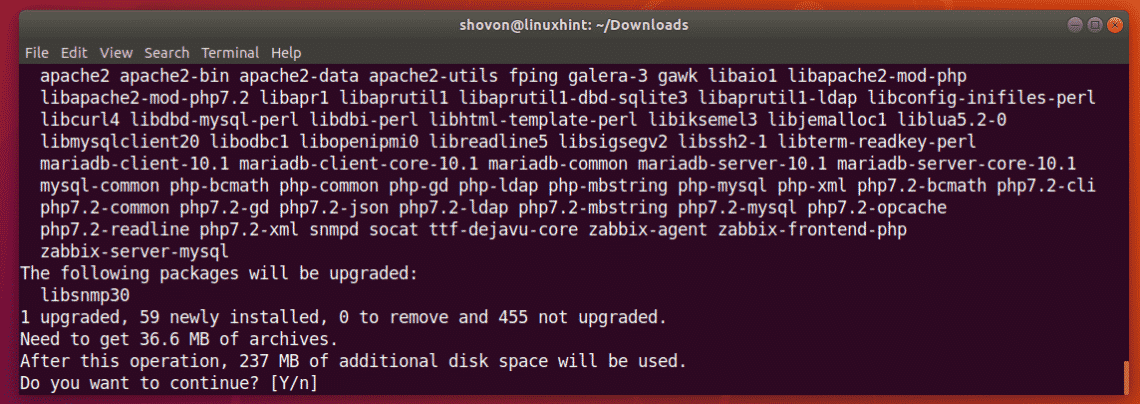
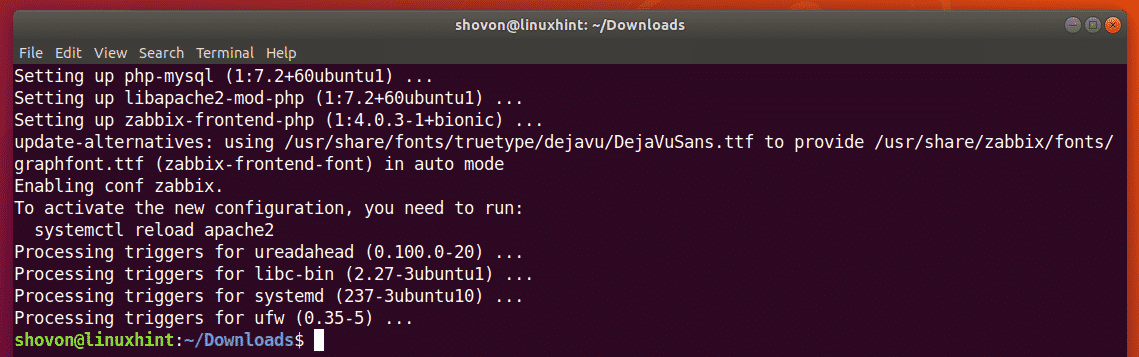
Zabbix is being installed.

Zabbix is installed at this point.
Now, you have to create a MySQL/MariaDB database for Zabbix.
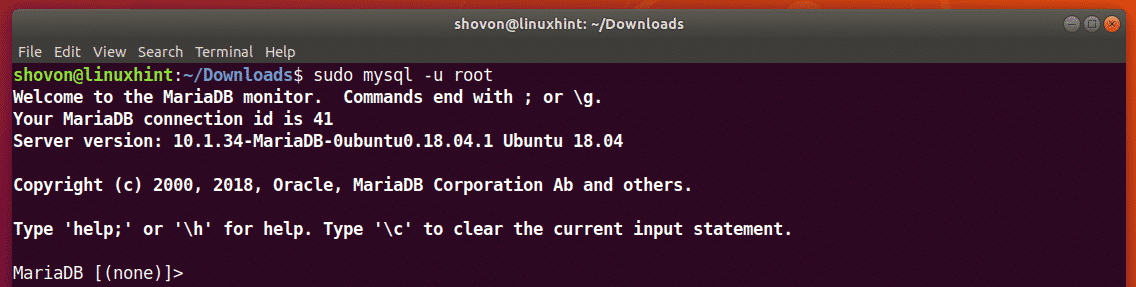
To do that, start MySQL/MariaDB console as root with the following command:

If you have MySQL/MariaDB password set for the root user, then you can use the following command to login to the console as root:
And then enter the password and you should be logged in.
Once you’re logged into the MySQL/MariaDB console, it should look something like this.
Now, create a database zabbix with the following SQL command:
The database zabbix should be created.

Now, grant all privileges to the user zabbix to the database zabbix you just created and also set a password for the user zabbix with the following SQL command:
‘YOUR_PASSWORD_HERE’;
NOTE: Make sure to replace YOUR_PASSWORD_HERE with your desired password.
The required permissions should be granted and the password should be set. I set the password zabbix in this article for simplicity.

Now, exit out of the MySQL/MariaDB console with the following command:

Now, create the required tables with the following command:
NOTE: Make sure you replace the password zabbix with the password that you set.

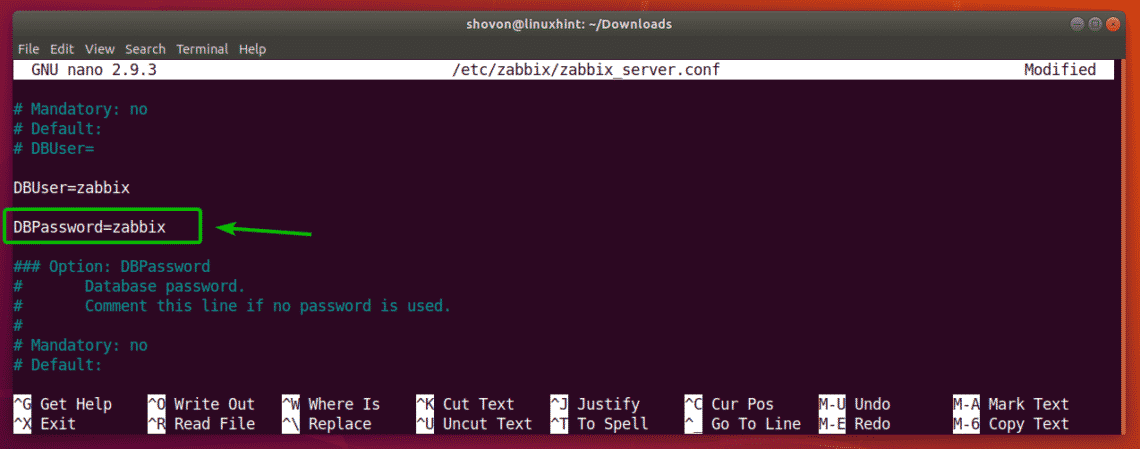
Now, you have to edit the Zabbix configuration file /etc/zabbix/zabbix_server.conf with the following command:

Now, find the line DBUser=zabbix and add a new line below it as marked in the screenshot below. Once you’re done, press <Ctrl> + x followed by y and then press <Enter> to save the file.
NOTE: DBPassword=zabbix, sets the database password to zabbix. Replace zabbix with the password that you set.
Now, you have to set the correct time zone to the PHP engine. To do that, edit the configuration file /etc/zabbix/apache.conf with the following command:

Now, scroll down a little bit and find the marked lines. Remove the hash (#) sign to uncomment them and change Europe/Riga to your desired time zone. You can find more information on what to put there at https://en.wikipedia.org/wiki/List_of_tz_database_time_zones.

The final configuration file in my case looks as follows. Once you’re done, press <Ctrl> + x followed by y and then press <Enter> to save the file.

Now, restart zabbix-server, zabbix-agent and apache2 services with the following command:

Now add zabbix-server, zabbix-agent and apache2 services to the system startup of your Ubuntu 18.04 LTS machine with the following command:

zabbix-server, zabbix-agent and apache2 services should be added to the system startup and they will start automatically when your computer boots from now on.

Now, run the following command to find the IP address of your Ubuntu 18.04 LTS machine:
As you can see, in my case the IP address of my Ubuntu 18.04 LTS machine is 192.168.21.128. It should be different for you. So, make sure you replace it with yours from now on.

Now, visit http://192.168.21.128/zabbix from your favorite web browser and you should see the following page. As you’re running Zabbix frontend for the first time, you have to configure the Zabbix frontend. To do that, click on Next step.

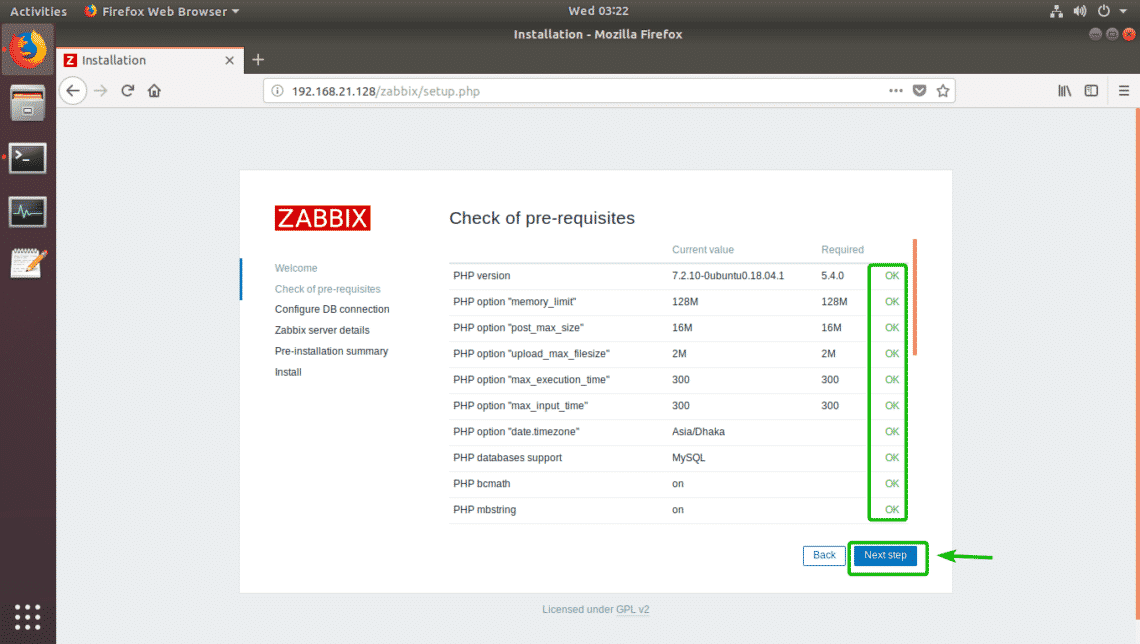
Now, make sure all of the pre-requisites are OK. Then, click on Next step.
Now, type in the password for the MySQL/MariaDB database user zabbix (in my case it is zabbix) and click on Next step.

Now, click on Next step.
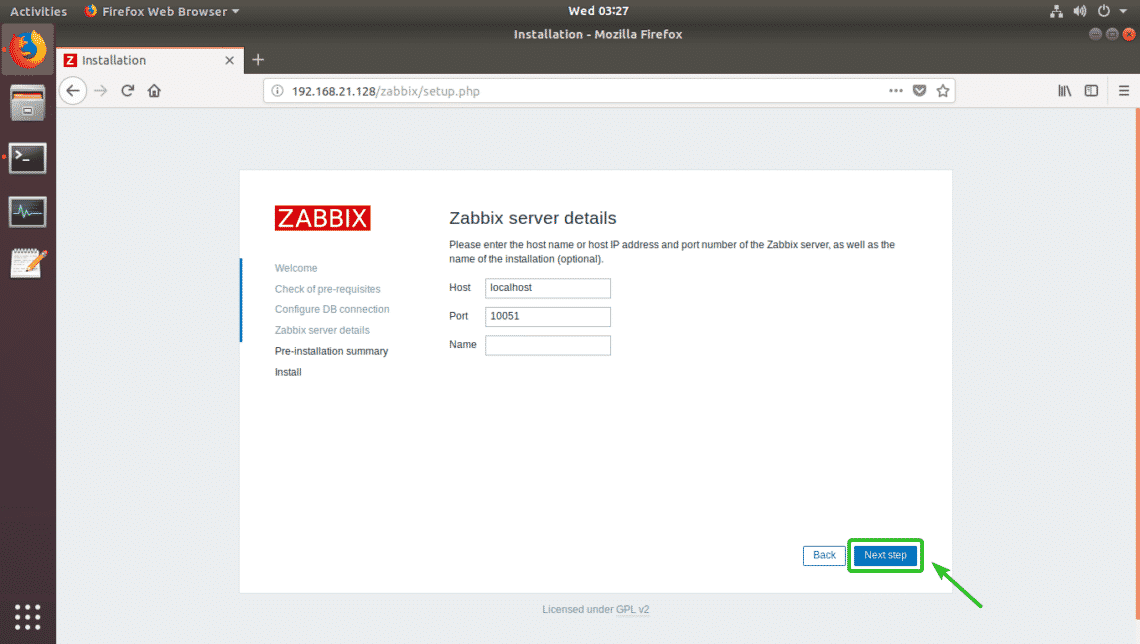
Make sure all the information is correct. Then, click on Next step.

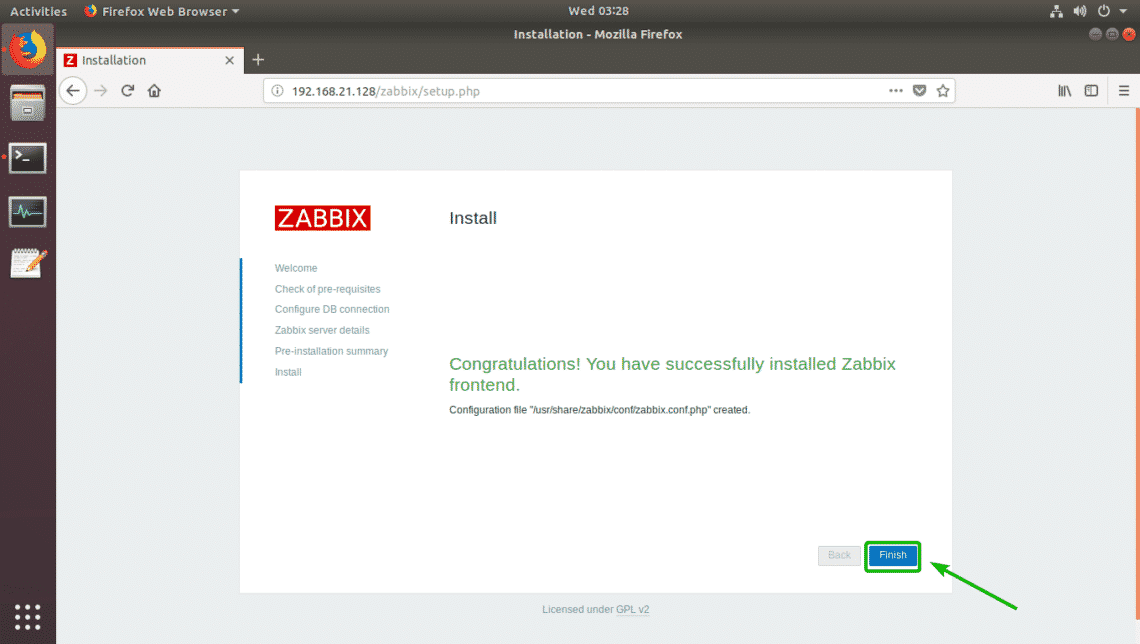
Zabbix should be successfully configured. Now, click on Finish.
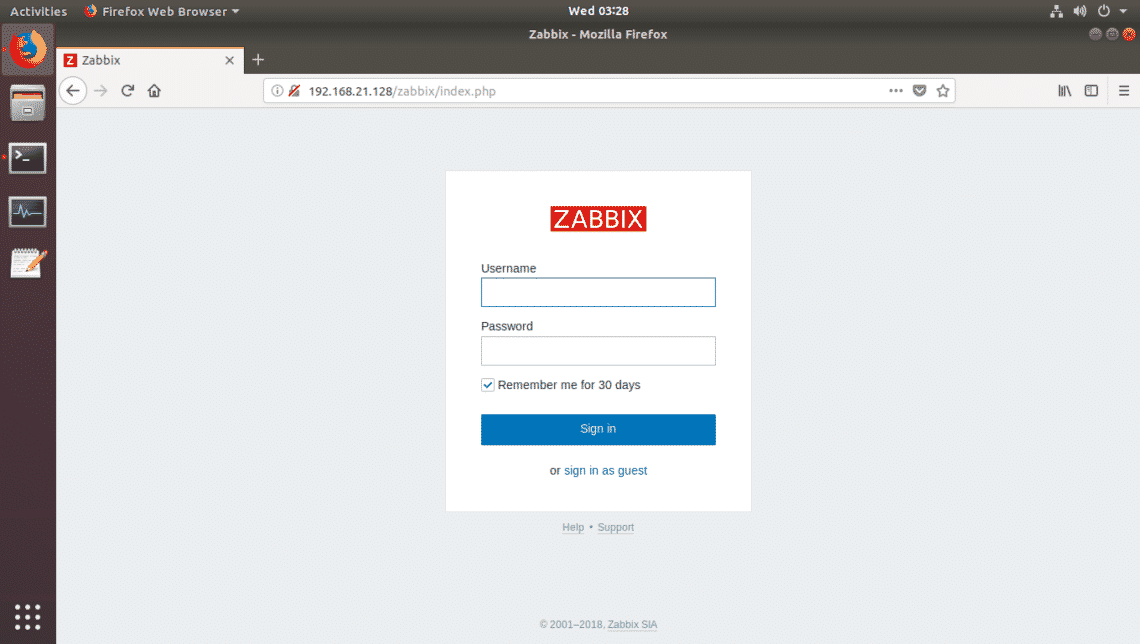
Now you should be able to login as the default user Admin with the default password zabbix.
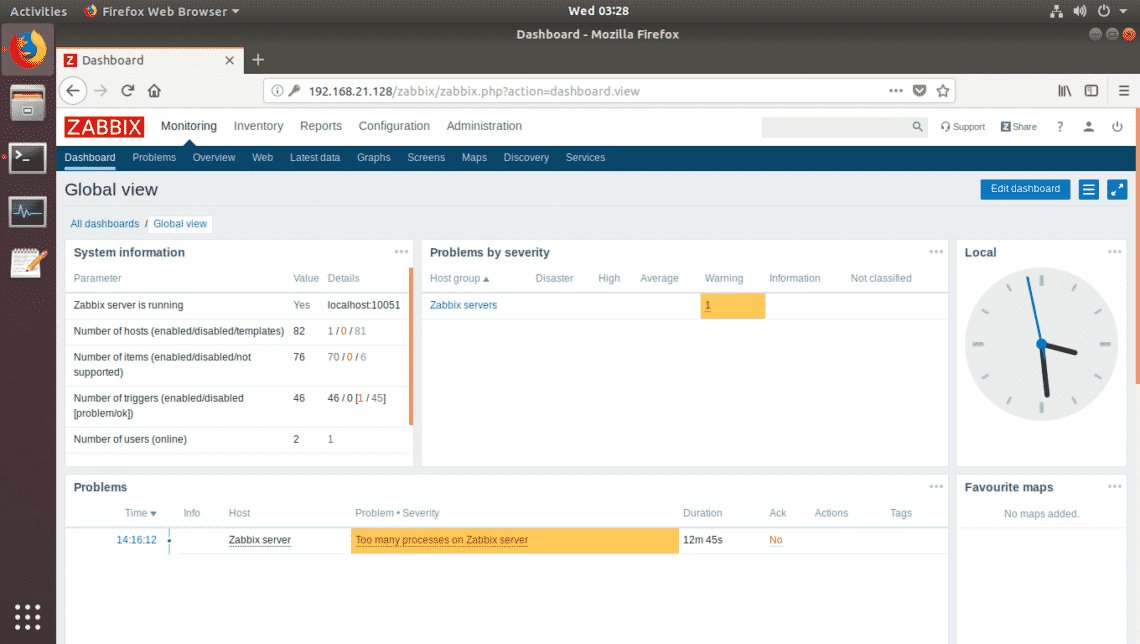
Once you log in, you should see the Zabbix dashboard. Now, you can use Zabbix as much as you want.
That’s how you install Zabbix on Ubuntu 18.04 LTS. Thanks for reading this article.