Installing GCC and C/C++ Build Tools:
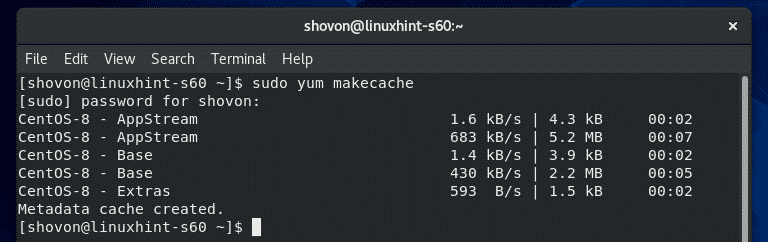
First, update the YUM package repository cache with the following command:

The YUM package repository cache should be updated.
On CentOS 8, all the C/C++ development tools can be installed very easily by installing the Development Tools group.
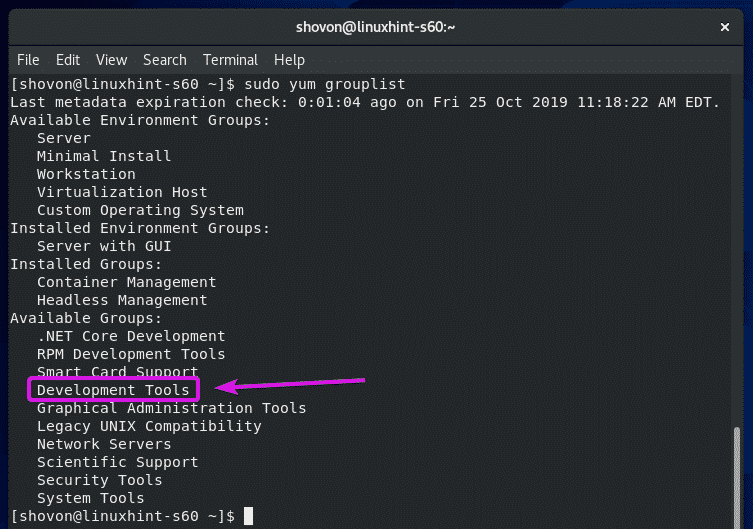
To install the Development Tools group of packages, run the following command:

To confirm the installation, press Y and then press <Enter>.

YUM package manager should download all the packages from the internet and install them on your CentOS 8 machine.

At this point, GCC and all the required C/C++ build tools should be installed.

To confirm whether GCC is working correctly, run the following command:

As you can see, GCC is working correctly.

Now, to check whether G++ is working correctly, run the following command:

As you can see, G++ is working correctly.

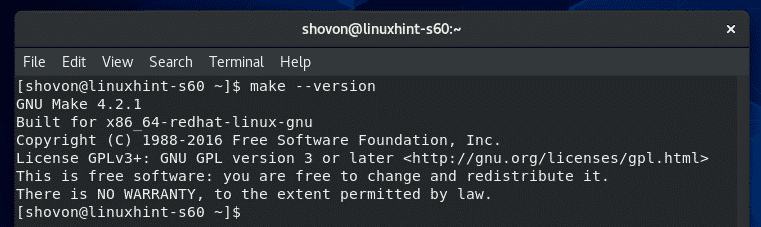
To check whether make tool is working correctly, run the following command:

As you can see, make is working correctly.
Writing Your First C and C++ Program:
In this section, I am going to show you how to write your first C and C++ program, compile them using GCC and run them. So, let’s continue,
NOTE: A C program source file must end with the extension .c and C++ program source file must end with the extension .cpp. You must always remember that.
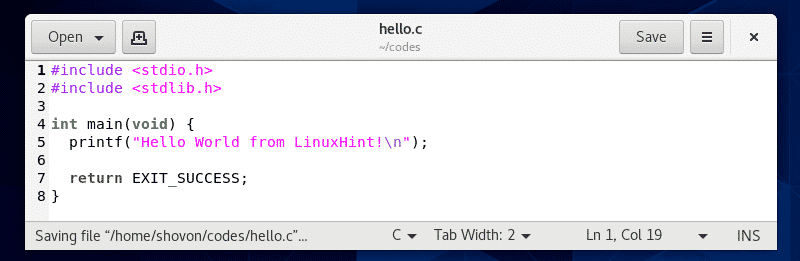
First, create a C program source file hello.c and type in the following lines of codes.
#include <stdlib.h>
int main(void) {
printf("Hello world from LinuxHint!n");
return EXIT_SUCCESS;
}
The final source code file should look like this.
Once you’ve written your C program, navigate to the directory (in my case ~/codes directory) where you saved the hello.c C source file as follows:

As you can see, the hello.c C source file is in this directory.

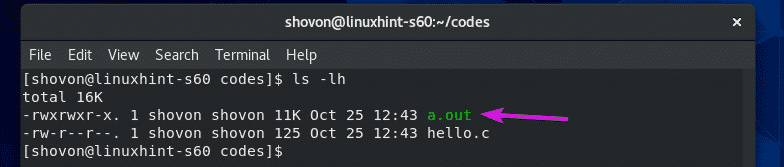
Now, to compile the C source file hello.c, run the following command:

If you don’t specify a name for the compiled binary/executable file, a.out will be the default name for the compile binary/executable file.
If you want to give your compiled binary/executable file a name i.e. hello, compile the C source file hello.c with the following command:
NOTE: Here, -o option defines the output file or compiled binary/executable file name.

Once the C source file hello.c is compiled, a new compiled binary/executable file hello should be generated as you can see in the screenshot below.
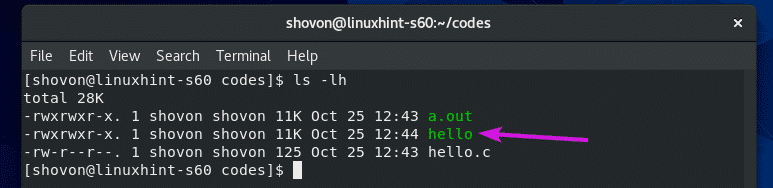
Now, run the compiled binary/executable file hello as follows:

As you can see, the desired output is printed on the screen.

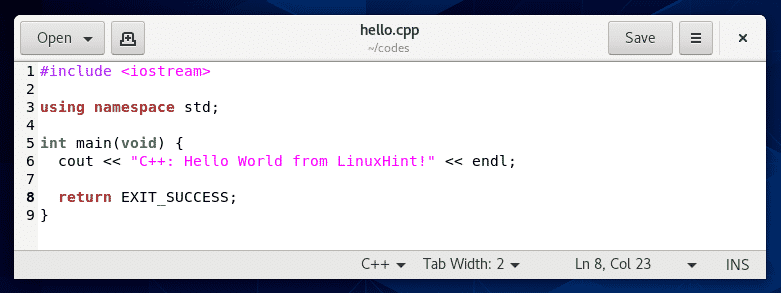
Now, create a new C++ source file hello.cpp and type in the following lines of codes.
using namespace std;
int main(void) {
cout << "C++: Hello world from LinuxHint!" << endl;
return EXIT_SUCCESS;
}
The final source code file should look like this.
As you can see, the hello.cpp C++ source file is in the ~/codes directory.

Now, compile the C++ source file hello.cpp and give the compiled binary/executable file a name hello-cpp with the following command:

Once the C++ source file hello.cpp is compiled, a new compiled binary/executable file hello-cpp should be created as you can see in the screenshot below.

Now, run the hello-cpp compiled binary/executable file as follows:

As you can see, the desired output is printed on the screen.

So, that’s how you install GCC and C/C++ build tools on CentOS 8 and write your first C/C++ programs. Thanks for reading this article.