Installing MySQL/MariaDB:
MySQL is not available in the official package repository of Debian 10. But, MariaDB is available. MariaDB is a fork of MySQL and is an open source implementation of MySQL. MariaDB has the same set of tools, syntax and features as in MySQL. MariaDB community is also very large. You can use MariaDB instead of MySQL unless you need any paid support from Oracle.
Let’s see how to install MariaDB on Debian 10.
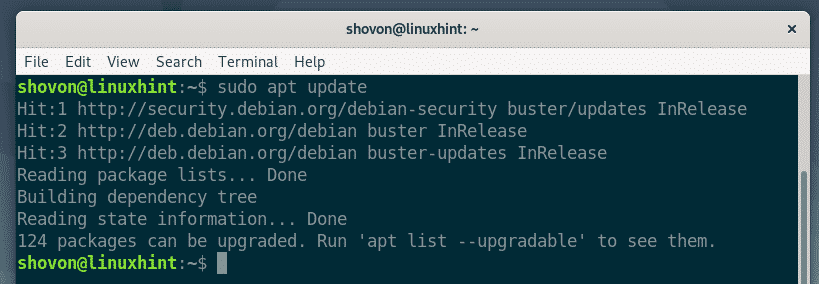
First, update the APT package repository cache with the following command:

The APT package repository cache should be updated.
Now, install MariaDB server and MariaDB clients with the following command:

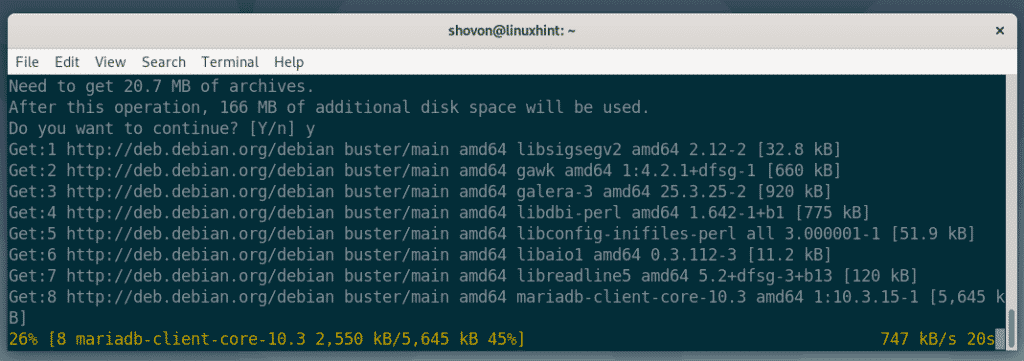
Now, press Y and then press <Enter> to confirm the installation.
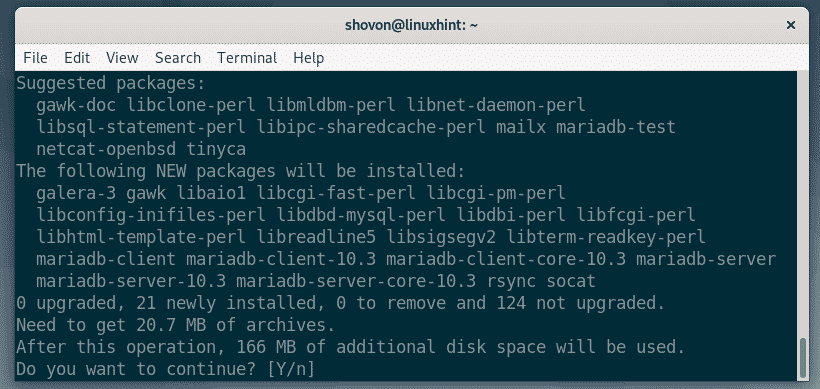
The APT package manager should download and install all the required packages.
At this point, MariaDB should be installed.

Starting and Stopping the MariaDB Service:
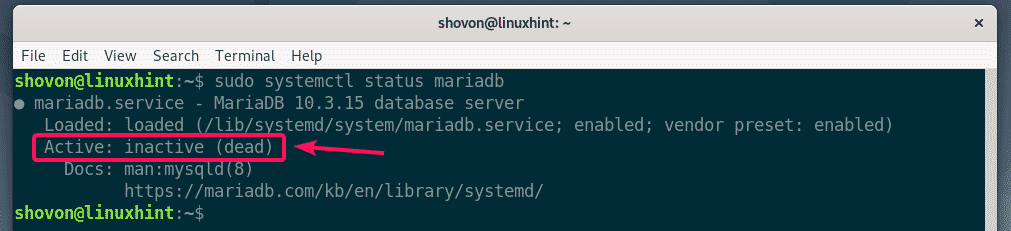
Once MariaDB is installed, you can check whether mariadb service is running with the following command:

As you can see, the mariadb service is inactive. It’s not running.
To start the mariadb service, run the following command:

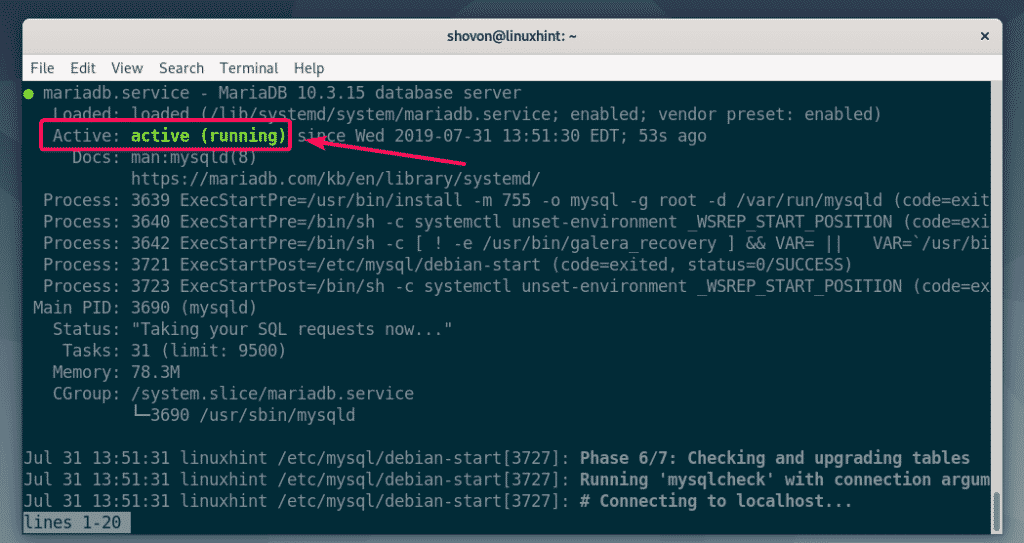
Now, check whether the mariadb service is running again.

As you can see, mariadb service is active. So, it’s running.
If you want to stop the mariadb service for some reason, then you can run the following command:
If you change the configuration files of MariaDB, then you have to restart the mariadb service. You can restart the mariadb service with the following command:
Adding and Removing MariaDB Service from the System Startup:
If you want to start MariaDB automatically when your server/computer boots, run the following command:

If you don’t want to start MariaDB automatically when your server/computer boots, rather start it when you actually want to use it, then you can disable the mariadb service with the following command:

Setting Up Root Password and Securing MariaDB:
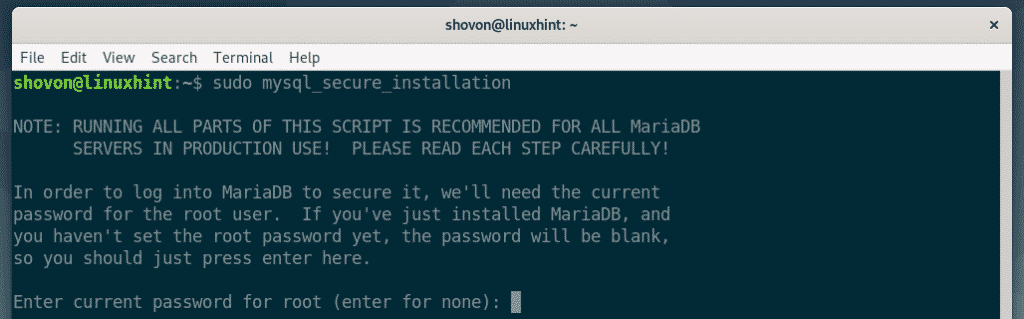
Just like MySQL, MariaDB also comes with the mysql_secure_installation utility. You can use it to set up a root password, allow/disallow remote login, remove test databases, remove anonymous users very easily. Thus, mysql_secure_installation utility makes MariaDB production ready.
To start the mysql_secure_installation interactive utility, run the following command:

By default, no MariaDB password is set. So, leave it empty and press <Enter>.
To set a root password, press Y and then press <Enter>.

Now, type in a new root password and press <Enter>.

Now, re-type the root password and press <Enter>.

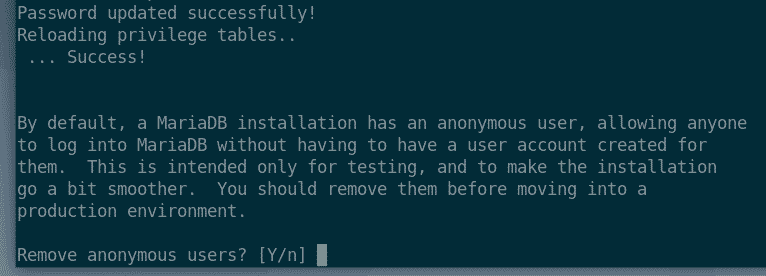
Now, to remove all the anonymous users, press Y and then press <Enter>.
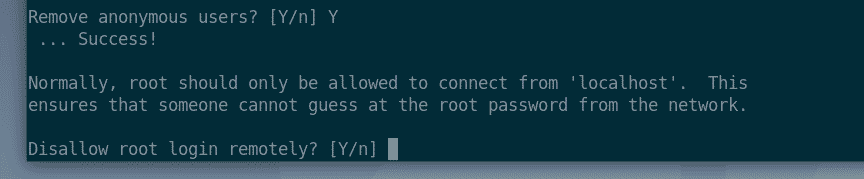
If you don’t want to allow the root user to login remotely (from another client on a different computer), then press Y and then press <Enter>.
If you want to allow root user login from remote computers, then press N and then press <Enter>.
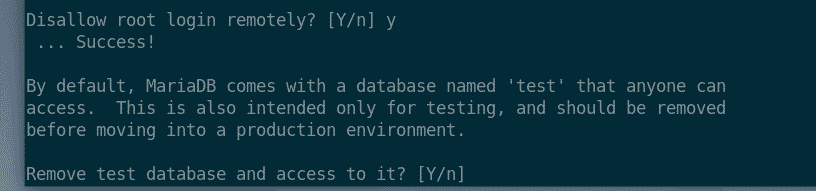
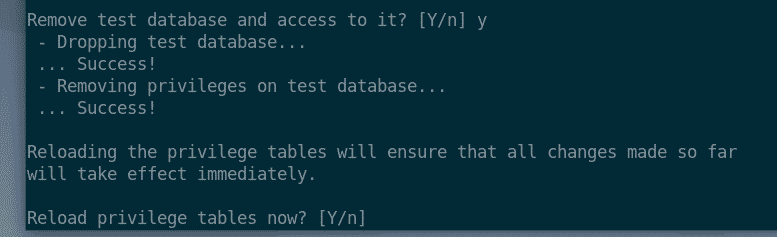
Now, to remove the test database, press Y and then press <Enter>.
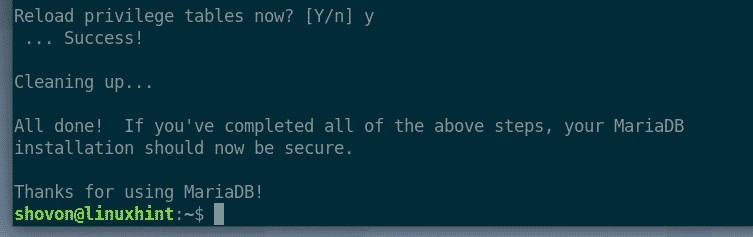
Now, reload the privilege tables for the changes to take effect by pressing Y and then <Enter>.
MariaDB should be secured and ready for production.
Login to the MariaDB Shell as root:
You can administer (i.e. create new users, modify existing users, remove users, grant permissions to users, revoke permissions from users etc) MariaDB server by login in to the MariaDB shell as root user.
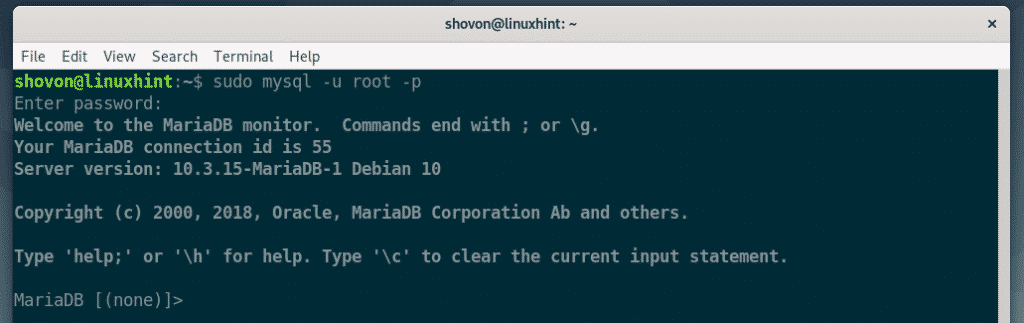
To log in to the MariaDB shell as root, run the following command:

Now, type in the root password that you’ve just set and press <Enter>.

You should be logged in to the MariaDB shell as root. You can run SQL queries here.
To exit out of the MariaDB shell, just type in quit and press <Enter>.

Creating a New MariaDB User:
You should not use the root user for every tasks in a production server. A better and secure way is to create an ordinary user and give access to a specific database to that user. You can also grant access to all the available database to the ordinary user as well.
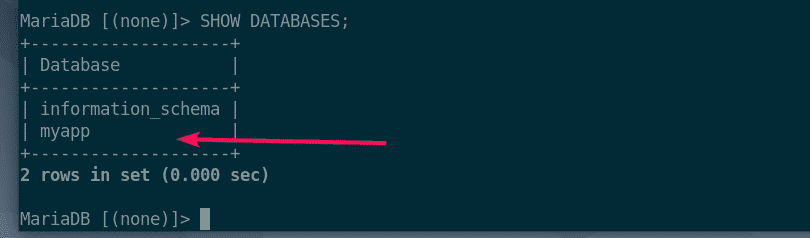
First, create a database myapp that you want to allow access to the new user with the following SQL query.

Now, Let’s say, you want to create a new user bob and grant bob access to myapp database. To do that, run the following SQL query.
NOTE: Replace bob_password with the password that you want to set for the user bob.

Now, run the following SQL query for the changes to take effect.

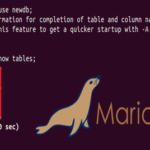
If you want to allow the user bob to access another database (let’s say, newdatabase), you can simply run the following SQL query.
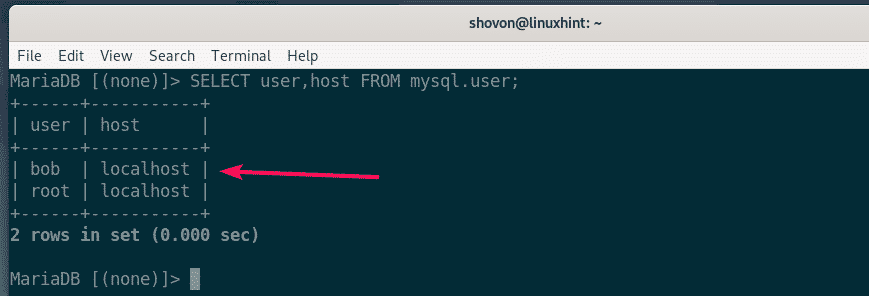
To list all the MariaDB users, run the following SQL command from the root MariaDB shell.
As you can see, the user bob is listed.

If you want to allow the user bob to access another database (let’s say, newdatabase), you can simply run the following SQL query.
To list all the MariaDB users, run the following SQL command from the root MariaDB shell.
As you can see, the user bob is listed.
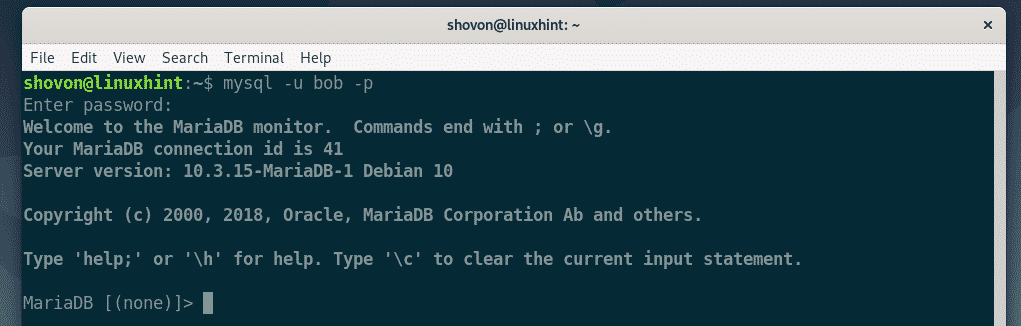
Now, you bob can login to the MariaDB shell with the following command:

Now, type in the password of bob and press <Enter>.

bob should be logged in to the MariaDB shell.
Now to list the databases bob has access to, run the following SQL query.
As you can see, the myapp database that bob is granted access to earlier is listed.
So, that’s how you install MySQL/MariaDB on Debian 10 Buster. Thanks for reading this article.