In this article, I am going to show you how to install pgAdmin 4 on Debian 10 Buster. So, let’s get started.
Adding Official PostgreSQL Package Repository:
pgAdmin 4 is not available in the official package repository of Debian 10 Buster. But, you can easily add the official package repository of PostgreSQL on Debian 10 and install pgAdmin 4 from there.
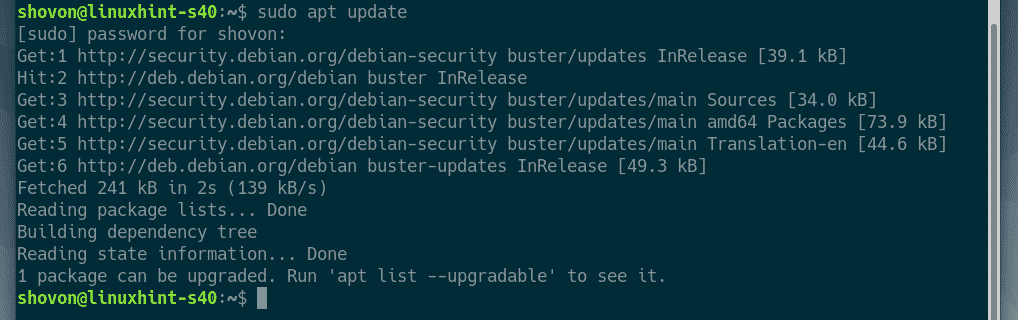
First, update the APT package repository cache with the following command:
Now, install curl, ca-certificates and gnupg packages with the following command:

Press Y and then press <Enter> to confirm the installation.
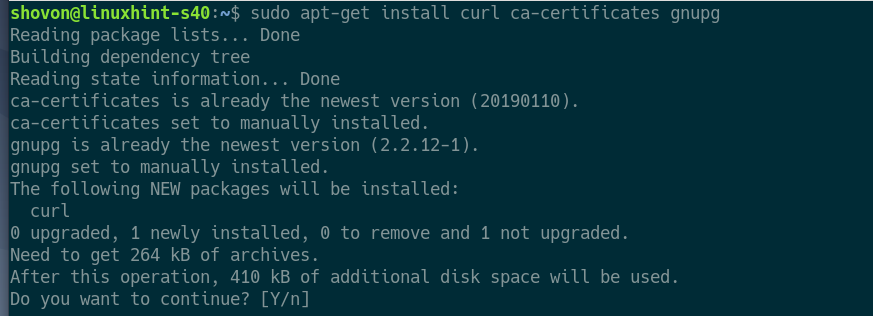
curl, ca-certificates and gnupg should be installed.

Now, add the GPG key of the PostgreSQL official package repository to the APT package manager with the following command:

The GPG key should be added to the APT package manager.

Now, add the official PostgreSQL package repository on your Debian 10 machine with the following command:
| sudo tee /etc/apt/sources.list.d/postgresql.list

The official PostgreSQL package repository should be added.

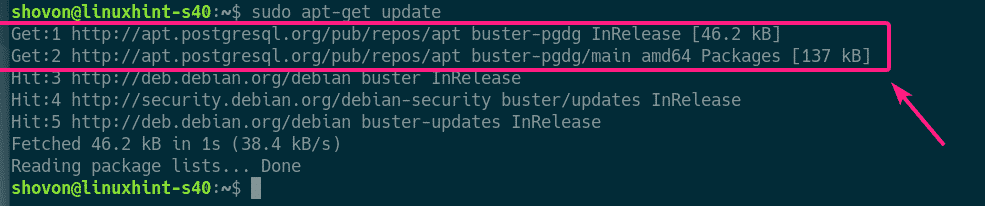
Now, update the APT package repository cache with the following command:

The APT package repository cache should be updated. As you can see, the official package repository of PostgreSQL is in the list. So, the official package repository of PostgreSQL is active.
Installing PostgreSQL:
To use pgAdmin 4, you need to have at least one PostgreSQL database server. You can have it installed on a different computer than where you have pgAdmin 4 installed. You can also install PostgreSQL database and pgAdmin 4 on the same computer.
In this article, I am going to install PostgreSQL and pgAdmin 4 on the same Debian 10 computer.
To install the latest stable version of PostgreSQL (PostgreSQL 11 at the time of this writing), run the following command:

Now, press Y and then press <Enter> to confirm the installation.

PostgreSQL should be installed.

Now, check whether postgresql service is active with the following command:
As you can see, postgresql service is active. It’s also enabled to start automatically on system boot.
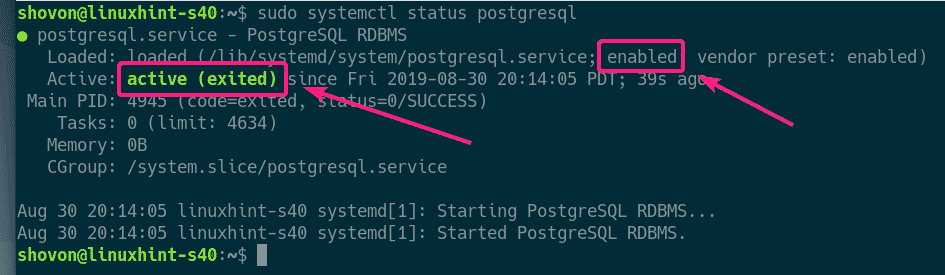
If postgresql service is not active in your case, run the following command to start it.
Setting a Password for the postgres PostgreSQL User:
In order to access PostgreSQL from pgAdmin 4, you must set up a password for your PostgreSQL database user that you want to use for login in to the PostgreSQL database server. I will set up a password for the default PostgreSQL user postgres in this article just to keep things simple.
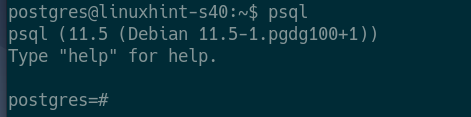
First, login as the postgres user with the following command:

Now, start the PostgreSQL shell with the following command:
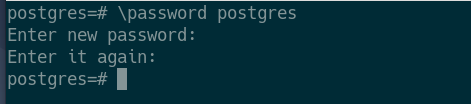
Now, set a password for the postgres database user as follows:

Now, type in a new password for the postgres user and press <Enter>.

Type in the same password again and press <Enter>.

Your desired password should be set for the postgres database user.
Now, exit out of the PostgreSQL shell as follows:

Now, log out of the postgres user’s shell as follows:

Installing pgAdmin 4:
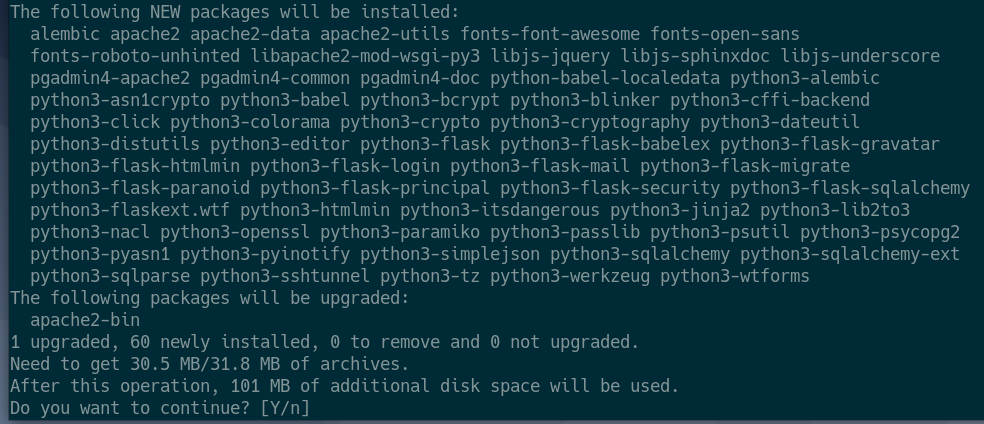
Now, you can install pgAdmin 4 on your Debian 10 machine with the following command:

Press Y and then press <Enter> to confirm the installation.
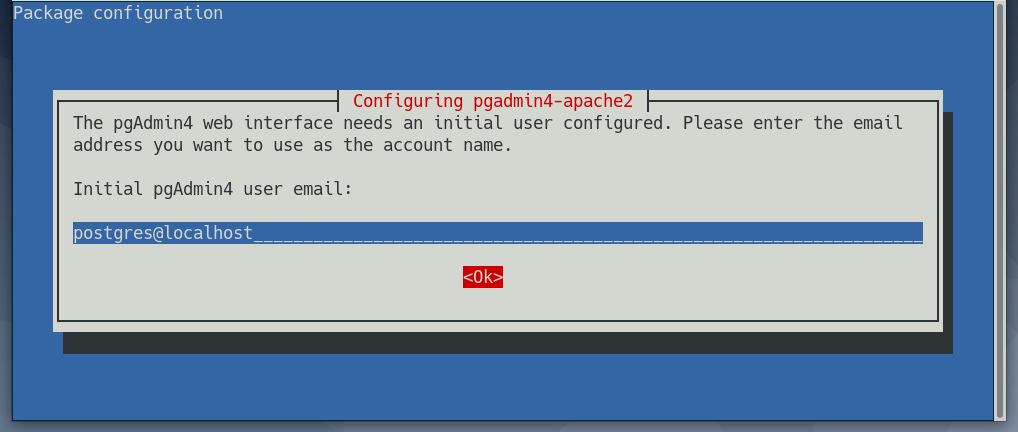
Now, type in an email address for pgAdmin 4 and press <Enter>. You will need this to login to the pgAdmin 4 web interface. If you don’t know what it is, then the default user email postgres@localhost is fine.
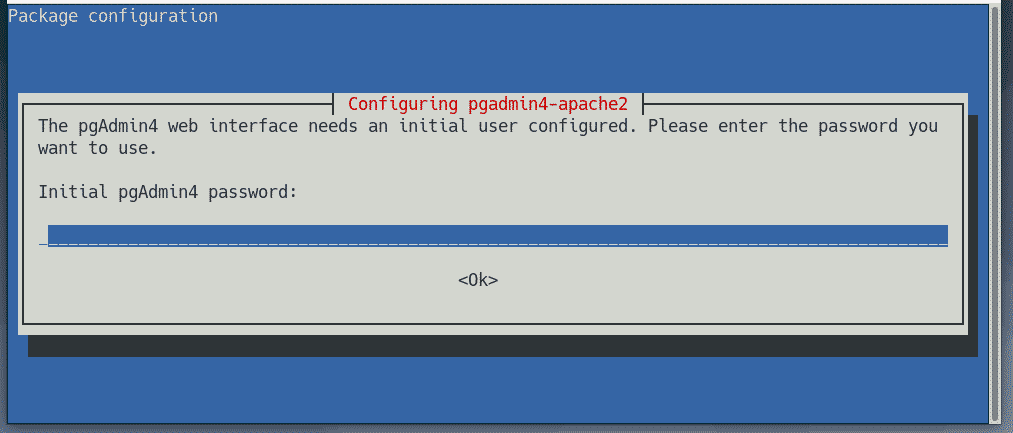
Now, type in a password for the user email of pgAdmin 4 and press <Enter>. Remember the password as you will need it to login to the pgAdmin 4 web interface.
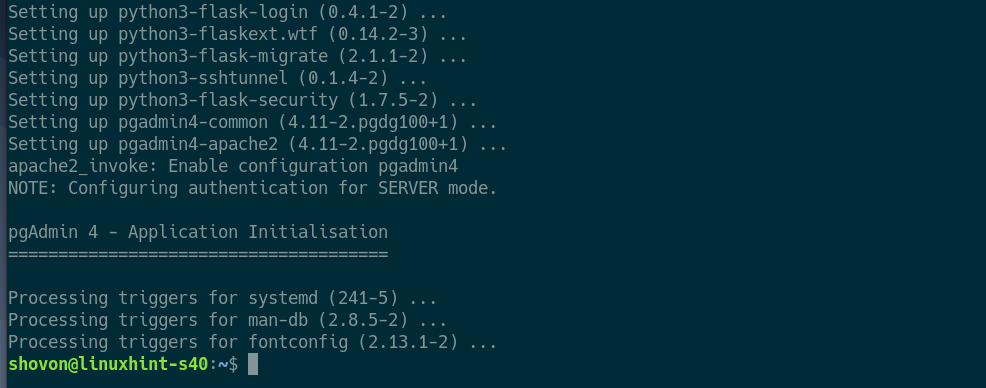
pgAdmin 4 should be installed at this point.
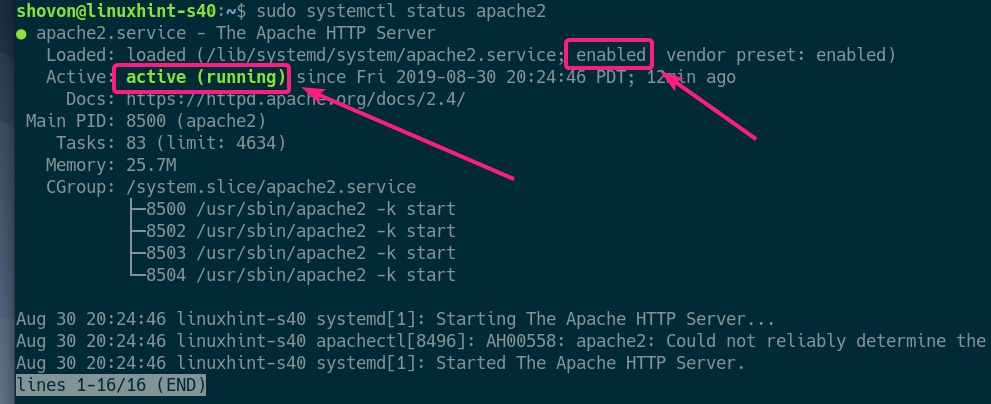
Now, check whether the apache2 service is running with the following command:
As you can see, the apache2 service is active/running and it’s also enabled to start on system boot automatically.
Accessing pgAdmin 4:
You can access pgAdmin 4 from any web browser. Just open a browser and visit http://localhost/pgadmin4 (for accessing locally) or http://<IP_ADDRESS>/pgadmin4 (for remote access)
NOTE: You can find the IP_ADDRESS of your Debian 10 machine where pgAdmin 4 is installed with the following command:
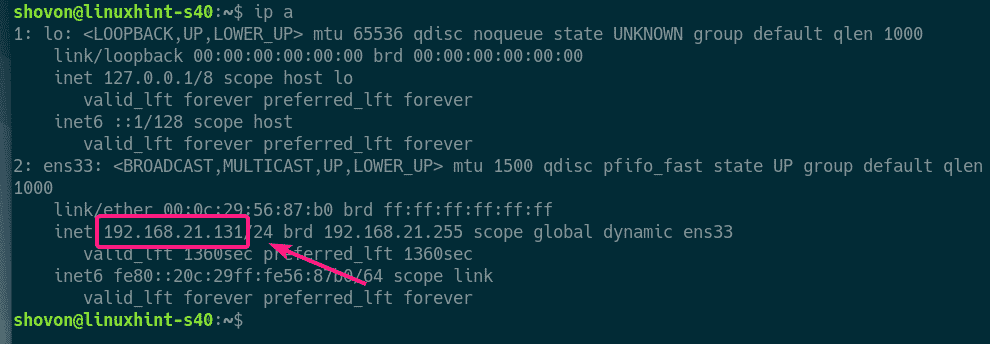
Once you visit the URL of the pgAdmin 4 web interface, you should see the following page. Now, type in the user email and password you’ve set up during the installation of pgAdmin 4 and click on Login.
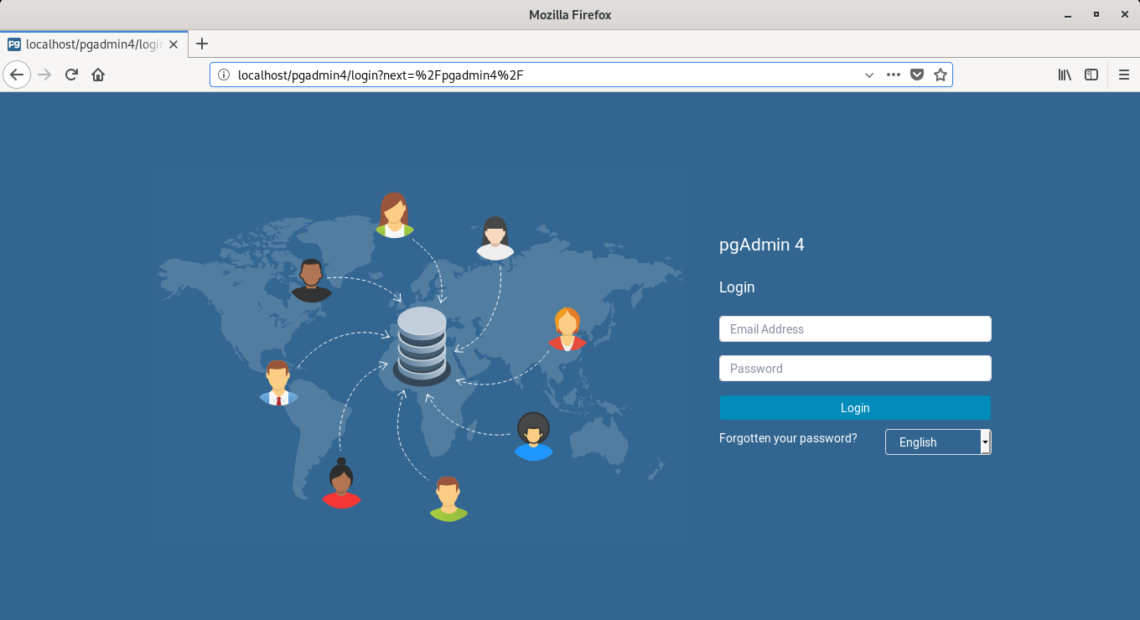
You should be logged in.
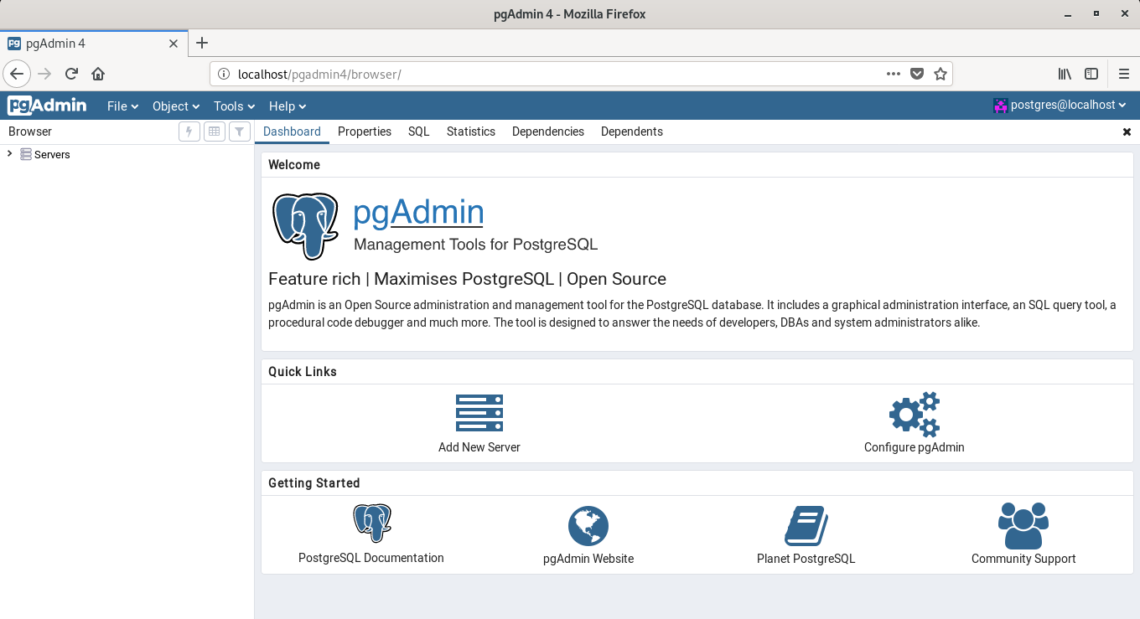
Adding PostgreSQL Servers to pgAdmin 4:
Now, you have to add at least one PostgreSQL database server in order to use pgAdmin 4.
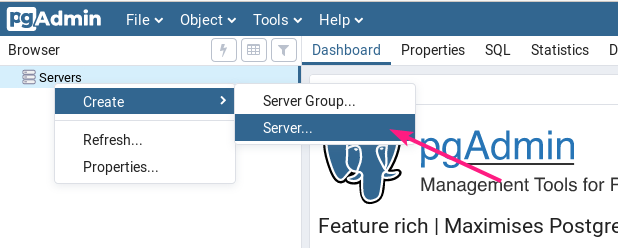
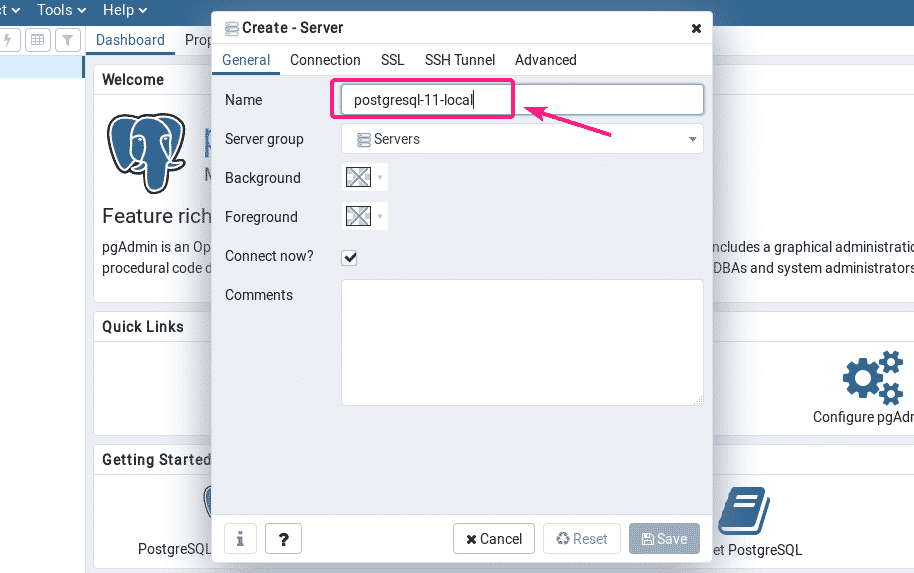
To add a new PostgreSQL database server, right click (RMB) on Servers and click on Create > Server… as marked in the screenshot below.
Now, in the General tab, type in a Name for your server.
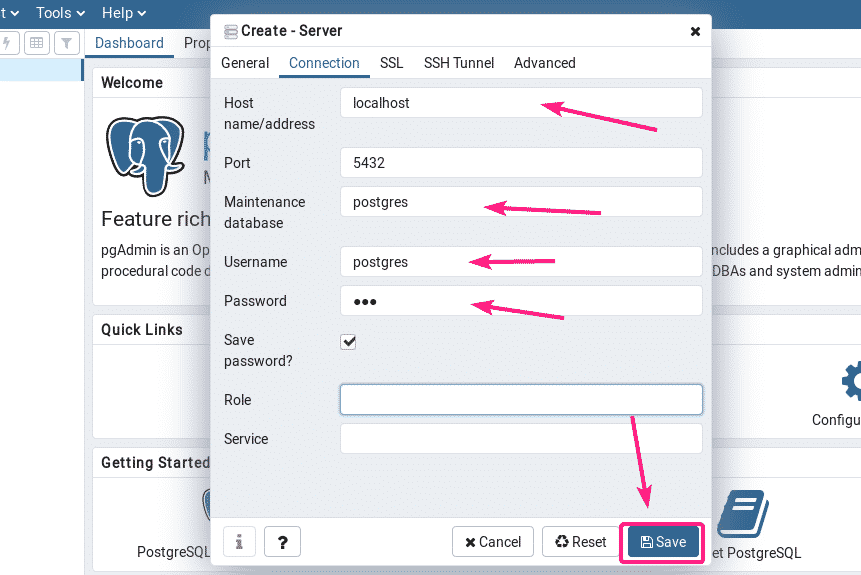
Now, go to the Connection tab and type in the host name or host IP, database name, username and password. If you’ve followed this article to setup a PostgreSQL database server as well, then the hostname should be localhost, and database name and username should be postgres, and the password should be what you’ve set up. Once you’re done, click on Save.
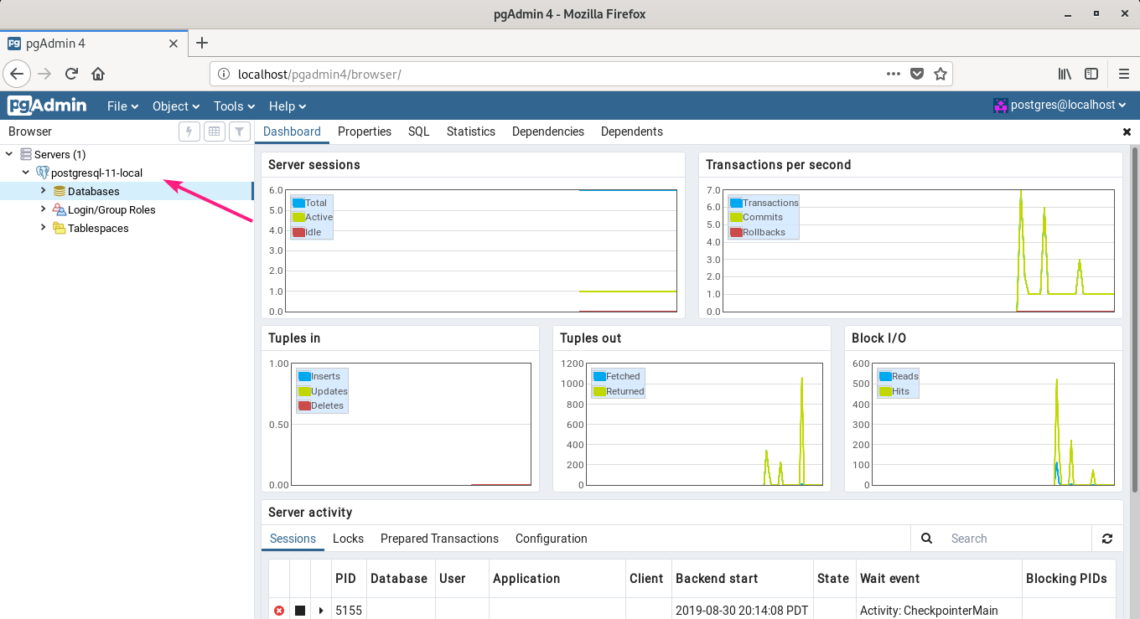
Your desired PostgreSQL database server should be added. Now, you can monitor the database server, create databases, create tables, insert data on tables and so on from the pgAdmin 4 web interface very easily.
So, that’s how you install pgAdmin 4 on Debian 10 Buster. Thanks for reading this article.