Mounting mechanism
Before jumping deeper into the “mount” command, let’s have a look what it actually is. In Linux, mounting is the process of attaching an additional filesystem on top of the currently accessible filesystem on the computer.
A quick note on the filesystem: it’s a hierarchy of directories that systems use to organize file(s) and folder(s) on a storage media. Filesystem exists in every single storage solution: USB flash drive, CD-ROM, HDD, SSD, and even floppy disks! In the case of UNIX/Linux and similar systems, the filesystem starts with the root directory (noted as “/”). Under “root”, all the other child filesystems exist.
Using mount
Because of the mounting mechanism at the core of the system, “mount” plays an important role in shaping the Linux ecosystem. This command offers a ton of utility for numerous situations. Whenever you’re running “mount” to mount a filesystem, it contacts with the kernel to complete the operation.
In this article, I will try to cover important and interesting ones as much as possible. However, it’s completely up to you and your creativity to use “mount” to your advantage.
“mount” location
Run this command.

It’s located in the “/usr/bin” directory. This directory is generally the home of almost all the commands you’ll ever run in the history of your Linux.
Basics
Here’s how the very basic structure of running “mount” commands looks like.
While using “–source” and “–target” flags aren’t so common, I strongly recommend people doing so for having a clear distinction on the purpose of the command.
In order to mount a certain filesystem, “mount” needs the source and the target. For example, I grabbed the Ubuntu installation ISO and I wish to mount this file. Run the following commands.

–target /mnt/ubuntu_iso

In this series of commands, we created a directory where the ISO file will be mounted. Then, we told “mount” to use that directory for mounting the ISO in that directory.
If you end up with an error like “failed to setup loop device”, then check if the command is correctly typed. In other cases, make sure the loop module of the kernel is running.

No output in this step means the module isn’t running. Start it using “modprobe”.

The command should run just fine now.
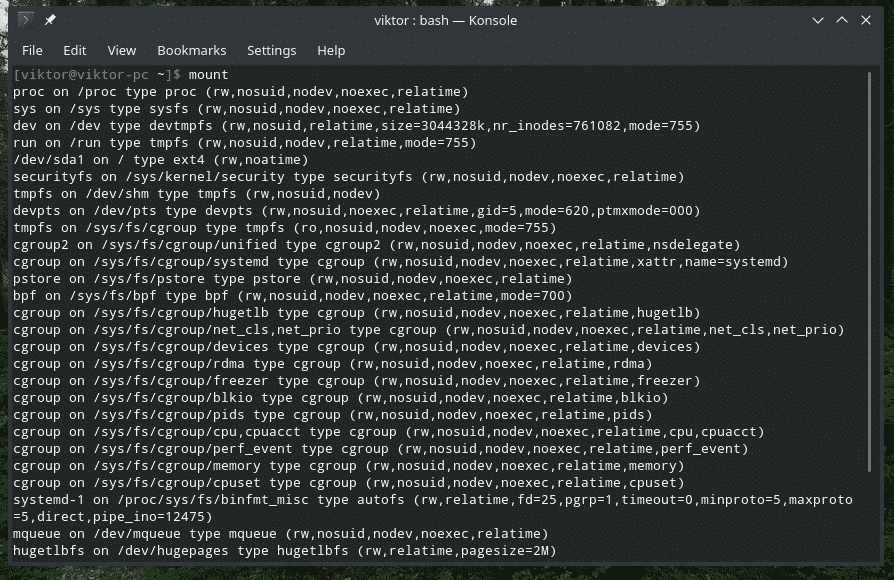
Listing all the mounts
When running “mount’ just by itself without any additional parameters, it will return the list of all the currently mounted filesystems in the computer’s storage.
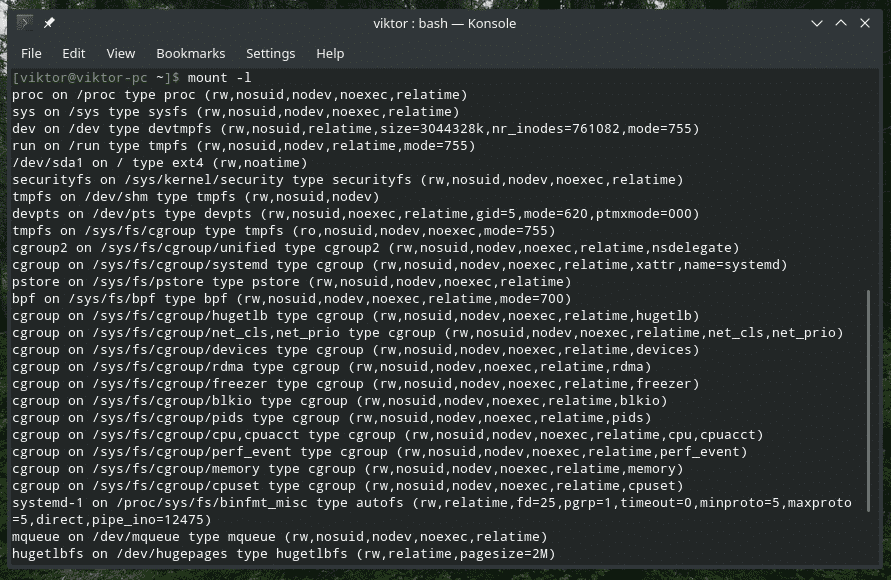
Or,
Mount version

This will display the software version of “mount”.
Filesystem info
If you have a certain type of filesystem in mind, you can use “mount” to check what mounts use this filesystem.
For example, this command will list all the filesystems that use “ext4”.

Using /etc/fstab
This is a special system configuration file that contains the filesystems for the OS. While it’s now easier to mount devices and filesystems, at the early ages, fstab was the only option to tell the computer to check for any specific filesystem and mount it automatically.
It’s located on “/etc/fstab”.
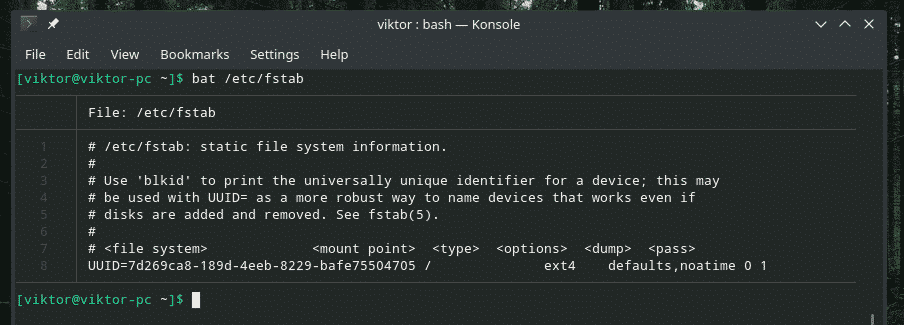
Bat is a superior alternative for cat with additional features like syntax highlighting and formatting.
As mentioned in the file, fstab follows the following structure for the table.
<dump> <pass>
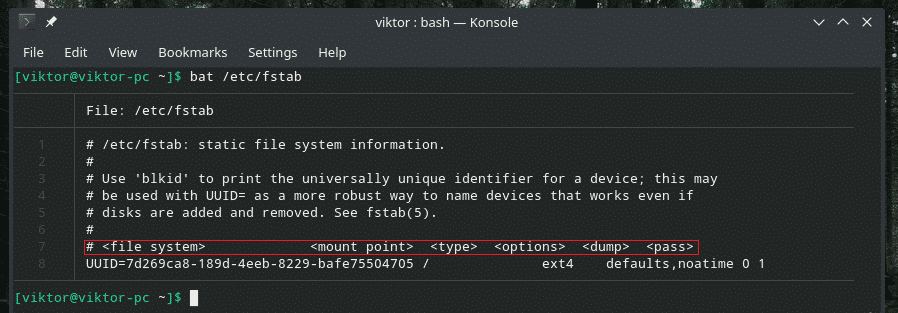
In the list, there’s an entry by default (the system’s HDD). Let’s explain it part by part.
This part is the filesystem that will be mounted. It’s set by the UUID.

Next is the mount point. In this case, it’ll be mounted as the root.

Now, the filesystem type. It uses the ext4 journaling file system.

These are the options that mount will follow when mounting the filesystem.

The next values are for “dump” and “pass” respectively.

In this article, we’re not going deeper into the fstab craziness. If you’re interested, feel free to search the internet for suitable guides and explanations with additional tips and tricks.
Mounting a device
In almost all the modern Linux distros these days will automatically mount any storage device you connect to it automatically, for example, USB flash drives. However, if it didn’t mount or auto-mount is disabled, you have to mount it manually.
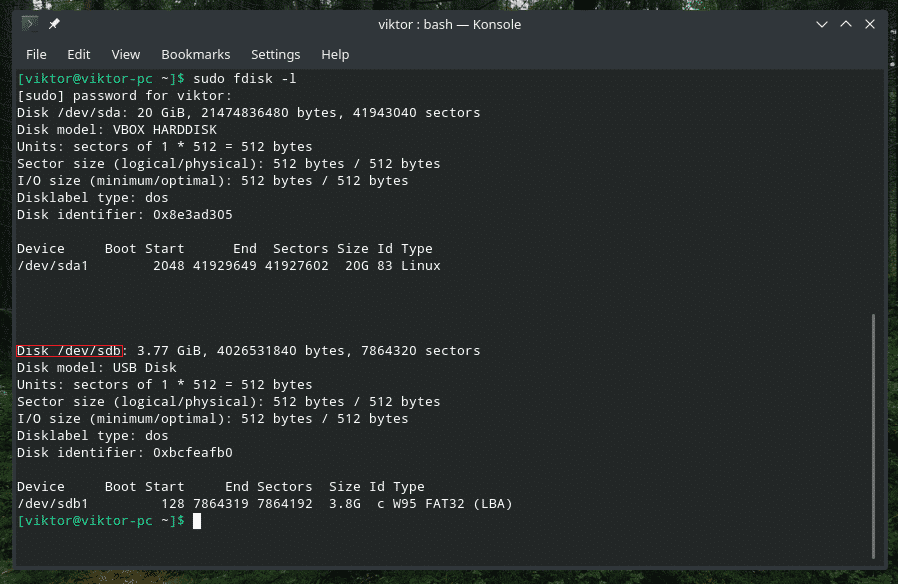
At first, check if the device is being recognized by the system.
Create a suitable directory for mounting the device.

Time to finally mount the drive into the folder.

Note: If you’re willing to mount storage with some unorthodox filesystems like exFAT, you need the appropriate drivers. In the case of Ubuntu, it’s “exfat-utils” and “exfat-fuse”. In the case of Arch and other Arch-based distros, it’s “exfat-utils”. If you’re using anything other than that, make sure to check for suitable exFAT solution for your system.
Unmounting any mount
Once you’ve mounted, the filesystem will be present there forever. In the case of core filesystems, it’s important that they remain mounted. However, removal devices must be unmounted first and then removed. Otherwise, it might cause issues like data loss, data corruption, and other damages. I accidentally destroyed a USB flash drive of mine.
To unmount any filesystem, use the “unmount” command.

Final thoughts
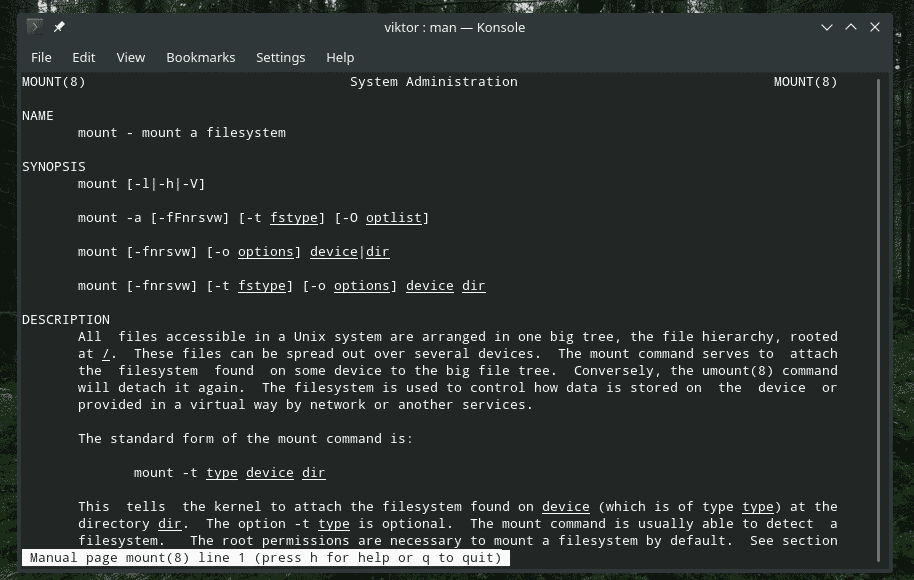
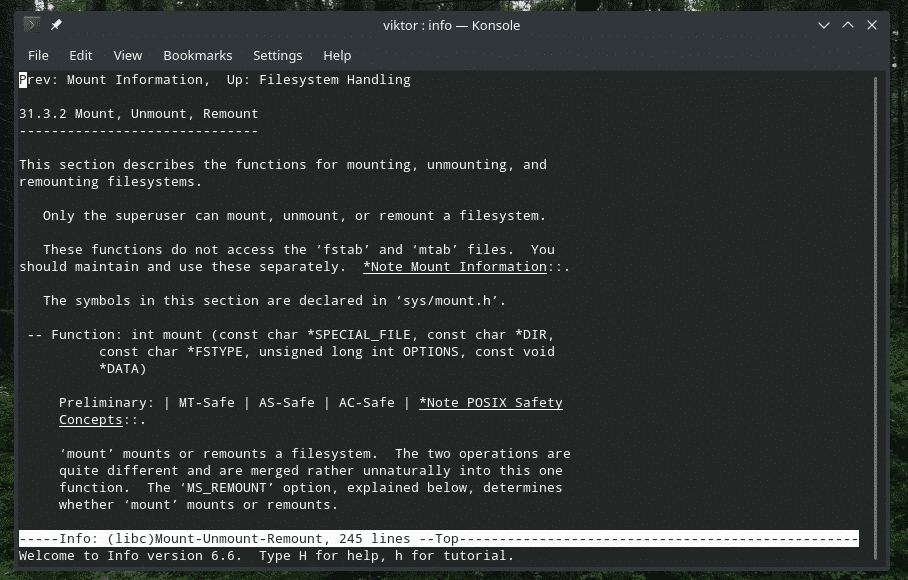
It’s always great to consult the man and info pages for in-depth guides on any tool. “mount” is no different.
Enjoy!